Fix 1: Forget the Network and Reconnect to It
Try forgetting the network so you can reconnect to it. This way, you’re establishing a fresh connection which may trigger the login page. Here’s how to do it.
On Mac
Step 1: Click on the Wi-Fi icon in the menu bar at the top. This will bring up the Wi-Fi options.

Step 2: Select Network Preferences.

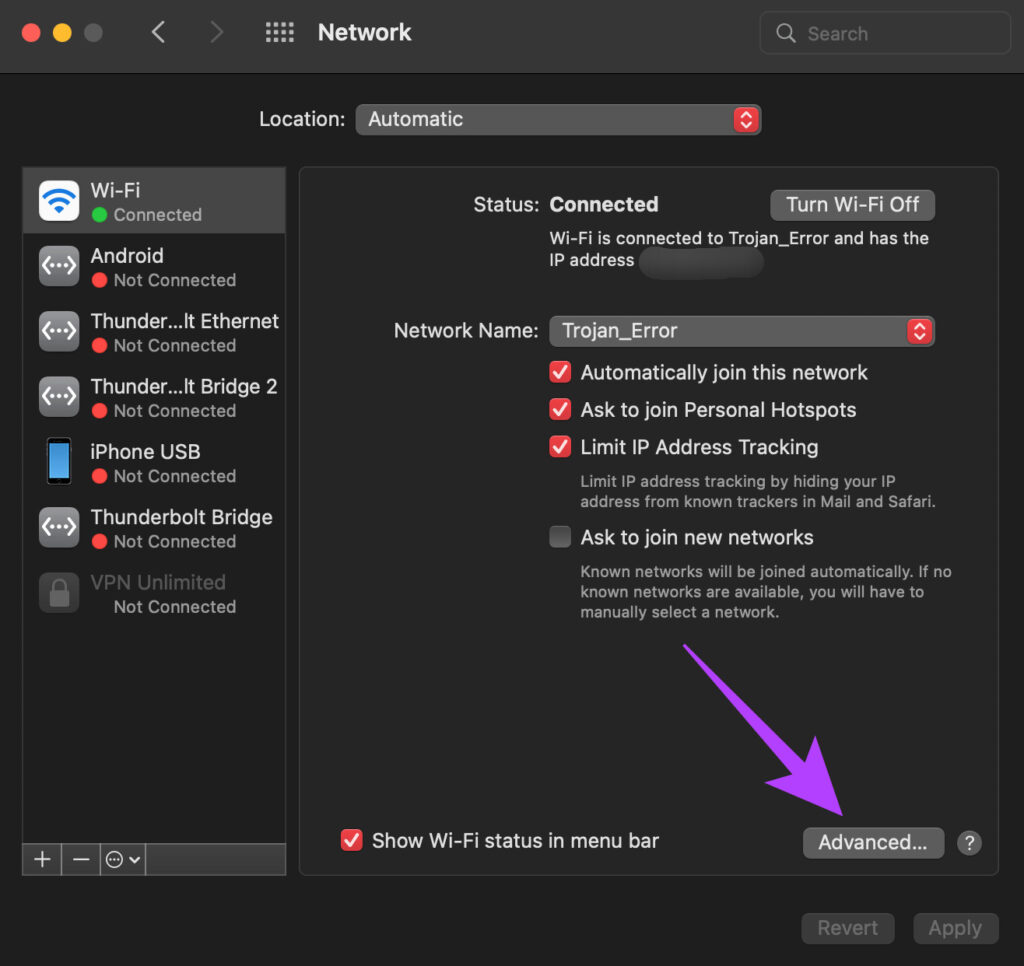
Step 3: Click on the Advanced option. You will now see a new window.
Step 4: Now, select the network you want to forget and click on the ‘–‘ (remove) icon below it.

On Windows
Step 1: Click on the Search icon in the taskbar and look for Settings. Click on the app to open it.

Step 2: Navigate to Network & internet.

Step 3: Select the Wi-Fi option. This will bring up detailed settings related to your network.

Step 4: Now, click on Manage known networks.

Step 5: Hit the Forget button next to the Wi-Fi network.

Fix 2: Disable Auto-Join for the Wi-Fi Network
If your computer automatically connects to a Wi-Fi network you’ve already used in the past, chances are that the captive portal login page may not load. So, disable the Auto-Join toggle to ensure you manually connect to the network and trigger the guest Wi-Fi login page.
First, connect to the network on your Mac or PC. Then, perform the following steps.
On Mac
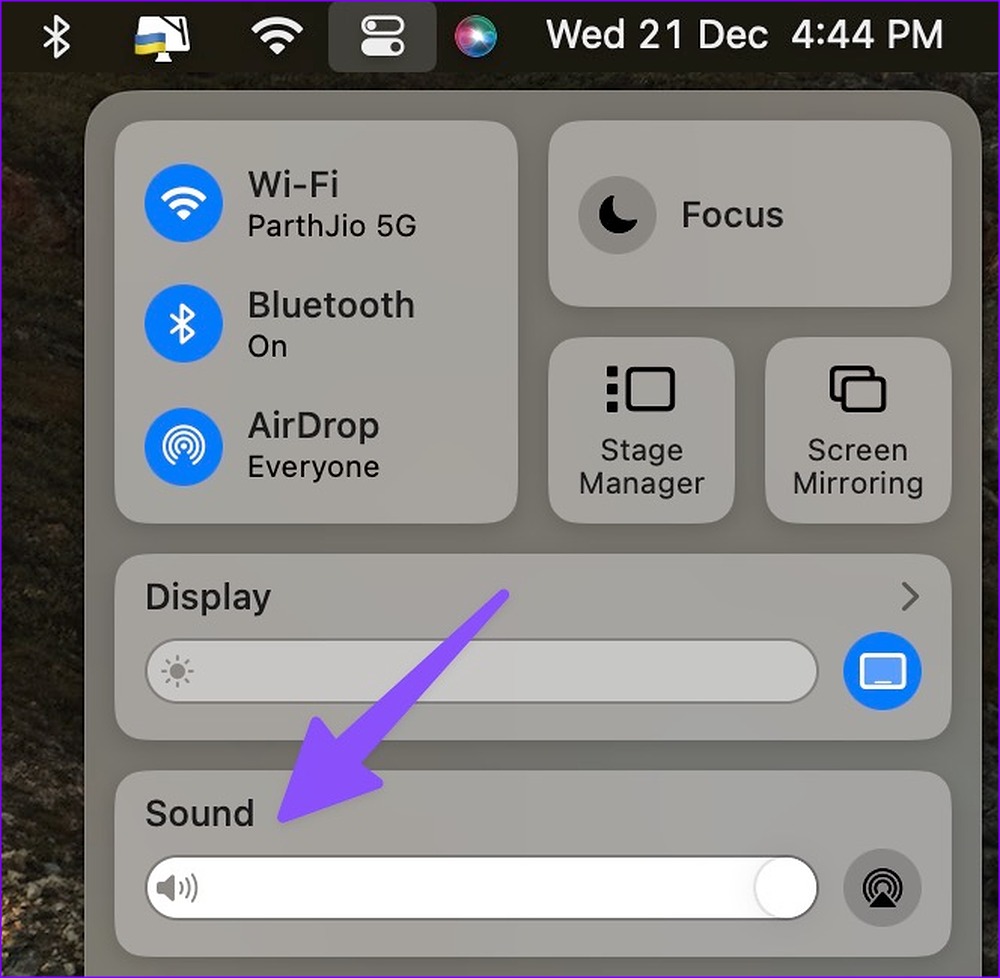
Step 1: Click on the Wi-Fi icon in the menu bar at the top. This will bring up the Wi-Fi options.
Step 2: Select Network Preferences.
Step 3: You will see several options listed under the Wi-Fi network. Uncheck the tickbox next to Automatically join this network.

Step 4: Now, forget the Wi-Fi network and reconnect to it by following the steps mentioned above.
On Windows
Step 1: Click on the Search icon in the taskbar and look for Settings. Click on the app to open it.
Step 2: Navigate to Network & internet.
Step 3: Select the Wi-Fi option. This will bring up detailed settings related to your network.
Step 4: Now, click on the Wi-Fi network you’re connected to.

Step 5: Uncheck the tickbox next to Connect automatically when in range.

Fix 3: Clear DNS Cache
Clearing the DNS cache is a solution that has helped several people solve the Wi-Fi login page not showing up issue, especially on a Mac. If you’re wondering how to force the Wi-Fi login page, this is a good way. Here’s how to do it.
On Mac
Step 1: Open Spotlight search by pressing the Command + Space Bar keys. Enter terminal and press the Enter key.

Step 2: In the terminal window, type sudo killall -HUP mDNSResponder and hit the Enter key.

Step 3: You will now be asked to enter your Mac’s password. Input your password and hit the enter key once again.
Your DNS cache will now be flushed.
On Windows
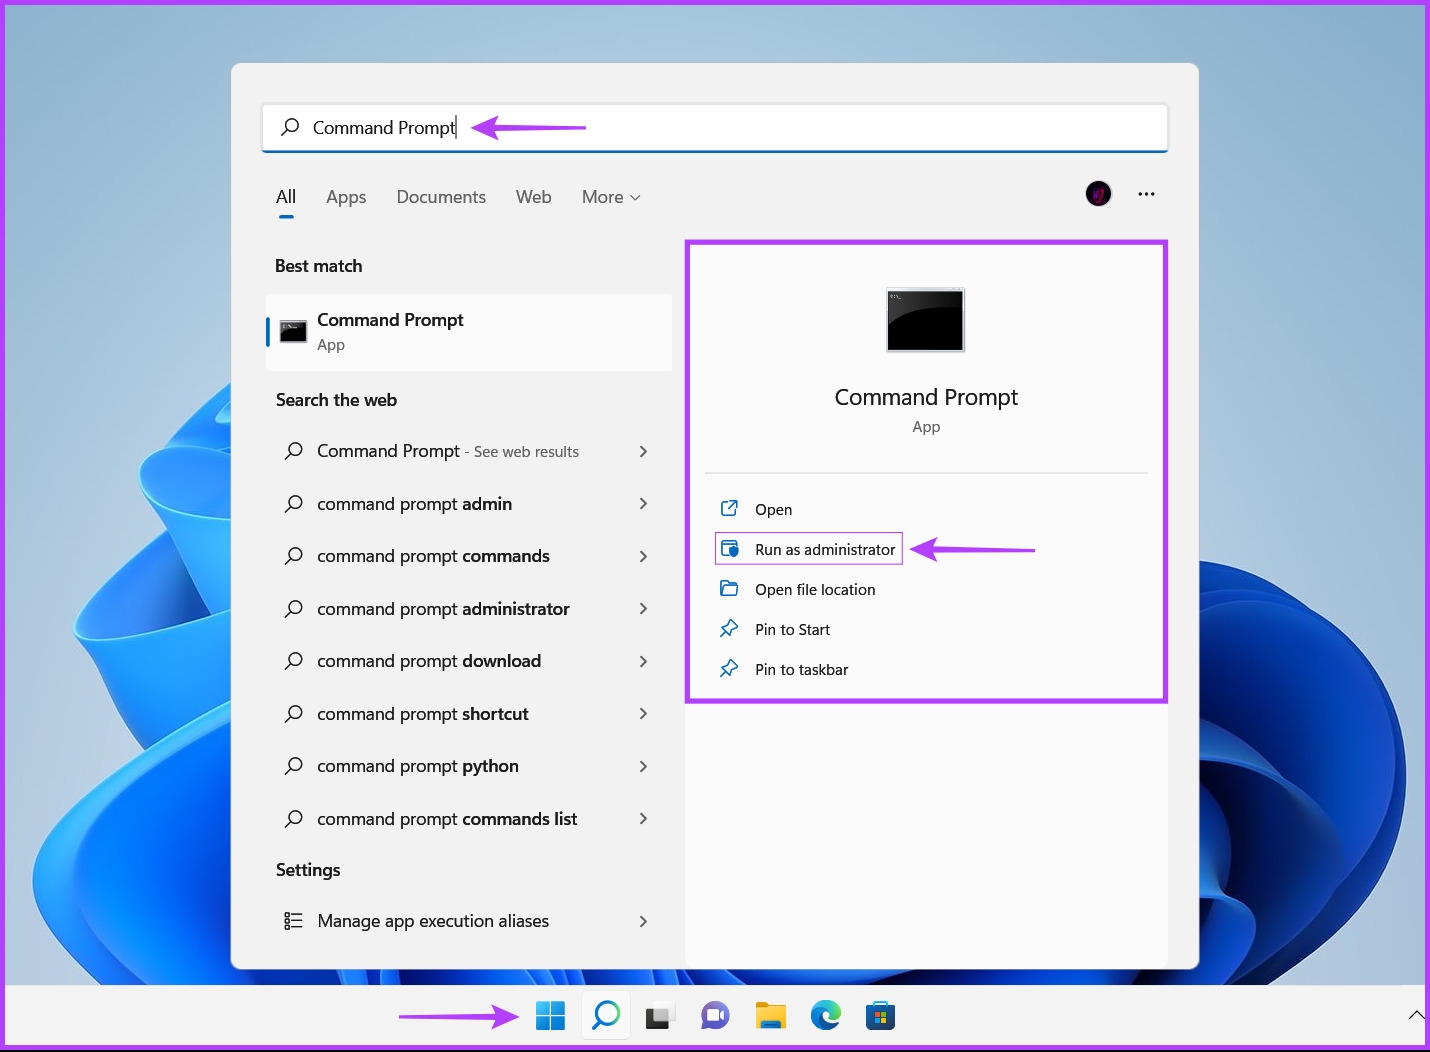
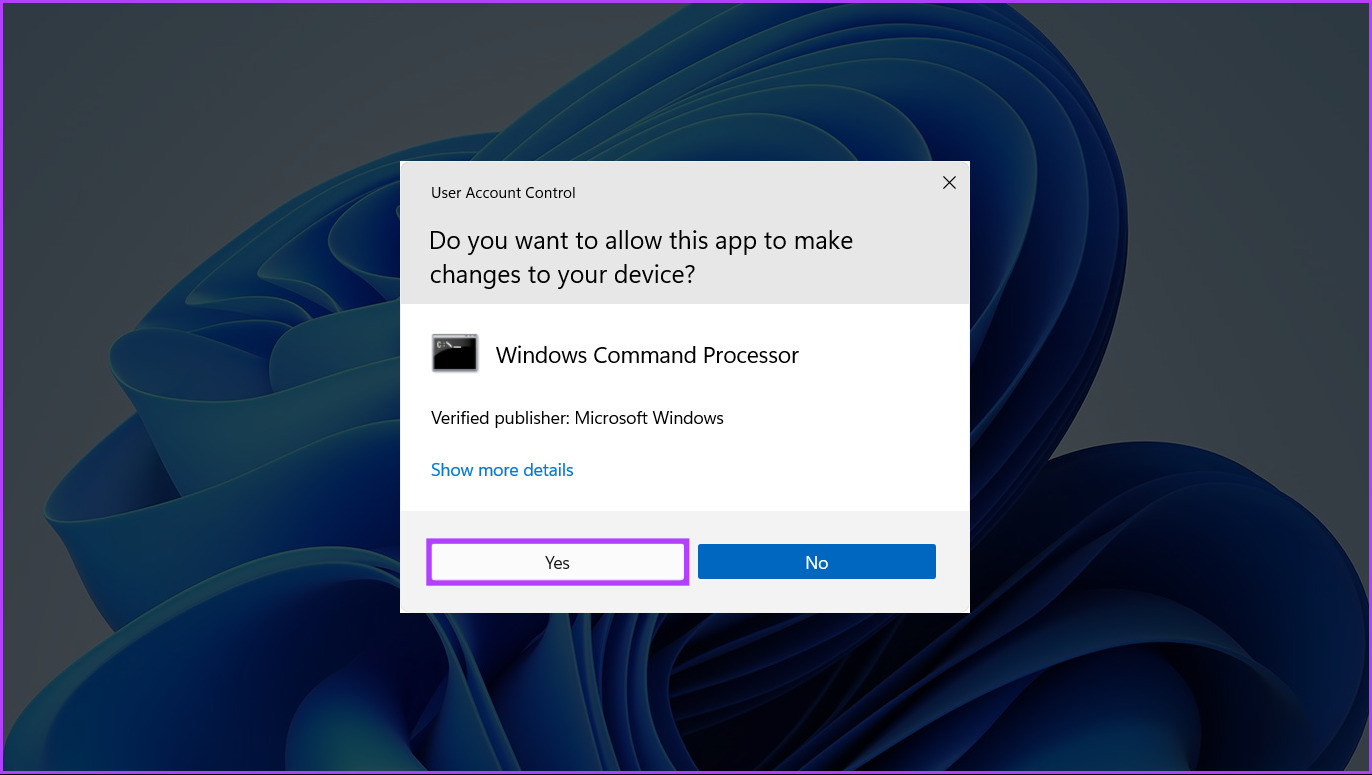
Step 1: Click on the Search icon in the taskbar and look for cmd. Click on the app to open it.

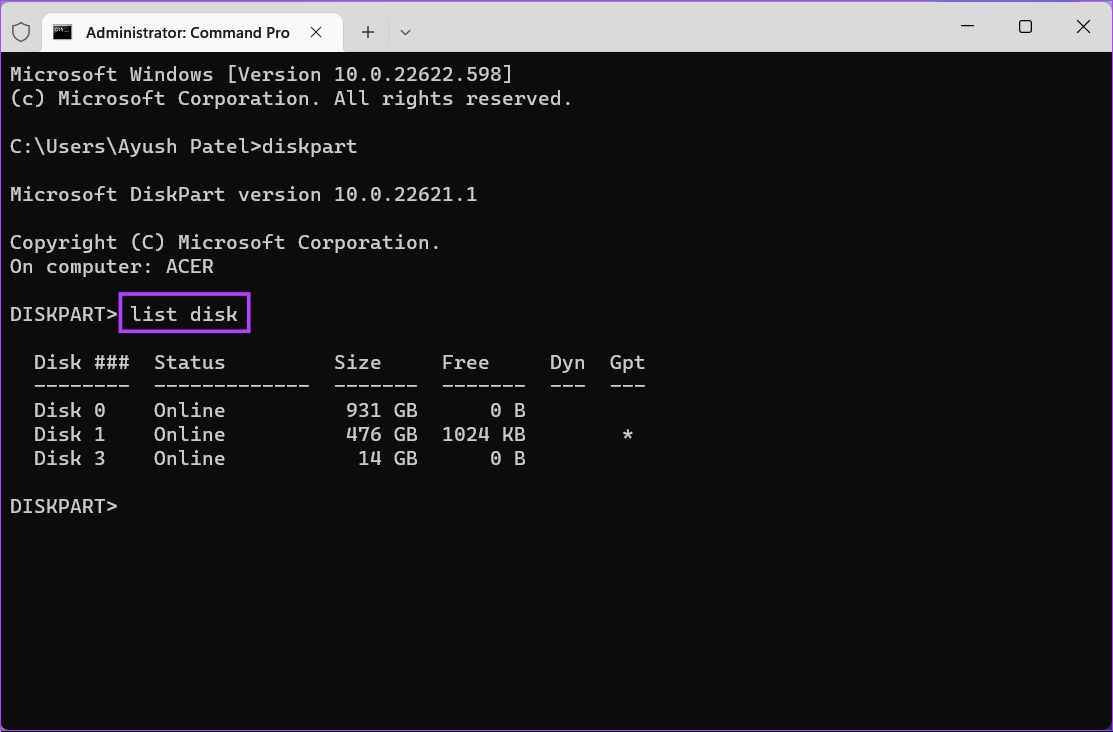
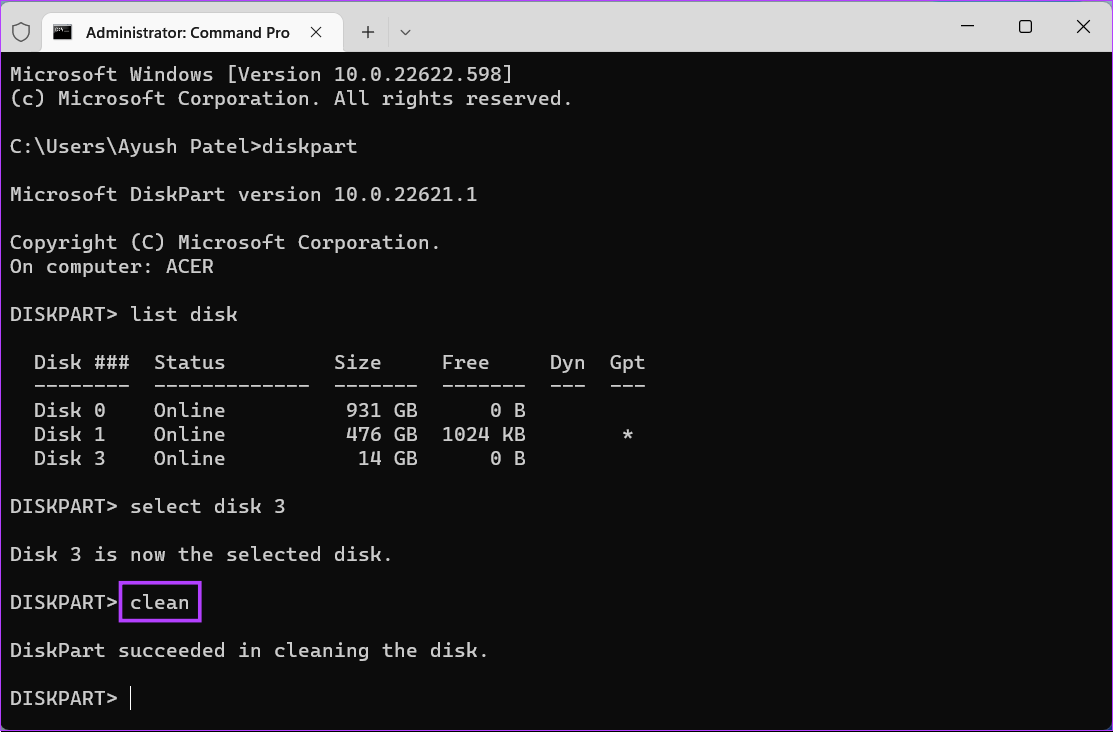
Step 2: Type ipconfig /flushdns and hit the Enter key.

Fix 4: Remove Other DNS
You may be using a public DNS or Cloudflare’s popular 1.1.1.1 DNS to speed up your internet connection. While it is indeed effective, it can prevent the triggering of the Wi-Fi login page when you connect to a new network. If your hotel Wi-Fi login page is not showing up, here’s how you can remove other DNS from your computer.
On Mac
Step 1: Click on the Wi-Fi icon in the menu bar at the top. This will bring up the Wi-Fi options.
Step 2: Select Network Preferences.
Step 3: Click on the Advanced option. A new window will be displayed.
Step 4: Navigate to the DNS section at the top.

Step 5: Select a DNS server that you’ve added. Click on the ‘–‘ (remove) button at the bottom.

Step 6: Now, click on OK to save changes.

On Windows
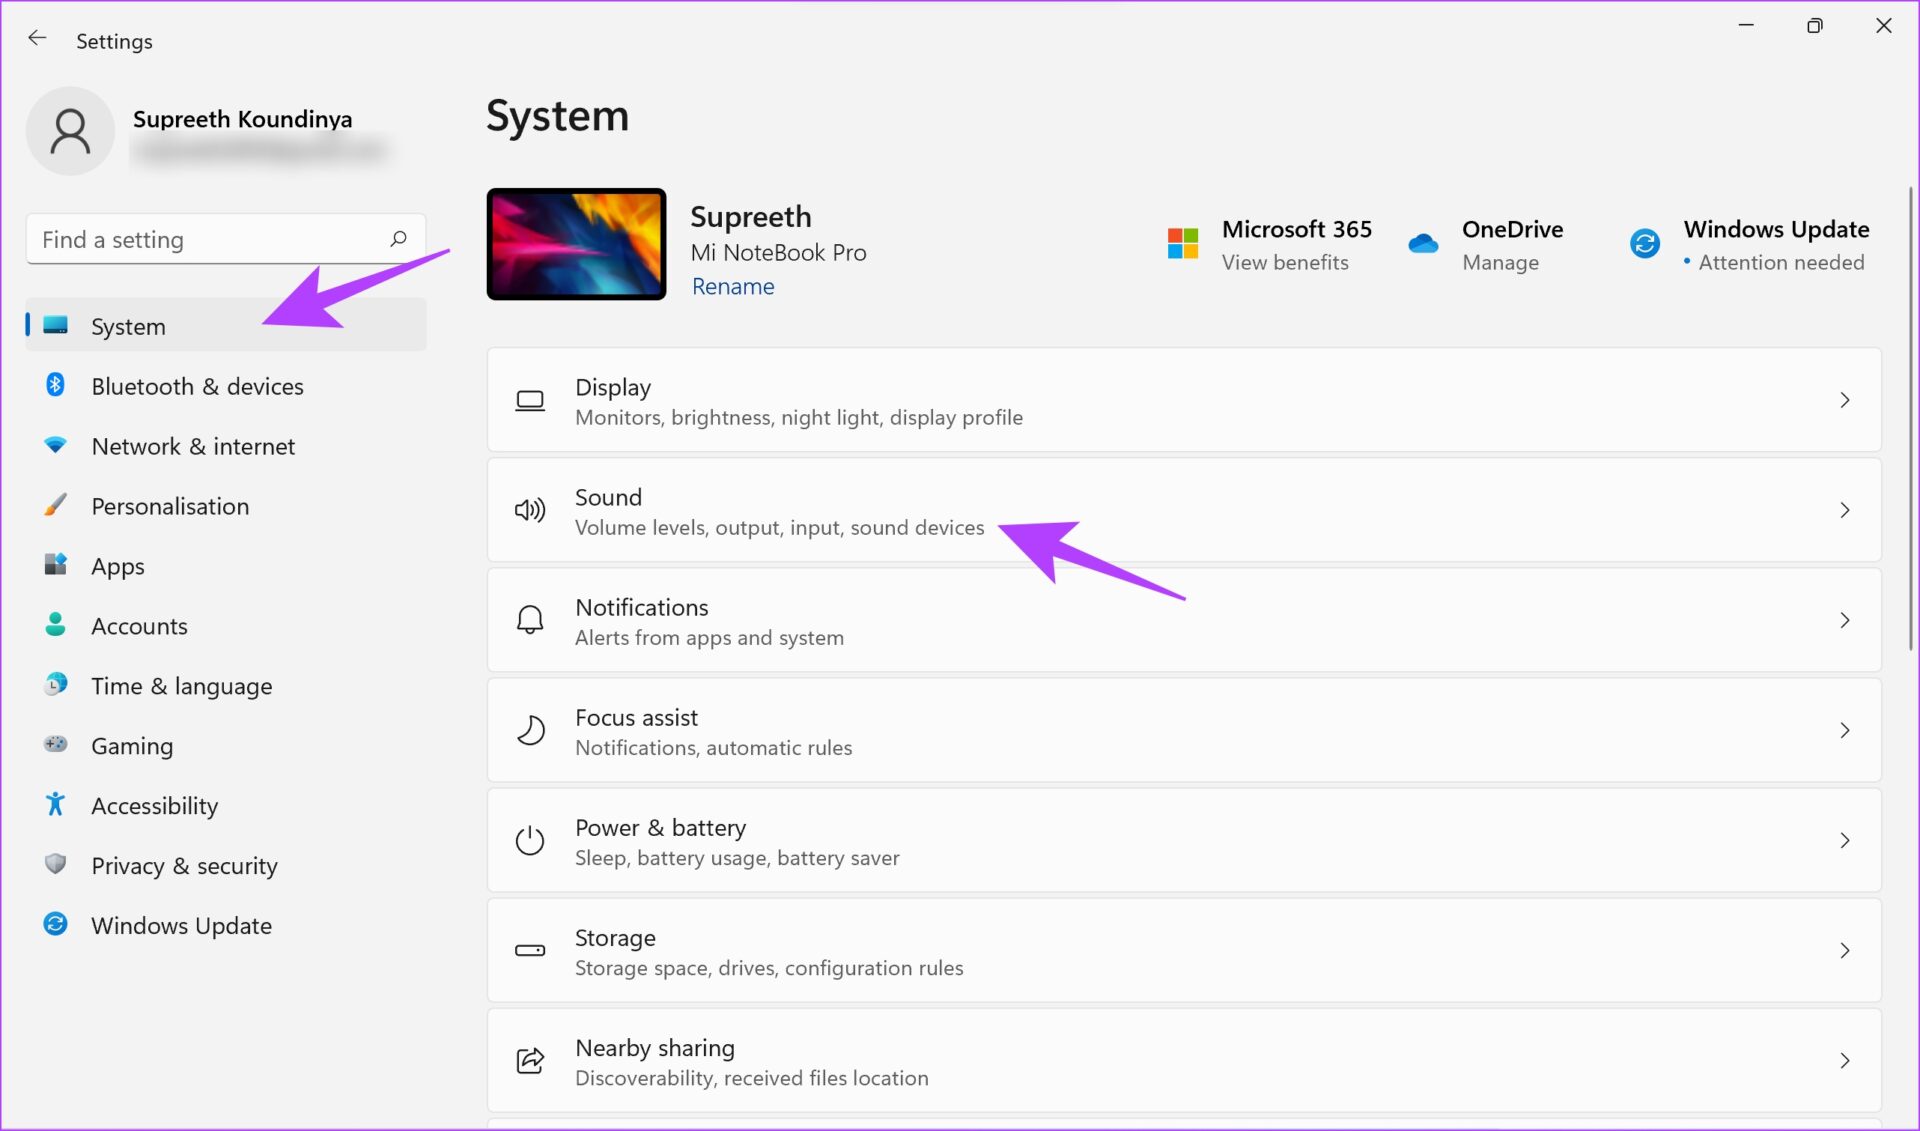
Step 1: Click on the Search icon in the taskbar and look for Settings. Click on the app to open it.
Step 2: Navigate to Network & internet.
Step 3: Select Properties. Your network properties will be displayed here.

Step 4: Scroll down to the DNS server assignment. Click on the Edit button.

Step 5: Click on the drop-down menu at the top. Select Automatic (DHCP).

Step 6: Save the changes and you’re good to go.
Fix 5: Use the Default Browser
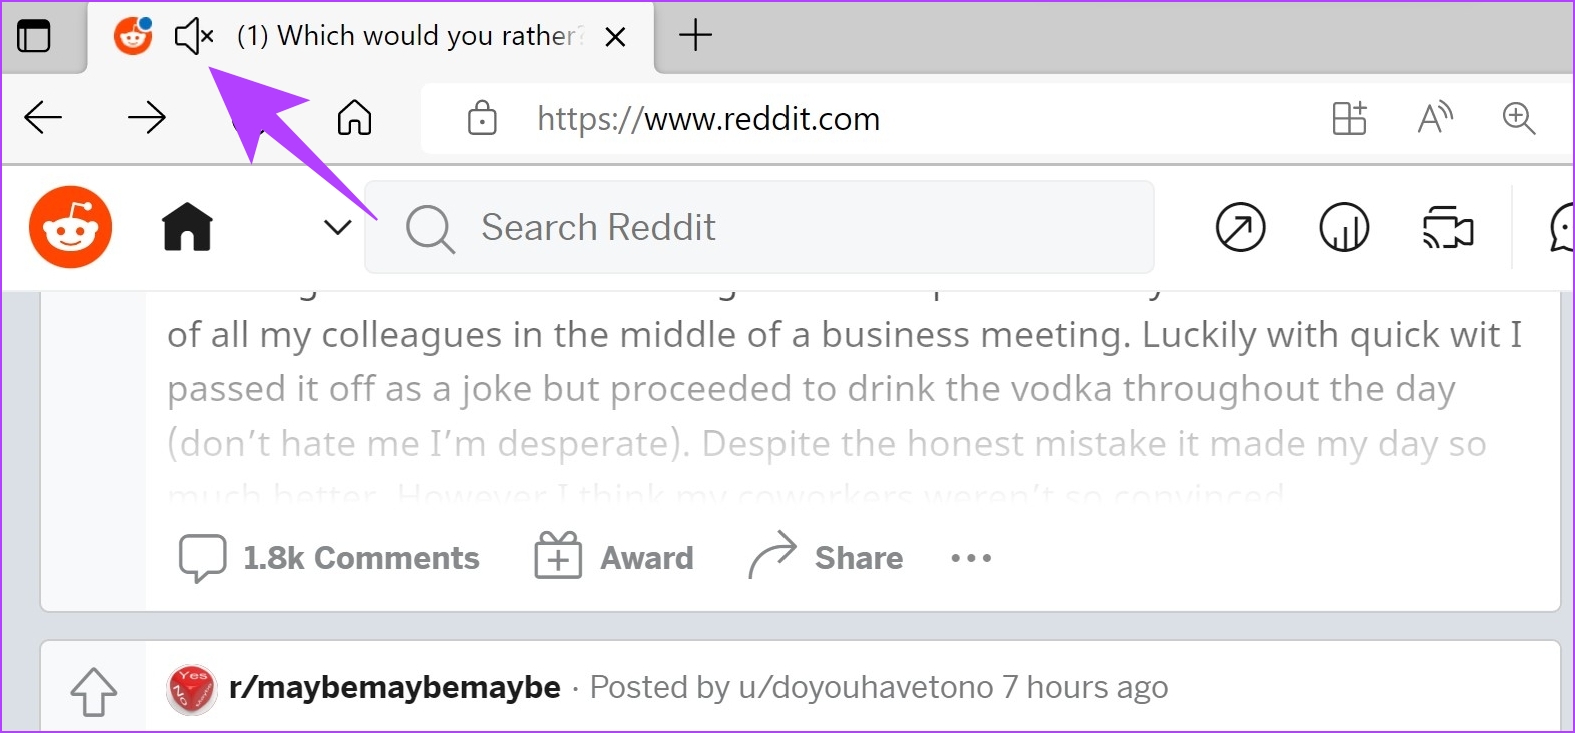
If you’re using a Mac, try launching Safari instead of Chrome or Firefox once you connect to a public network. On Windows, launch Microsoft Edge instead of a different browser. Sometimes, a simple action like this can trigger the login page.
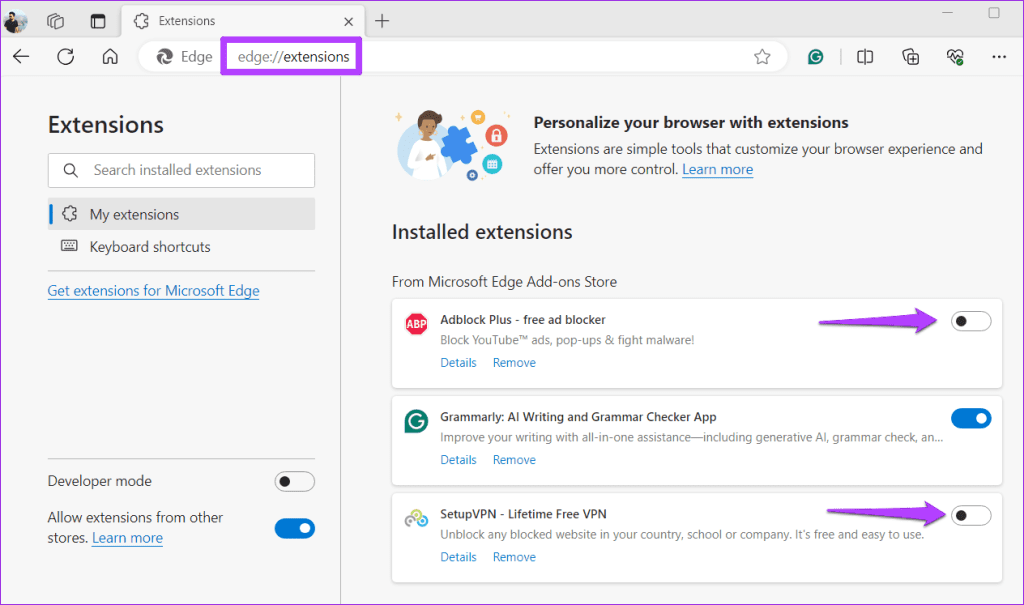
Fix 6: Turn Off VPN
Oftentimes, a VPN may interfere with your computer’s ability to connect to a Wi-Fi network. Since a VPN changes your location, the Wi-Fi network may not show you the login page. If you’re using a VPN on your computer, turn it off before trying to connect to the public Wi-Fi network.
Fix 7: Open the Router’s Default Page
Every router has a default page that can be addressed by entering the IP address of the router in the address bar. Accessing this page will automatically direct you to the captive portal login page where you can enter your details to log in to the Wi-FI network. While this method may not work every time and depends on the make of the router, there’s no harm in giving it a shot.
Open the browser on your computer. In the address bar, type in 192.168.1.1 or 192.168.0.1 and hit the enter key.

This is the default IP address of most routers generally. If the address hasn’t changed, this should lead you to the login page.