Try Basic Fixes
- Try saving the document with a different name: Press F12 on your keyboard to bring up the Save As dialog in Excel. Specify a different name for the document and try to save it.
- Close background apps and programs: At times, third-party apps and programs running in the background can interfere with Excel and prevent it from saving files. Close any unwanted background apps and programs and save your file again.
Fix 1: Check Folder Permissions
The “Document not saved” error can also occur if you do not have the necessary permissions to access the folder where you’re trying to save the file. To fix this, take ownership of the folder where you’re trying to save the file. Here’s how to do it.
Step 1: Right-click on the folder where you wish to save the files and select Properties.

Step 2: Under the Security tab, click on Advanced.

Step 3: Click on Change next to the Owner.

Step 4: Type your username in the text field and click on Check Names. Then, click OK.

Step 5: Check the box for Replace owner on subcontainers and objects option. Then, hit Apply, followed by OK.

Fix 2: Open Excel in Safe Mode and Disable Add-Ins
Using Excel in safe mode can help you verify if one of the add-ins is causing the “Document not saved” error. Press the Windows key + R to open the Run dialog, type excel -safe in the box, and press Enter.
Try saving your file in safe mode. If it works, disable all add-ins and re-enable them one by one to isolate the culprit.
Step 1: Open Excel and click the File menu at the top left corner.

Step 2: Click Options at the bottom left corner.

Step 3: In the Excel Options window, navigate to the Add-ins tab. Then, select COM Add-ins in the Manage drop-down menu and click on Go.

Step 4: Uncheck all the add-ins and click OK.

Restart Excel and enable your add-ins one at a time. After you enable each add-in, try saving a test document to identify the one that causes the issue.
Fix 3: Repair Microsoft Excel
If nothing works, use the Microsoft Office repair tool to fix any problems with Excel. Here’s how.
Step 1: Right-click on the Start icon and select Installed apps from the list.

Step 2: Scroll down to locate the Microsoft Office product on the list. Click on the three-dot menu icon next to it and select Modify.

Step 3: Select Online Repair and hit Repair.

Was this helpful?
Last updated on 03 July, 2024
1 Comment
Leave a Reply
Read Next
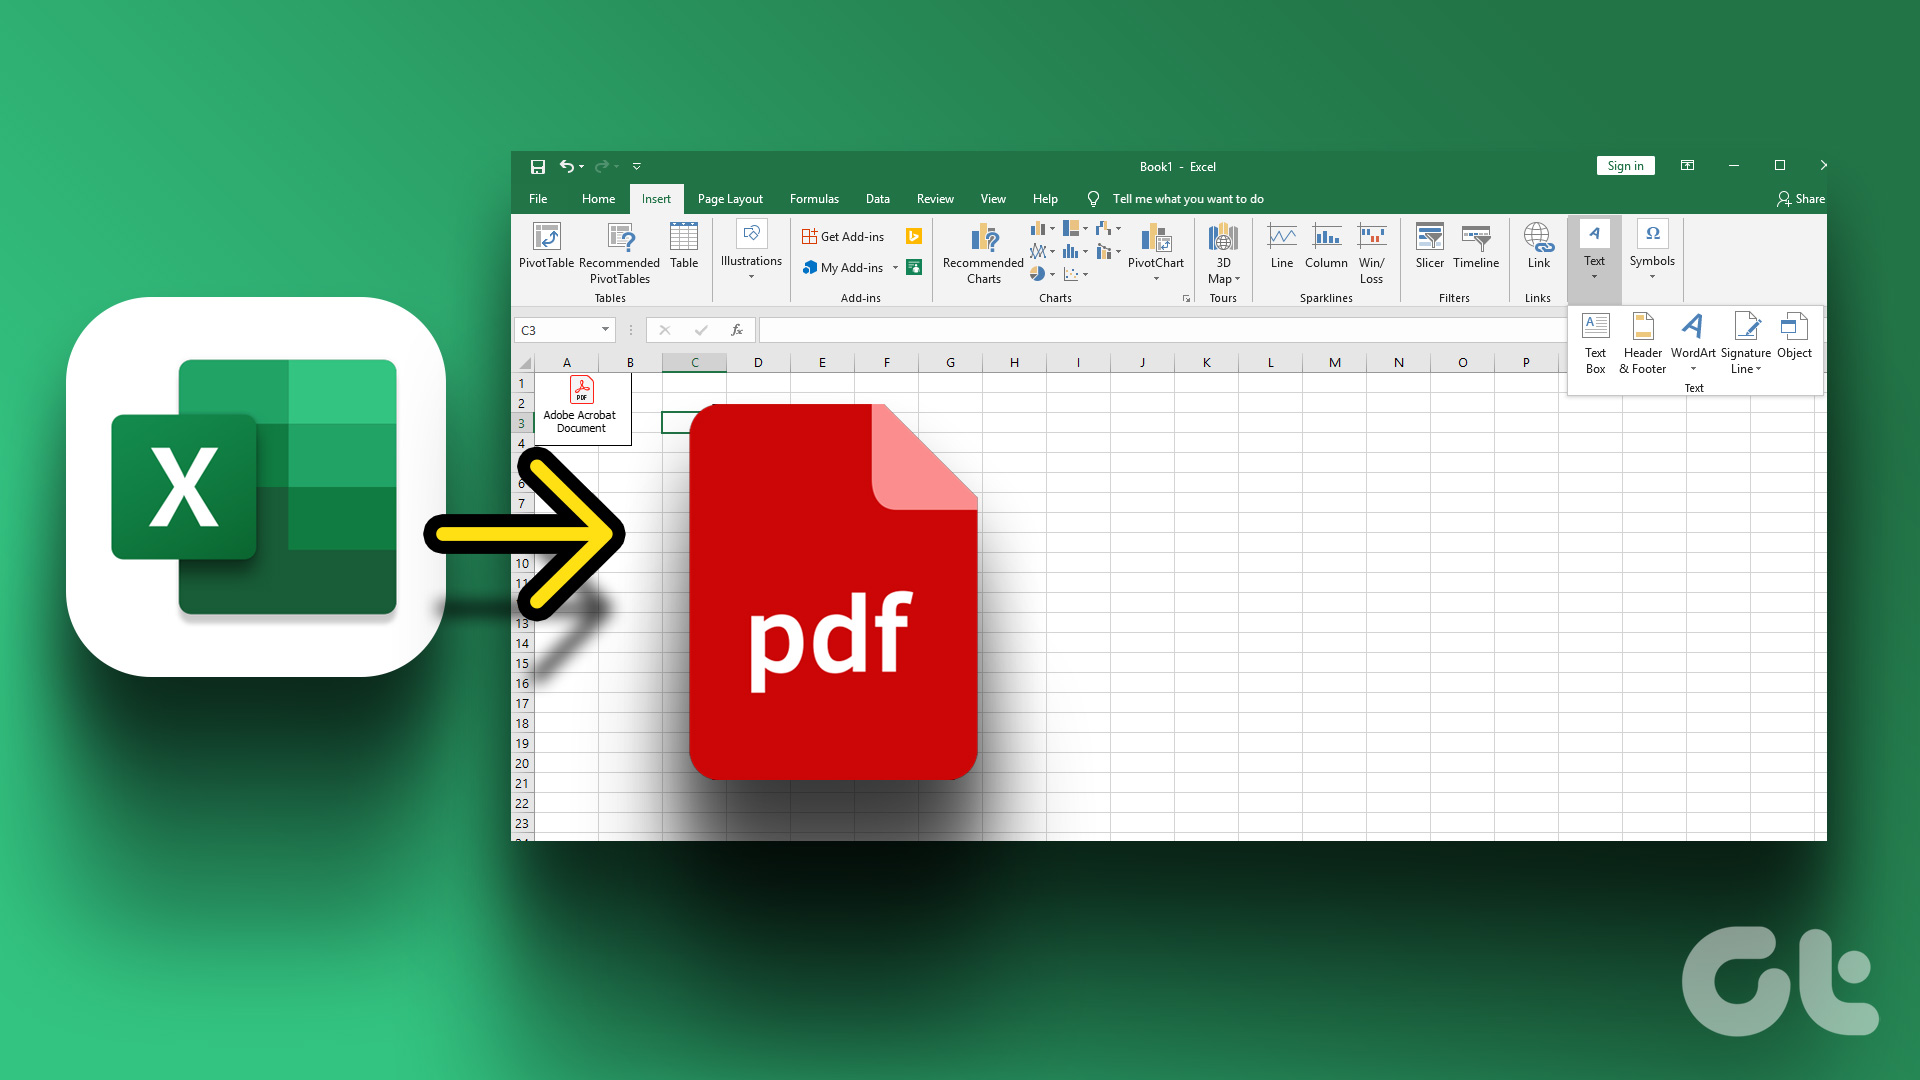 3 Ways to Insert a PDF Document into an Excel Spreadsheet on Windows
Method 1: Insert a PDF Document in Excel Spreadsheet Here's how you can insert a PDF into Excel and make sure the document is visible and easily accessible on the
3 Ways to Insert a PDF Document into an Excel Spreadsheet on Windows
Method 1: Insert a PDF Document in Excel Spreadsheet Here's how you can insert a PDF into Excel and make sure the document is visible and easily accessible on the
 3 Ways to Insert an Excel Spreadsheet into a Word Document
Method 1: Using the Insert Table Option The Insert tab on the Word Ribbon has different options, including an Insert Table button, which can be used to insert an Excel
3 Ways to Insert an Excel Spreadsheet into a Word Document
Method 1: Using the Insert Table Option The Insert tab on the Word Ribbon has different options, including an Insert Table button, which can be used to insert an Excel
 How to Fix OneNote “Saved Offline” Error
Basic Fixes: Ensure OneDrive is not full: OneNote stores data using Microsoft’s OneDrive storage.
How to Fix OneNote “Saved Offline” Error
Basic Fixes: Ensure OneDrive is not full: OneNote stores data using Microsoft’s OneDrive storage.
 4 Fixes for “Reference Isn’t Valid” Error in Microsoft Excel for Windows
Try Basic Fixes Close and reopen Excel: Microsoft Excel sometimes gets stuck with the "Reference isn’t valid" error due to temporary issues with one of its app processes.
4 Fixes for “Reference Isn’t Valid” Error in Microsoft Excel for Windows
Try Basic Fixes Close and reopen Excel: Microsoft Excel sometimes gets stuck with the "Reference isn’t valid" error due to temporary issues with one of its app processes.
 5 Fixes for Microsoft Has Blocked Macros Error in Excel for Windows
Fix 1: Unblock the File Microsoft Excel may block macros for a spreadsheet if you have obtained it from another computer or the internet.
5 Fixes for Microsoft Has Blocked Macros Error in Excel for Windows
Fix 1: Unblock the File Microsoft Excel may block macros for a spreadsheet if you have obtained it from another computer or the internet.
 How to Lock Parts of a Microsoft Word Document
Method 1: Using Restrict Editing Feature As the name suggests, this feature lets you set up editing restrictions for your Word document.
How to Lock Parts of a Microsoft Word Document
Method 1: Using Restrict Editing Feature As the name suggests, this feature lets you set up editing restrictions for your Word document.
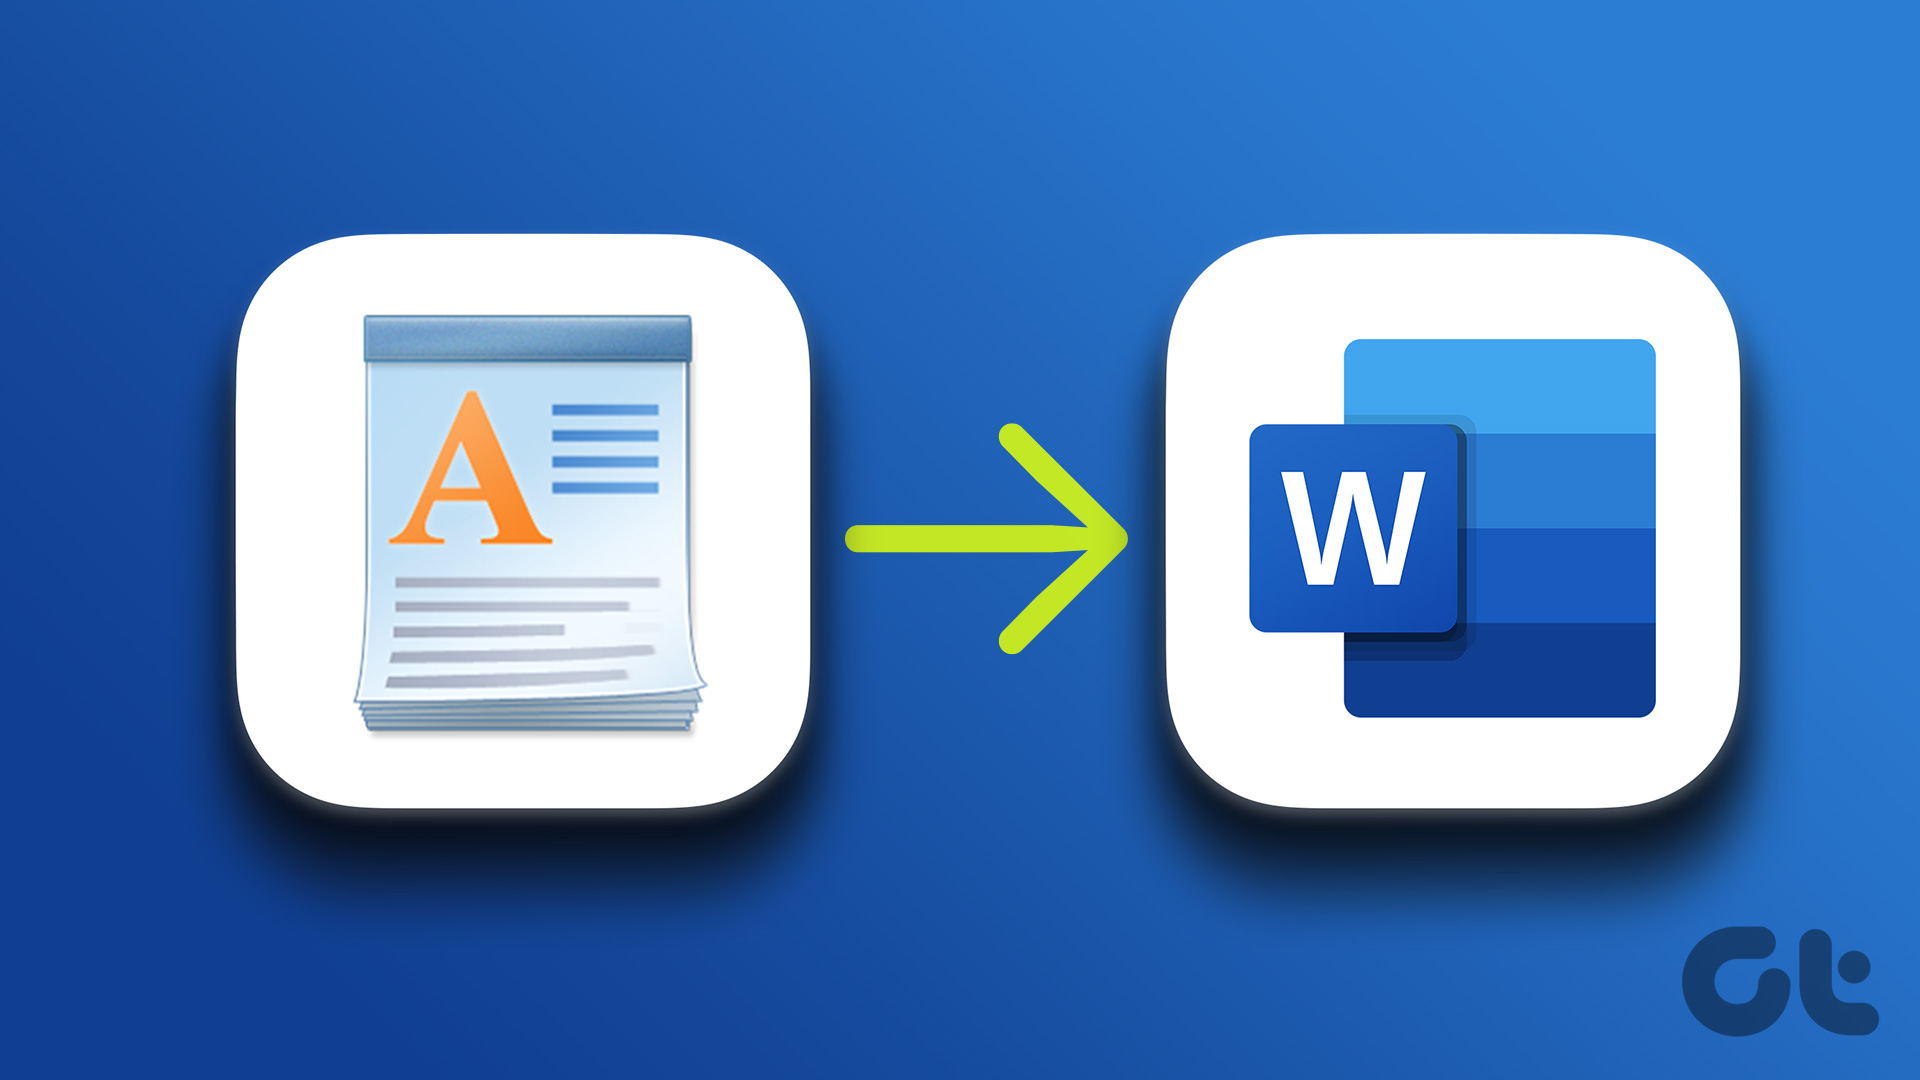 How to Convert WordPad Document to Microsoft Word
Method 1: Using WordPad Step 1: Open the WordPad document you want to convert to Docx.
How to Convert WordPad Document to Microsoft Word
Method 1: Using WordPad Step 1: Open the WordPad document you want to convert to Docx.
The article above may contain affiliate links which help support Guiding Tech. The content remains unbiased and authentic and will never affect our editorial integrity.

If the file is on a server, make sure that it has not been set to be “available offline”. If it has been set up for this, then uncheck that setting on the file (in the directory listing) to remove it from the offline caching. Then reboot the computer where the user is experiencing the issue. This is particularly relevant if the user has noticed that they get this error when opening the file from one computer but do NOT get this error when using the same user account on another computer.