If you are an Android user, you might have occasionally encountered an authentication error when connecting to Wi-Fi. This means that even after entering the right password and having connected to the Wi-Fi network previously, you are unable to connect to it now even after trying to reconnect. If this sounds a bit too familiar, this guide can help you get out of this problem on your device.

There are multiple reasons that could be causing this issue, leaving you confused. But not anymore. In this guide, we will help you understand what might be causing it and 12 ways to fix Wi-Fi authentication problems on Android. Let’s get into it.
Reasons for the Wi-Fi Authentication Error
There’s no clear path on what could be the issue’s root cause, but there are multiple ways that may lead to it. We are listing some common ones below.
- Poor network connectivity.
- Incorrect password.
- Incorrect IP address.
- Too many devices are connected, and the router has reached its connection threshold.
- A glitch on your phone’s or network’s hardware.
- The Wi-Fi (network) settings might have gotten corrupted.
- Lastly, there could be a mismatch in frequency bands.
Note: We used OnePlus 7T running Android 11, Huawei Nova 3i running Android 8, and Nokia’s router to build this guide, but you can follow the same steps on your Android devices and routers. However, some steps and screenshots might look different.
How to Fix Wi-Fi Authentication Problems on Your Android Device
Now that you know the reasons that might be causing the issue, let’s get to fixing it with the below 12 ways.
1. Turn on Airplane mode
It is one of the easiest and sometimes the most efficient solutions. Toggling on the Airplane mode causes the hardware to shut off its wireless components, which cuts off your connections and reboots them. There are two methods involved in this step. Let me explain.
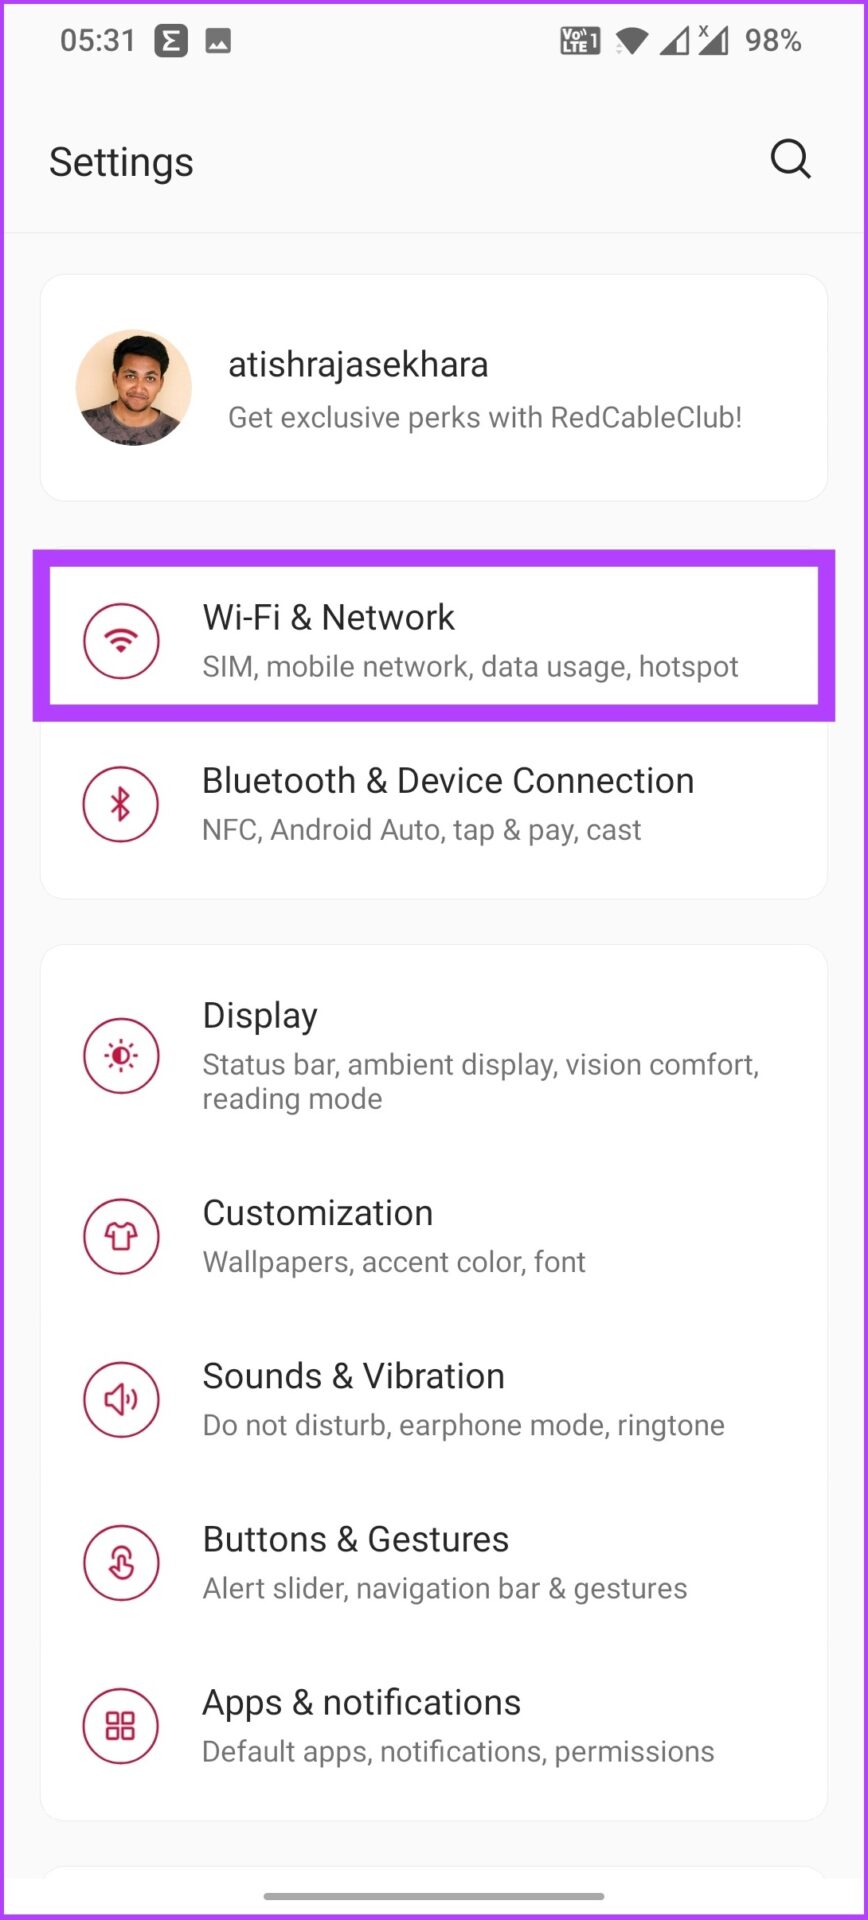
Step 1: Open your phone Settings and tap on Wi-Fi & Network.
Step 2: Toggle on Airplane mode. Wait a few seconds and toggle off Airplane mode.
Now, your phone’s network hardware has been rebooted. So, try connecting it to the Wi-Fi again; you should be able to get in. Just in case you’re facing the same issue, follow the below steps.
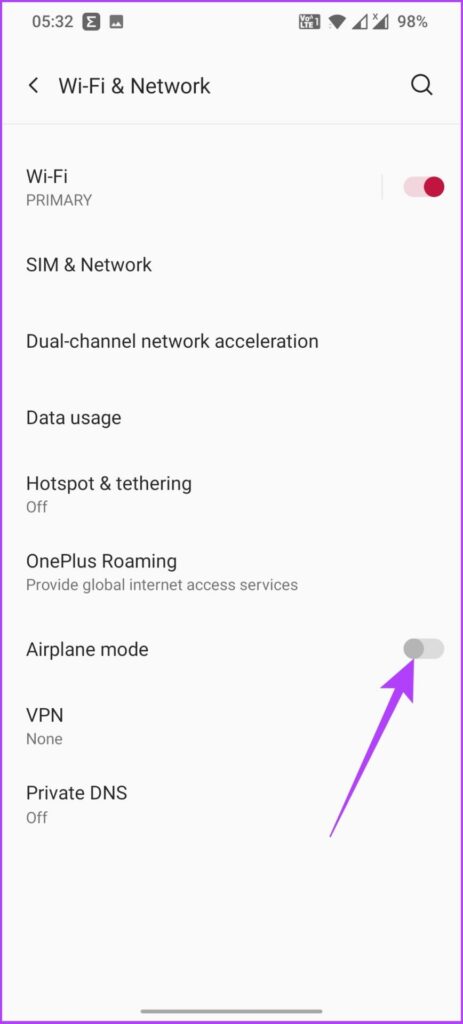
Step 1: Open your phone Settings and tap on Wi-Fi & Network.

Step 2: Toggle on Airplane mode.
It will turn off your mobile network and also your Wi-Fi.
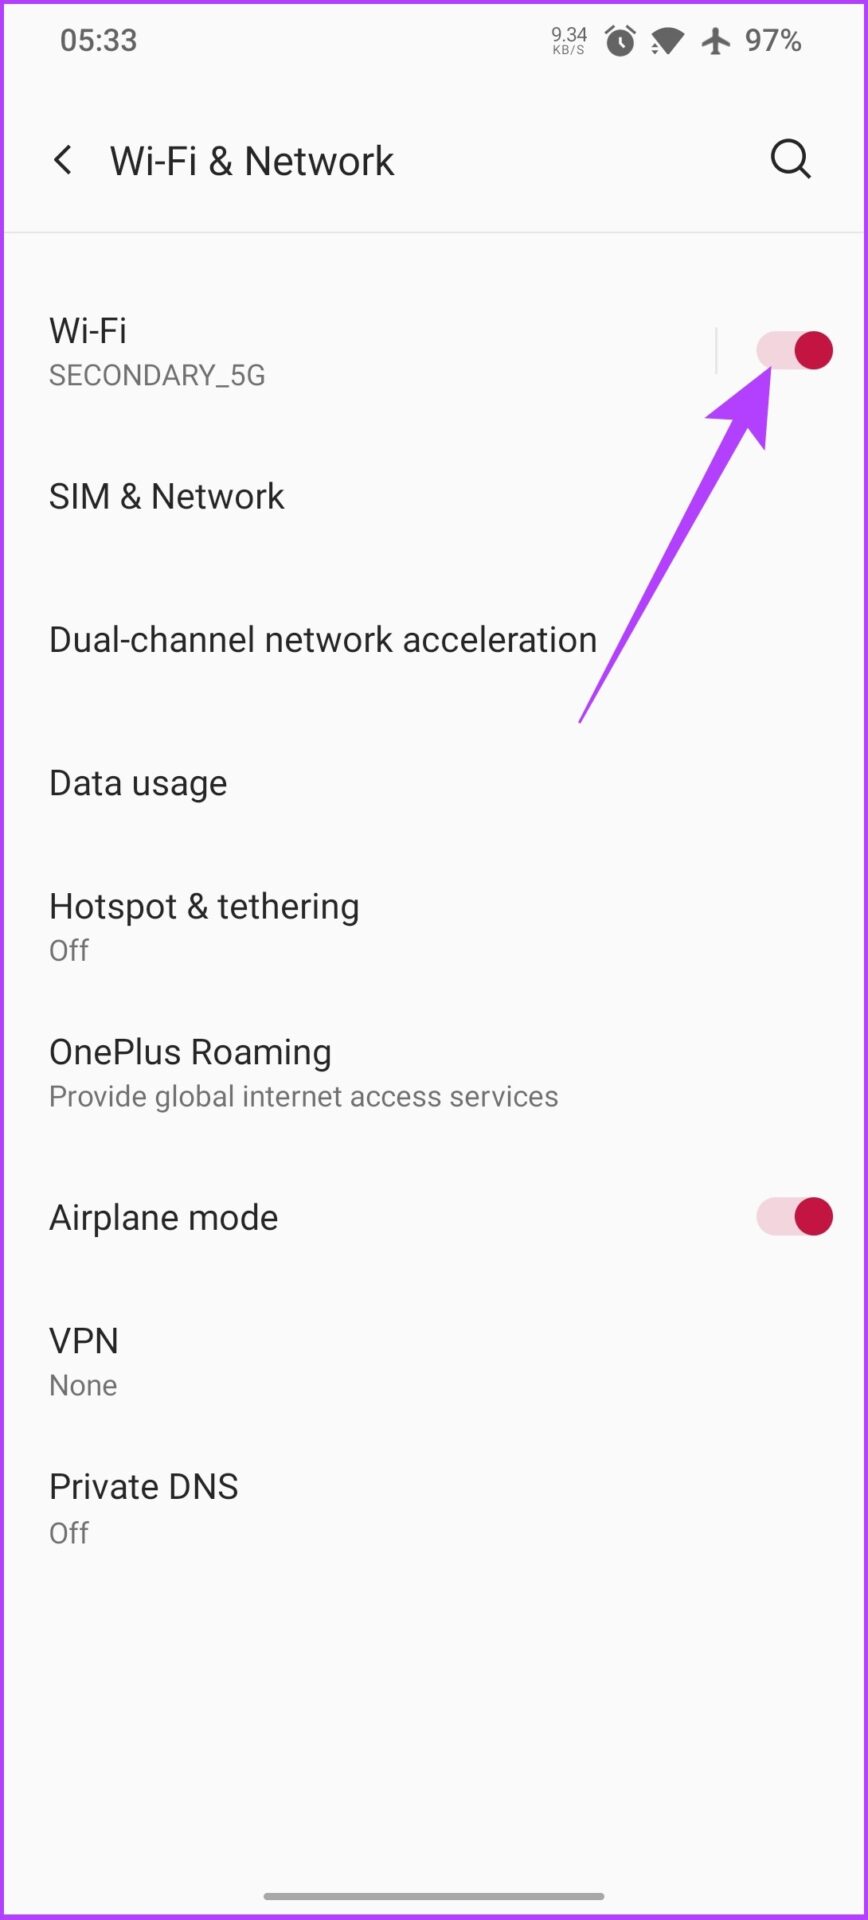
Step 4: Now, turn on Wi-Fi and try connecting to your network
If you can connect to your Wi-Fi without any Authentication error, follow Step 5. If you’re still unable to connect to your Wi-Fi, try resetting the Wi-Fi connection covered in the next section.
Step 5: After establishing the Wi-Fi connection, toggle off Airplane mode.
This enables the phone to connect to a mobile network without interrupting the Wi-Fi connection.
2. Reset Wi-Fi Connection
Sometimes, the Wi-Fi settings get corrupted. The easiest way to resolve the connectivity problem is to remove the network or Wi-Fi from your phone’s saved networks. Make sure you have the password of the Wi-Fi you’re removing from the network before following the below steps.
Step 1: Open the phone Settings and select Wi-fi & Network,
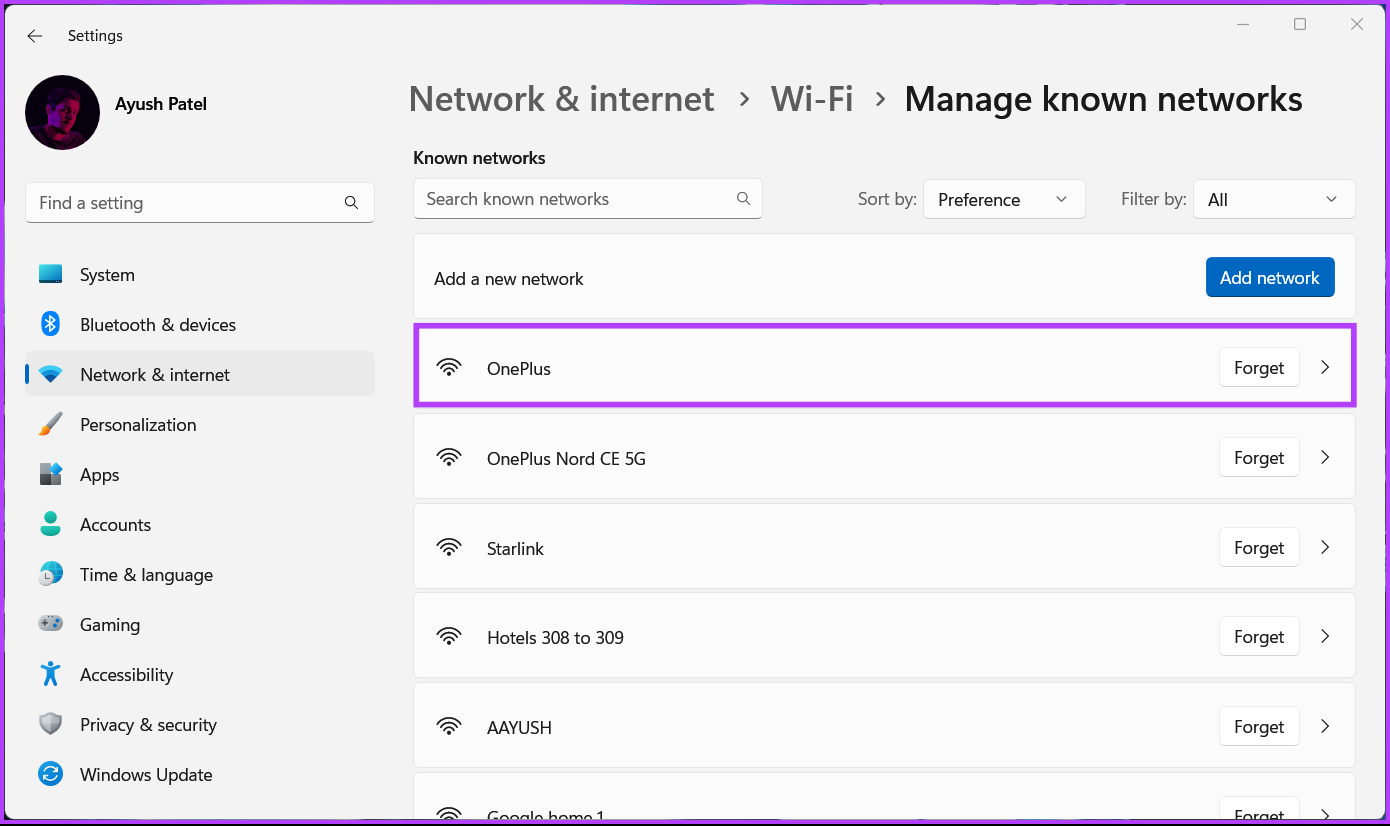
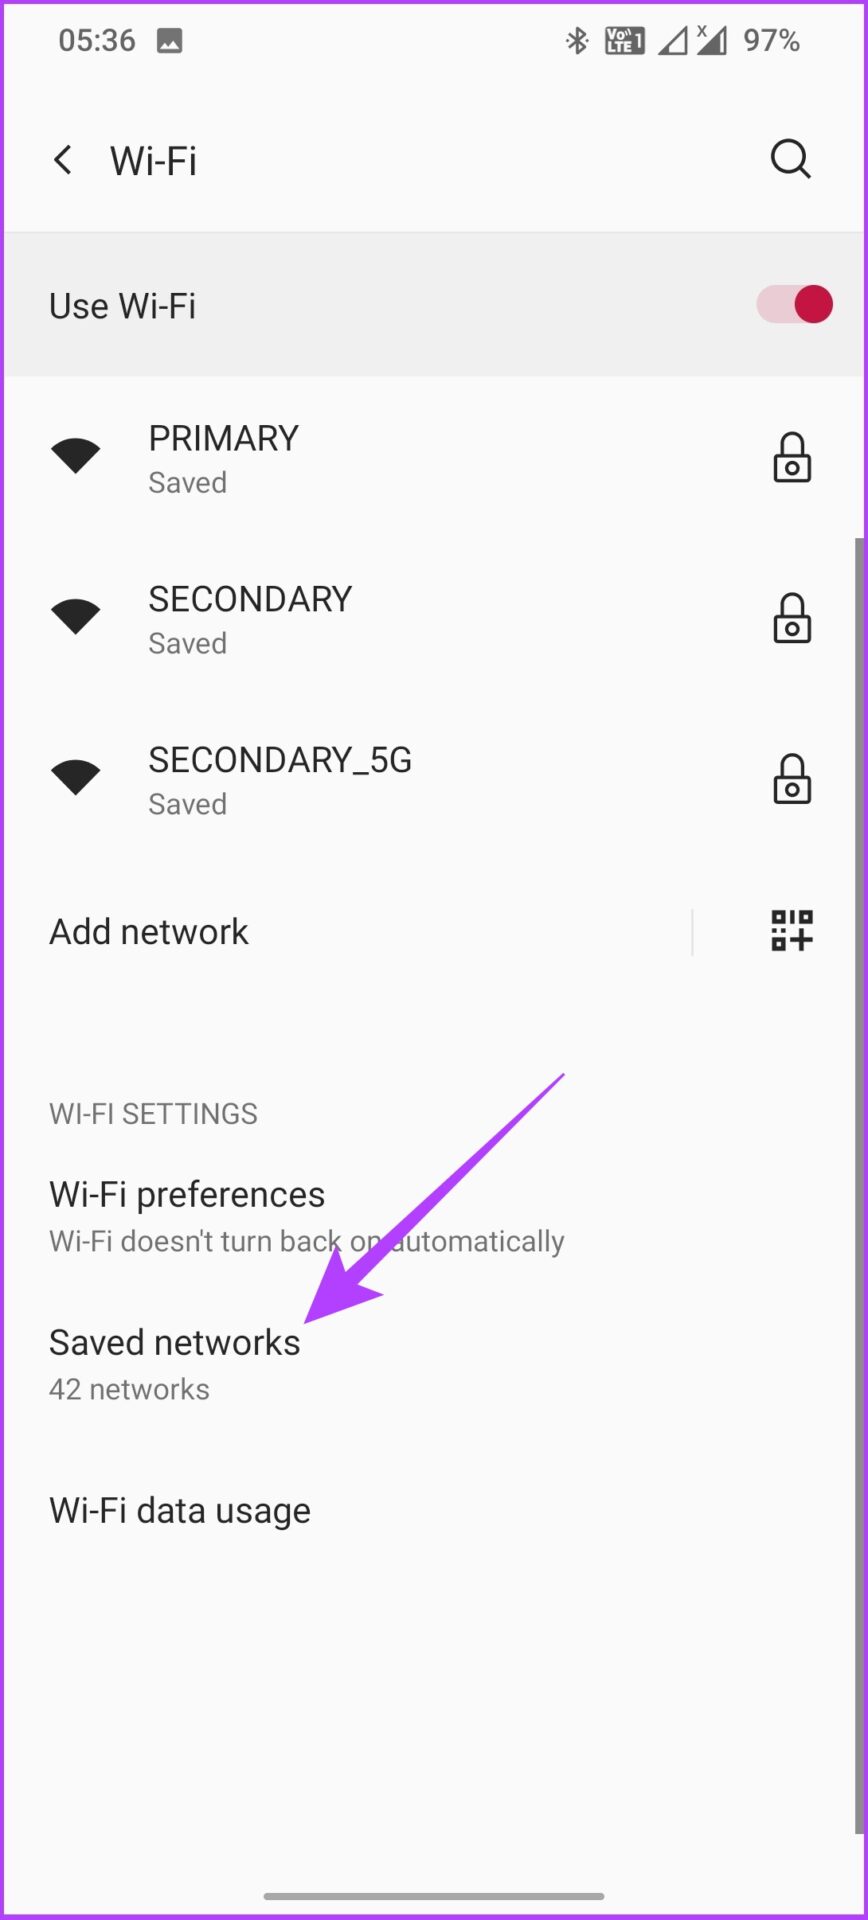
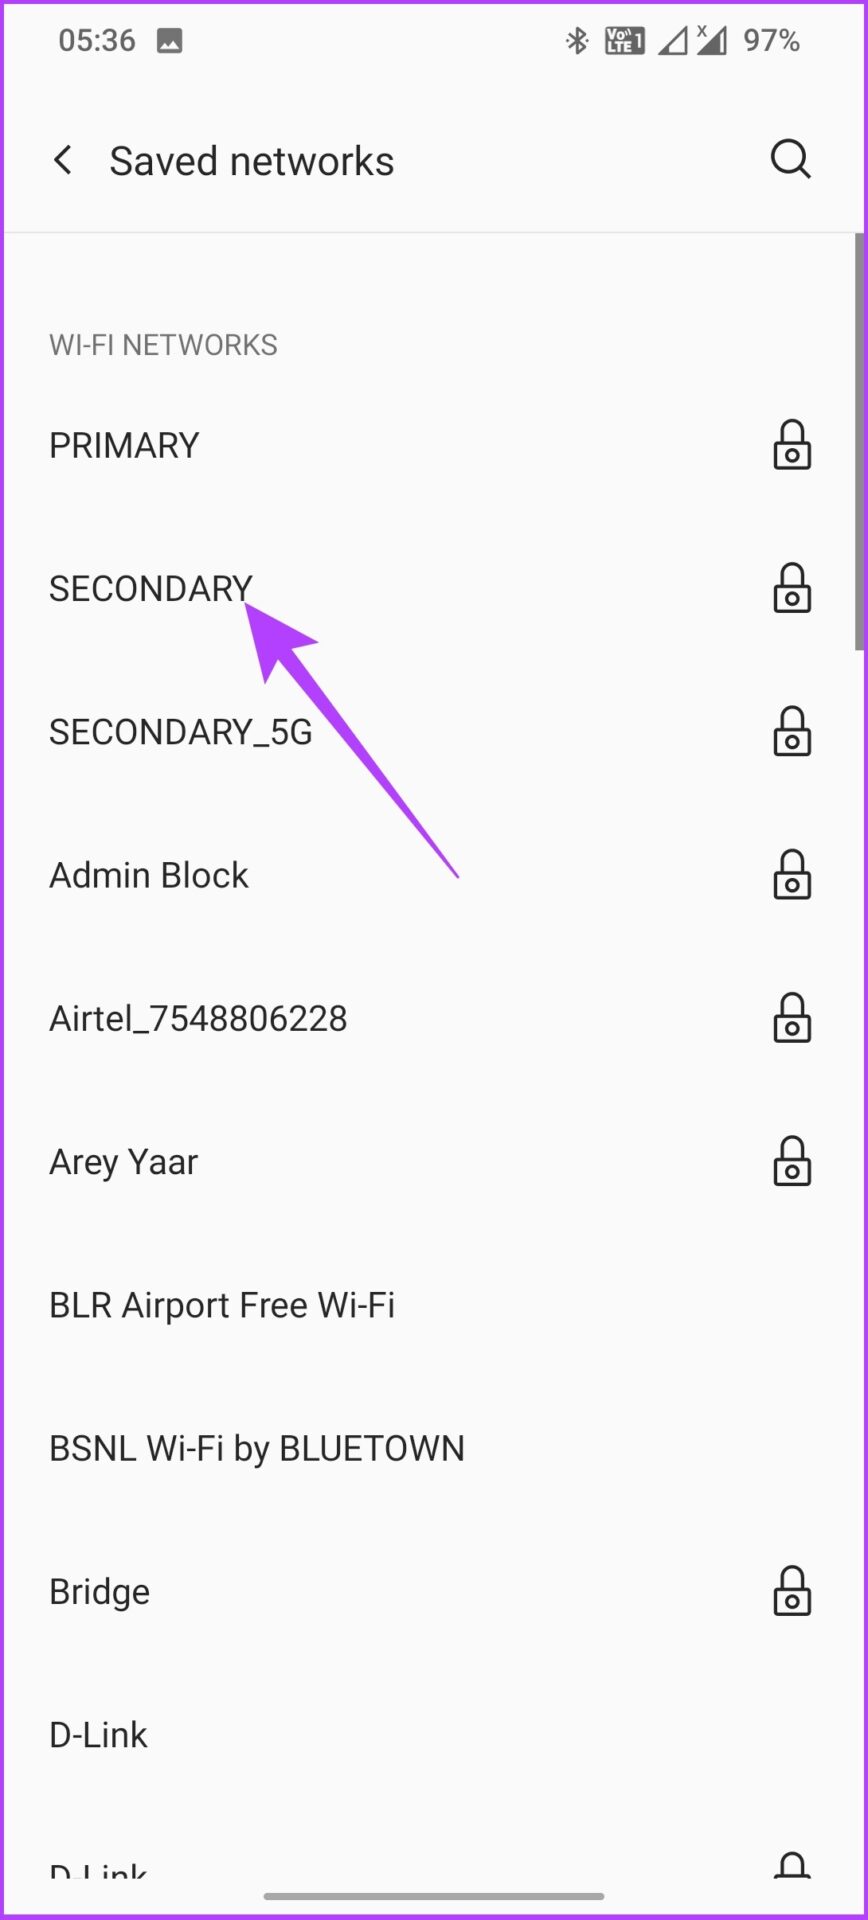
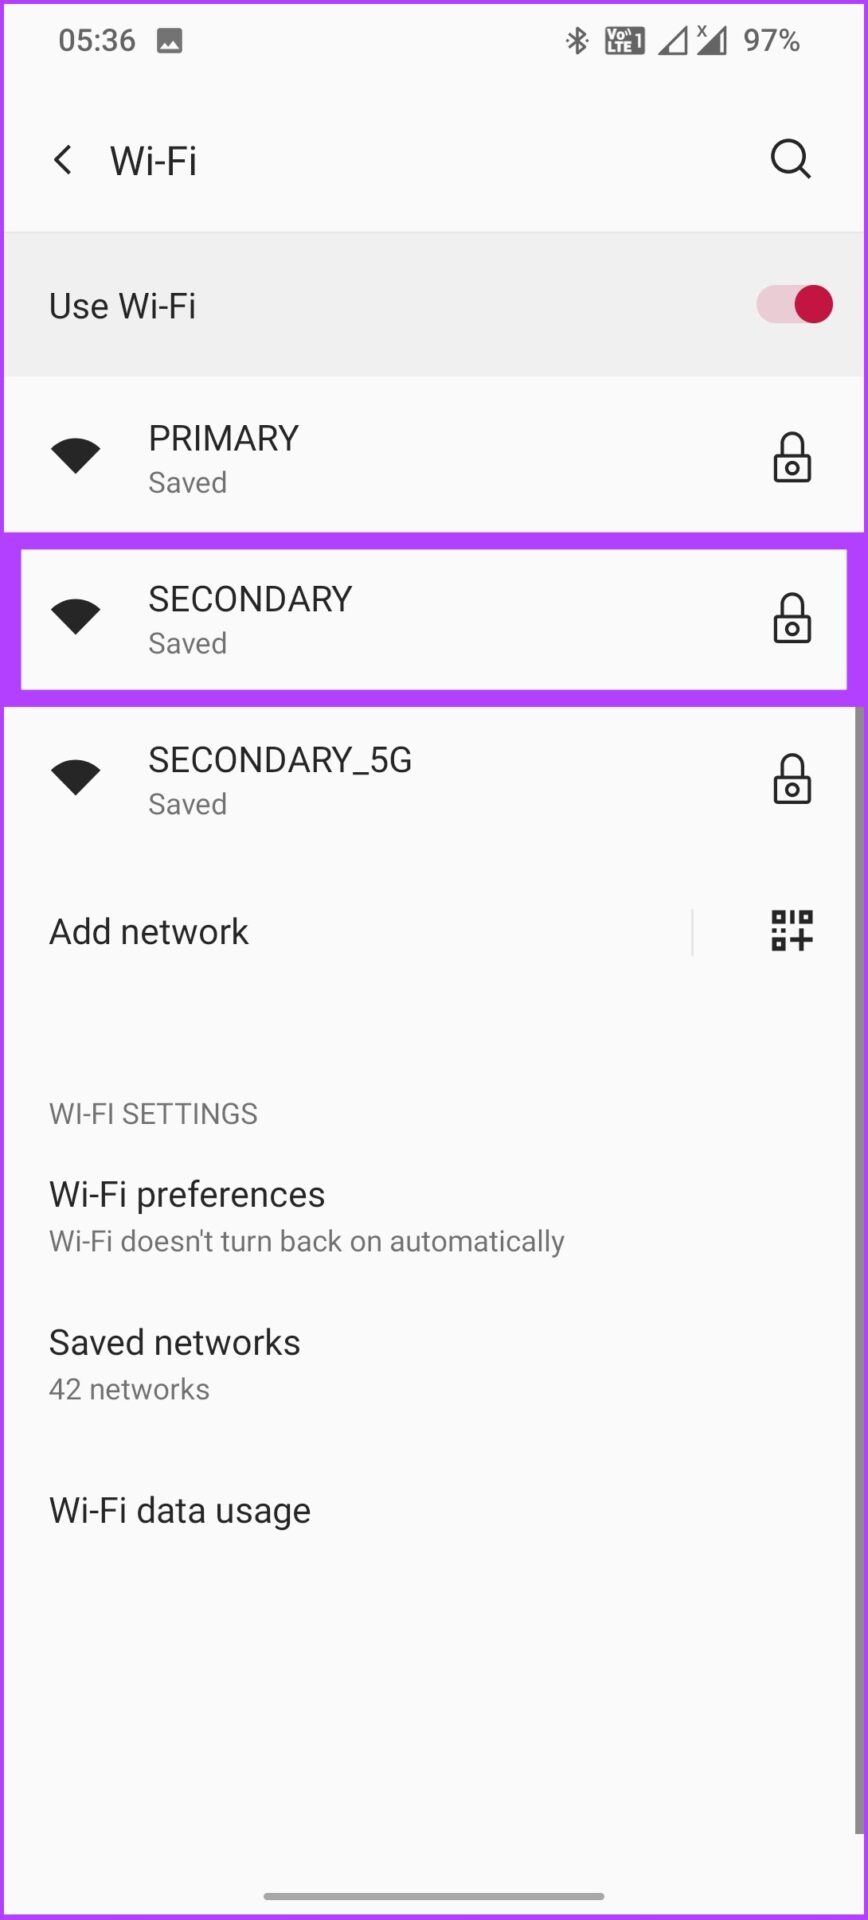
Step 2: Tap on Wi-Fi and go to Saved networks.
Step 3: Select the Wi-Fi you want to reconnect with and tap Forget.
That’s it! The Wi-Fi network will be removed from your phone. Now, you have to reconnect it again to revive the network flow onto your Android device. If the problem persists, don’t worry. There are more fixes to help you. Read on.
3. Restart Your Phone
It is a no-brainer method. We all know that restarting the device is the most efficient method if things get stuck. This is especially true for any consumer tech products and services.
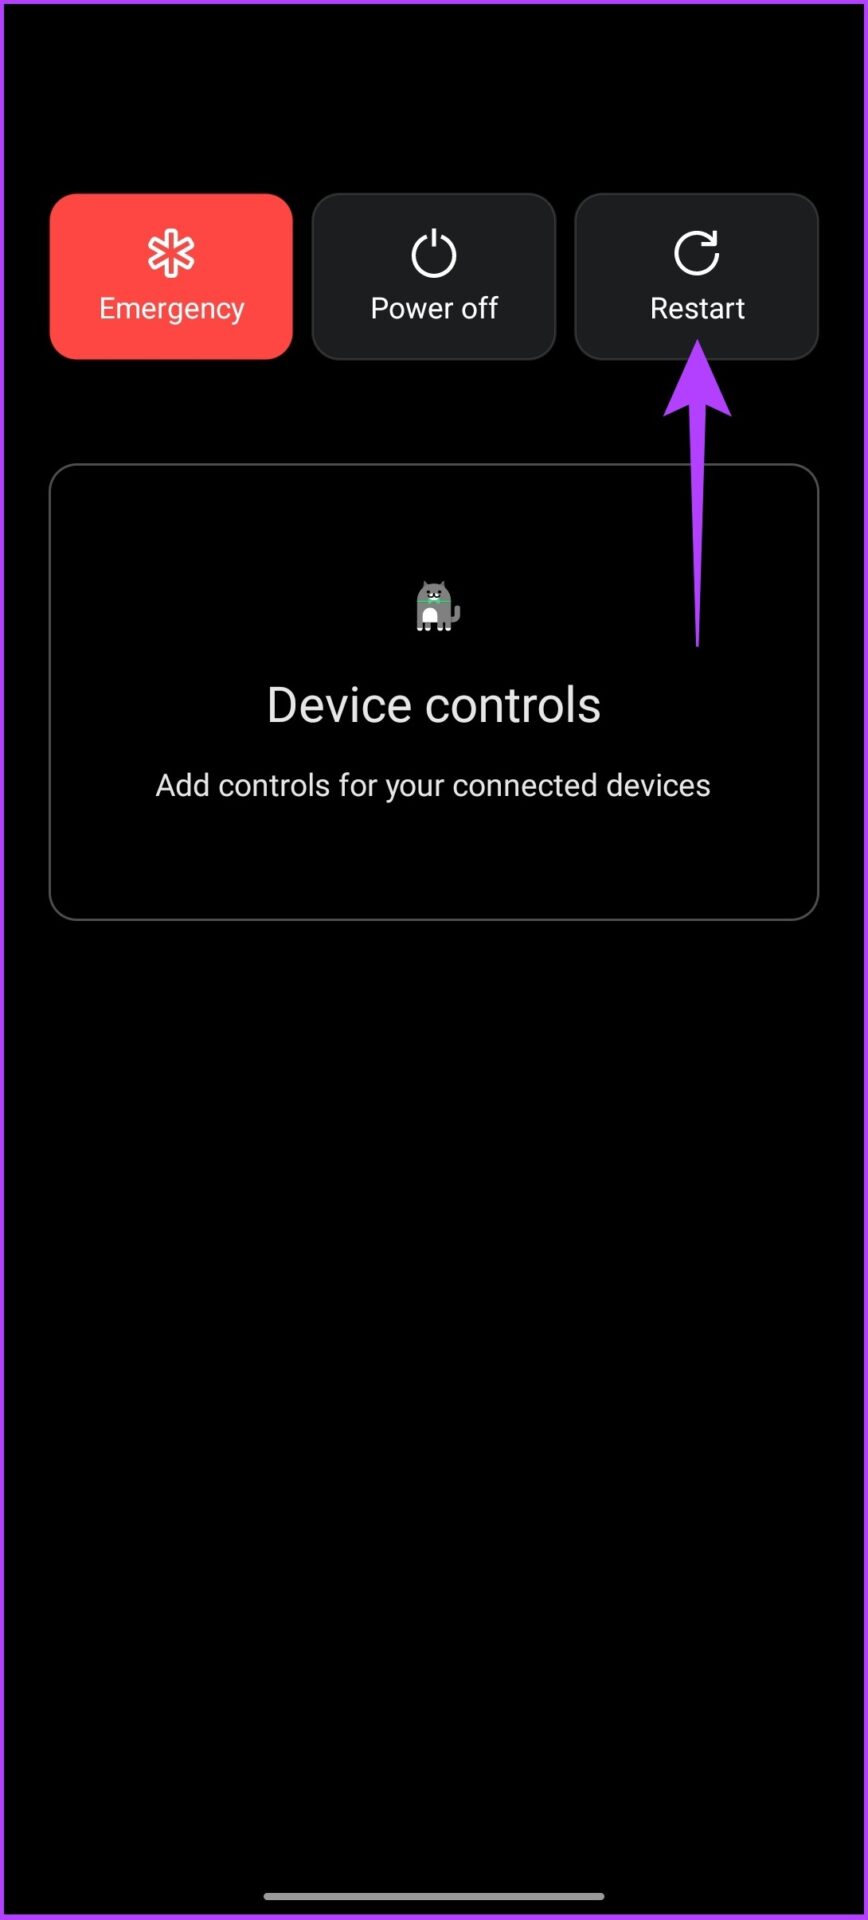
Step 1: Close all your running apps.
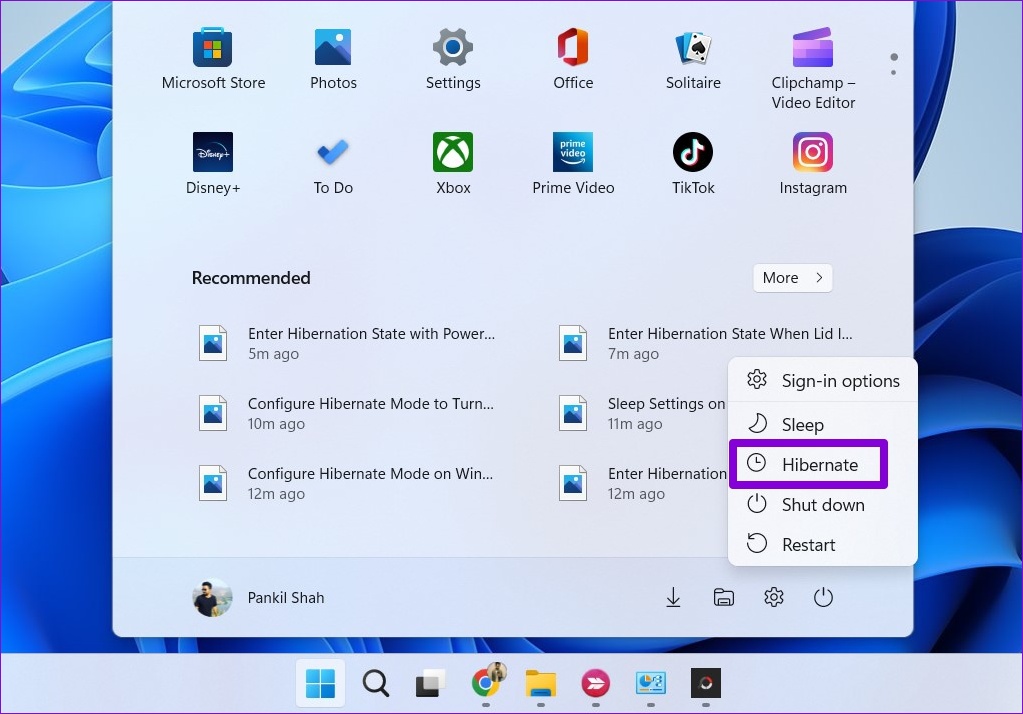
Step 2: Long-press the power button and tap on Restart.
If the restart didn’t resolve the issue, then keep reading. The below-mentioned fixes should help.
4. Reboot the Router
Much like the earlier step in which we restarted the phone, in this step, we will be restarting the Wi-Fi router. It is again a straightforward process that clears out any snags in the router’s settings.
All you need to do is turn off the Wi-Fi router and wait for a few minutes before turning it back on. You might need to give it some time for it to function. Once it is set, try connecting your phone to check if the network is established.
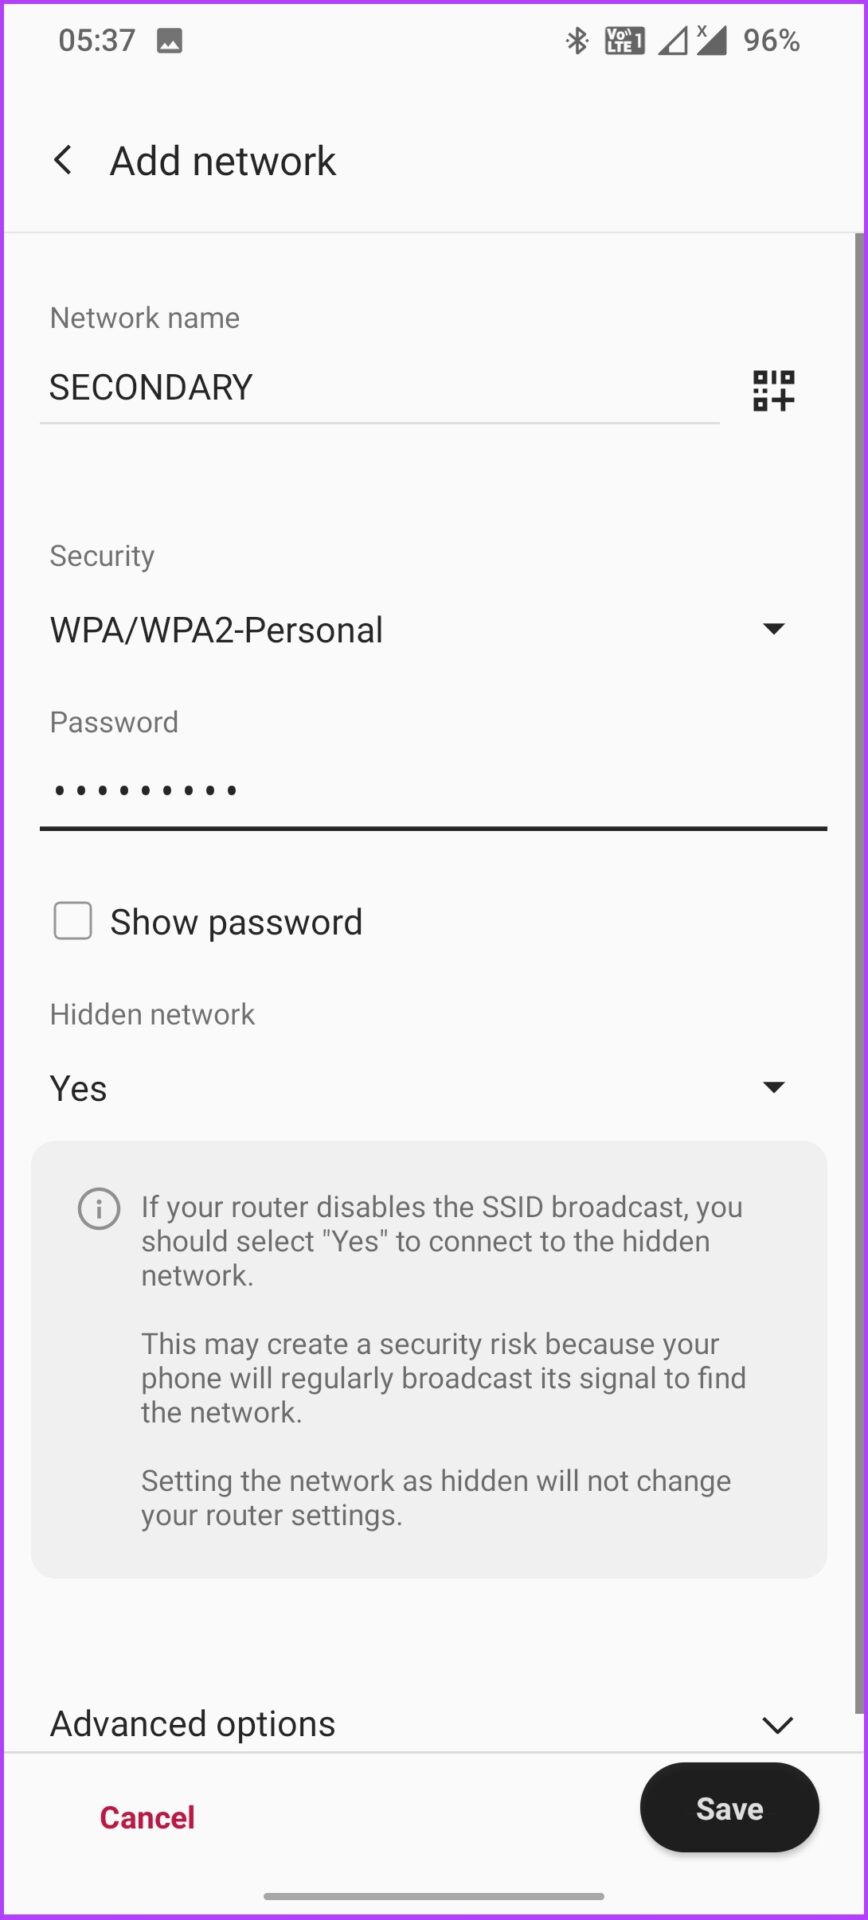
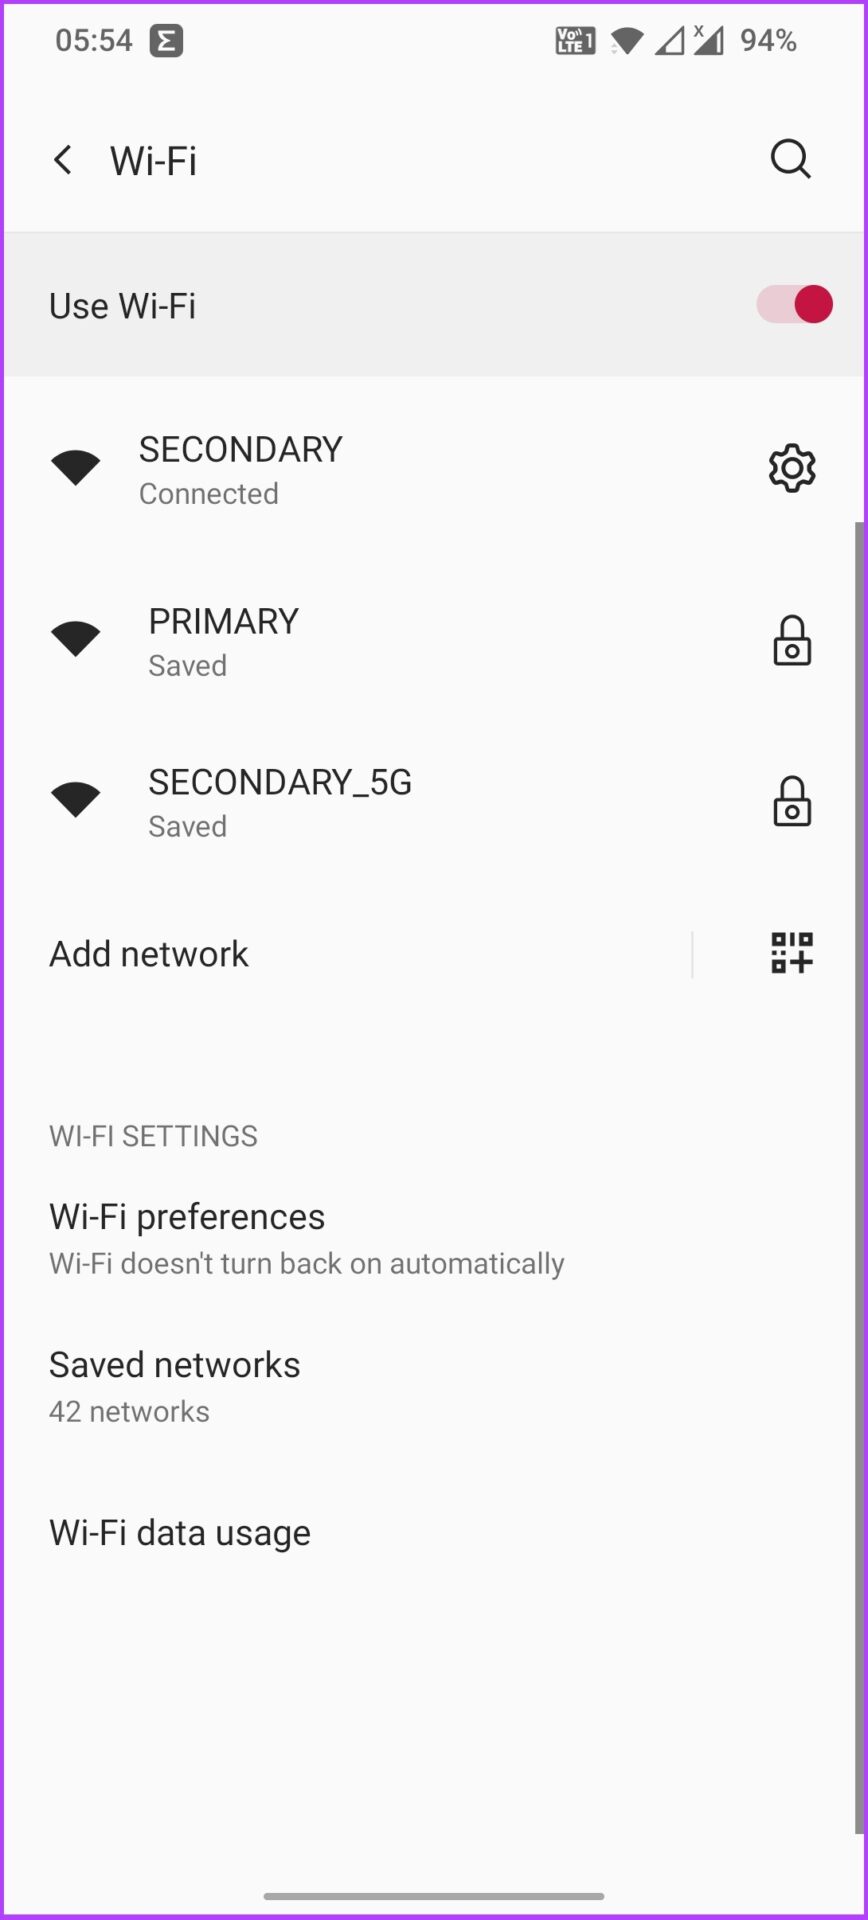
5. Check for Duplicate Wireless Network Names
One of the most common errors users make is forgetting the password or entering the wrong password, leading to a Wi-Fi authentication error on the phone. So, make sure you are entering the correct password.
If you have multiple access points/Wi-Fi routers with the same name, you will inevitably face this authentication error on your phone one or the other day. To overcome this, avoid keeping the same SSID for all the routers. Differentiate them with a name or number or even based on their frequencies like ex: drawing room, bedroom, or home 1, home 2. On the other hand, you can also keep one password for all the Wi-Fi routers.
6. Check the Maximum Supported Devices
It is improbable that your router will reach the maximum supported device limit, especially if it is a private network. But, at times, when there are a lot of guests, it is expected that the internet will slow down. The router’s threshold will break, which could be why it shows an authentication error on the phone. Here’s how to check how many users are connected to your router.
Finding the Router’s IP Address
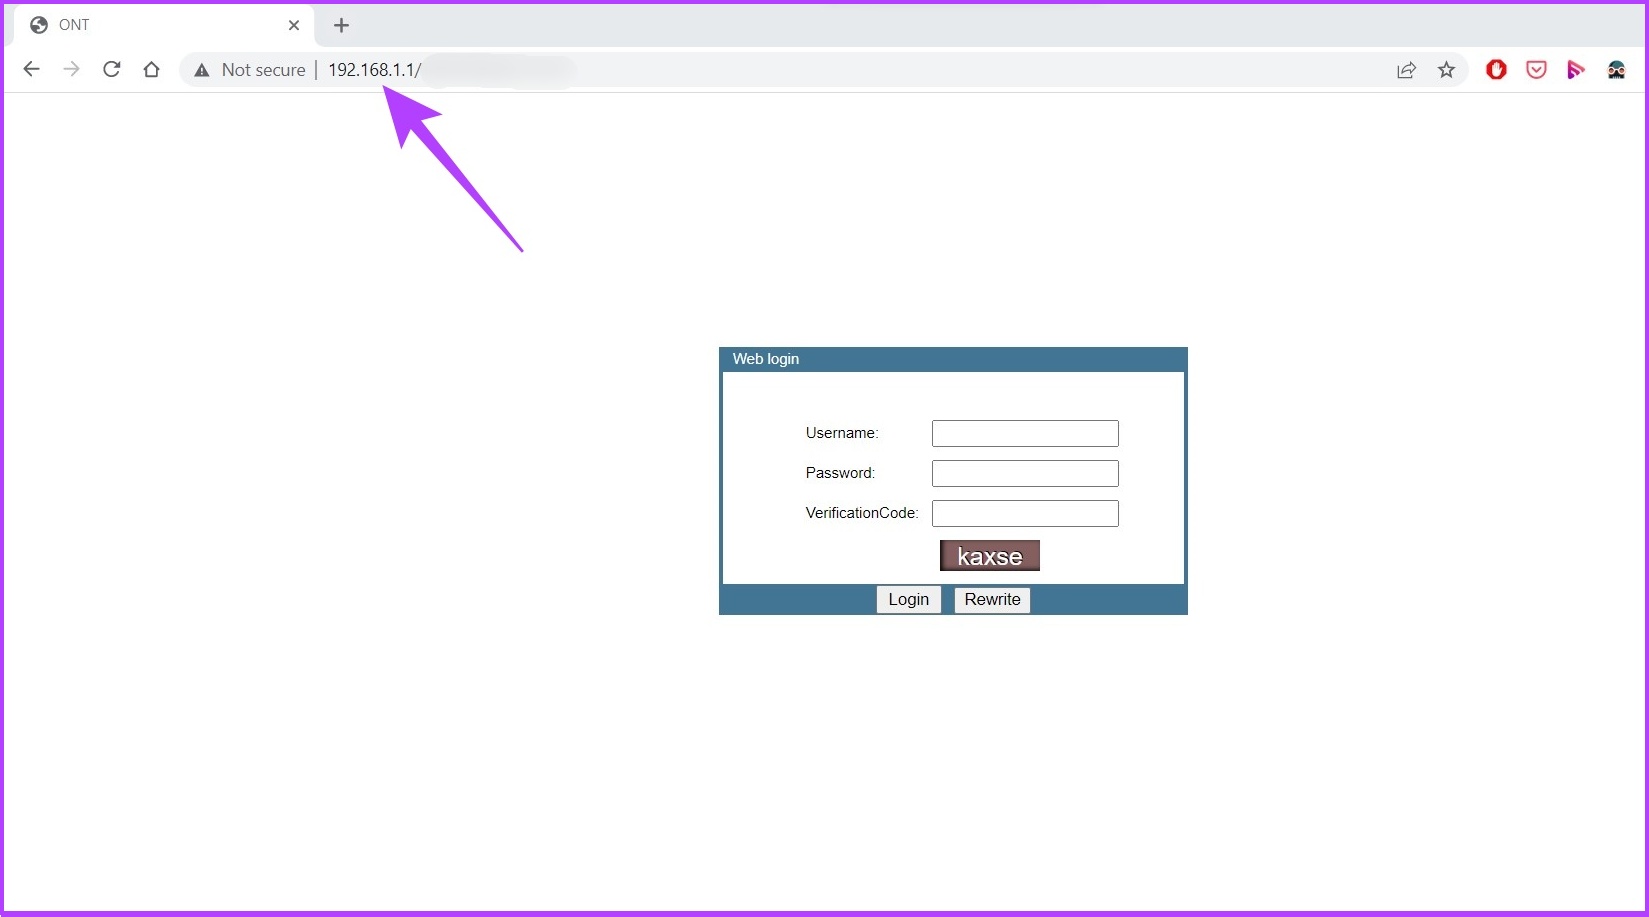
Most routers have a default IP address of 192.168.0.1 or 192.168.1.1. Let’s begin by finding the router’s IP address if these didn’t work.
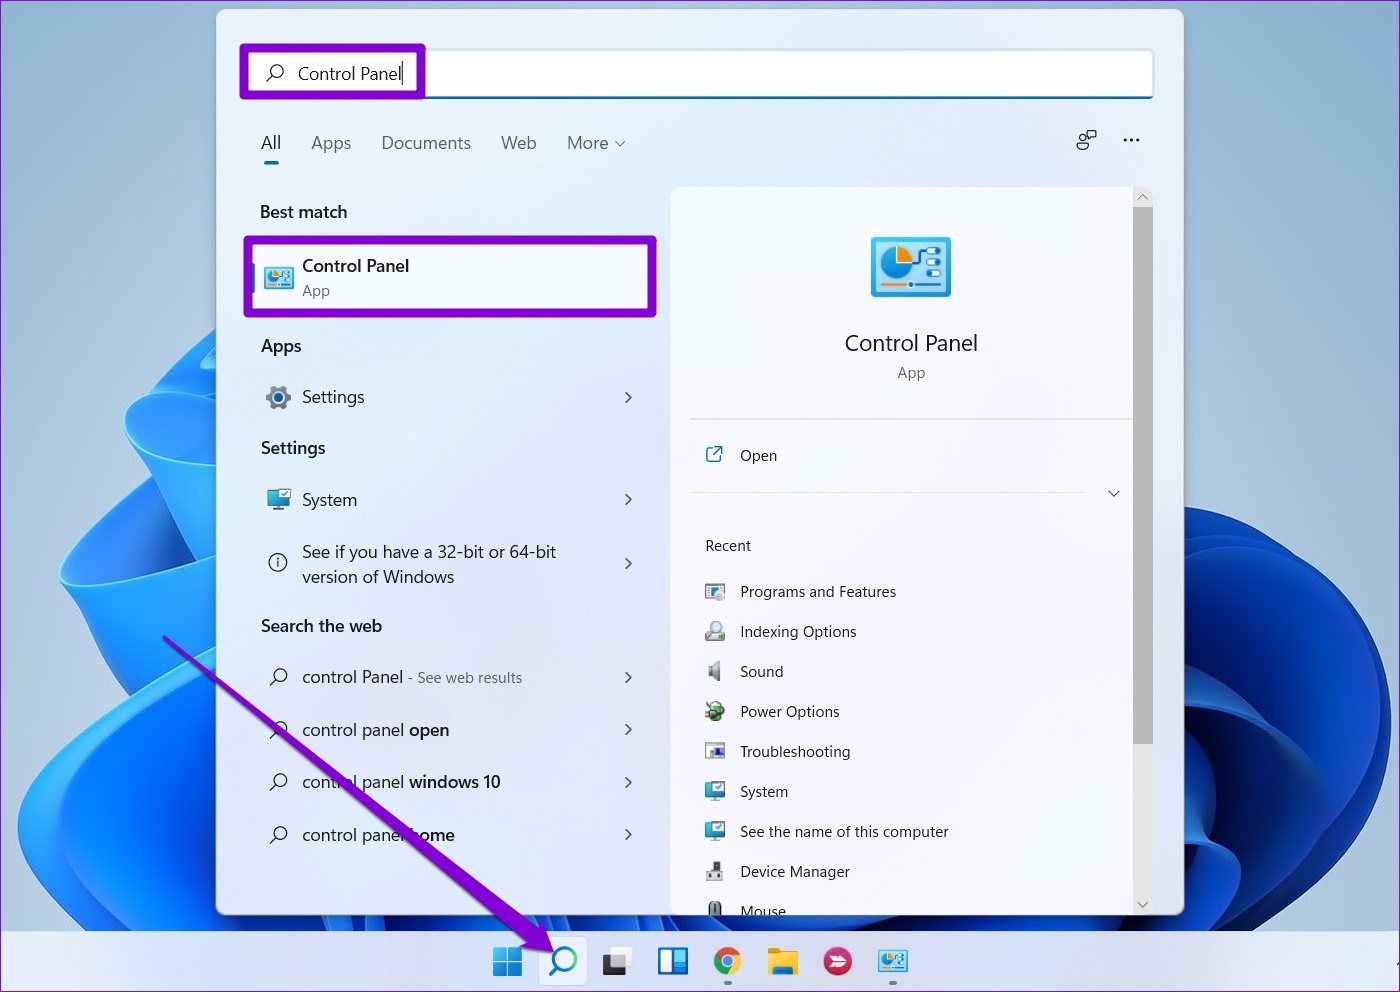
Step 1: Press Ctrl + R to open the Run command.

Step 2: Type CMD to open the command prompt.

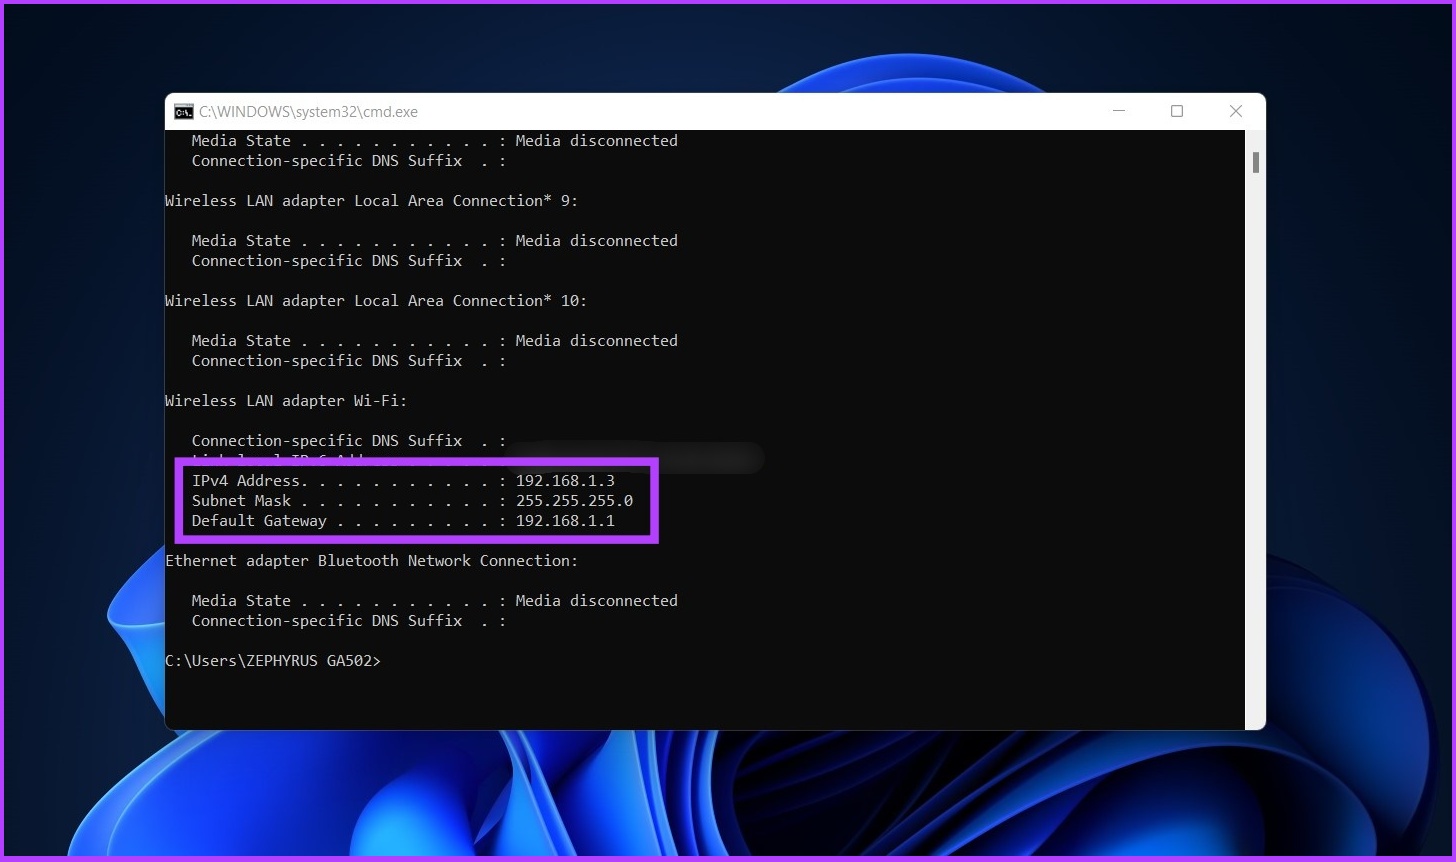
Step 3: Now, type ‘ipconfig’ and press enter.

Step 4: You will find your router’s default IP address. Copy and save it somewhere.

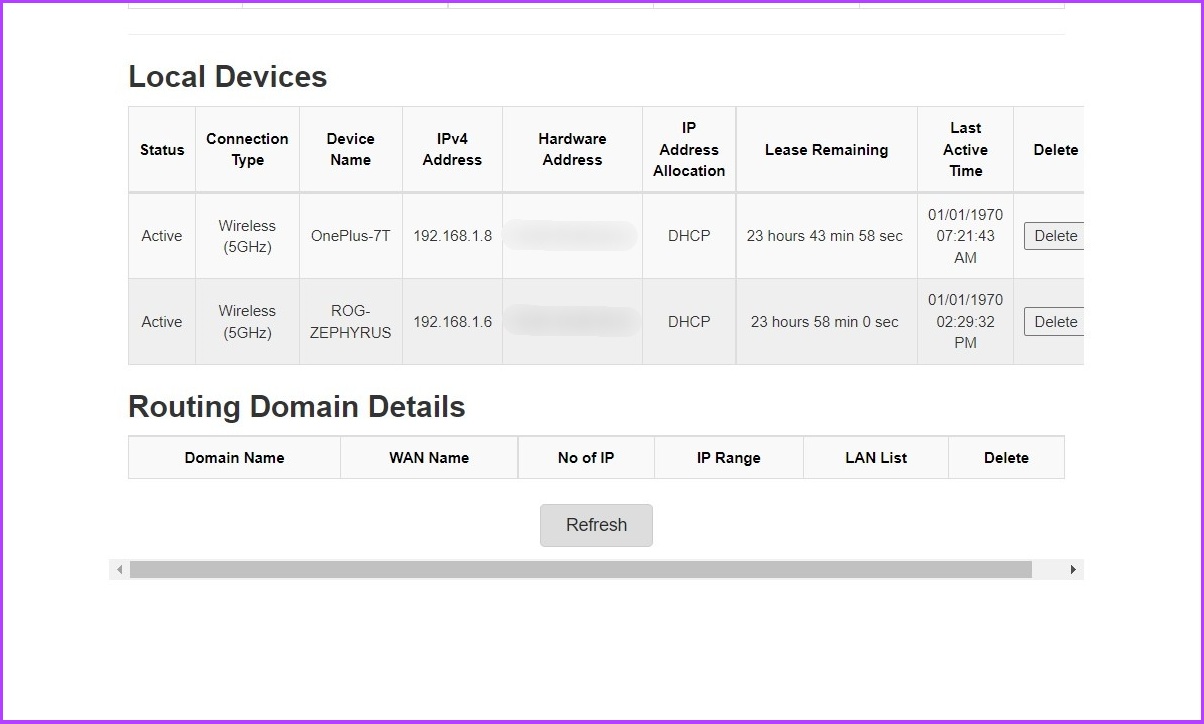
Now, let’s check how many users are connected.
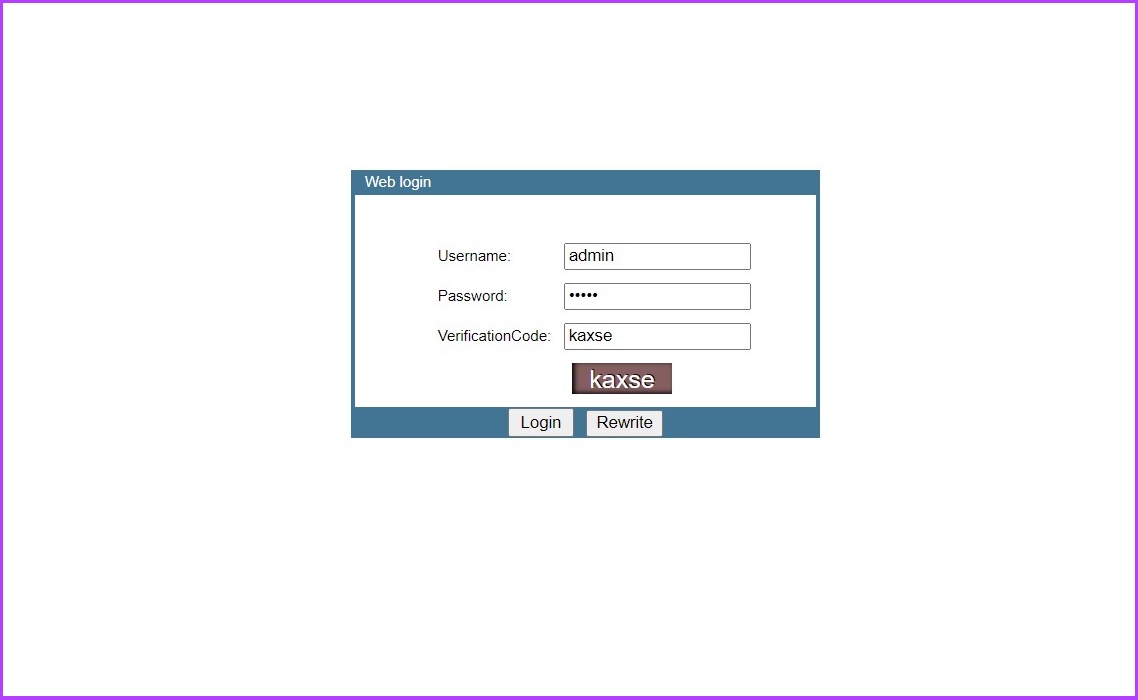
Step 1: Enter the default IP address on any browser and log in using the router’s credentials.

Step 2: Go to Wireless to check the number of users connected to the wireless network.

If you don’t know the credentials, check your router’s back. It is often in the admin/admin or admin/password format. However, if you have changed that previously, enter the new credentials.
7. Reset the Phone’s Network Settings
If none of the above steps fixed the issue, this one likely will. This step will reset the phone’s network settings and start from scratch. Let’s begin.
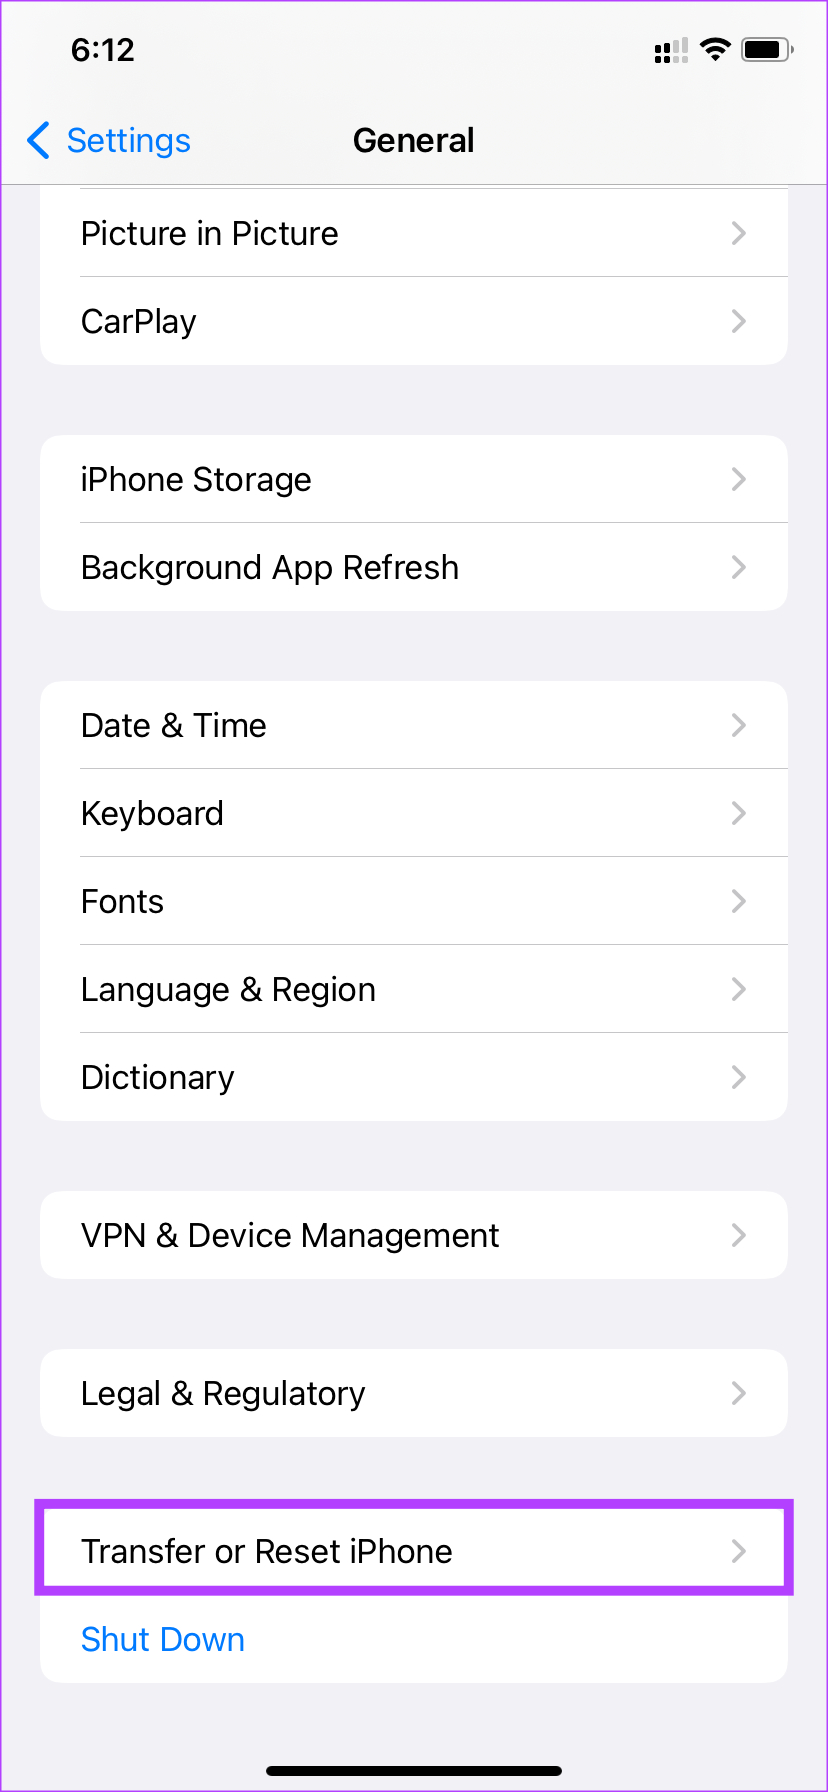
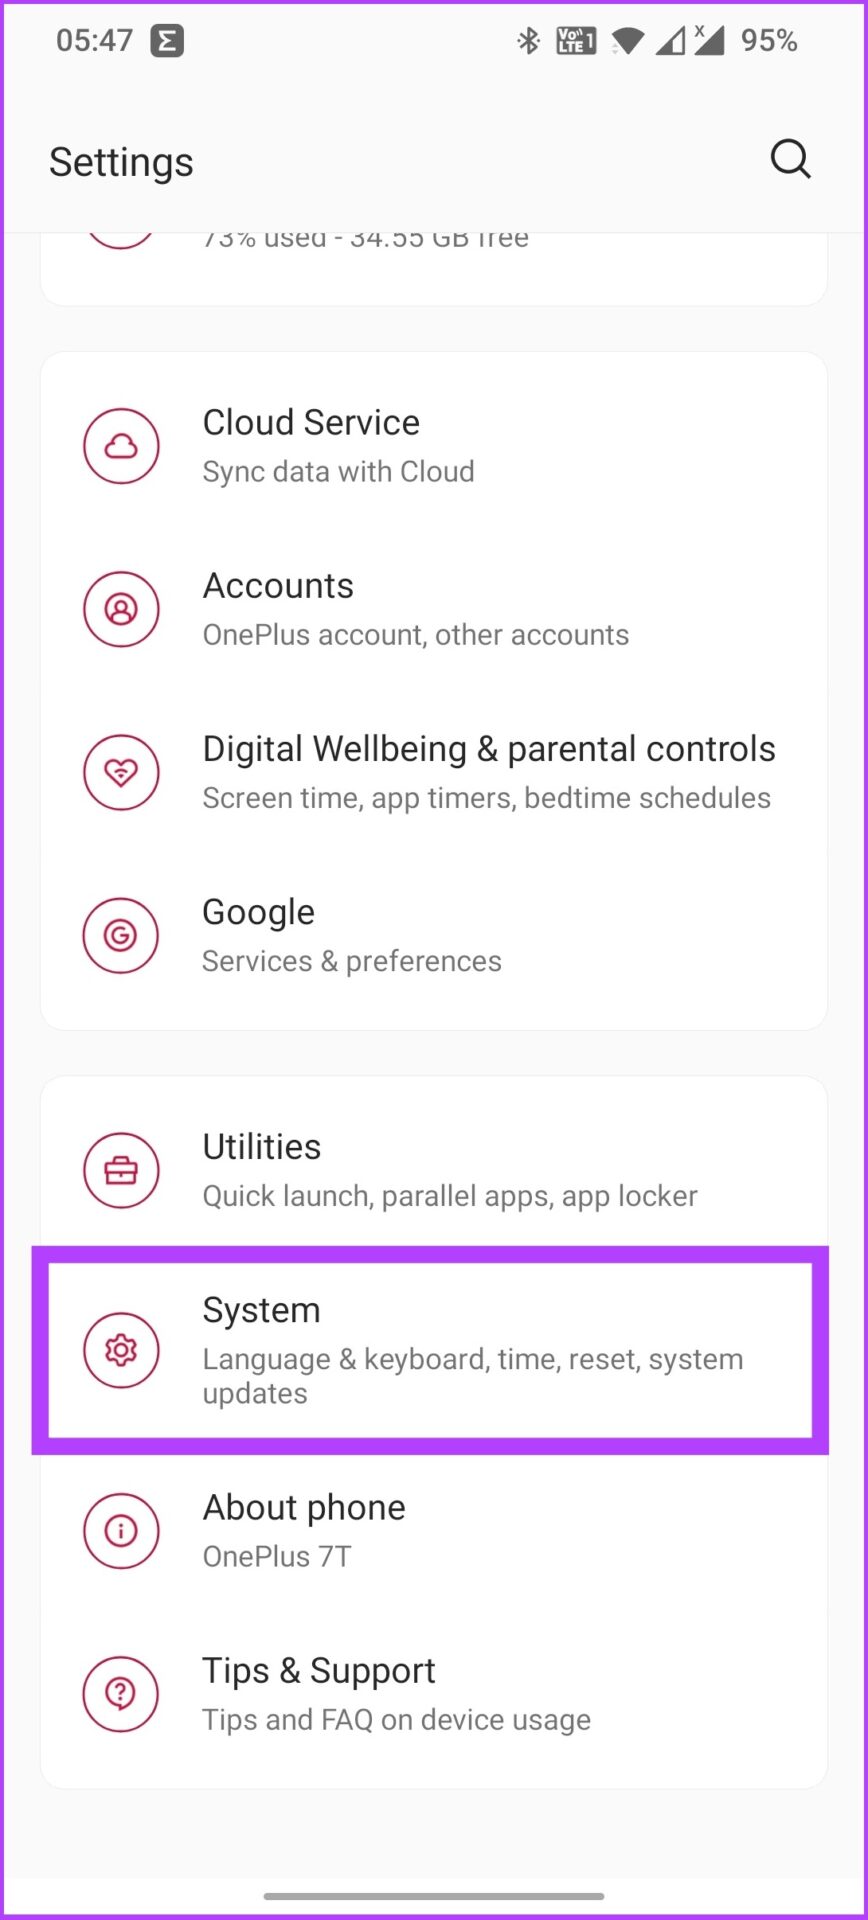
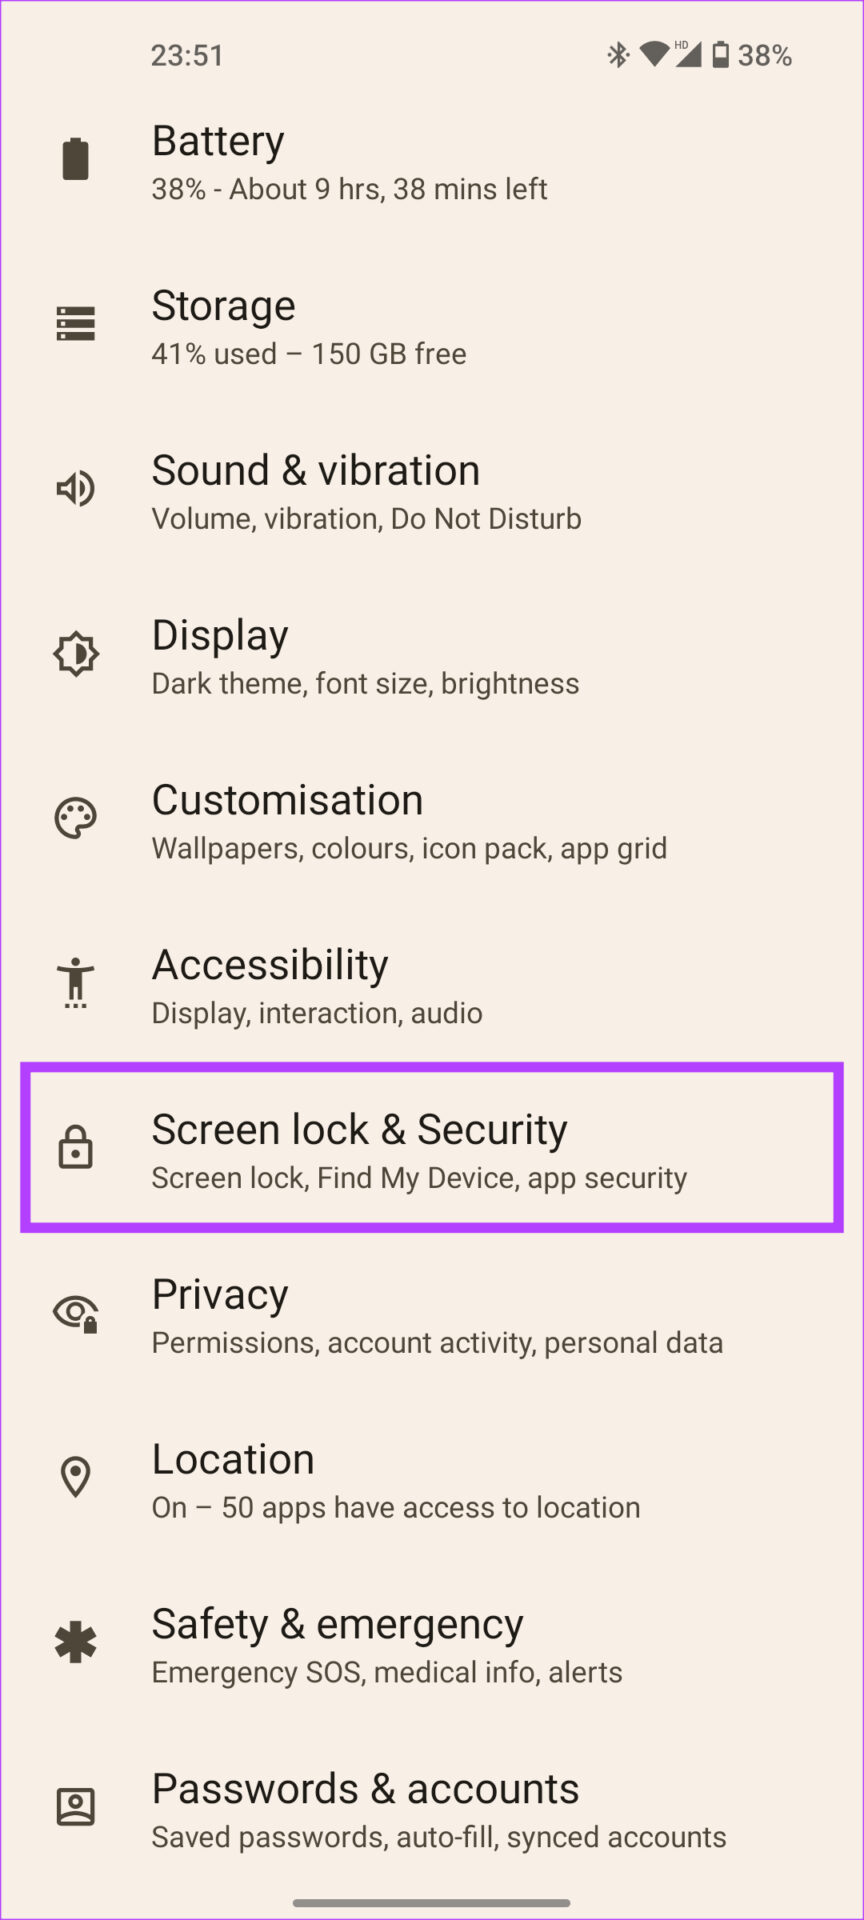
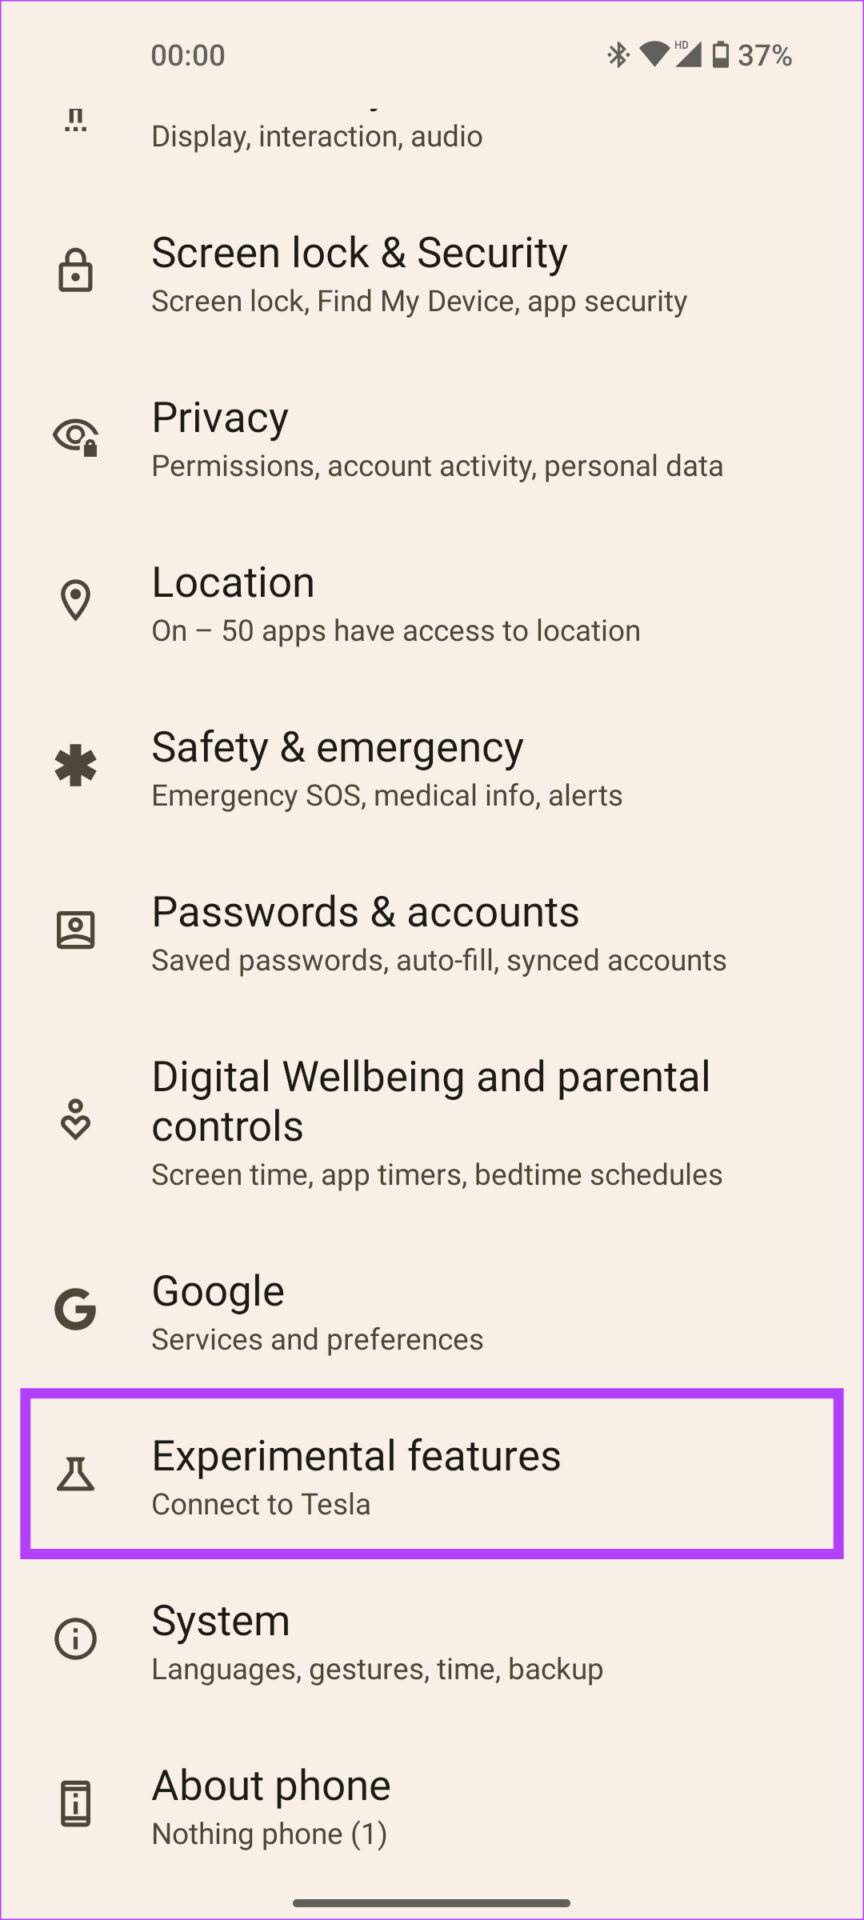
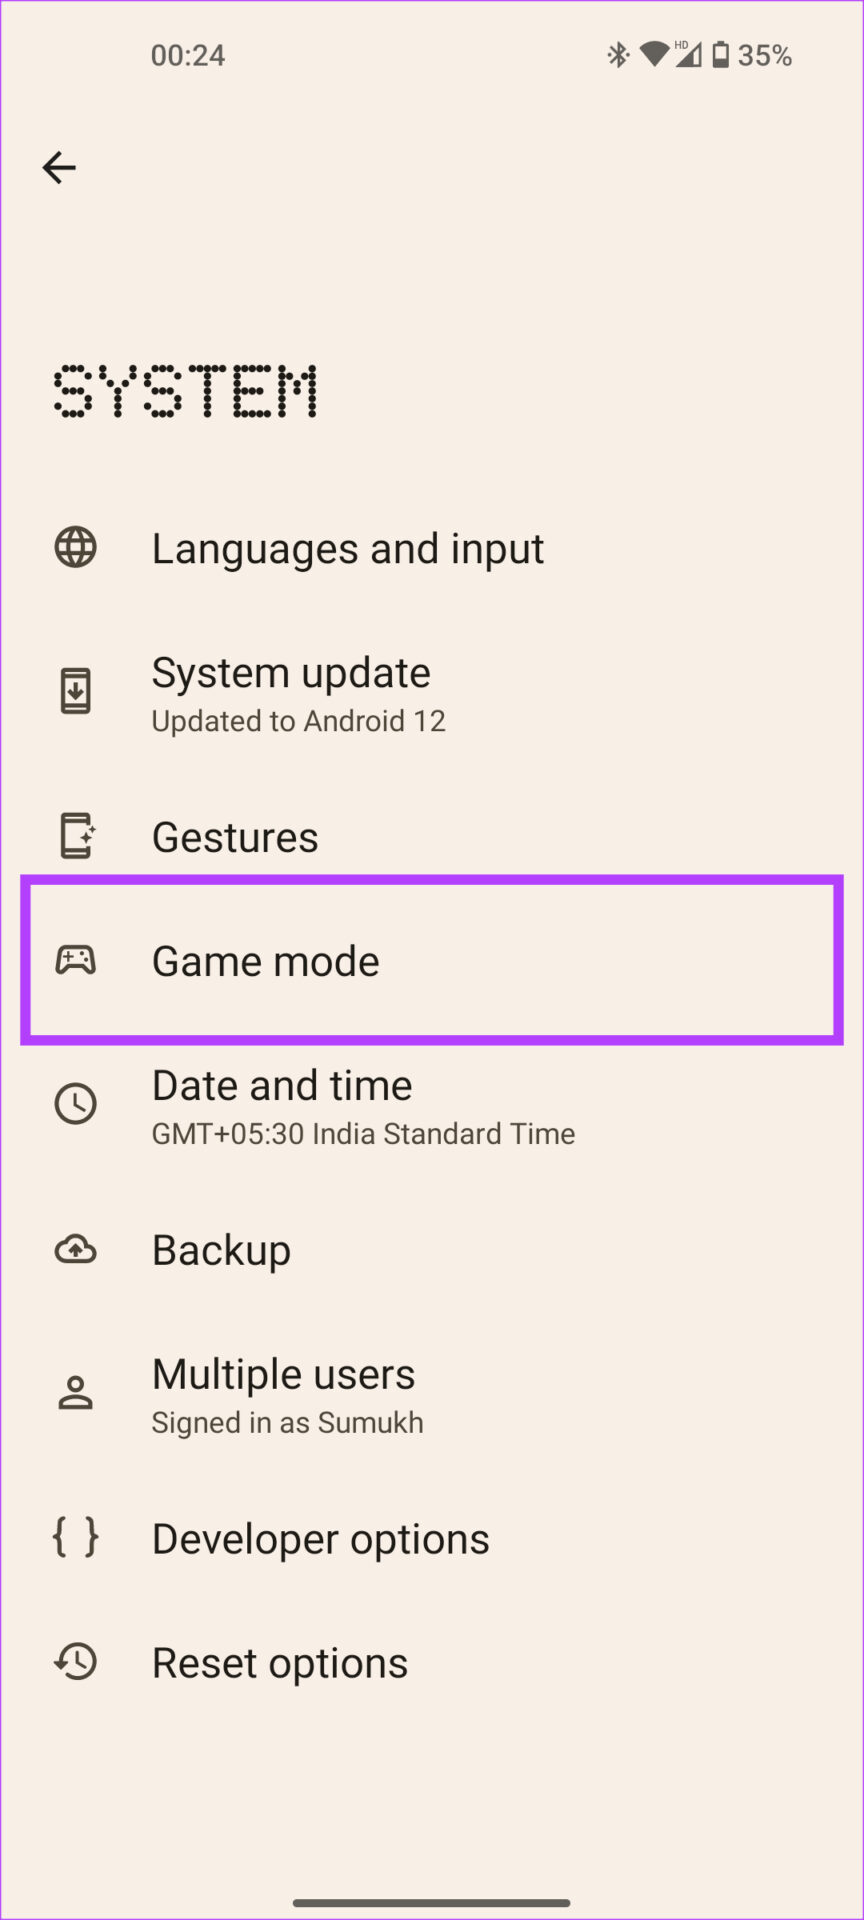
Step 1: Open the phone’s Settings and go to System.
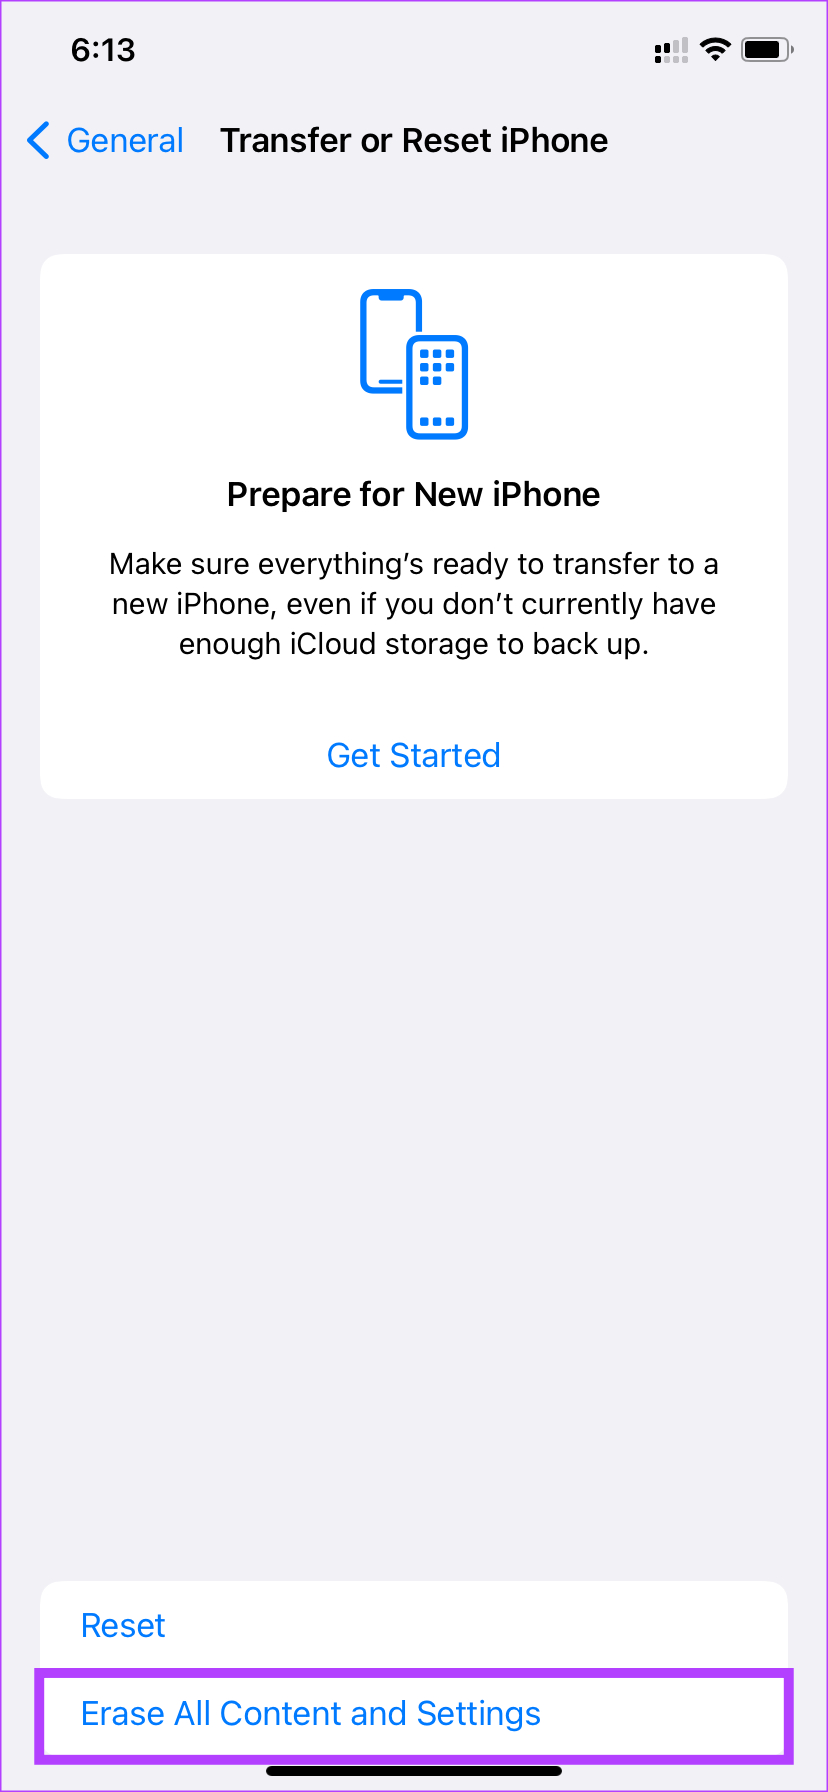
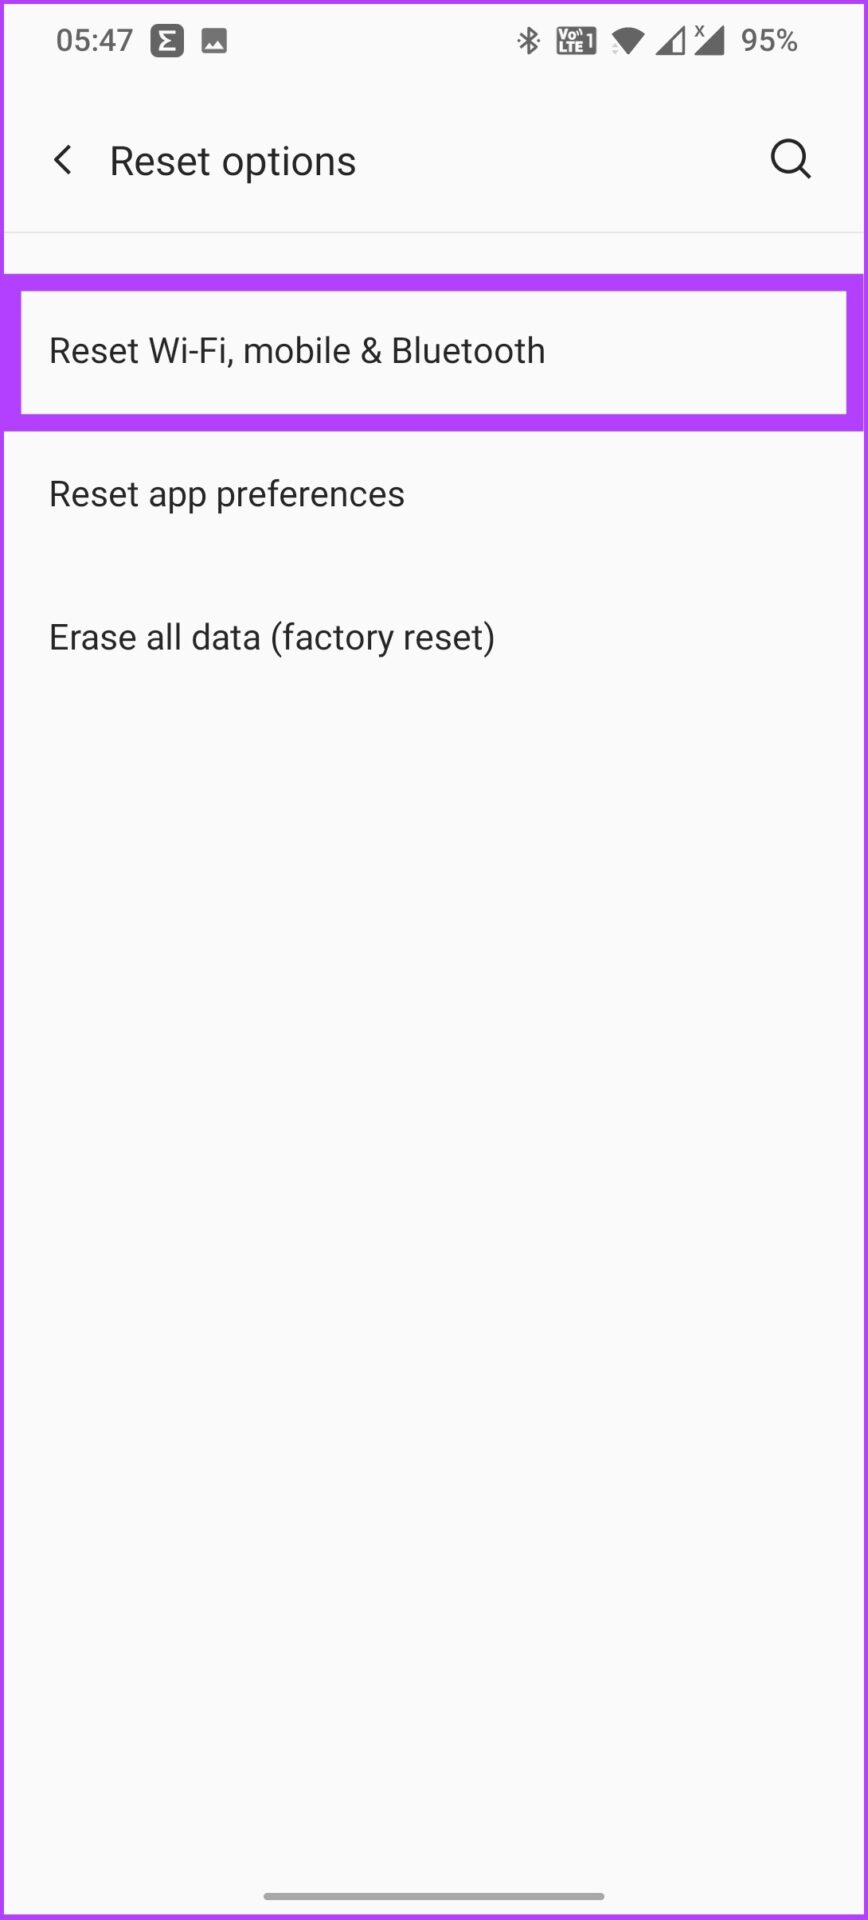
Step 2: Open Reset options and tap on ‘Reset Wi-Fi, mobile & Bluetooth.’
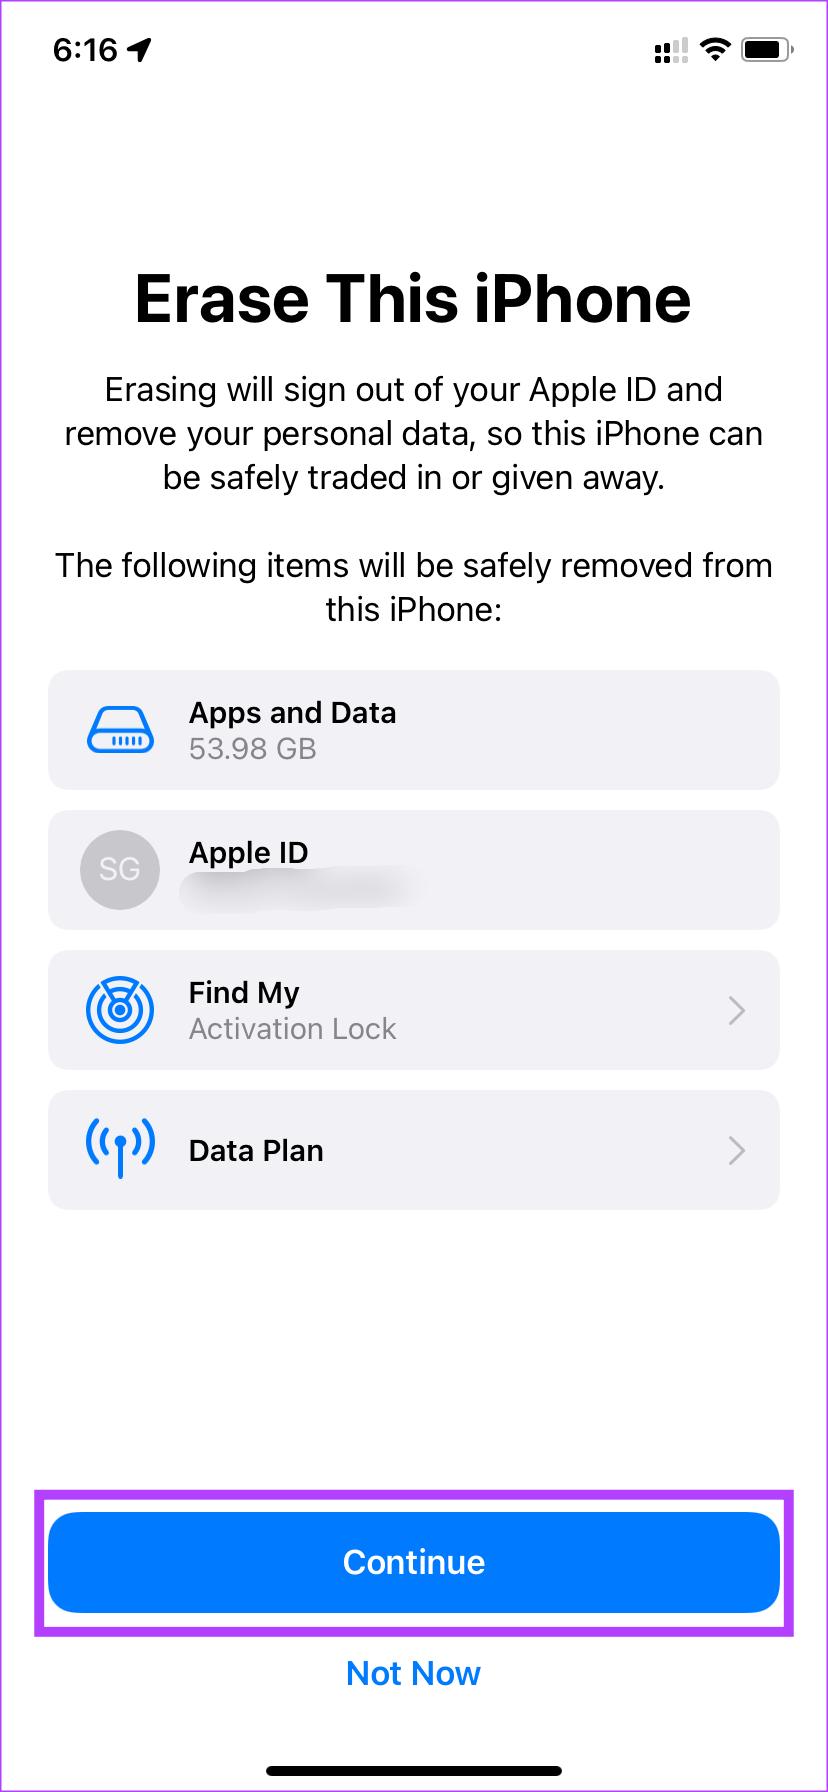
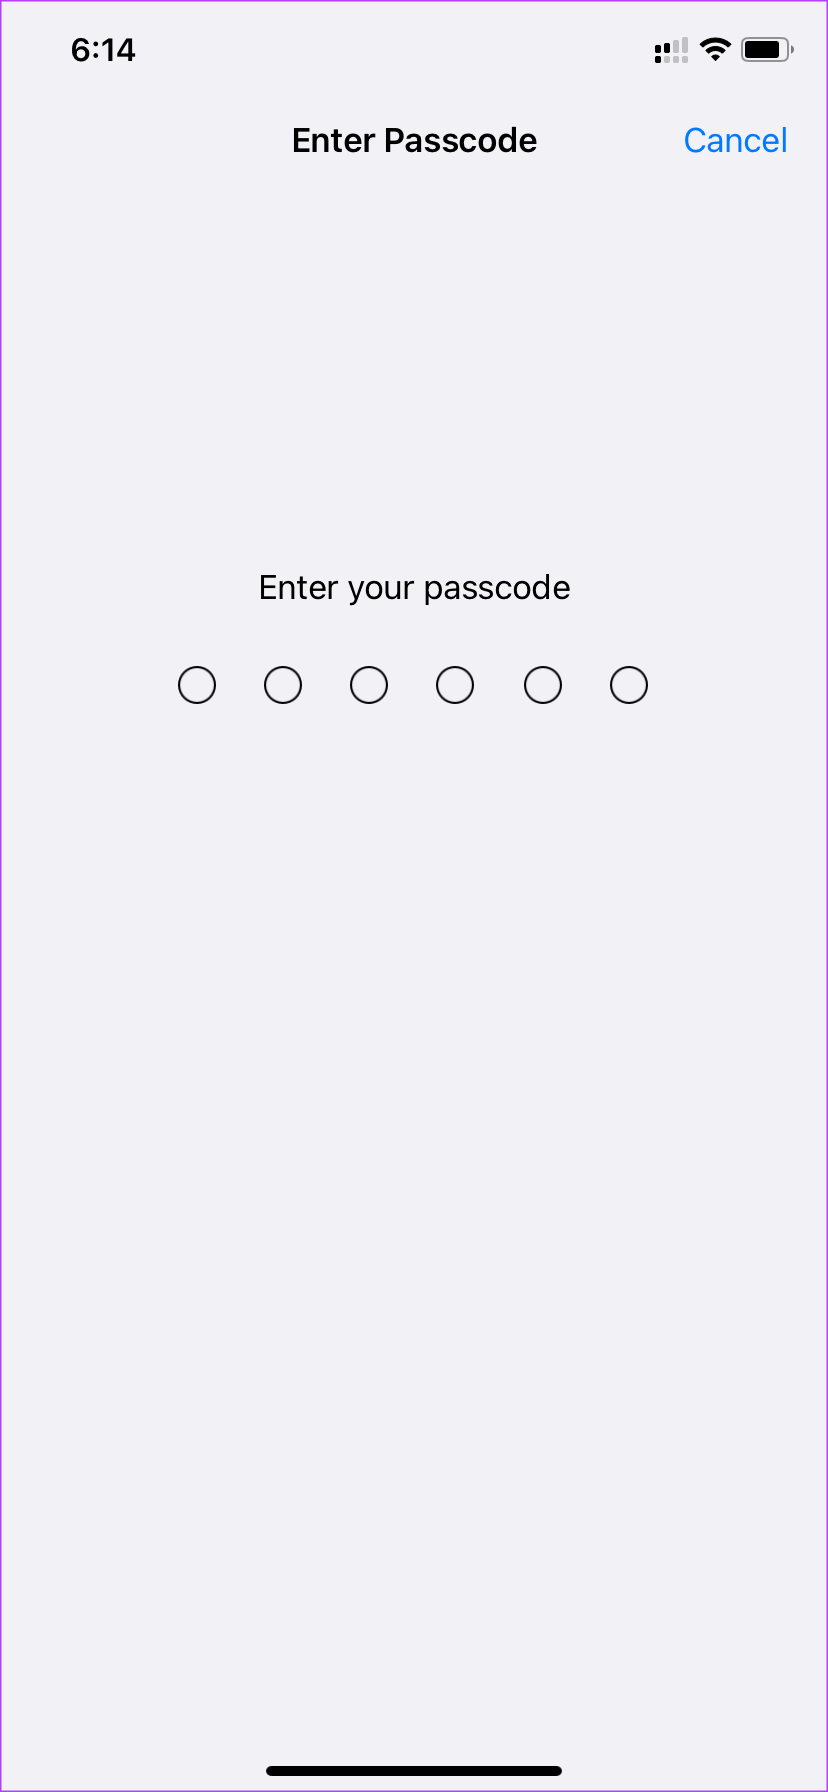
Step 3: Tap Reset Settings and confirm it.
All the Wi-Fi settings will be reset, including mobile data and Bluetooth settings.
8. Use the WPS Push Button
Also known as Wi-Fi Protected Setup, this is an advanced feature that lets anyone with the router access it, which bypasses the credentials (username and password) part. Follow along.
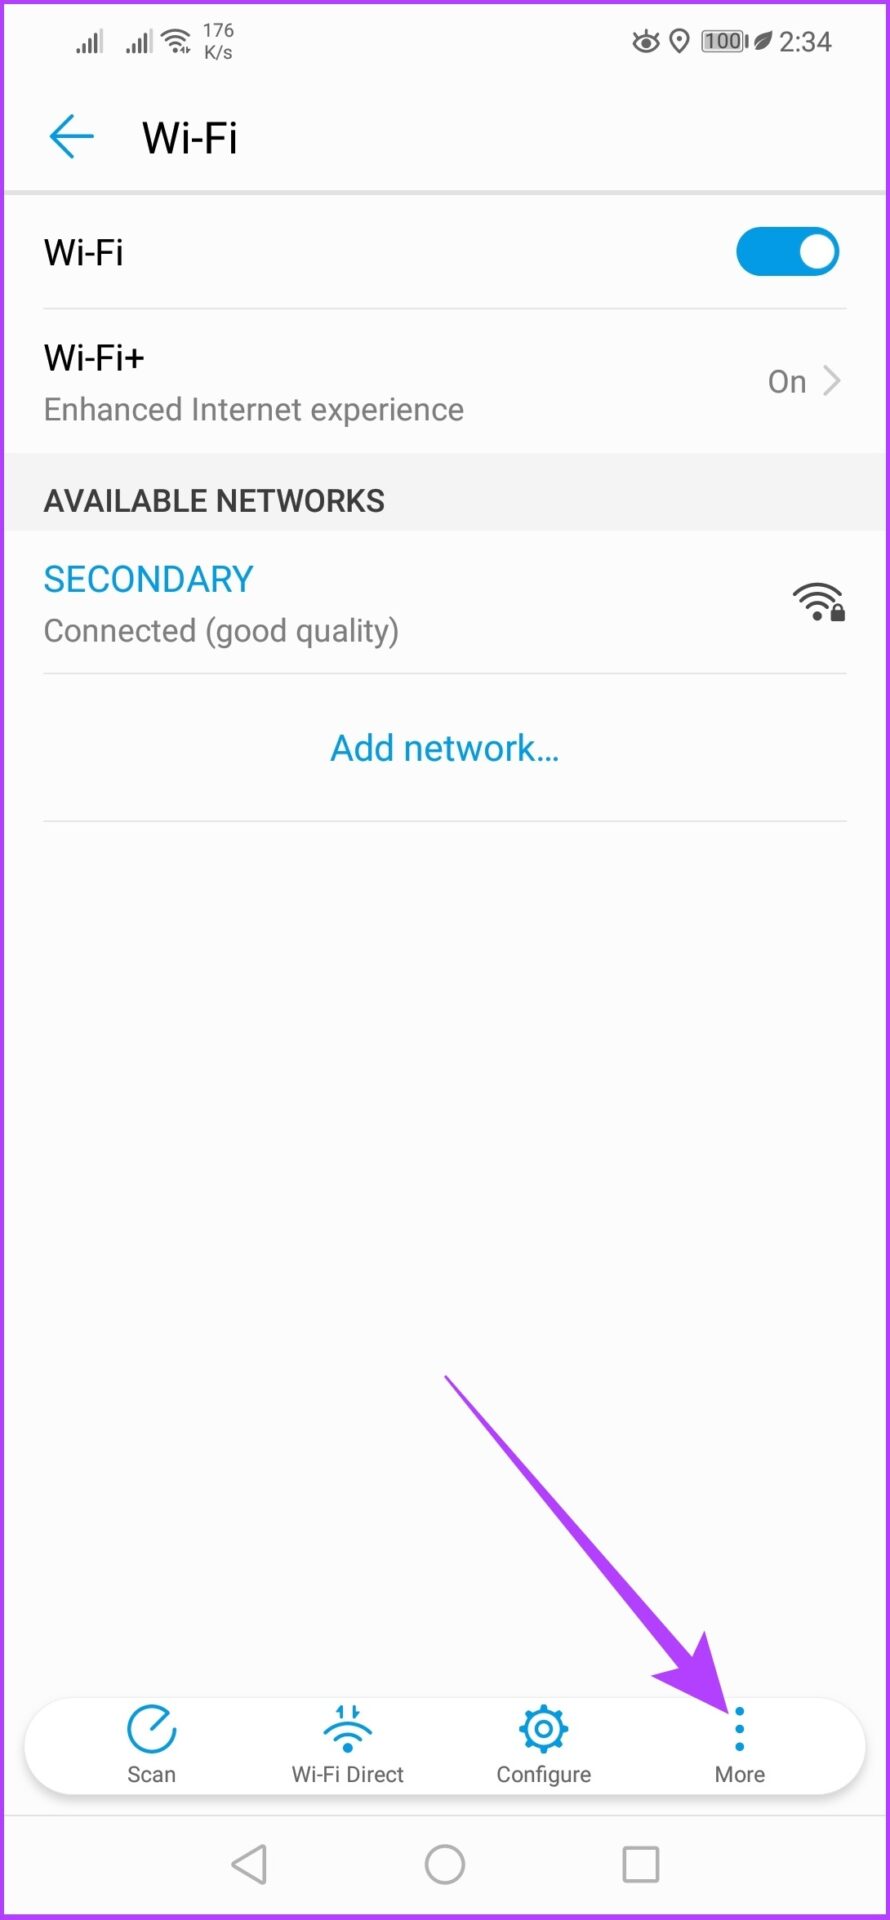
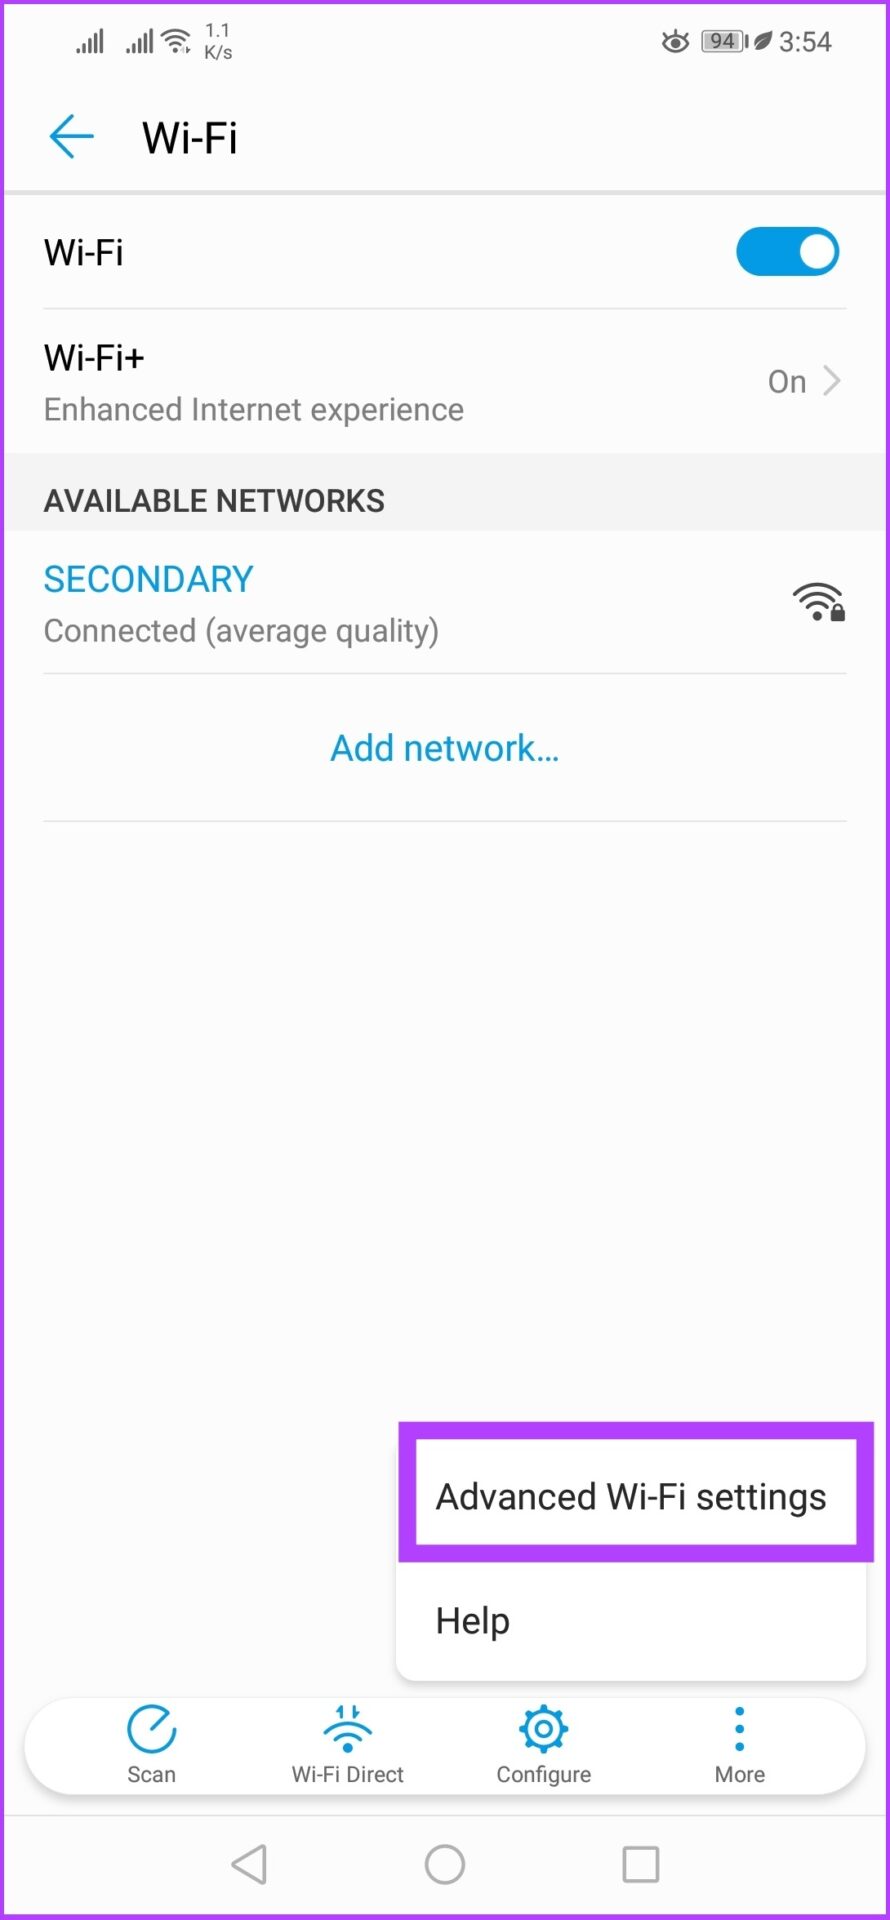
Step 1: Go to the phone’s settings and tap on ‘Wi-Fi & Network.’
Step 2: Tap on Wi-Fi, select More, and choose ‘Advanced Wi-Fi settings.’
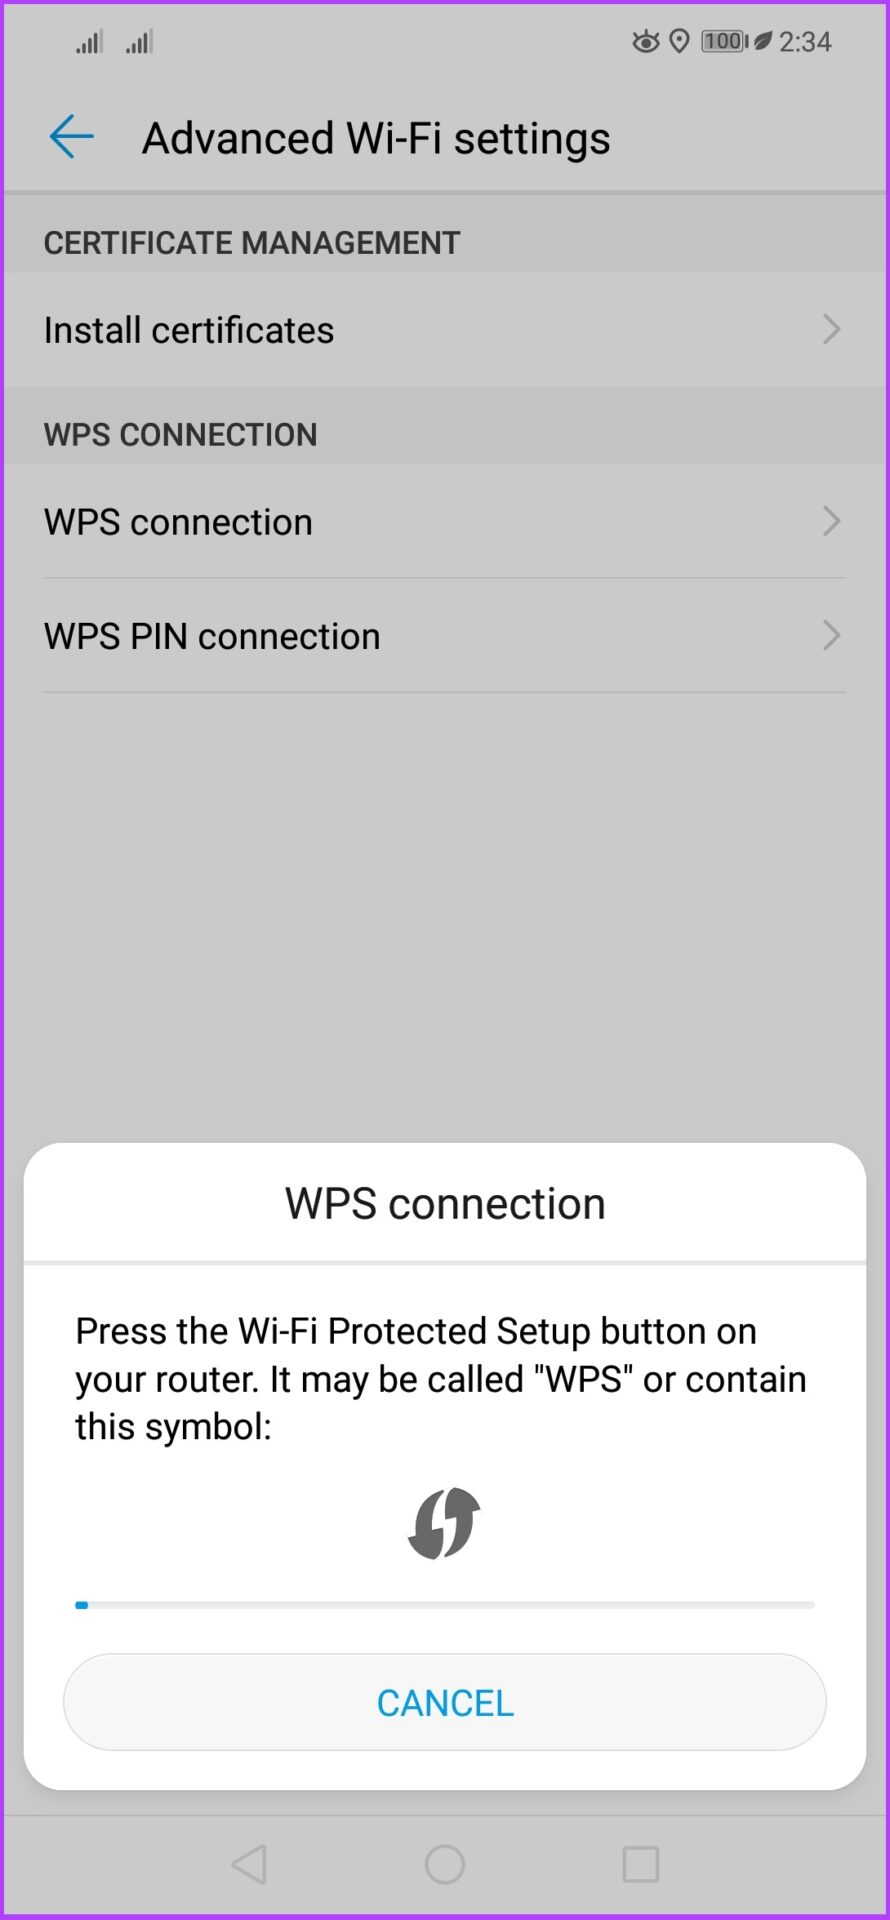
Step 3: Now, select the WPS connection.
I’m using Huawei Nova 3i for this method as the WPS Push button wasn’t there in OnePlus 7T.
You will have a prompt instructing you to press the WPS button on your router. Once the process is complete, this should resolve the authentication issue on your Android.
9. Change Security Protocol
It is another handy option that you will generally miss out on. You might have encountered a scenario where you entered the correct password, but the network wouldn’t allow you in. What to do? Follow these steps.
Step 1: Log in to the router.

Step 2: Go to the Network or Security Protocol and change the settings from WPA to WPA2.

Step 3: Now, on your Android device, open the Wi-Fi settings.
Step 4: Tap on the Wi-Fi name and select Forget.
Step 5: Now, connect to the network again.
You should be able to get in.
10. Reset the Network Hardware
This is the last resort; reset the router. Mind you, all the customizations you made to the router since its setup will be deleted, and you might have to set it up again. Here’s how to do it.
Almost all the routers have a manual button at the back to reset the router. All you need to do is press the button long enough until the lights go off and turn back on. That’s when the router will reset, and you will have to set it up again to use it.
11. Changing the IP Address From DHCP to Static
Most of the routers on the market use the DHCP protocol to allocate Internet Protocol (IP) addresses and other configuration information like subnet mask and default gateway. However, sometimes DHCP assigns the same IP address to multiple devices, giving rise to IP conflicts and disrupting the network.
This issue can be fixed by assigning a static IP address to your device, which in this case, is your Android device. Once your device gets a predetermined IP address, DHCP gets out of the picture. Let’s get to the steps.
Step 1: Go to the phone Settings and select Wi-Fi & Network.
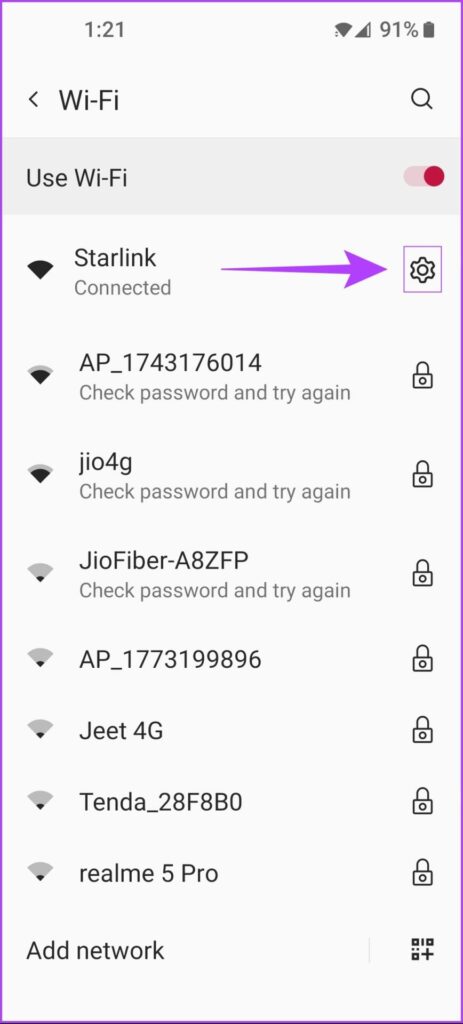
Step 2: Go to Wi-Fi and select the Wi-Fi network. Now, tap the pencil icon at the top right.
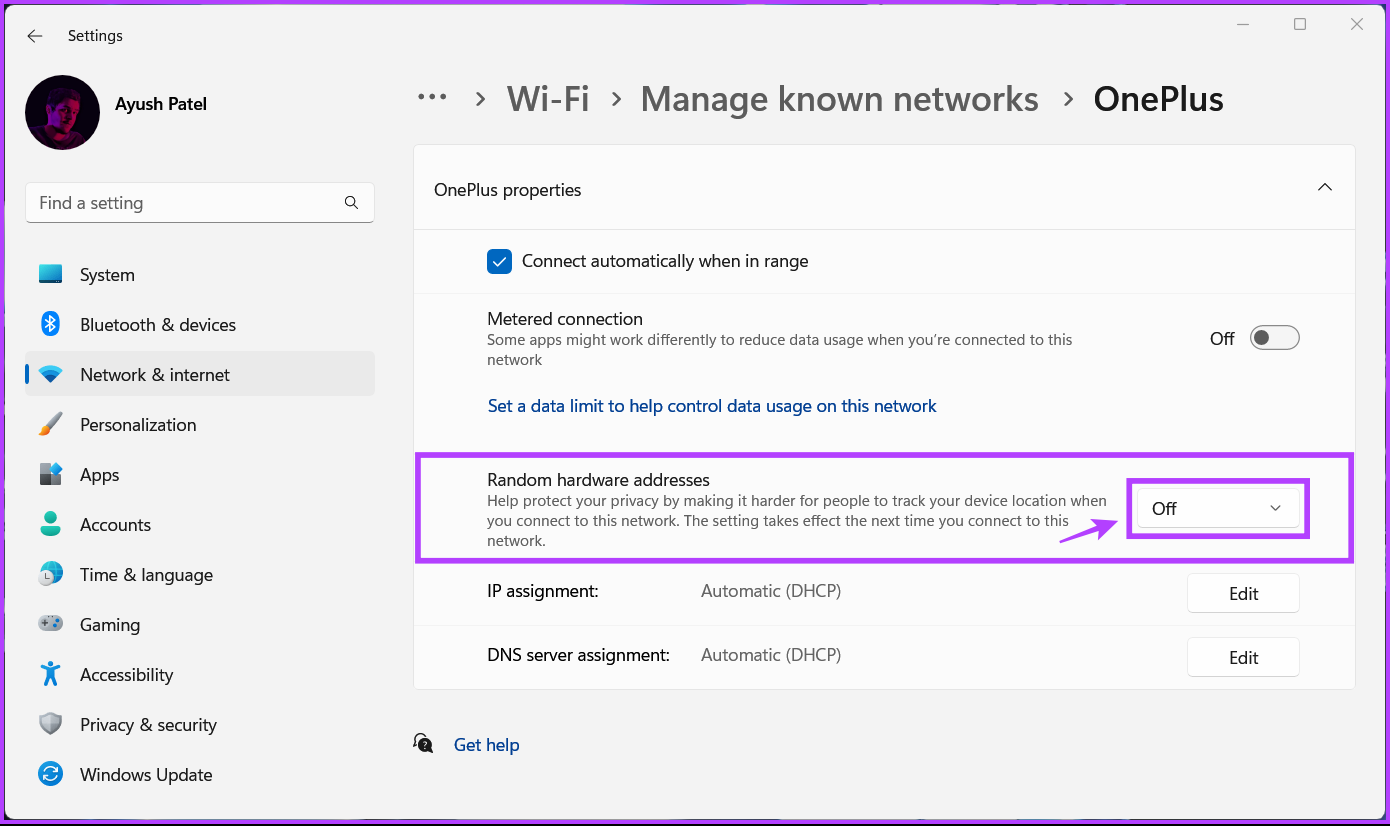
Step 3: Tap Advanced, go to IP settings and select Static.
Step 4: Enter the IP address that is not already in use and tap Save.
Leave the rest of the details as is, or you can enter 8.8.8.8 in DNS 1 and 8.8.4.4 in DNS 2 fields if you want to use Google’s DNS.
12. Update the Device Software
This is not a typical case, but there are times when software updates on your Android device could stall the wireless connection. So, if you haven’t updated your Android device for a while now, that could also be the reason for the authentication error on your Android device. Here’s how to check for updates.
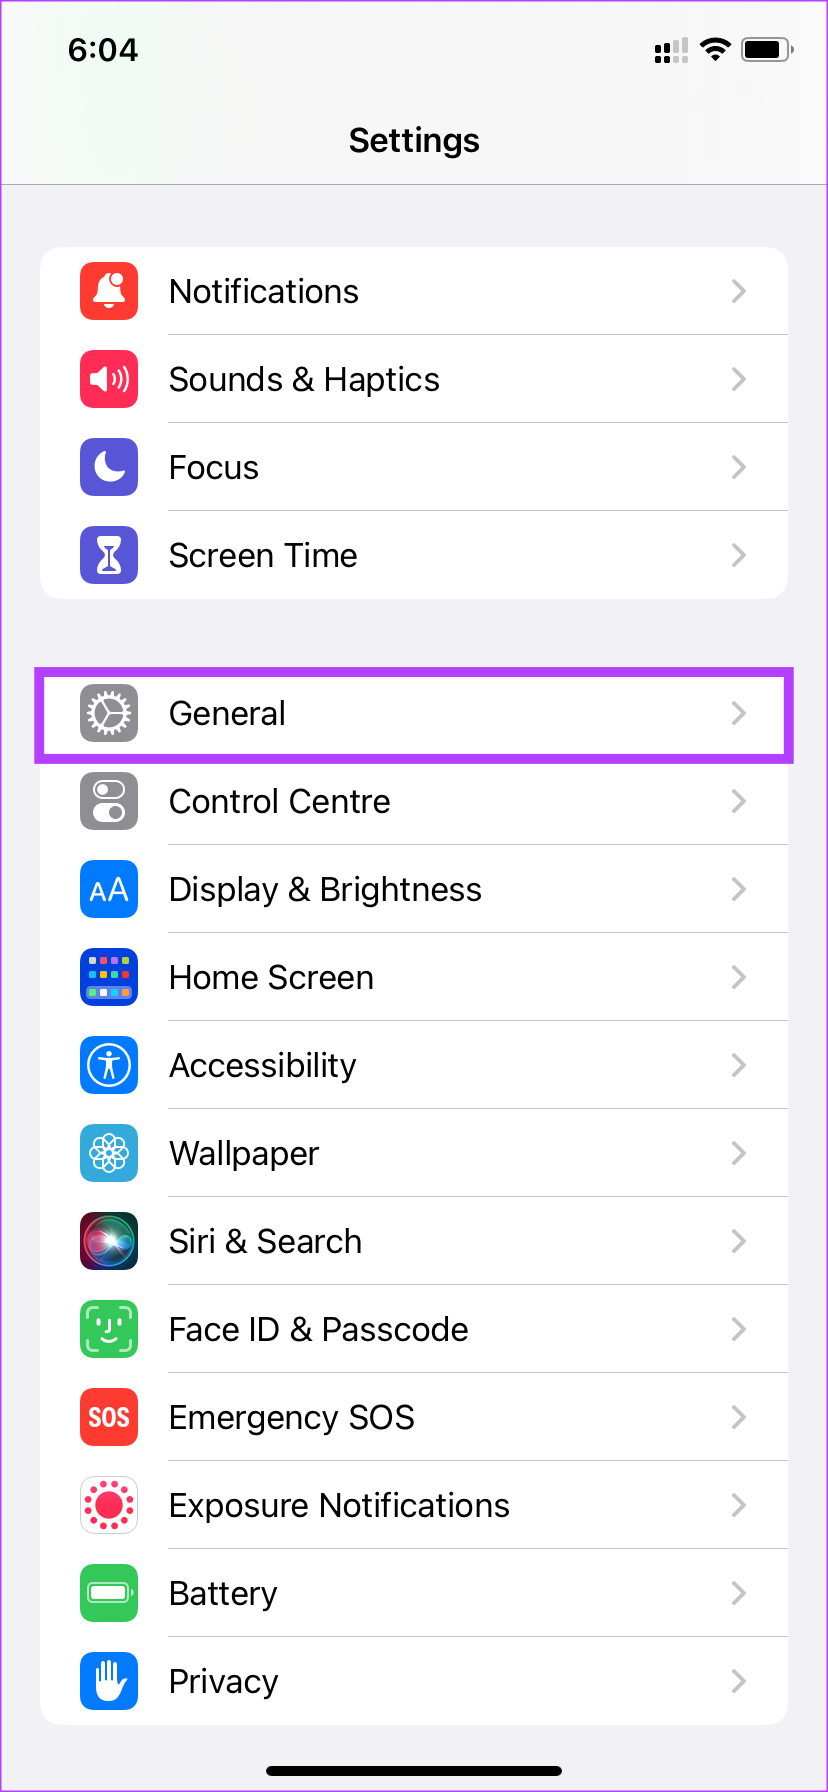
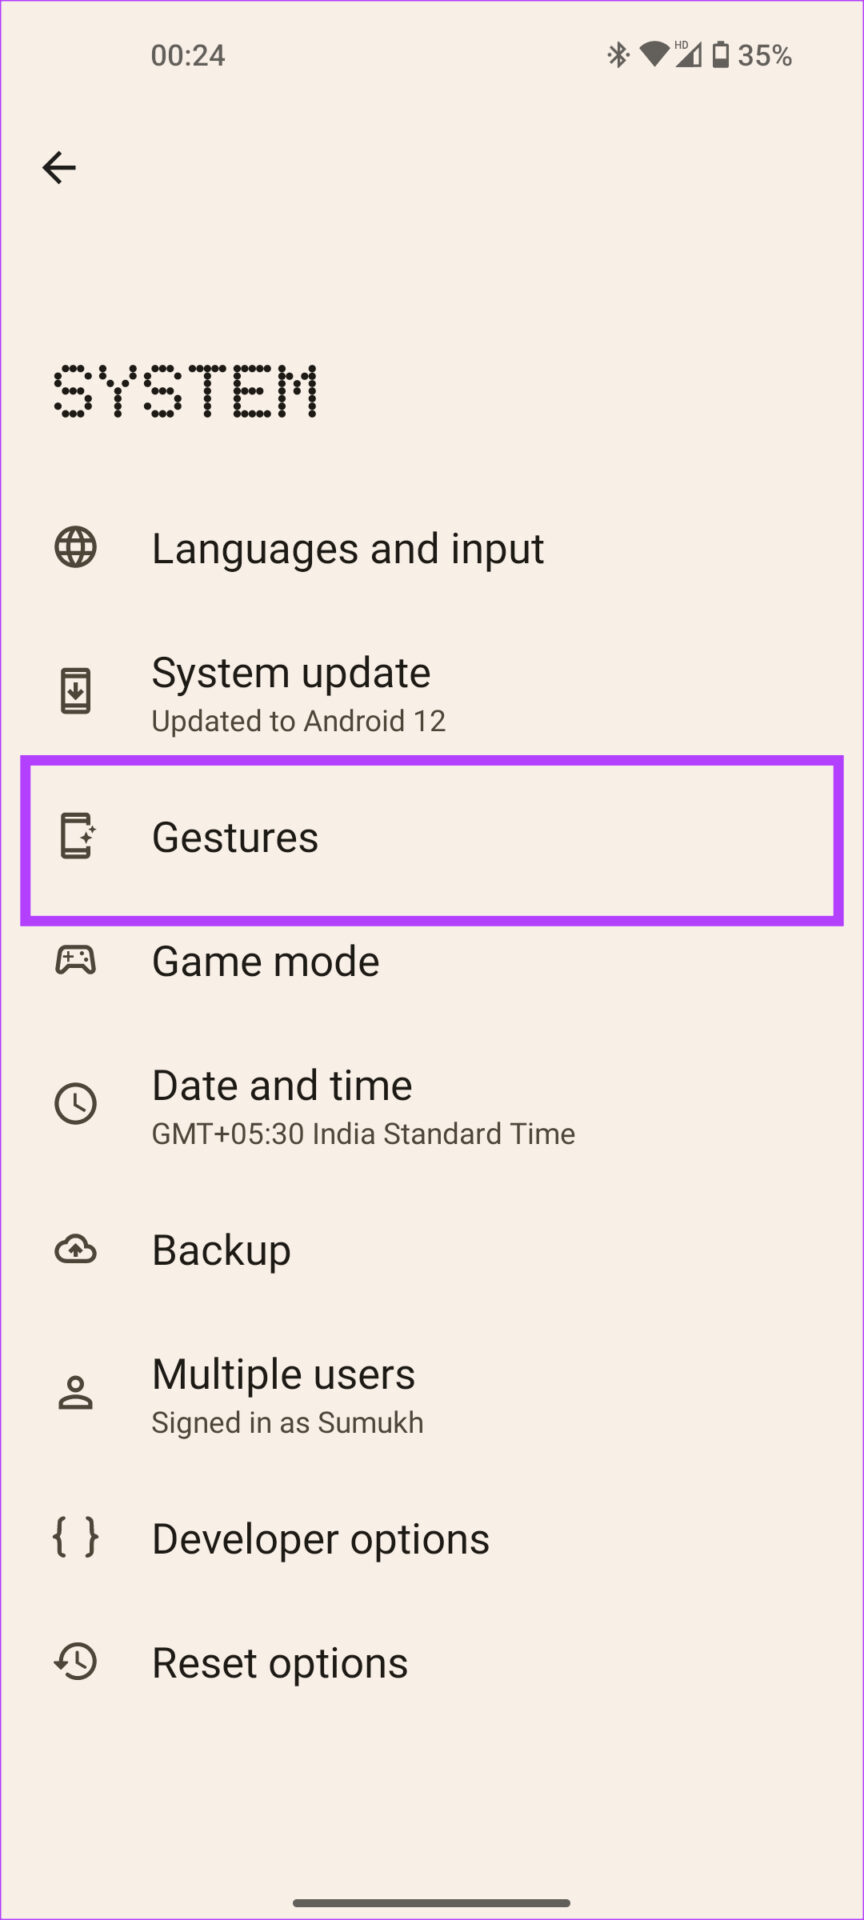
Step 1: Go to the phone’s Settings and select System.
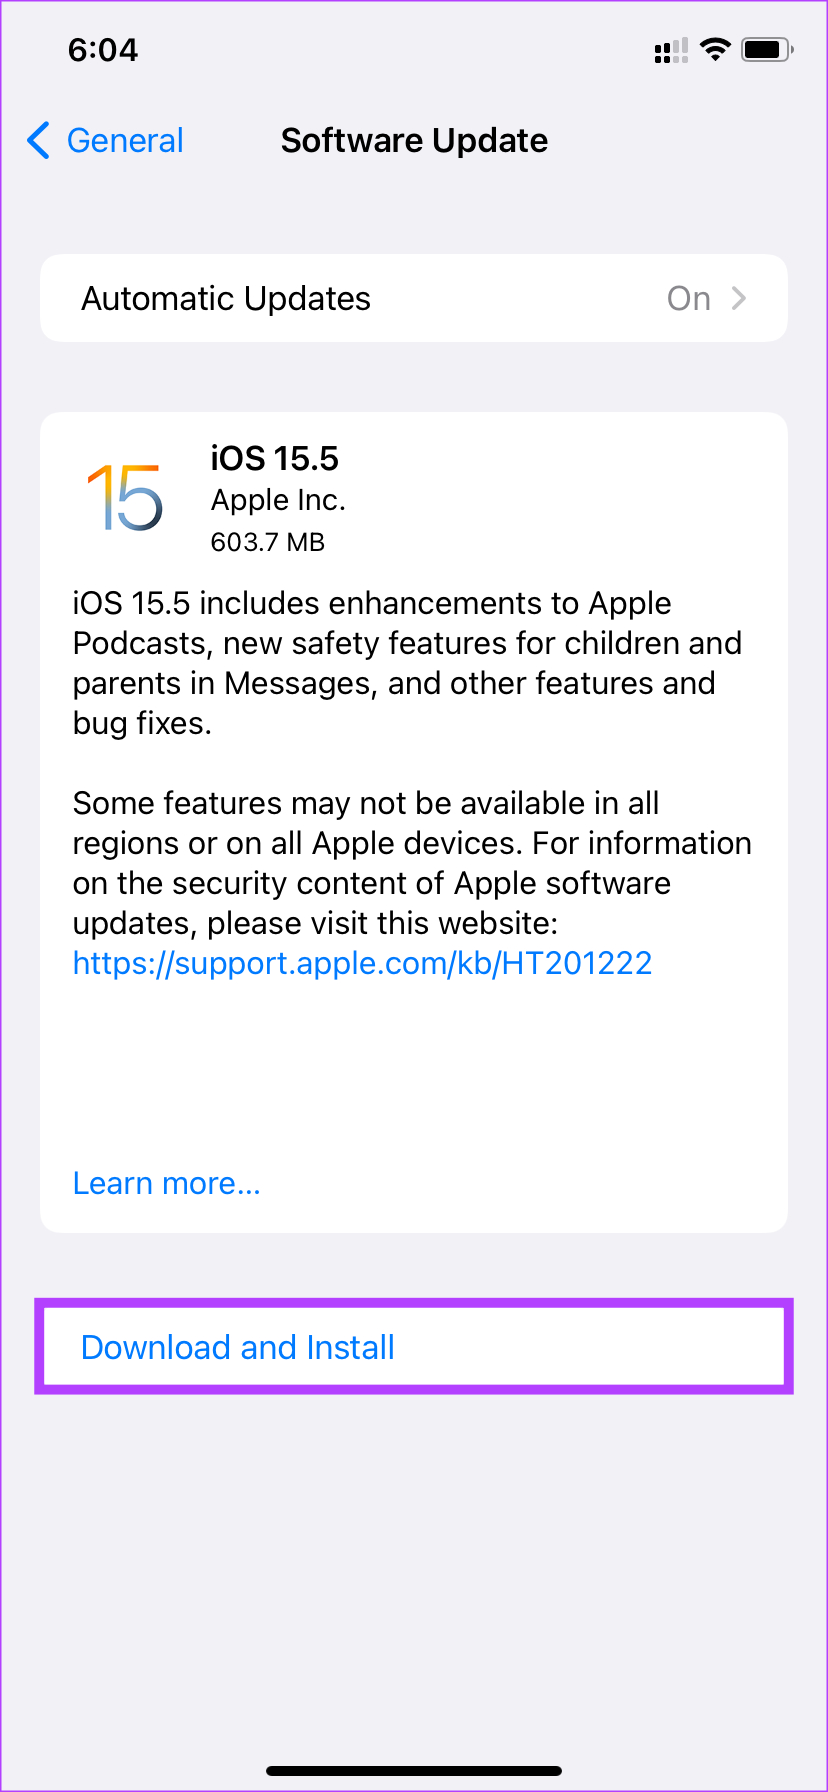
Step 2: Now, go to System updates and check for pending updates.
The software updates bring in patches and bug fixes, crucial for your Android device’s security. If you see any pending updates, update them and sort this issue once and for all.
Hassle-Free Internet Connection for Your Android
There could be multiple reasons why you’re facing Wi-Fi authentication errors. We have covered most of it. If you think we have missed out on something, let us know in the comments below. I hope this guide helped you fix Wi-Fi authentication problems on your Android. If it did, share and let us know which method worked for you in the comments section below.
Thanks for your feedback!