While Twitter is quite an evolved social media app, it isn’t fully free from inappropriate and NFSW content. Therefore, Twitter labels such tweets as Sensitive Content and hides it from the user. However, some tweets are wrongly flagged, and if you want to access them or don’t mind seeing such content in general, here’s how to see sensitive content on Twitter.
Twitter provides an option to either disable or enable sensitive content on Twitter. In this article, we’ll help you use this toggle, on both the web version and the mobile app. But before that, let us first understand what sensitive content means.
What Is Sensitive Content on Twitter
Whenever a user uploads an image within a Tweet, they are allowed to provide information regarding the nature of the Tweet. So when a user decides to Tweet about something that requires a heads up for viewers, like sensitive or unpleasant content, they can appropriately mark their media settings.
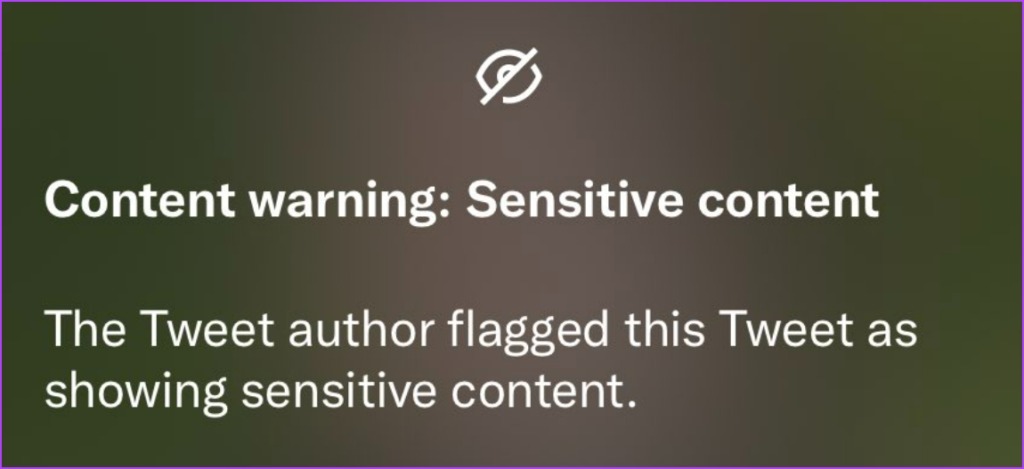
And once they do it, Twitter takes note of it and flags it as sensitive content. Therefore, when a user sees such a tweet, they will see an indication saying ‘The following media includes potentially sensitive content’. Now, you will only be able to see the image or video on Twitter upon clicking ‘Show’.
However, as mentioned earlier, some tweets may be wrongly marked as sensitive, hence, you can consider disabling this flag. Here’s how you can go about it.
Note: Unfortunately, these controls are not available on the iPhone app yet. However, you can use Twitter on Safari to change sensitive content settings and the same will reflect in your iPhone app too..
How to View Sensitive Content on Twitter
Here are the steps to enable the toggle to view sensitive content on Twitter. Let’s take a look at how to do it on the web version of Twitter.
Allow Sensitive Content on Twitter Web
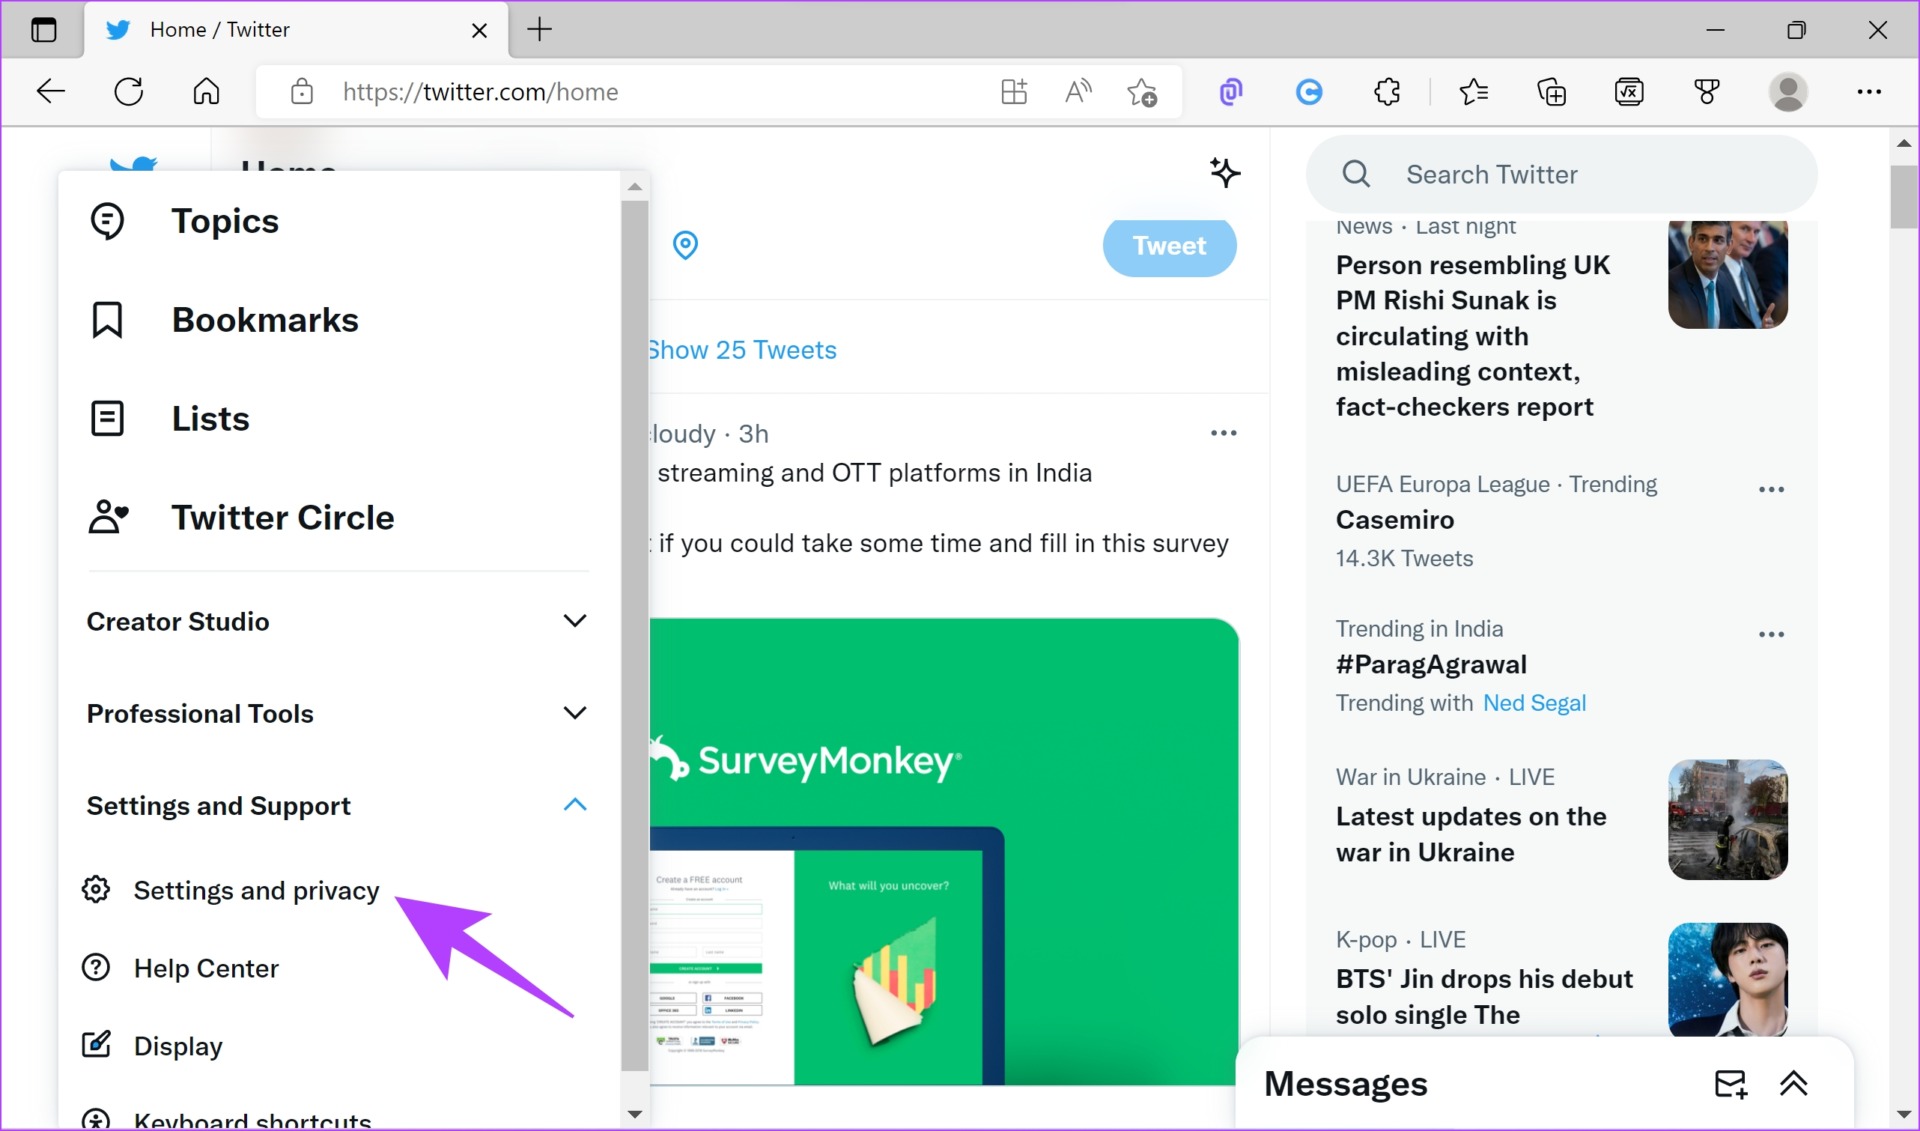
Step 1: Click on the three dots icon on the main screen of Twitter.
Step 2: Click on ‘Settings and Privacy’ under ‘Settings and Support’
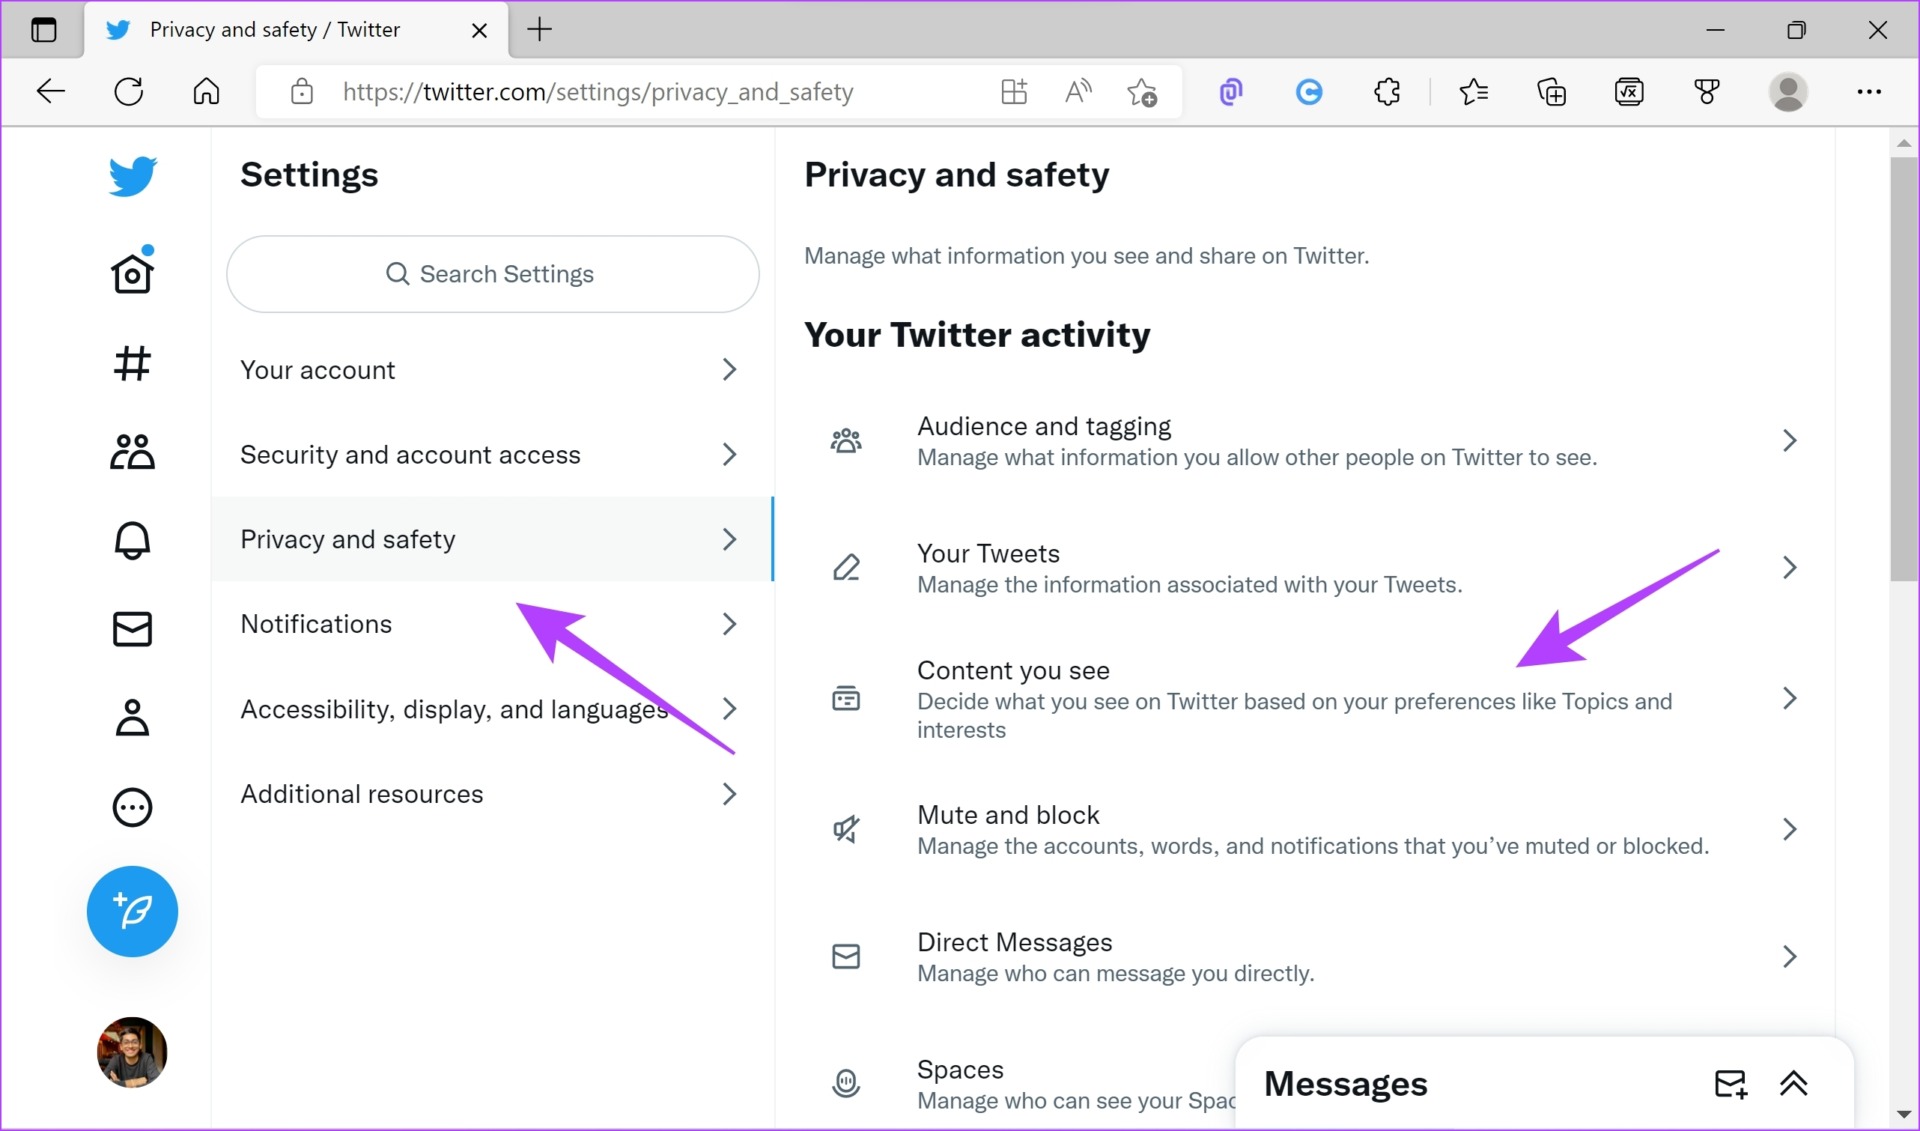
Step 3: Click on ‘Privacy and Security’.
Step 4: Select ‘Content you See’.
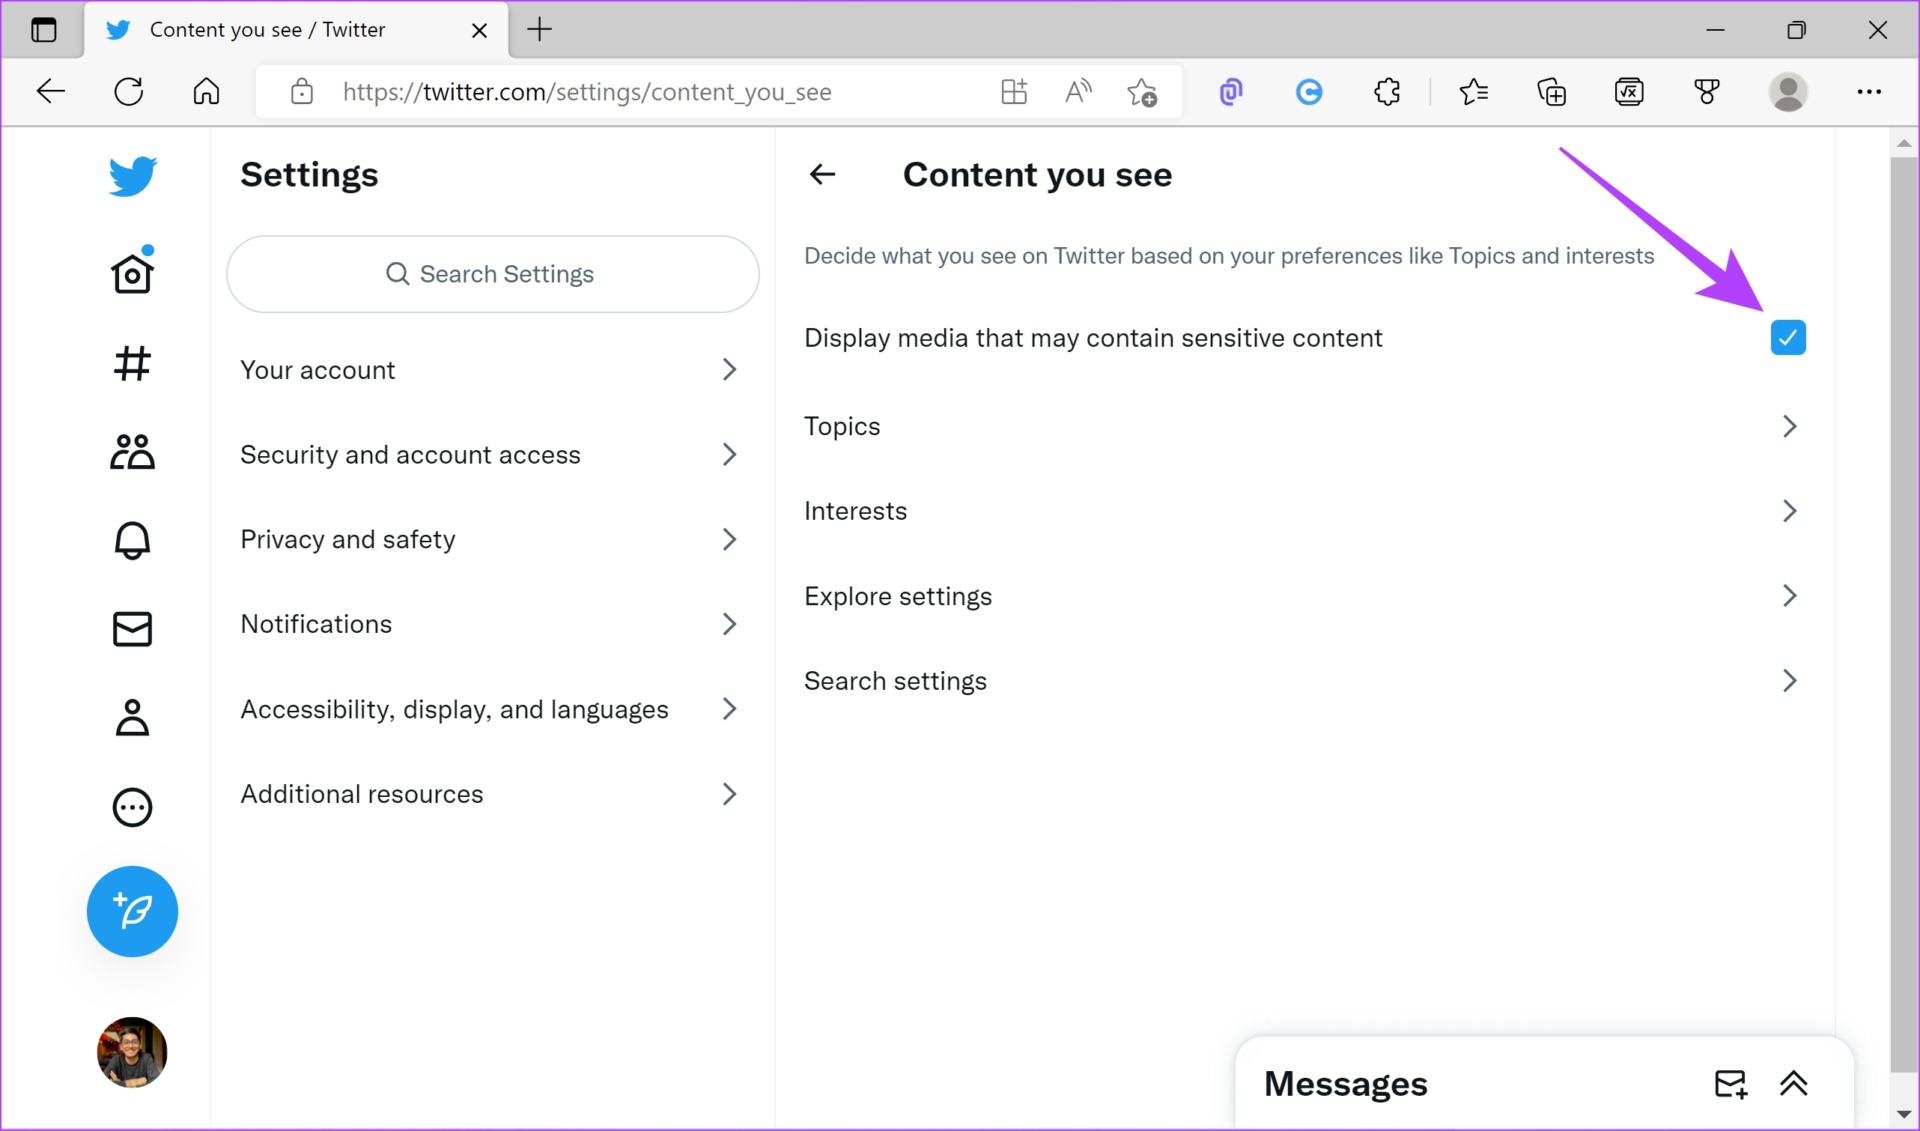
Step 5: Now, uncheck the box next to ‘Display media that may contain sensitive content’.
Next, let us take a look at enabling this option on the Twitter mobile app. Note that this option is unfortunately not available for the iPhone app.
Turn on Sensitive Content on Twitter on Android
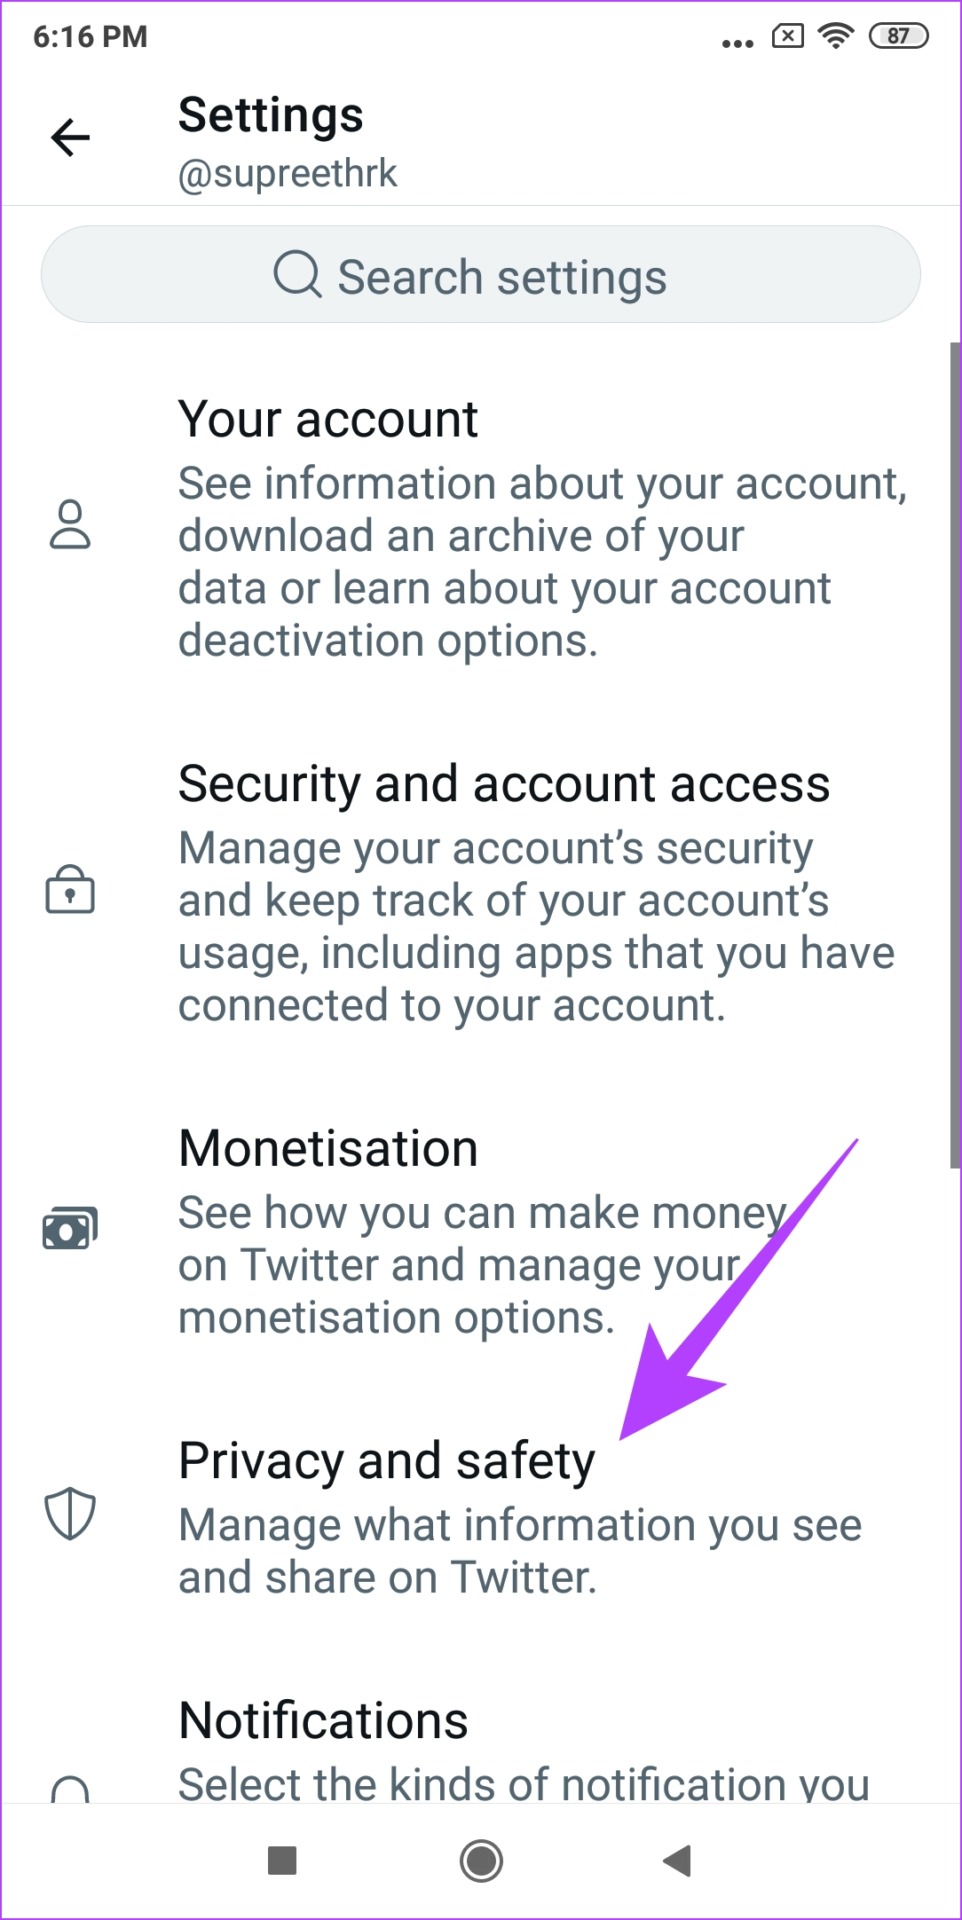
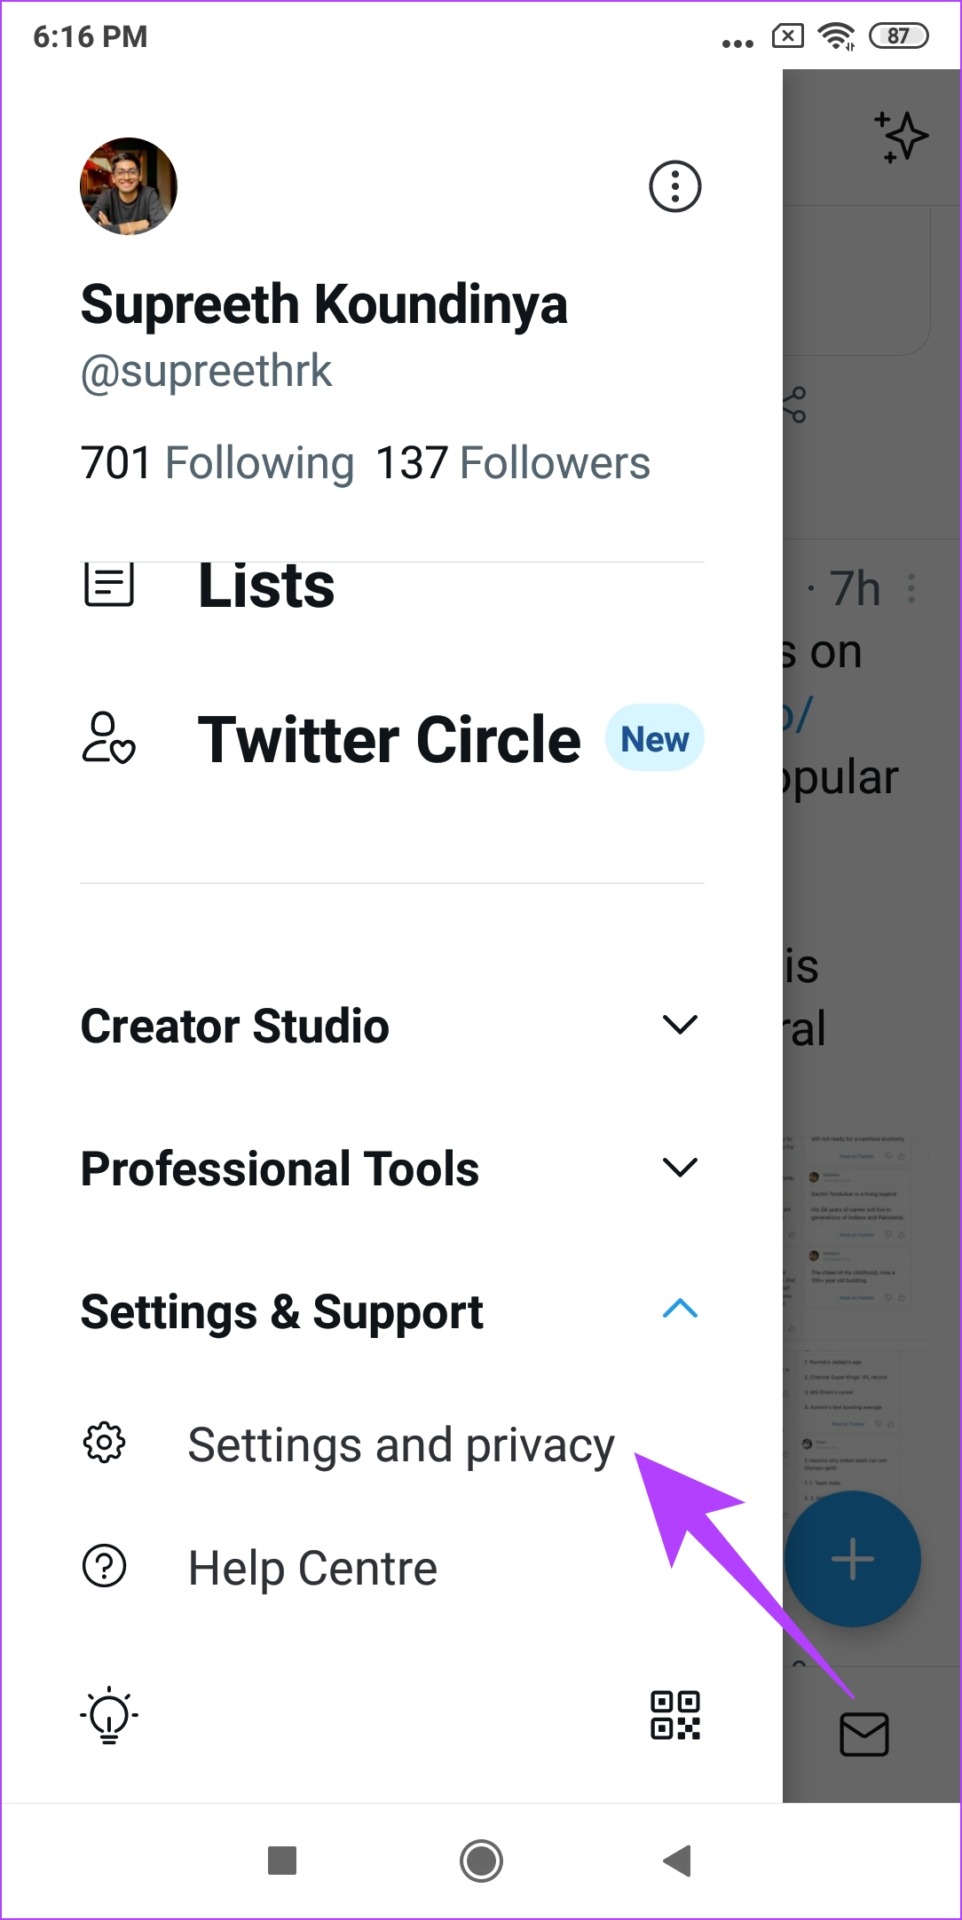
Step 1: Tap on your profile picture and select ‘Settings and Privacy’.


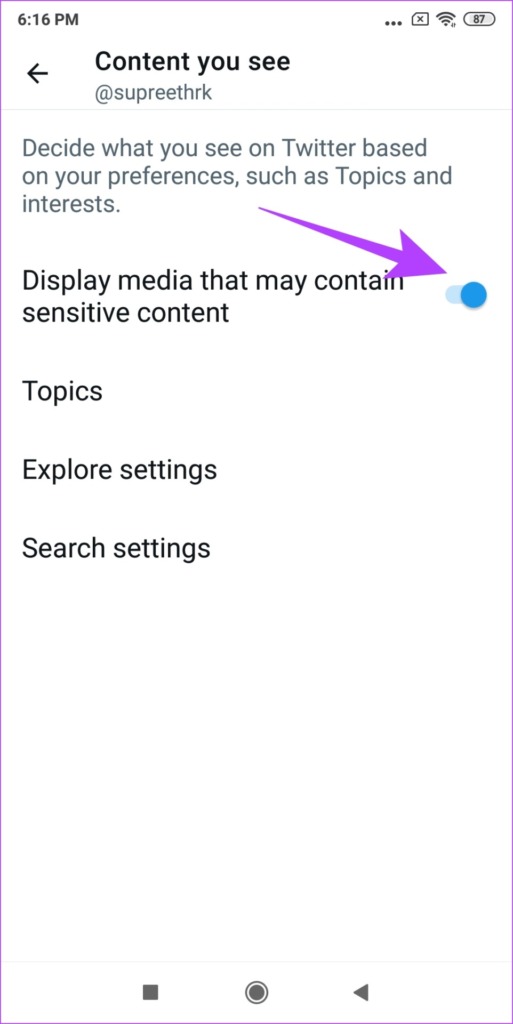
Step 2: Now, tap on ‘Privacy and Security’ and select ‘Content you See’.
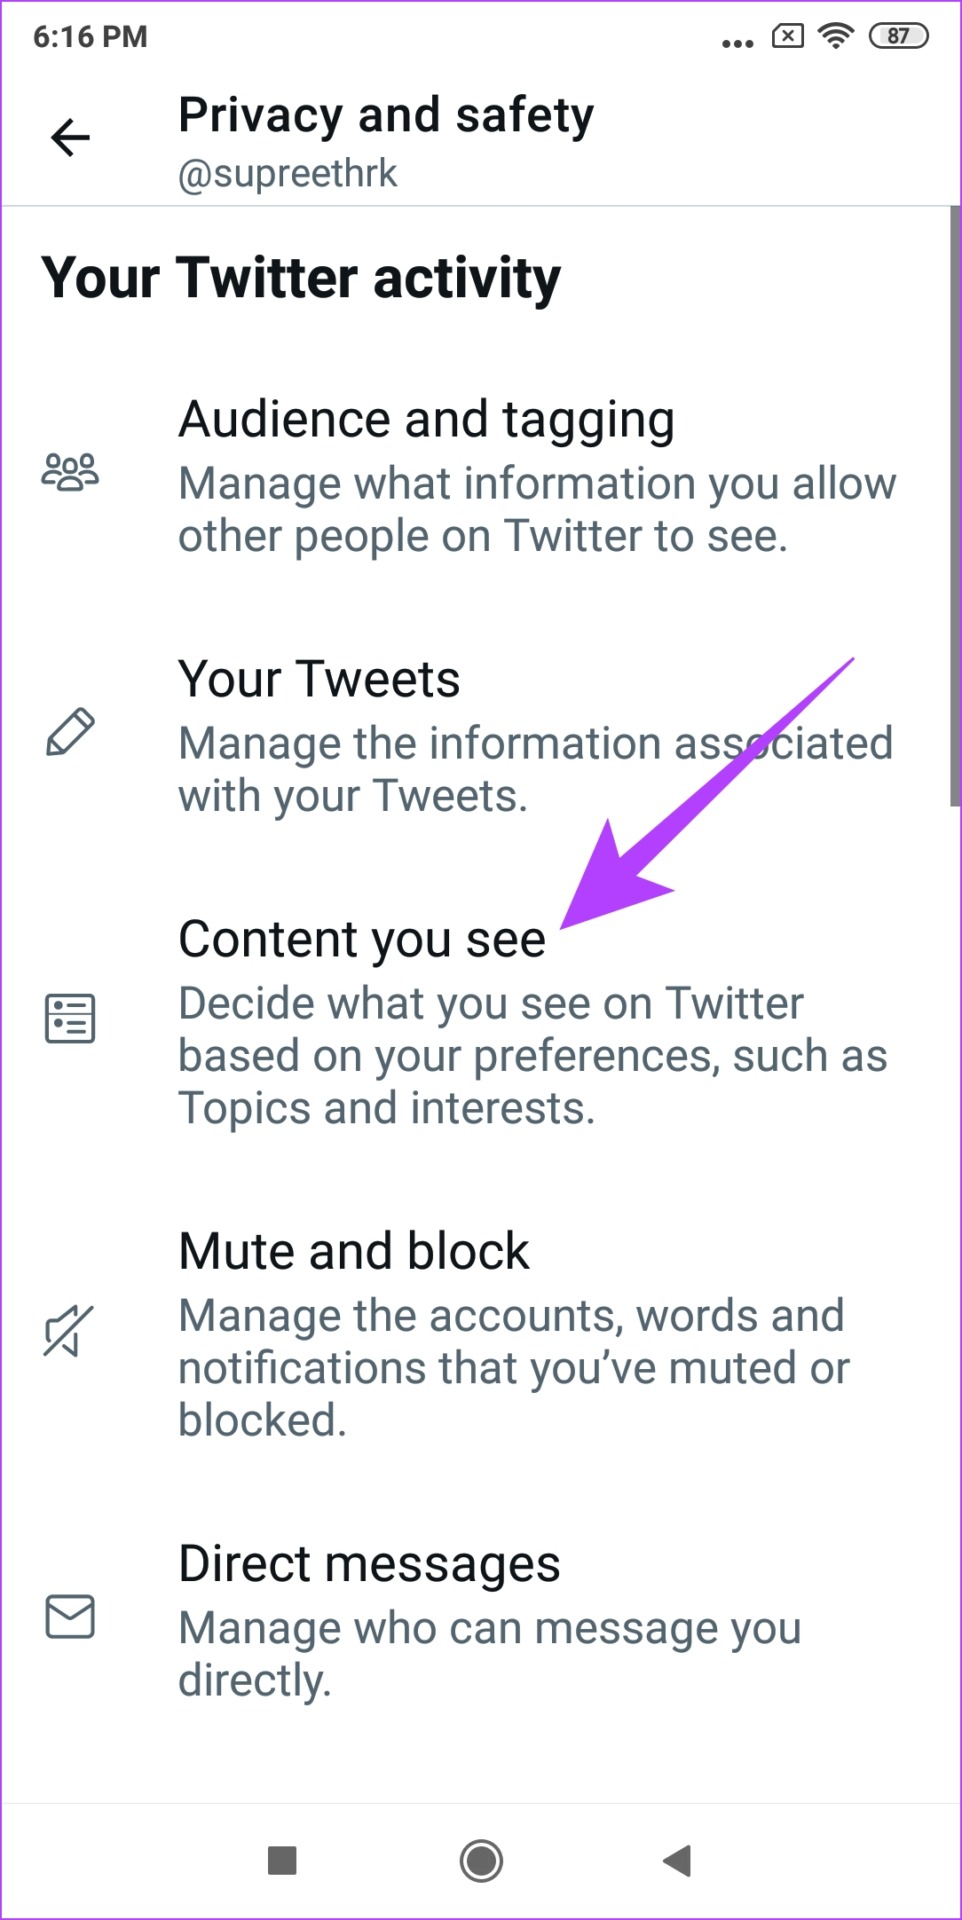
Step 3: Ensure you turn on the toggle for ‘Display media that may contain sensitive content’.
This is how you can see tweets with sensitive content on your feed. However, if you also want to enable sensitive tweets when within the Twitter search, read the next section of this article.
How to Allow Sensitive Content in Twitter Searches
Here’s how you can see sensitive content in Twitter searches, and we have provided methods for both the web version and the app. However, this option is available for the Android app only, and not for the iPhone.
Change Sensitive Content Setting for Twitter Searches on Web
Step 1: Click on the three dots icon on the main screen of Twitter.
Step 2: Click on ‘Settings and Privacy’ under ‘Settings and Support’
Step 3: Go to ‘Privacy and Safety’ and select ‘Content you See’.
Step 4: Now, select Search settings.

Step 5: Ensure to deselect the box next to ‘Hide sensitive content’.

Now, let us take a look at the procedure for the Twitter app on Android.
Enable Sensitive Content in Twitter Searches Using the Android App
Step 1: Tap on your profile picture and select ‘Settings and Privacy’.
Step 2: Now, tap on ‘Privacy and Security’.
Step 3: Select ‘Content you See’.
Step 4: Tap on Search settings.
Step 5: Turn off the toggle for ‘Hide Sensitive Content’.


That’s it! You will be able to see sensitive content via search on Twitter. Next, let us take a look at how to mark your tweets as sensitive.
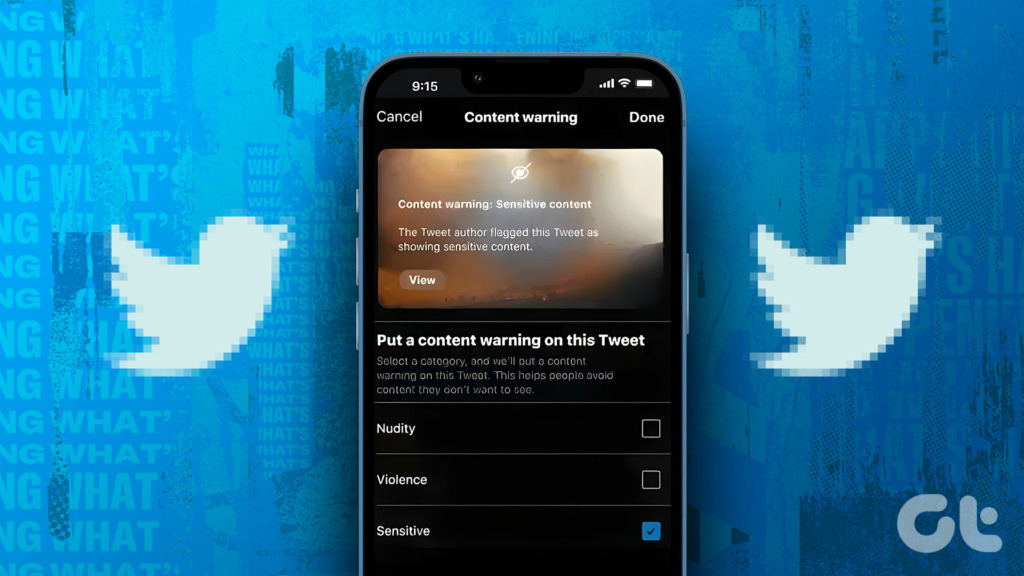
How to Change Twitter Sensitive Content Settings for Your Tweets
When you are adding sensitive media to your Tweets, you must let Twitter know about its nature. So, if you want to mark media within your Tweets as sensitive content, here’s how you can do it.
Turn On Sensitive Content Settings for Your Tweets on Web
Step 1: Click on the three dots icon on the main screen of Twitter.
Step 2: Click on ‘Settings and Privacy’ under ‘Settings and Support’
Step 3: Click on ‘Privacy and Safety’. Select Your Tweets.
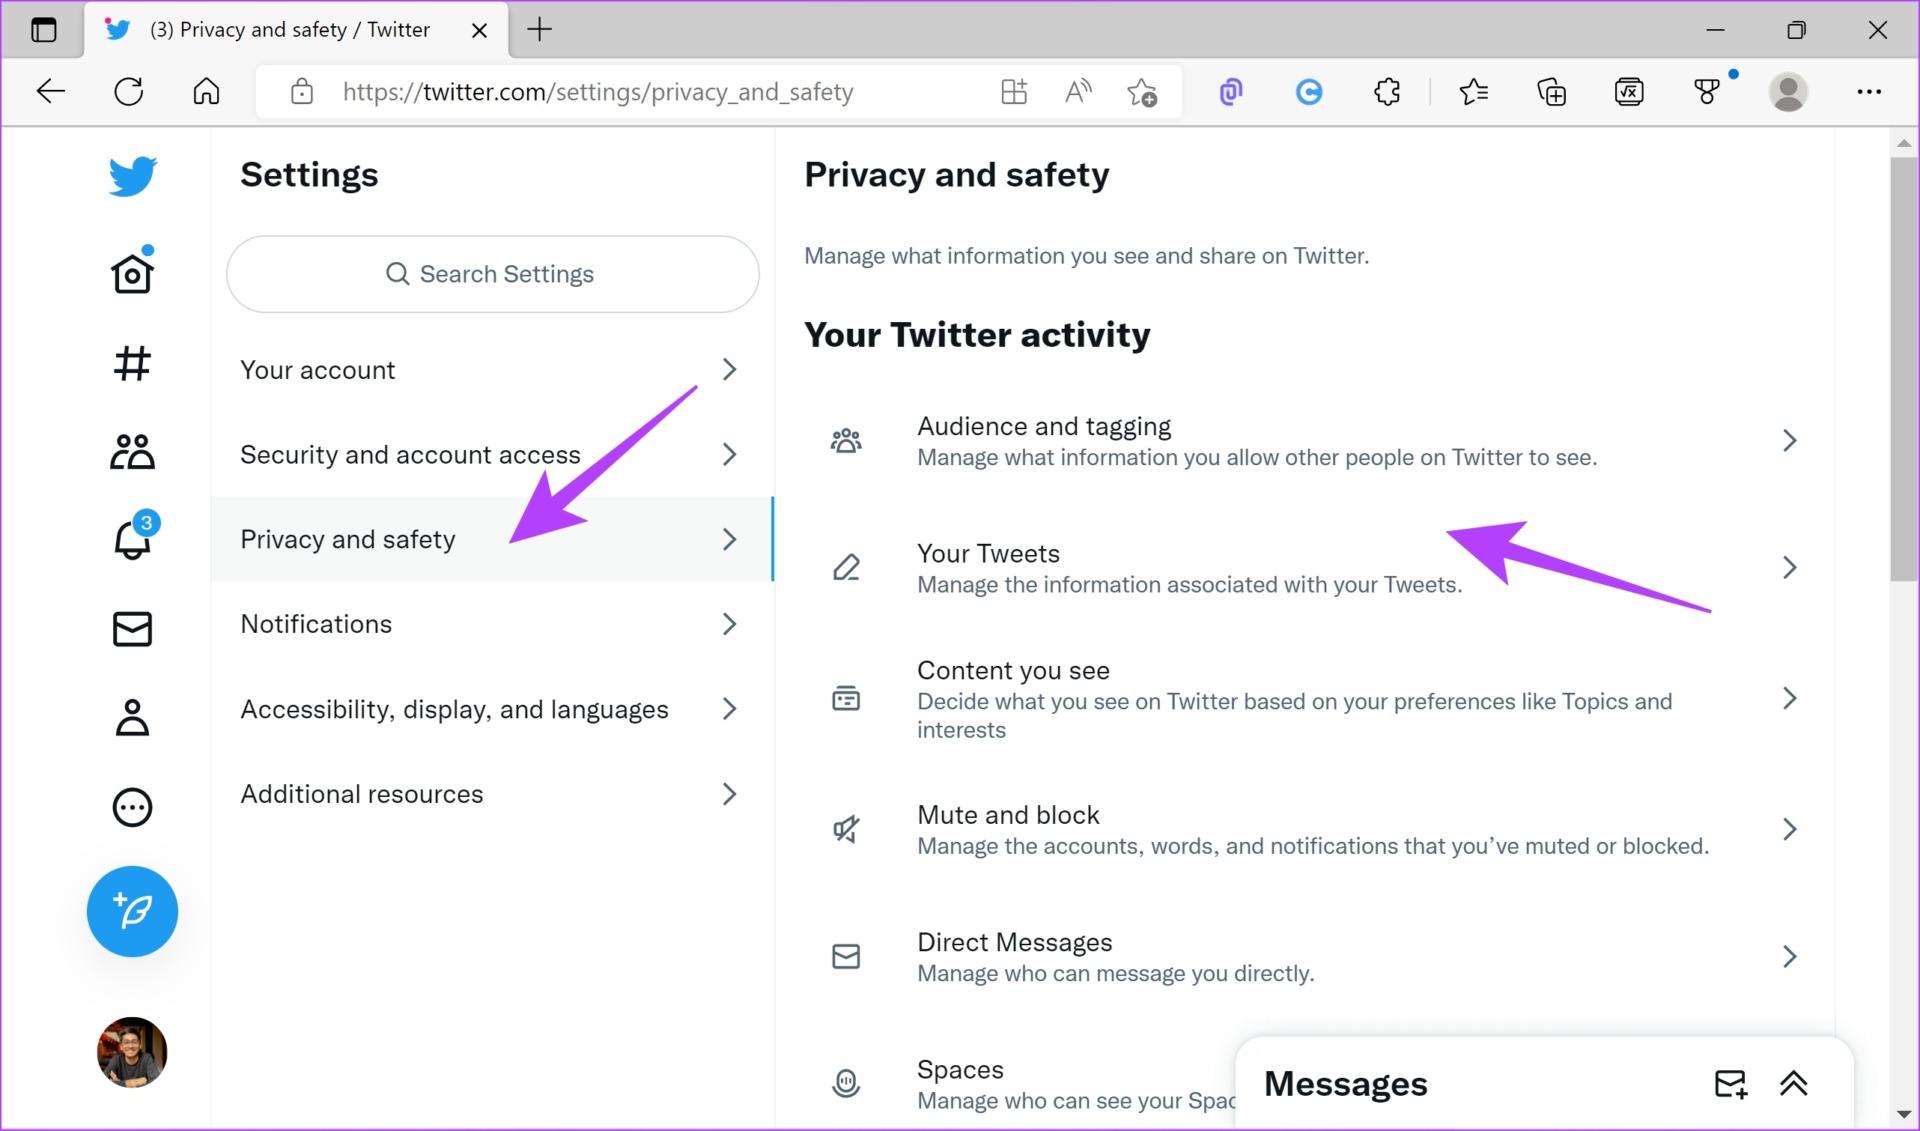
Step 4: Select the option to ‘Mark media you Tweet as having material that may be sensitive’.

Now, let us take a look at the steps for the mobile app. This option, however, is available for both Android and iPhone apps.
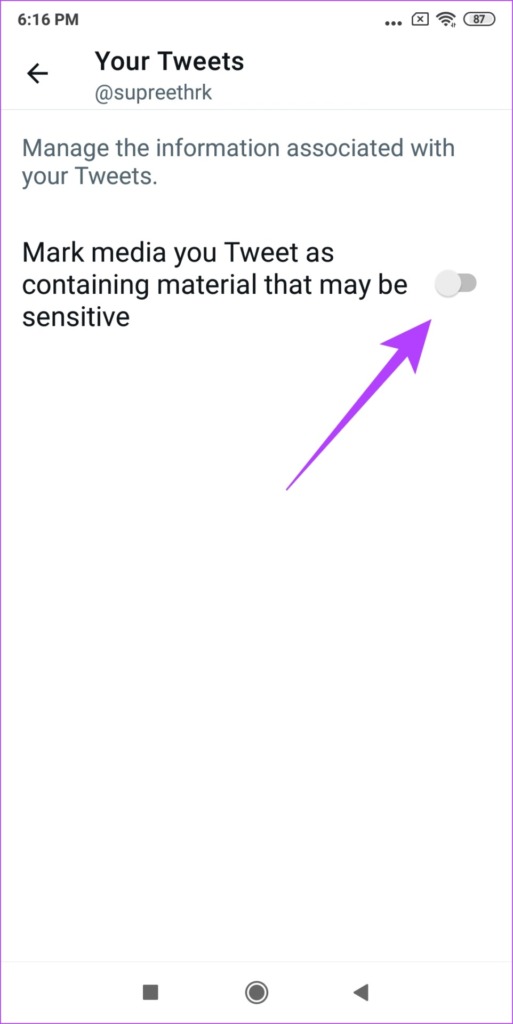
Change Twitter Sensitive Content Settings for Your Tweets on the Mobile App
Step 1: Tap on your profile picture and select ‘Settings and Privacy’.

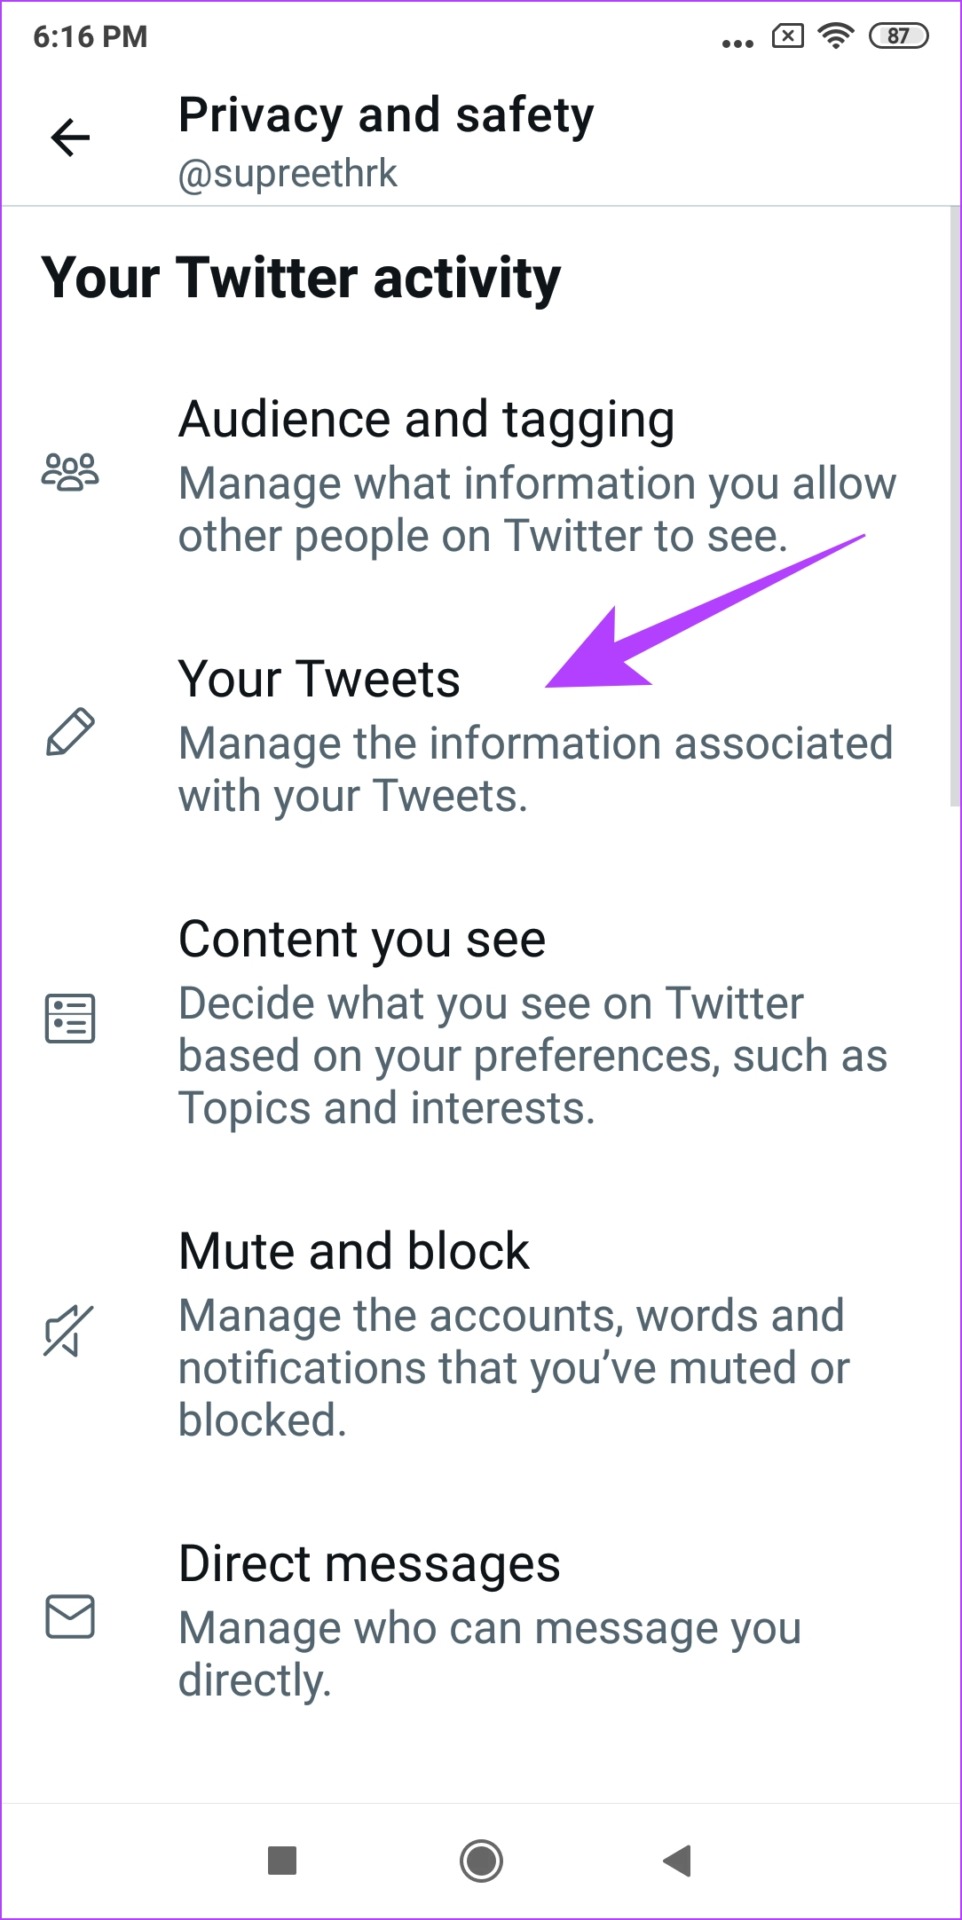
Step 2: Now, tap on ‘Privacy and Security’ and select Your Tweets.
Step 4: Now, turn on the toggle to ‘Mark media you Tweet as having material that may be sensitive’ to display it as sensitive content on Twitter.
This is all you need to know about sensitive content on Twitter. However, if you have any more questions, you can take a look at the FAQ section below.
FAQs on Twitter Sensitive Content
Yes, sensitive content is safe on Twitter. However, it is the content and the information inside the media that might be unpleasant or disturbing.
Yes, you need to enter your date of birth while signing up on Twitter, so that content is effectively moderated.
See Sensitive Content on Twitter
This is how to see sensitive content on Twitter and manage the controls. However, we hope Twitter releases these features on the iPhone app as well. Perhaps this is a good little suggestion from our end to Elon Musk now? We can only wait and watch.