Windows firewall settings help you manage your computer’s security. Windows lets you view and alter these settings as you see fit. And if you ever mess up the firewall settings, you can easily reset them and start over again.

Misconfigured firewall settings can prevent apps and services from accessing certain features and lead to various errors. If you can’t figure out what’s causing the problem, resetting the firewall settings may help. In this post, we’ll show you five easy ways to reset firewall settings in Windows 11. So, without wasting any time, let’s check them out.
1. Reset Firewall Settings via Windows Security App
Windows Security (popularly known as Windows Defender) is the default antivirus program in Windows 11. The app lets you scan your computer for malware, configure antivirus preferences, and manage other security settings. Here’s how you can use it to reset firewall settings in Windows 11.
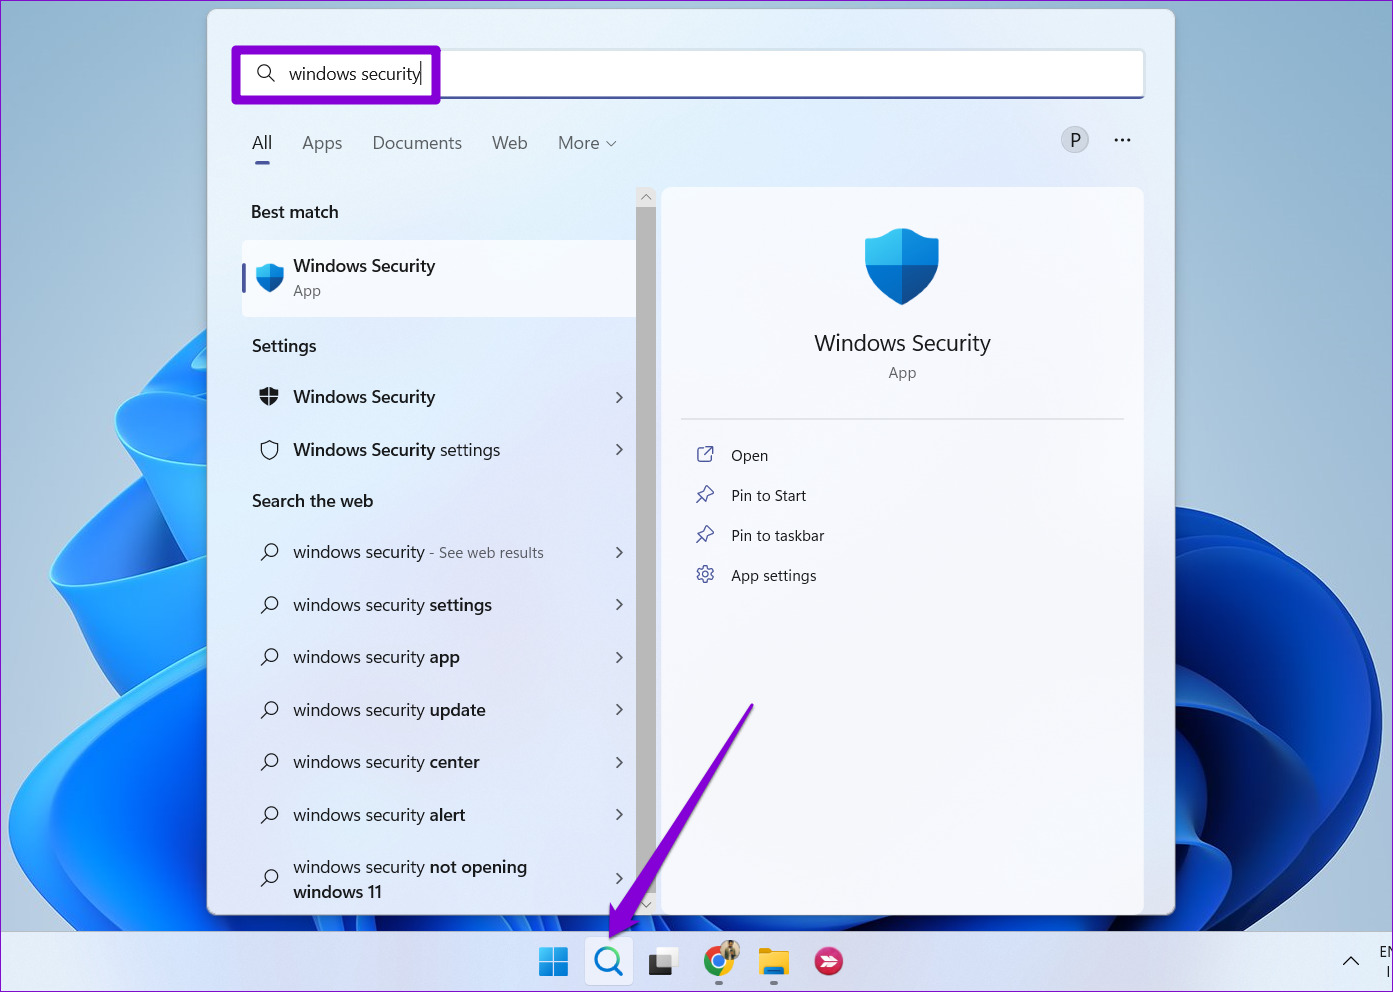
Step 1: Click the search icon on the Taskbar or press the Windows key + S to open the search menu. Type windows security in the box and select the first result that appears.

Step 2: Switch to the ‘Firewall and network protection’ tab on your left.

Step 3: Click the ‘Restore firewalls to default’ link at the bottom.

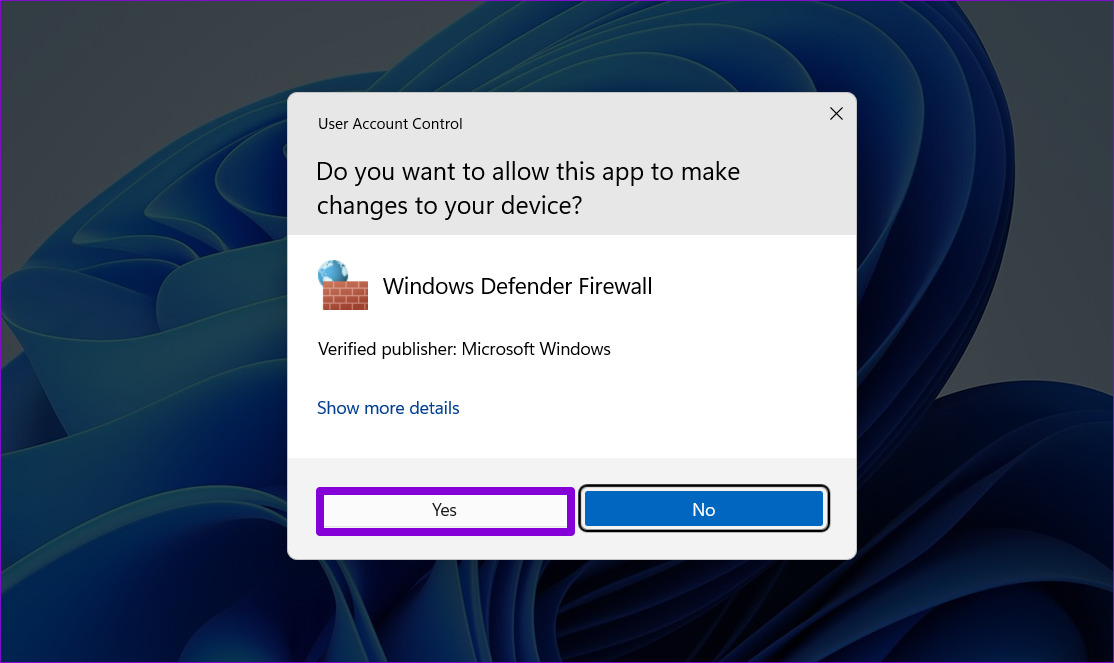
Step 4: Select Yes when the User Account Control (UAC) prompt appears.

Step 5: Click the Restore defaults button.

Step 6: Select Yes when the confirmation pop-up appears.

2. Reset Firewall Settings Using Control Panel
When it comes to making system-level changes, Control Panel is a popular option among many Windows users. Here’s how you can use it to reset firewall settings in Windows 11.
Step 1: Right-click on the Start icon or press the Windows key + X to open the Power User menu and select Run from the list.

Step 2: Type control in the Open field and press Enter.

Step 3: In the Control Panel window, use the drop-down menu in the top-right corner to change the view type to Small or Large icons. Then, click on Windows Defender Firewall.

Step 4: Select the Restore defaults option from the left pane.

Step 5: Select Yes when the User Account Control (UAC) prompt appears.

Step 6: Click the Restore defaults button and select Yes when the confirmation pop-up appears.

3. Reset Firewall Settings Using Advanced Security
Windows Firewall with Advanced Security is a utility that lets you set up various inbound, outbound, and connection security rules on your system. You may have set up these rules to block certain apps or programs from accessing the internet.
The app gives you the option to reset firewall settings to their default values. Here’s how to access it.
Step 1: Press the Windows key + R to open the Run dialog.
Step 2: Type wf.msc in the box, and press Enter. This will open the ‘Windows Defender Firewall with Advanced Security’ window.

Step 3: Right-click the ‘Windows Defender Firewall with Advanced Security on Local Computer’ entry in the top-left corner and select the ‘Restore Default Policy’ option.

Step 4: Select Yes to confirm.

4. Reset Firewall Settings With Command Prompt
Probably the fastest way to reset firewall settings in Windows 11 is via the Command Prompt. You can accomplish this by running a single command into the terminal window.
To reset firewall settings using Command Prompt, use these steps:
Step 1: Press the Windows key + X and select Terminal (Admin) from the list.

Step 2: Select Yes when the User Account Control (UAC) prompt appears.

Step 3: In the console, paste the following command and press Enter:
netsh advfirewall reset

And that’s about it. Once you run the above command, Windows will restore the firewall settings to their default values.
5. Reset Firewall Settings With Windows PowerShell
If you prefer to use Windows PowerShell instead of Command Prompt, you can use the following steps to reset firewall settings on your PC.
Step 1: Open the Windows search menu, type in Windows PowerShell, and click on Run as Administrator.

Step 2: Select Yes when the User Account Control (UAC) prompt appears.

Step 3: Paste the following command and press Enter to reset the firewall settings.
(New-Object -ComObject HNetCfg.FwPolicy2).RestoreLocalFirewallDefaults()

After running the above command, Windows will restore all the firewall settings on your computer.
A Fresh Start
Your computer’s firewall is your first line of defence against malicious threats and incoming connections. If you ever mess up these firewall settings, it’s easy to reset them. Let us know which method you’ll employ to reset Windows firewall settings in the comments below.
Was this helpful?
Last updated on 12 October, 2022
The article above may contain affiliate links which help support Guiding Tech. The content remains unbiased and authentic and will never affect our editorial integrity.


