Method 1: Change Screen Timeout Using Settings
You can easily change the Windows 11 screen timeout duration using the Settings app. This will allow you to adjust the screen timeout duration for when your device is plugged in and on battery power. Follow the below steps to do it.
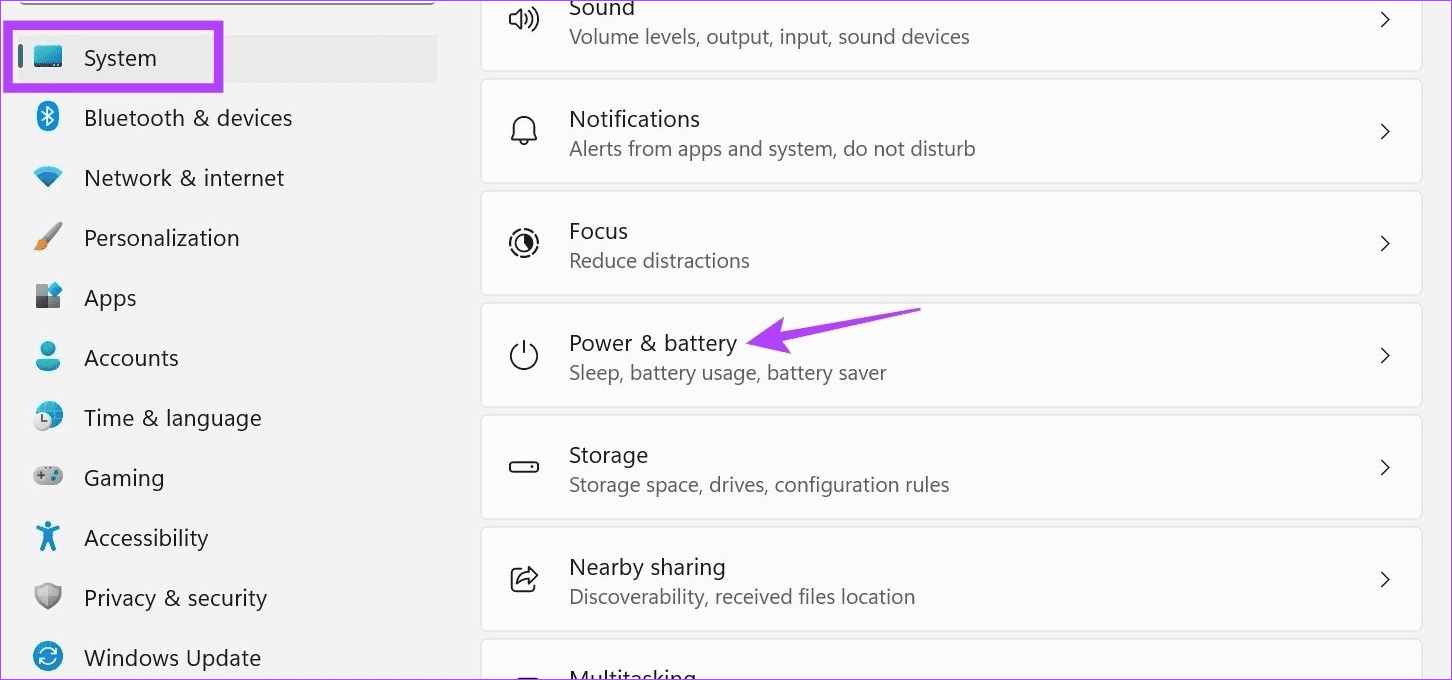
Step 1: Use the Windows + I key to open Settings. Click on System from the sidebar > Power & battery.
Step 2: Here, click on Screen and sleep to expand the options.
Step 3: Now, click on the drop-down next to the On battery power, turn off my screen after to adjust the screen timeout duration when on battery power.
Step 4: Then, click on the drop-down menu for When plugged in, turn off my screen after, and select the screen timeout duration for when your device is plugged in.

Also Read: How to fix Windows 11 screen keeps locking automatically
Method 2: Change Screen Timeout Using Control Panel
Two ways can be used to change screen timeout in Windows 11 when using the Control Panel. So, besides using the Power Options menu, you can also use the Advanced Power Plan settings to make the necessary changes. Here’s how to do it.
I. Using Power Options
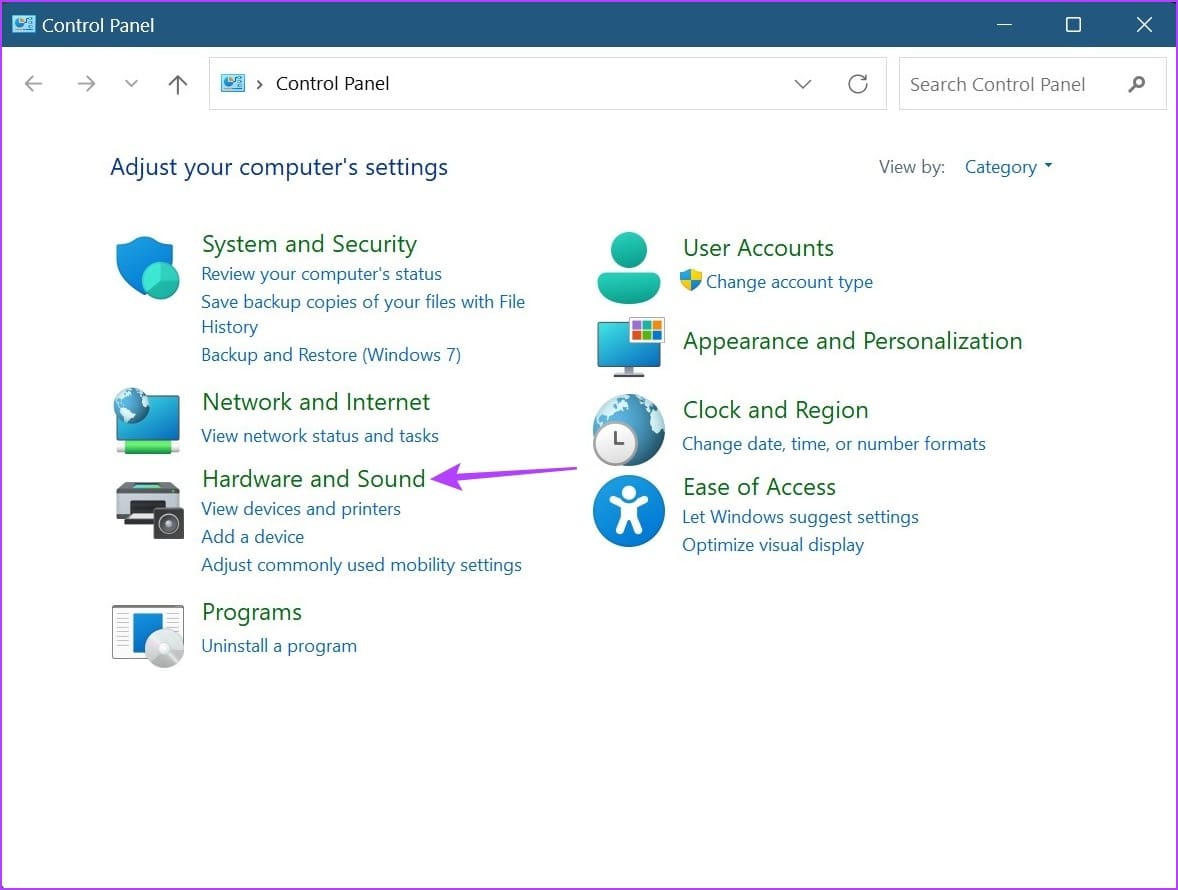
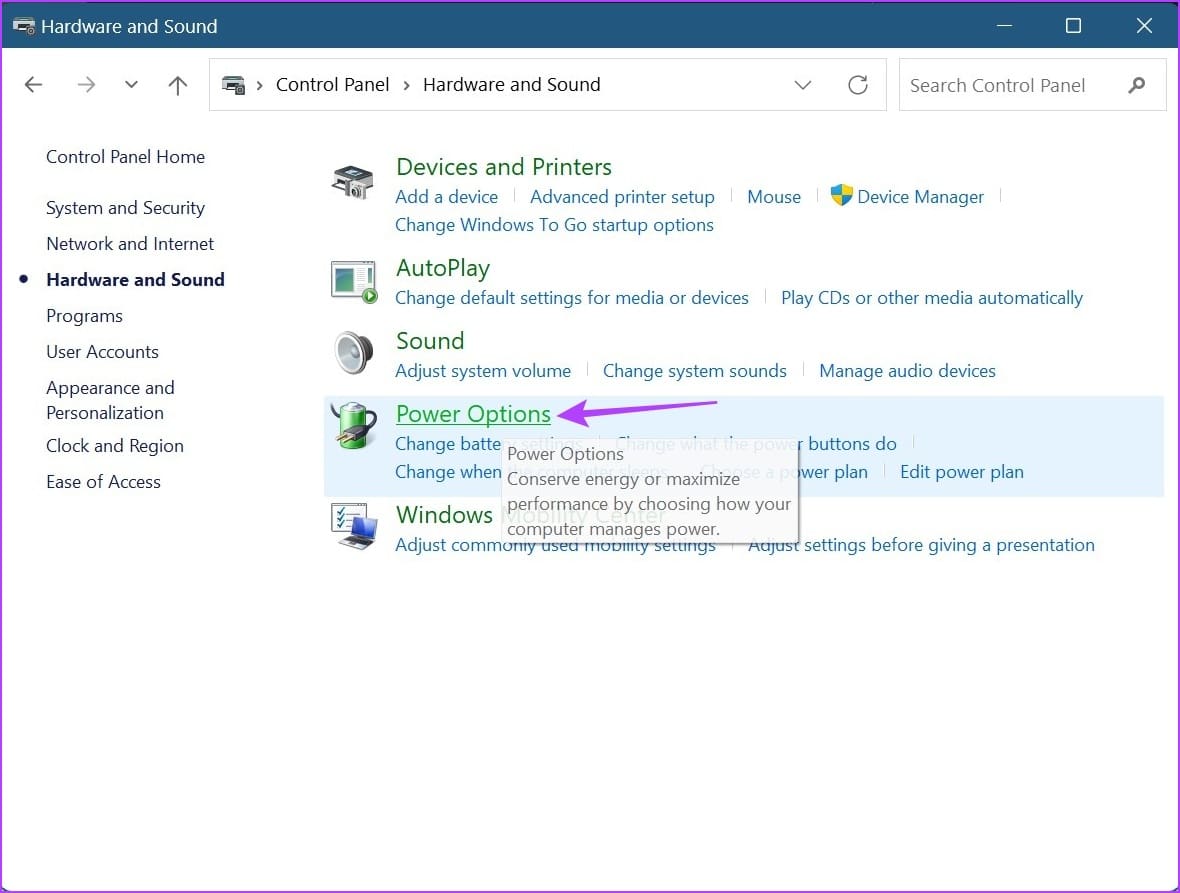
Step 1: Open the Control Panel and click on Hardware and Sound.
Step 3: Here, click on Power Options.
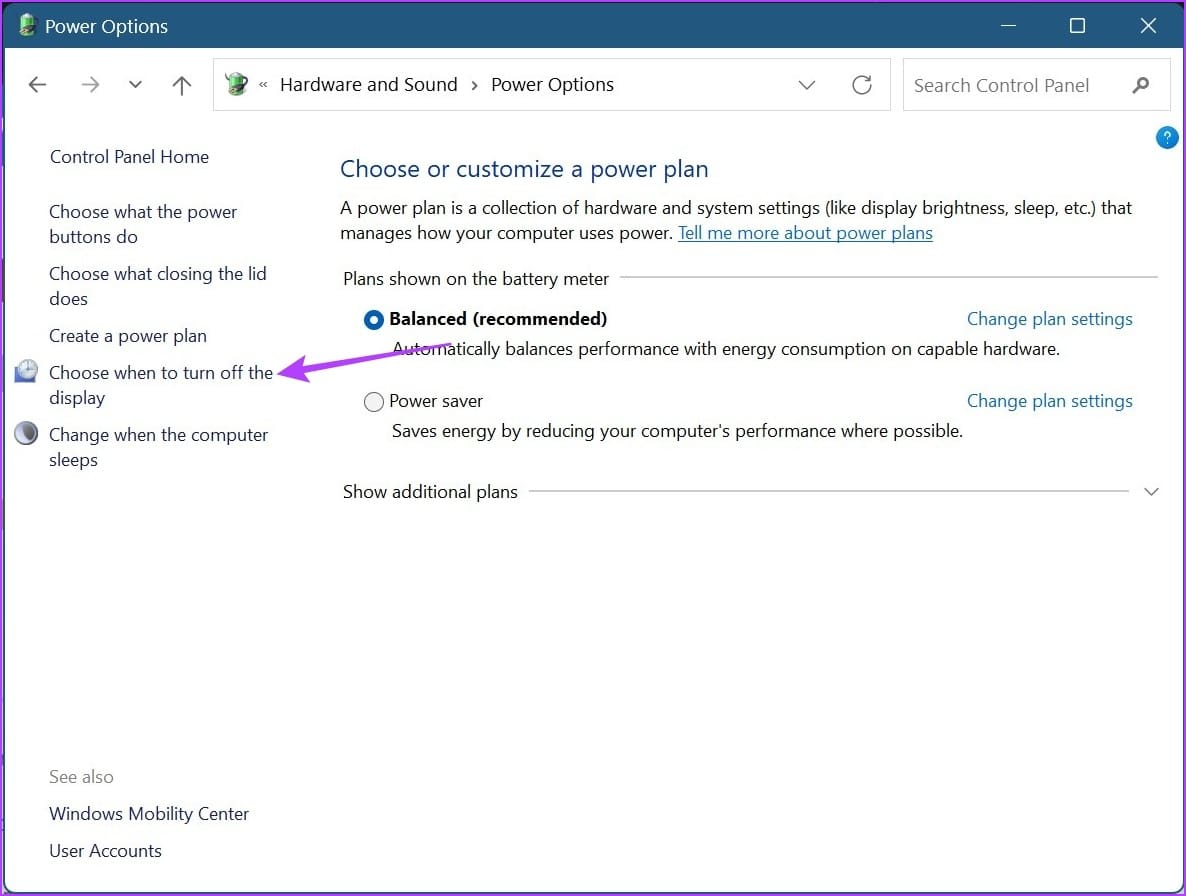
Step 4: From the sidebar, click on Choose when to turn off the display.
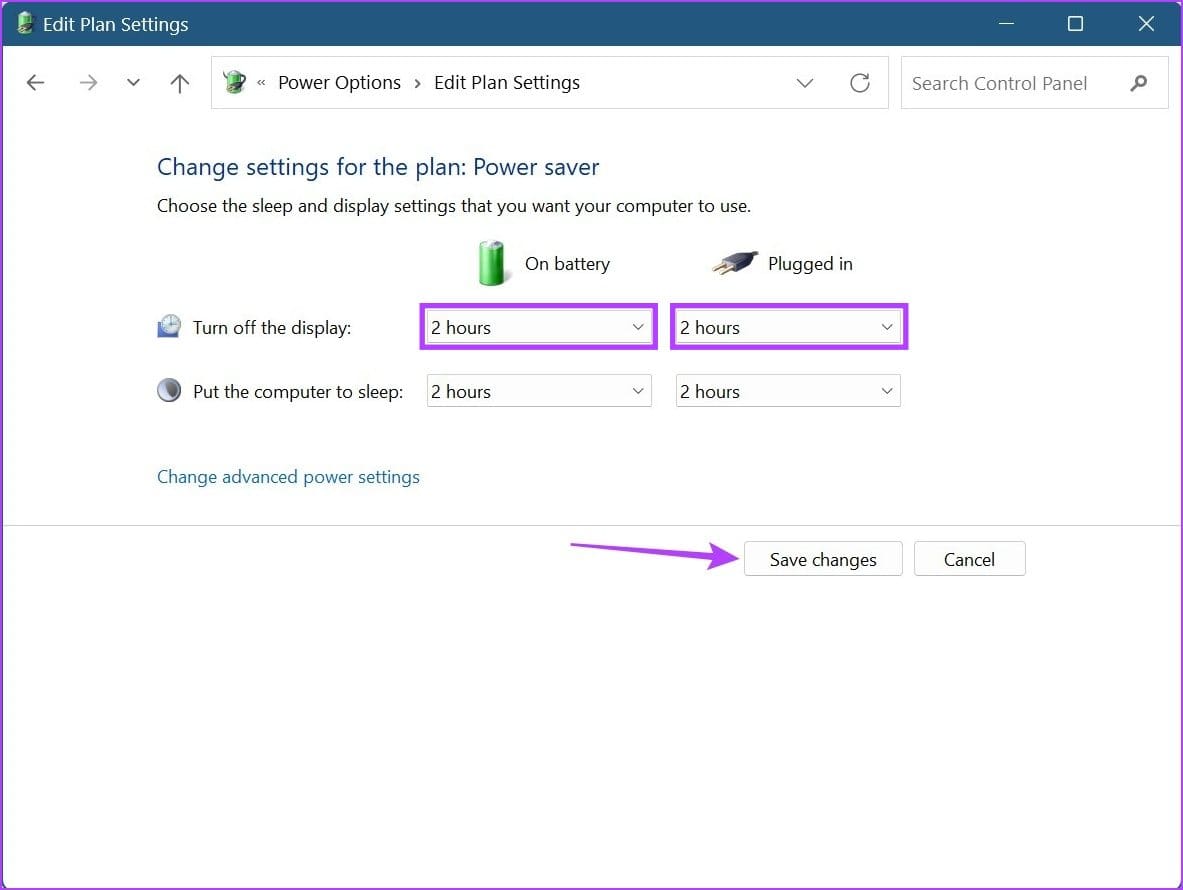
Step 5: Click on the first drop-down in front of Turn off the display to adjust screen timeout when on battery power.
Step 6: Then, click on the second drop-down to select the preferred screen timeout duration for when your device is plugged in. Once done, click on Save changes.
II. Using Advanced Power Plan Settings
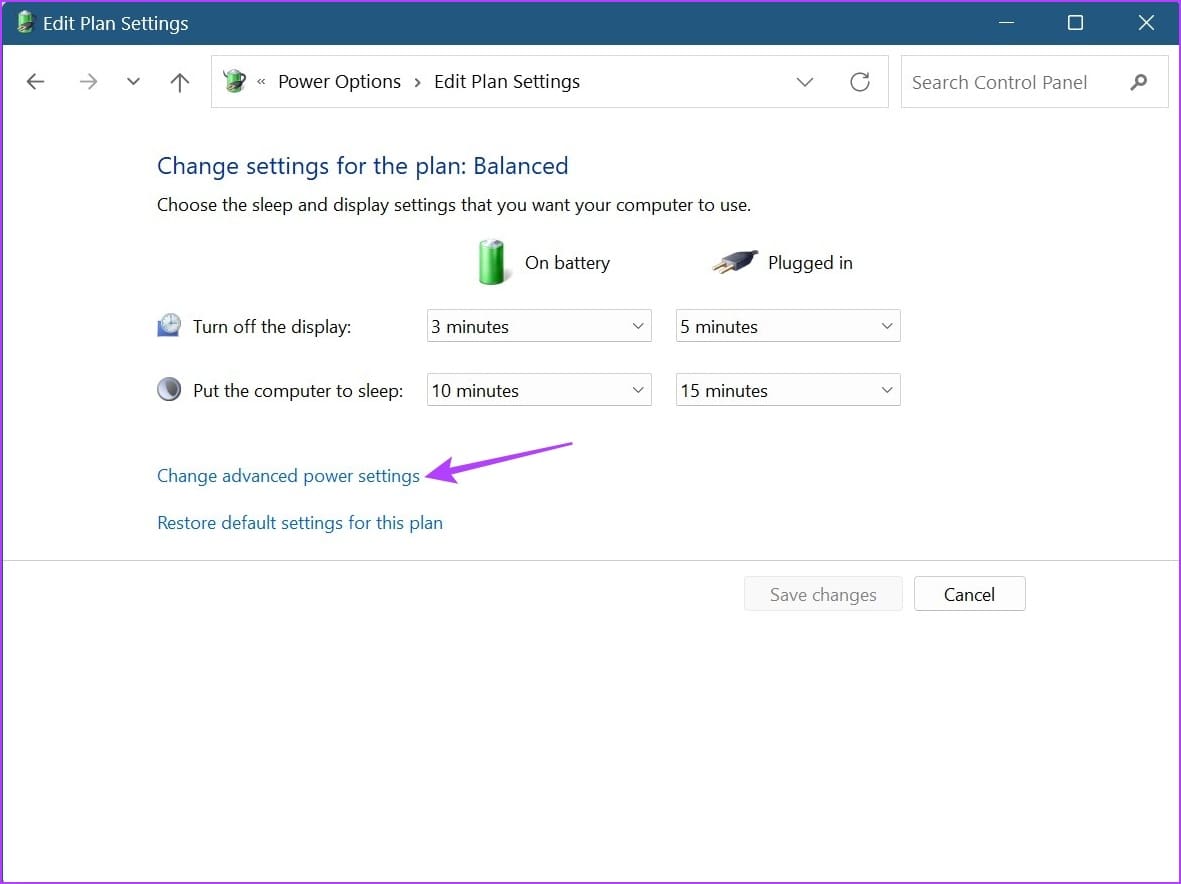
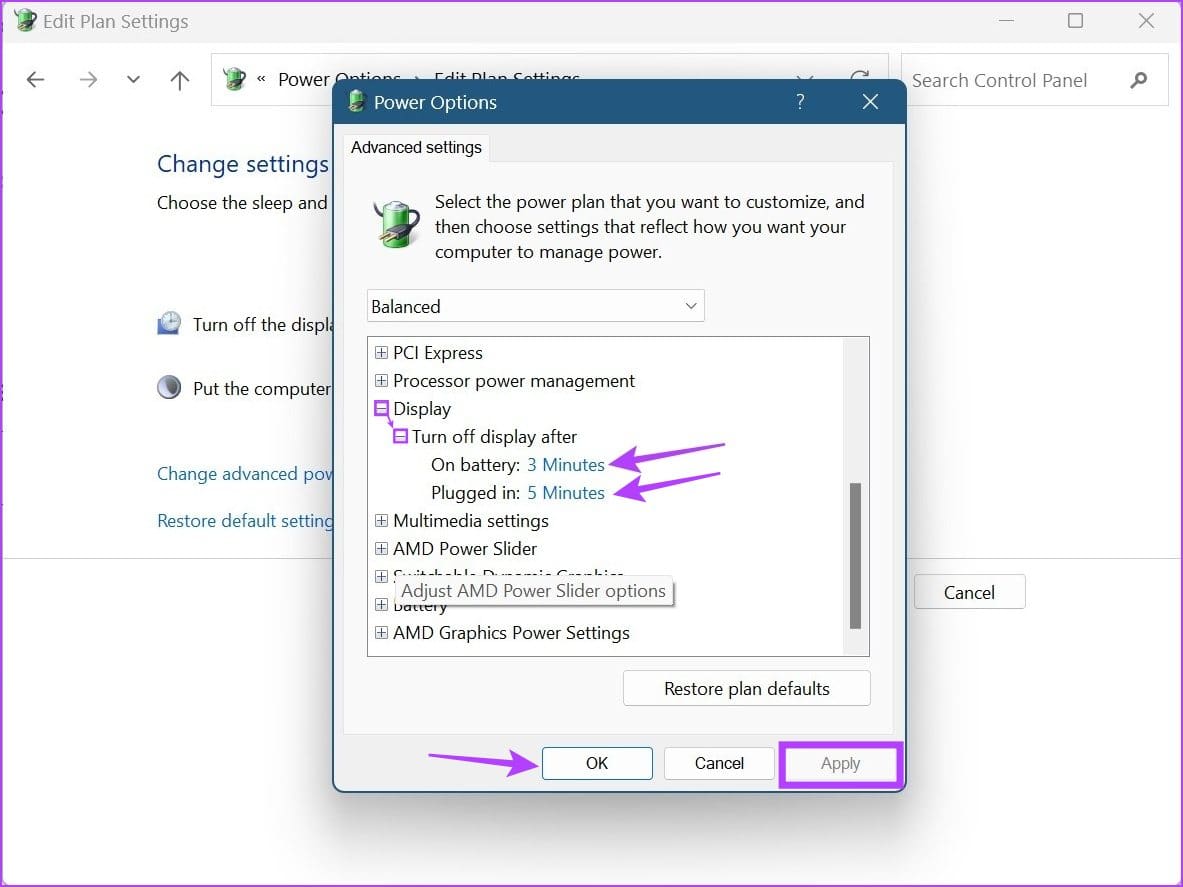
Step 1: On the Edit Plan Settings page in the Control Panel, click on Change advanced power settings.
Step 2: Scroll down and click on Display. Once it expands, click on Turn off display after. Then, click on the time duration in front of On battery and select a duration.
Step 3: Click on the time duration for Plugged in and select a duration. Then, click on Apply and OK to save and exit the window.
Tip: You can also use the Registry Editor to change the screen timeout settings in Windows 11. However, if you’re unfamiliar with it, it can cause issues with critical Windows 11 resources.
Method 3: Modify Screen Timeout Using Command Prompt
While you can also use the Command Prompt to modify screen timeout in Windows 11, unlike the ways listed above, here you will have to input the exact duration you want in minutes. Here’s how.
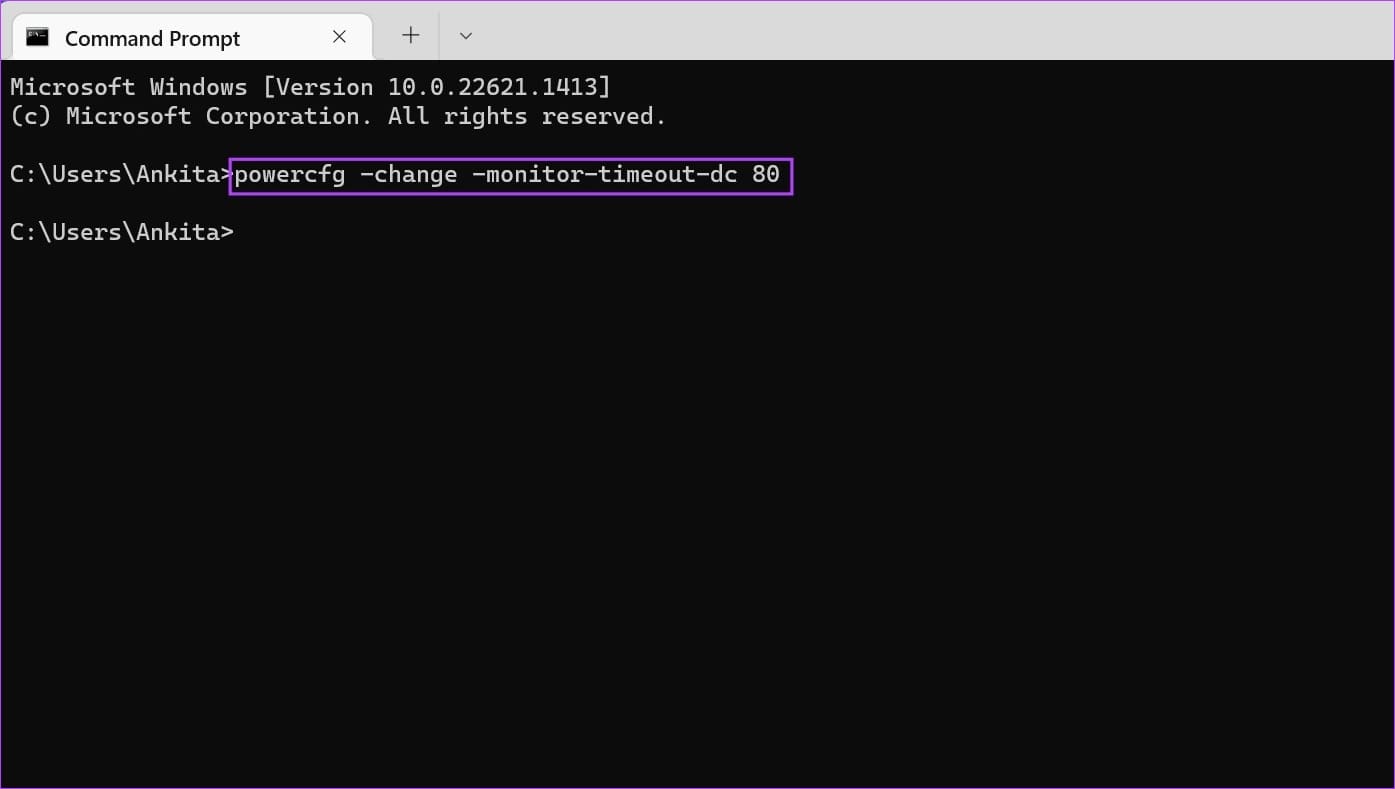
Step 1: Open Command Prompt and type the following command. Replace the x with the time duration you want to set. This value should be in minutes.
powercfg -change -monitor-timeout-dc x
Step 2: Then, press enter. This will change the screen timeout duration when your device is on battery power.
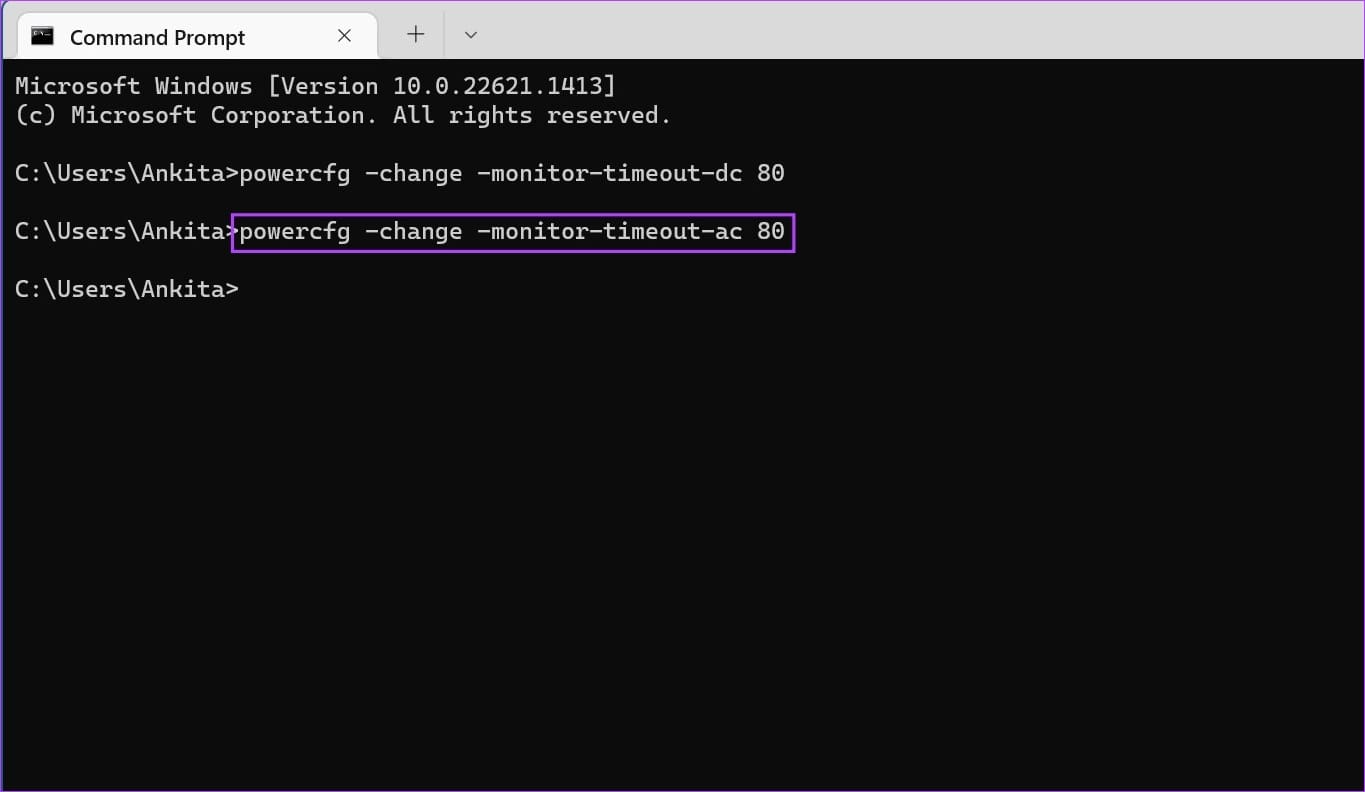
Step 3: You can also type the following command to change the screen timeout duration when your device is plugged in. Replace the x with your desired duration in minutes and press enter.
powercfg -change -monitor-timeout-ac x
If you want, you can also set up wake timers using the Command Prompt to make your Windows 11 device’s screen wake up at a scheduled time.
Was this helpful?
Last updated on 23 April, 2024
Read Next
 3 Best Ways to Adjust Brightness on External Monitor in Windows 10
One can easily adjust the screen brightness of their Windows 10 laptop or computer using the slider in the Action Center or with buttons on the keyboard.
3 Best Ways to Adjust Brightness on External Monitor in Windows 10
One can easily adjust the screen brightness of their Windows 10 laptop or computer using the slider in the Action Center or with buttons on the keyboard.
 3 Ways to Adjust Windows Microphone Volume
Method 1: Increase Mic Volume in Settings Step 1: Open the Settings app.
3 Ways to Adjust Windows Microphone Volume
Method 1: Increase Mic Volume in Settings Step 1: Open the Settings app.
 6 Best Ways to Adjust the Display Brightness on Windows 11
Whether you're working late into the night or working outdoors, having the perfect brightness level on your Windows machine can make all the difference.
6 Best Ways to Adjust the Display Brightness on Windows 11
Whether you're working late into the night or working outdoors, having the perfect brightness level on your Windows machine can make all the difference.
 How to Adjust AutoCorrect Settings in Microsoft Word
How to Enable or Disable AutoCorrect on Microsoft Word By default, the AutoCorrect feature relies on the library of the words from the language you've chosen to use in the
How to Adjust AutoCorrect Settings in Microsoft Word
How to Enable or Disable AutoCorrect on Microsoft Word By default, the AutoCorrect feature relies on the library of the words from the language you've chosen to use in the
 How to Adjust Audio Balance in Windows 10
Have you ever paid careful attention to the sound on a Windows 10 computer and found something was off?
How to Adjust Audio Balance in Windows 10
Have you ever paid careful attention to the sound on a Windows 10 computer and found something was off?
 3 Ways to Adjust the Page Margin in Microsoft Word
Method 1: Adjust the Page Margin of a Word Document Using the Ruler Step 1: Open the Word document to adjust the page margin.
3 Ways to Adjust the Page Margin in Microsoft Word
Method 1: Adjust the Page Margin of a Word Document Using the Ruler Step 1: Open the Word document to adjust the page margin.
 How to Adjust Volume on Apple Watch
Turn Up or Down the Volume on Your Apple Watch Step 1: Press the Digital Crown once and tap on Settings on your Apple Watch.
How to Adjust Volume on Apple Watch
Turn Up or Down the Volume on Your Apple Watch Step 1: Press the Digital Crown once and tap on Settings on your Apple Watch.
 3 Ways to Adjust Resolution for Second Display on Mac
https://youtu.be/62dyX2dyuUw Method 1: Tweak Display Scaling Level for External Monitor If you don’t want to deal with third-party apps, you can tweak the display with these simple steps.
3 Ways to Adjust Resolution for Second Display on Mac
https://youtu.be/62dyX2dyuUw Method 1: Tweak Display Scaling Level for External Monitor If you don’t want to deal with third-party apps, you can tweak the display with these simple steps.
The article above may contain affiliate links which help support Guiding Tech. The content remains unbiased and authentic and will never affect our editorial integrity.