Try Basic Fixes
- Disconnect and reconnect the mouse: Unplug your mouse cable or wireless adapter from your computer and reconnect it to a different port. If you’re using a USB hub, try connecting your mouse directly and see if it works. If it’s a Bluetooth mouse, unpair the device from Windows and pair it again.
- Check your mouse: Low mouse batteries can also cause inconsistent scrolling and tracking problems. Try replacing the batteries or charging your mouse and see if that helps. While at it, clean your mouse and ensure that dirt is not clogging the mouse wheel.
- Install pending Windows updates: Microsoft regularly releases updates for Windows 10 and Windows 11 to address known bugs and improve system stability. Hence, it’s a good idea to install them.
Fix 1: Modify Mouse Scrolling Settings
The Settings app lets you modify mouse settings such as the primary button, pointer speed, scrolling preferences, and more. You can go through these settings to ensure your mouse isn’t configured to scroll on inactive windows and adjust the scrolling speed to your liking.
Step 1: Press the Windows key + I to open the Settings app and head to Bluetooth & devices > Mouse.

Step 2: Under the Scrolling section, use the drop-down menu next to Roll the mouse wheel to scroll and select your preferred option. Then, use the slider to adjust the scrolling speed.

Step 3: Disable the switch next to Scroll inactive windows when hovering over them.

Fix 2: Run Hardware and Devices Troubleshooter
The hardware and devices troubleshooter on Windows can automatically scan your external devices for problems and apply appropriate fixes. This tool can also help fix abnormal mouse scrolling on Windows.
To run the hardware and devices troubleshooter on Windows:
Step 1: Press the Windows key + R to open the Run dialog box. Type msdt.exe -id DeviceDiagnostic in the box and press Enter.
Step 2: Click Next and follow the on-screen prompts to run the troubleshooter.

Fix 3: Update Mouse Drivers
A mouse driver governs how your mouse interacts with your computer. The mouse drivers on your PC might be malfunctioning and causing your mouse to scroll automatically. You can update the existing mouse drivers to check if that improves the situation.
Step 1: Right-click on the Start icon and select Device Manager from the list.

Step 2: Expand Mice and other pointing devices, right-click on your mouse, and select the Update driver option.

From there, follow the on-screen prompts to update the mouse drivers. If the issue remains even after that, the mouse driver may be corrupt or damaged. In that case, you’ll need to uninstall the problematic driver and restart your PC. Windows will need to install the mouse driver and your mouse will function normally.

Was this helpful?
Last updated on 18 July, 2024
Read Next
 7 Best Ways to Fix Mouse Wheel Scrolls Up When Scrolling Down Issue
Recently, my wireless mouse started throwing tantrums.
7 Best Ways to Fix Mouse Wheel Scrolls Up When Scrolling Down Issue
Recently, my wireless mouse started throwing tantrums.
 How to Stop Facebook From Scrolling Automatically
Basic Fixes Update your web browser: Ensure that you use the latest version of your preferred web browser.
How to Stop Facebook From Scrolling Automatically
Basic Fixes Update your web browser: Ensure that you use the latest version of your preferred web browser.
 3 Ways to Fix Windows 11 Screen Keeps Locking Automatically
Fix 1: Increase Lock Screen Timeout You can start by verifying the set lock screen timeout duration on your PC.
3 Ways to Fix Windows 11 Screen Keeps Locking Automatically
Fix 1: Increase Lock Screen Timeout You can start by verifying the set lock screen timeout duration on your PC.
 4 Fixes When Mouse Keeps Clicking on Its Own on Windows 11
Basic Fixes: Restart the computer: Restarting the computer will force all running processes and services to shut down, effectively resolving random clicking.
4 Fixes When Mouse Keeps Clicking on Its Own on Windows 11
Basic Fixes: Restart the computer: Restarting the computer will force all running processes and services to shut down, effectively resolving random clicking.
 Top 3 Touch Mouse Alternatives to Apple’s Magic Mouse
The Magic Mouse is useful for plenty of people, but some can get annoyed by its poor ergonomics.
Top 3 Touch Mouse Alternatives to Apple’s Magic Mouse
The Magic Mouse is useful for plenty of people, but some can get annoyed by its poor ergonomics.
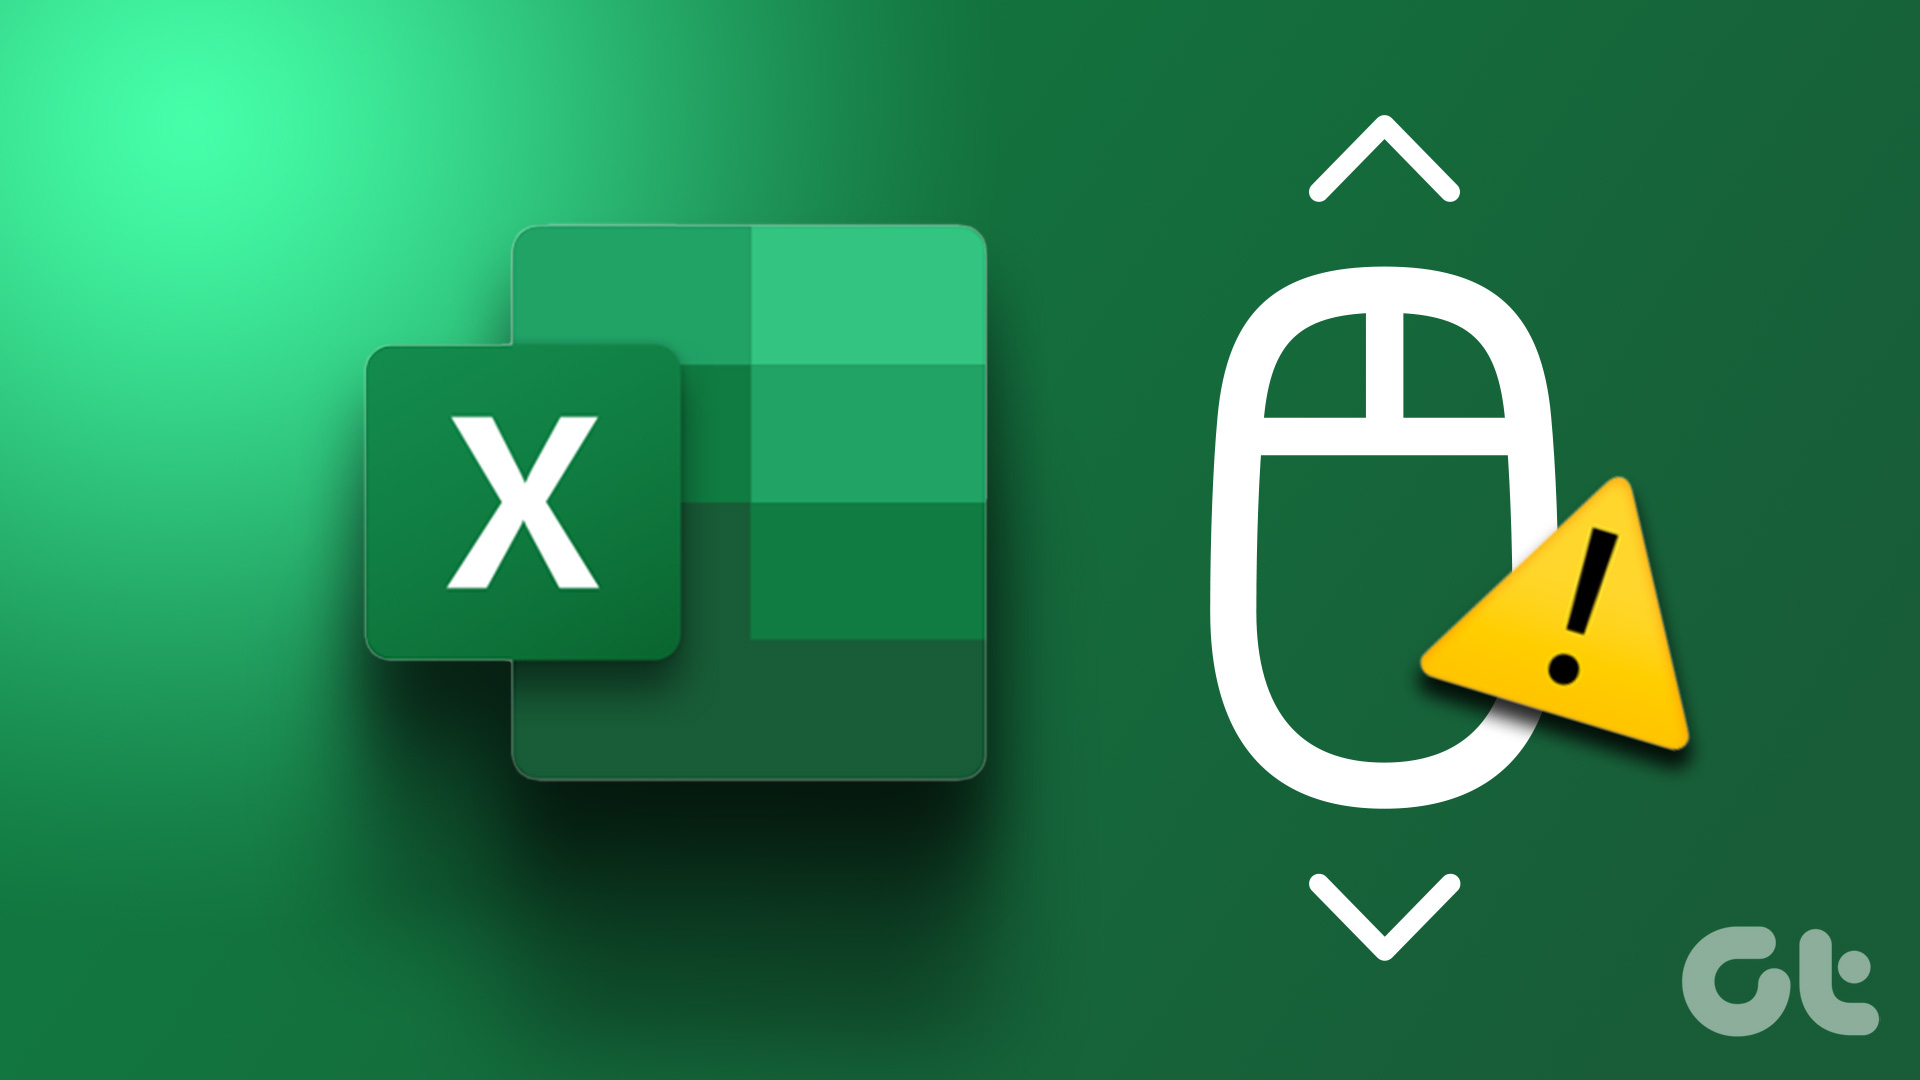 6 Ways to Fix Excel Not Scrolling Smoothly on Windows
Basic Fixes Restart PC: Restart your PC to eliminate temporary bugs and glitches.
6 Ways to Fix Excel Not Scrolling Smoothly on Windows
Basic Fixes Restart PC: Restart your PC to eliminate temporary bugs and glitches.
 6 Ways to Fix Samsung Internet Browser Keeps Opening Automatically
Fix 1: Block Pop-Ups Blocking pop-ups on Samsung Internet is one of the most effective ways to stop the browser from opening on its own.
6 Ways to Fix Samsung Internet Browser Keeps Opening Automatically
Fix 1: Block Pop-Ups Blocking pop-ups on Samsung Internet is one of the most effective ways to stop the browser from opening on its own.
 3 Ways to Take Scrolling Screenshots in Windows 11
Method 1: Using Microsoft Edge Microsoft Edge offers a handy Web Capture tool to snap and annotate screenshots.
3 Ways to Take Scrolling Screenshots in Windows 11
Method 1: Using Microsoft Edge Microsoft Edge offers a handy Web Capture tool to snap and annotate screenshots.
The article above may contain affiliate links which help support Guiding Tech. The content remains unbiased and authentic and will never affect our editorial integrity.