Method 1: Using the Settings App
The PC imports your information when you sign in to a Windows PC using your Microsoft Account details. After that, you must update your Microsoft Account to change your Administrator name. Here’s how to do so:
Step 1: Press Windows + I on your PC to open the Settings app.
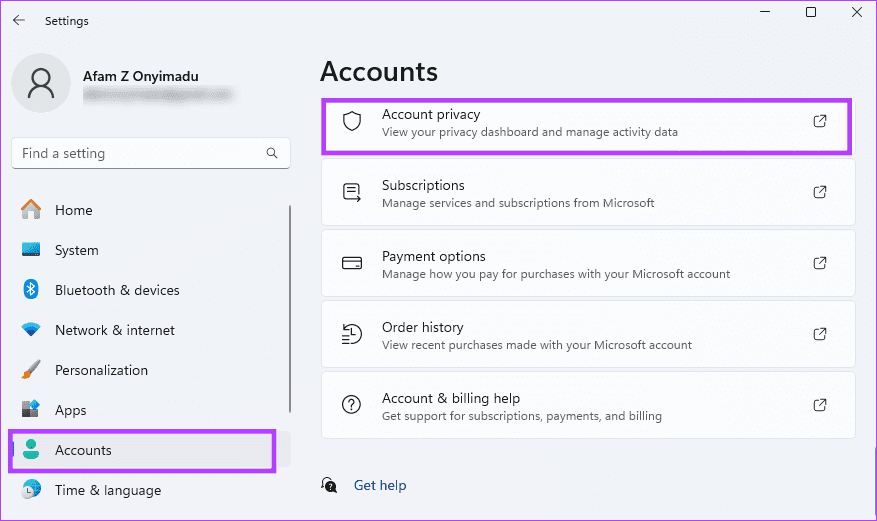
Step 2: On the left pane, click Accounts; on the right, click Account Privacy in the Related settings section.
Step 3: Sign into your account.
Step 4: On the left pane, click Your info, and click the Edit name option on the right.
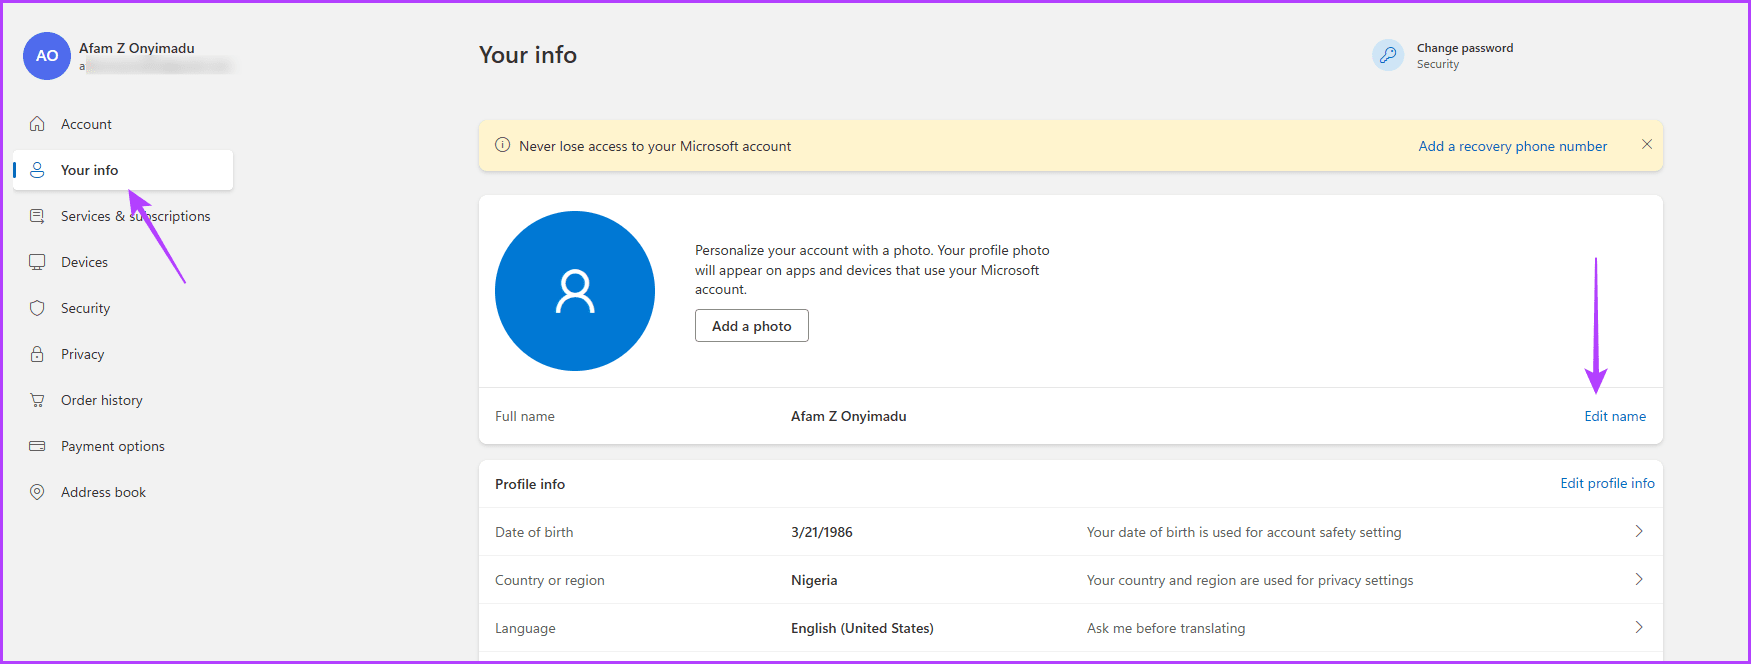
Step 5: Provide the First name and Surname you want displayed as your administrator name on your PC.

Step 6: Fill in the captcha and click on Save.

Step 7: Restart your PC to enable the changes.
Method 2: Using the Control Panel
If you have not linked your local Windows account to your Microsoft Account, you can use the Windows Control Panel to change the administrator name of your local account. Here are the steps to follow:
Step 1: On your PC, click on the Start menu.

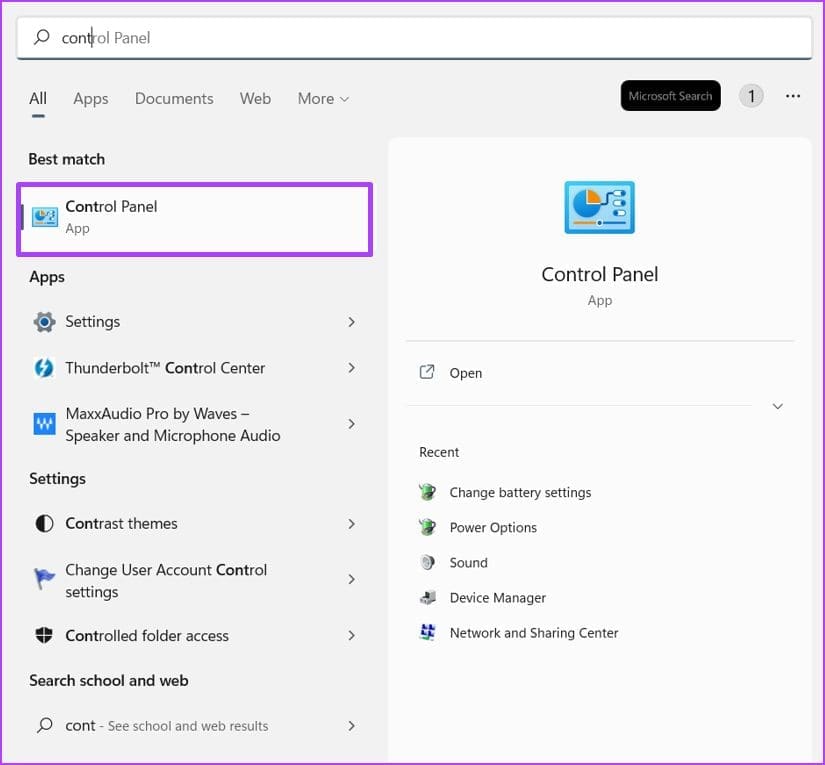
Step 2: On the search bar, type Control Panel.
Step 3: From the results, click Control Panel.
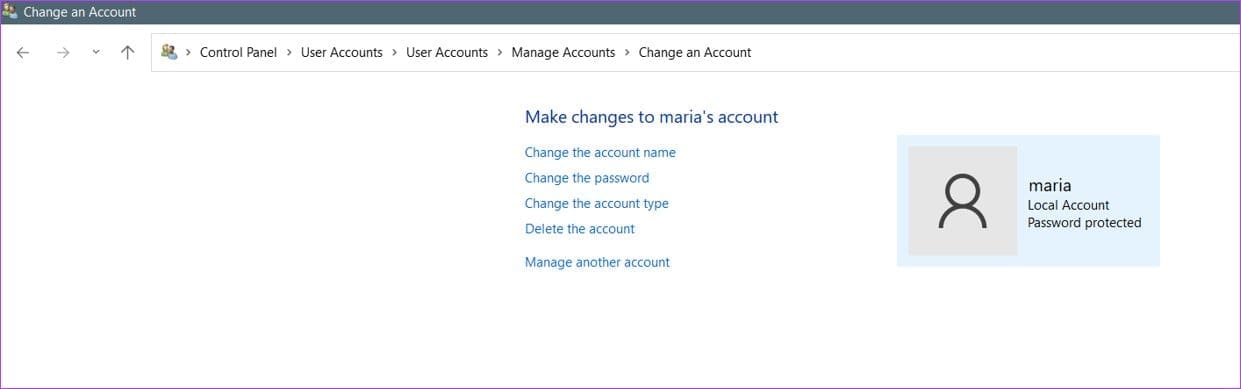
Step 4: Click on User Accounts.

Step 5: Click Change account type.

Step 6: Click on the user profile you would like to change.

Step 7: Click on Change the account name.
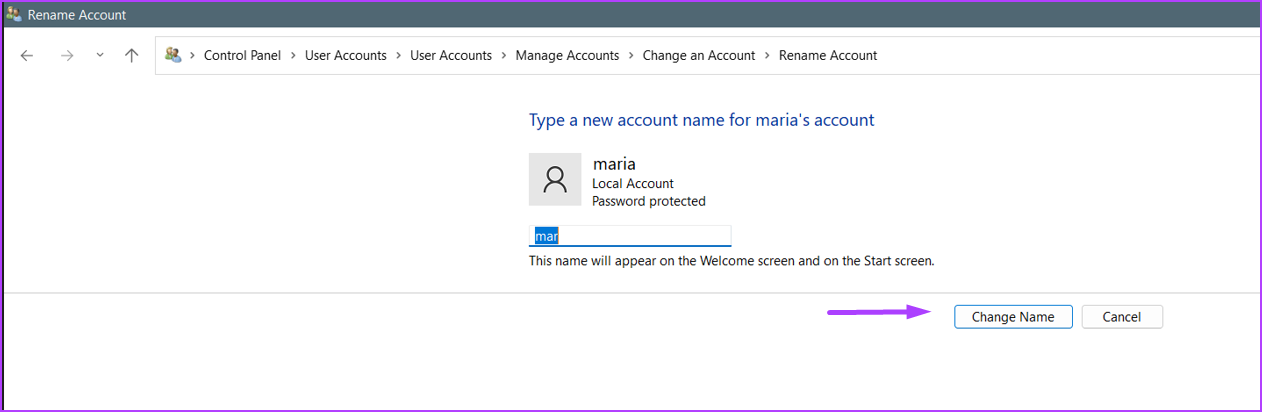
Step 8: Type the new user account name in the field provided and click on Change name to save your changes.
Method 3: Using the In-built Netplwiz Tool
Another way you can update your administrator name for an account not linked to Microsoft is by using the Netplwiz tool. Here’s how to do so:
Step 1: Press the Windows + R keys, type netplwiz, and hit Enter.

Step 2: Click on the account you want to rename and select Properties.
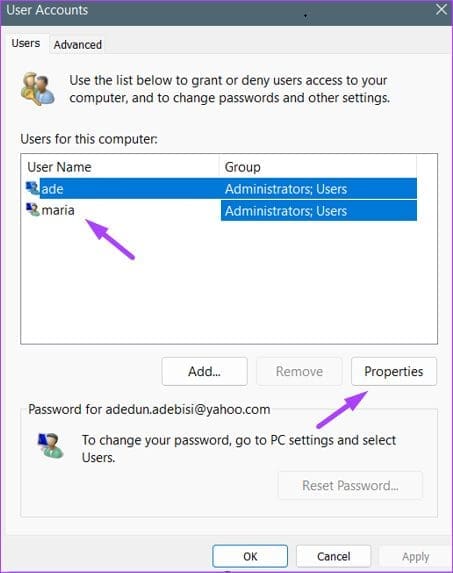
Step 3: Type in a new name on the User name field and click OK.

Method 4: Using Computer Management
Computer Management is a set of administrative tools used to manage Windows. Here are the steps to follow when making use of Computer Management to change your administrator name:
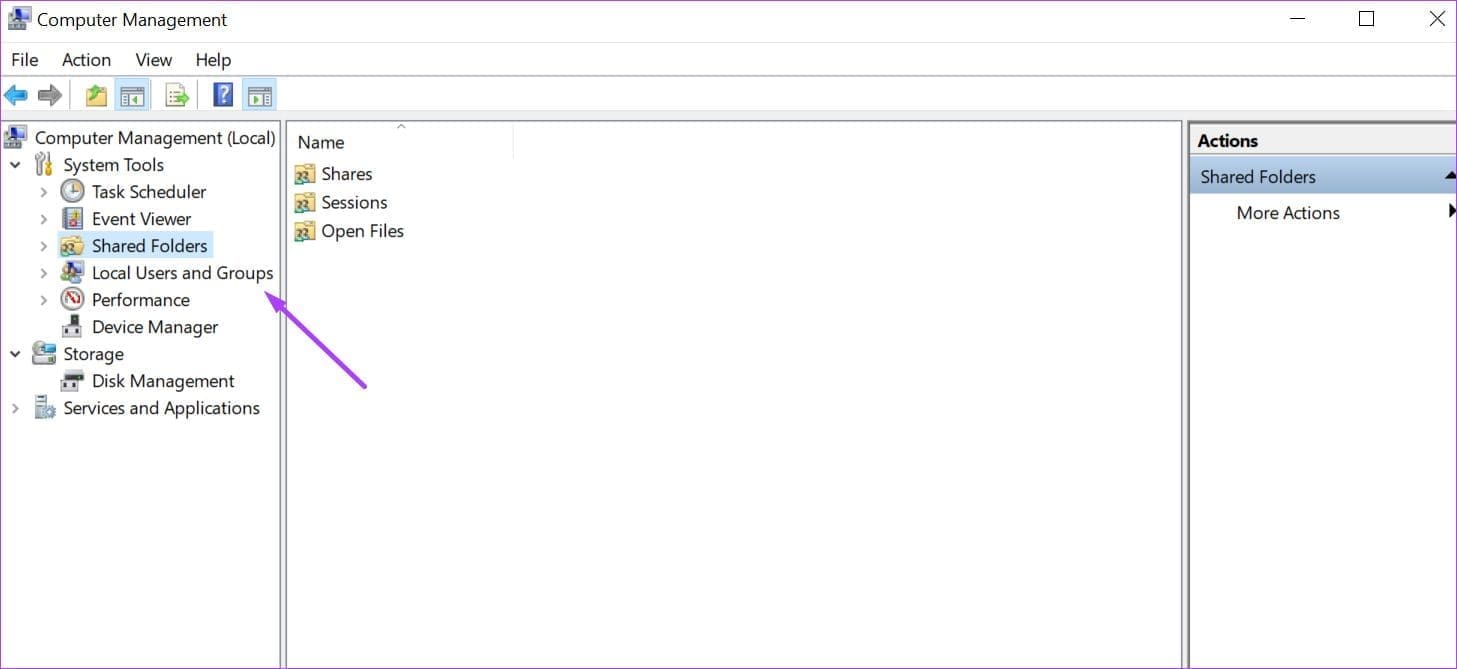
Step 1: On your PC, click on the Start menu. On the search bar, type Computer Management and click the app.

Step 2: Click on Local Users and Groups.
Step 3: Double-click on Users.

Step 4: Right-click on Administrator and select Rename.

Step 5: Type a new name for your account and restart your computer.
Was this helpful?
Last updated on 07 July, 2024
Read Next
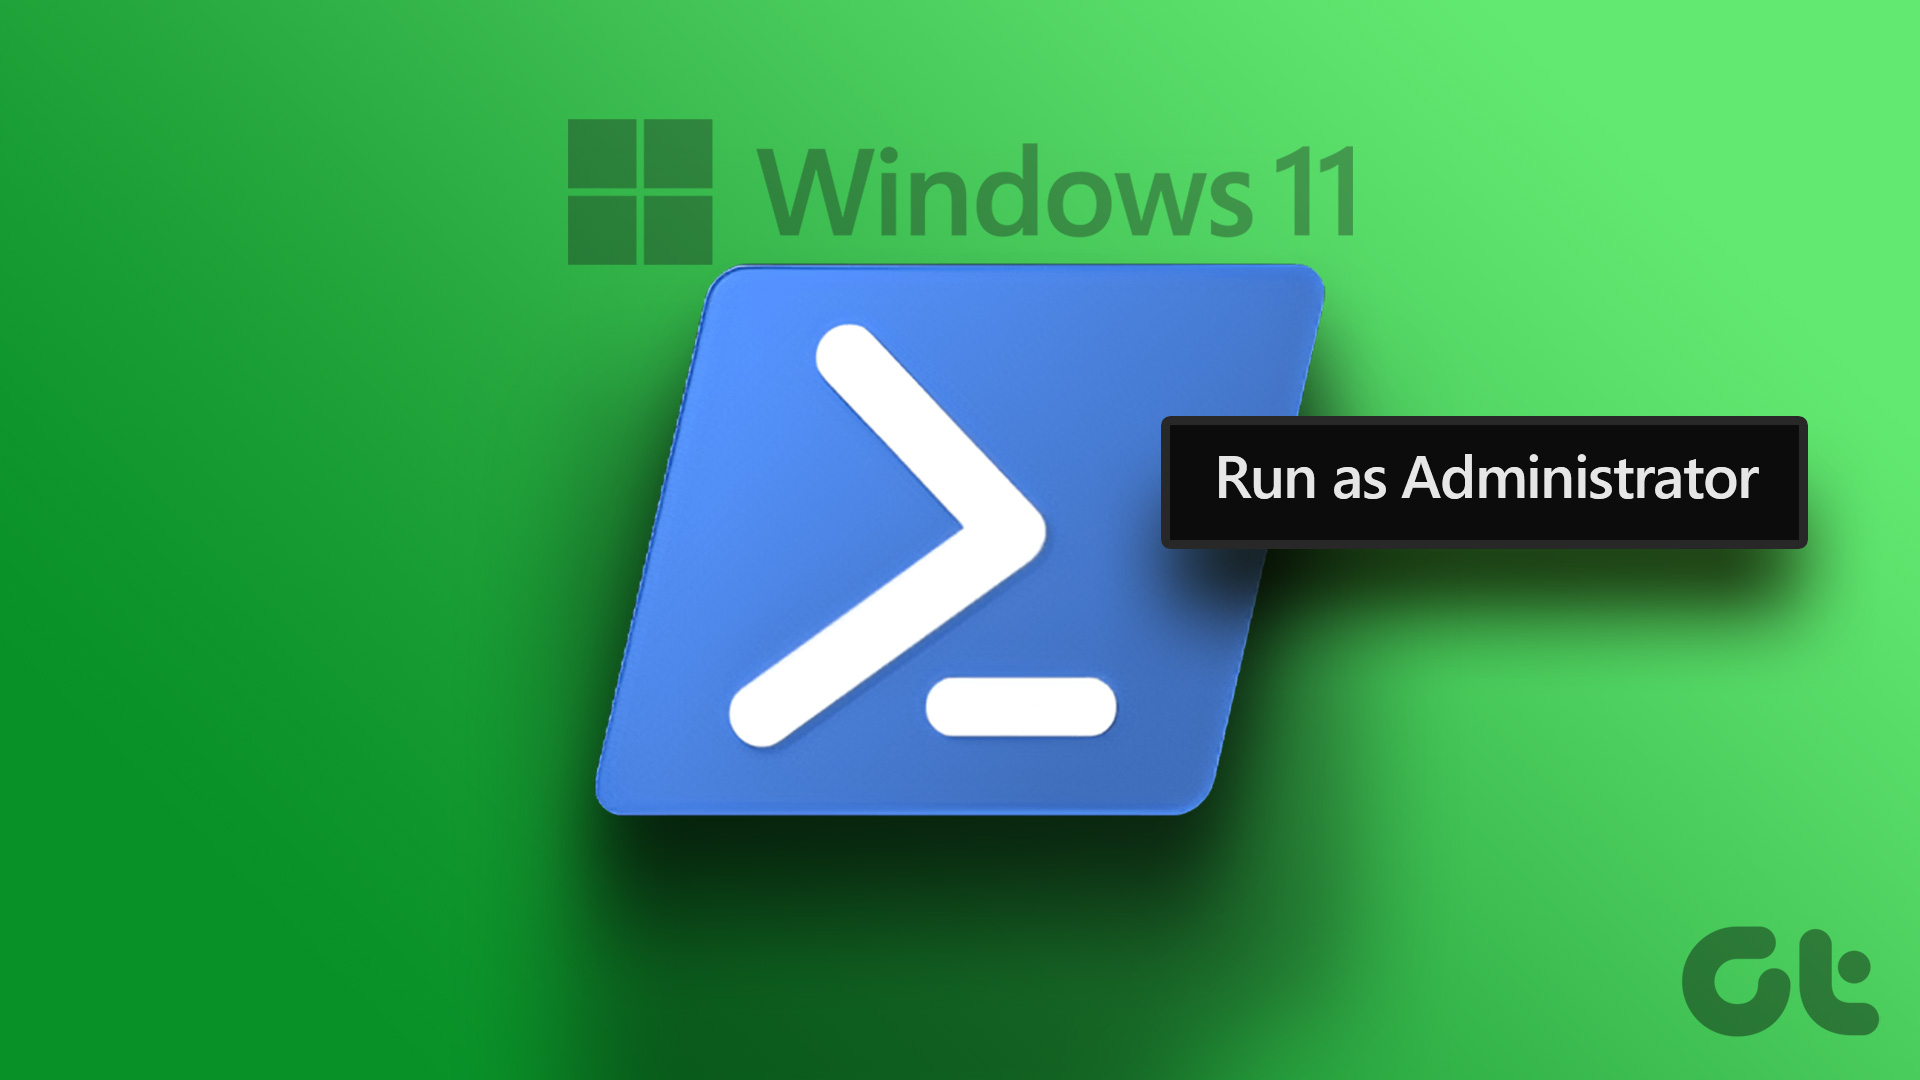 6 Ways to Run PowerShell as Administrator in Windows 11
Method 1.
6 Ways to Run PowerShell as Administrator in Windows 11
Method 1.
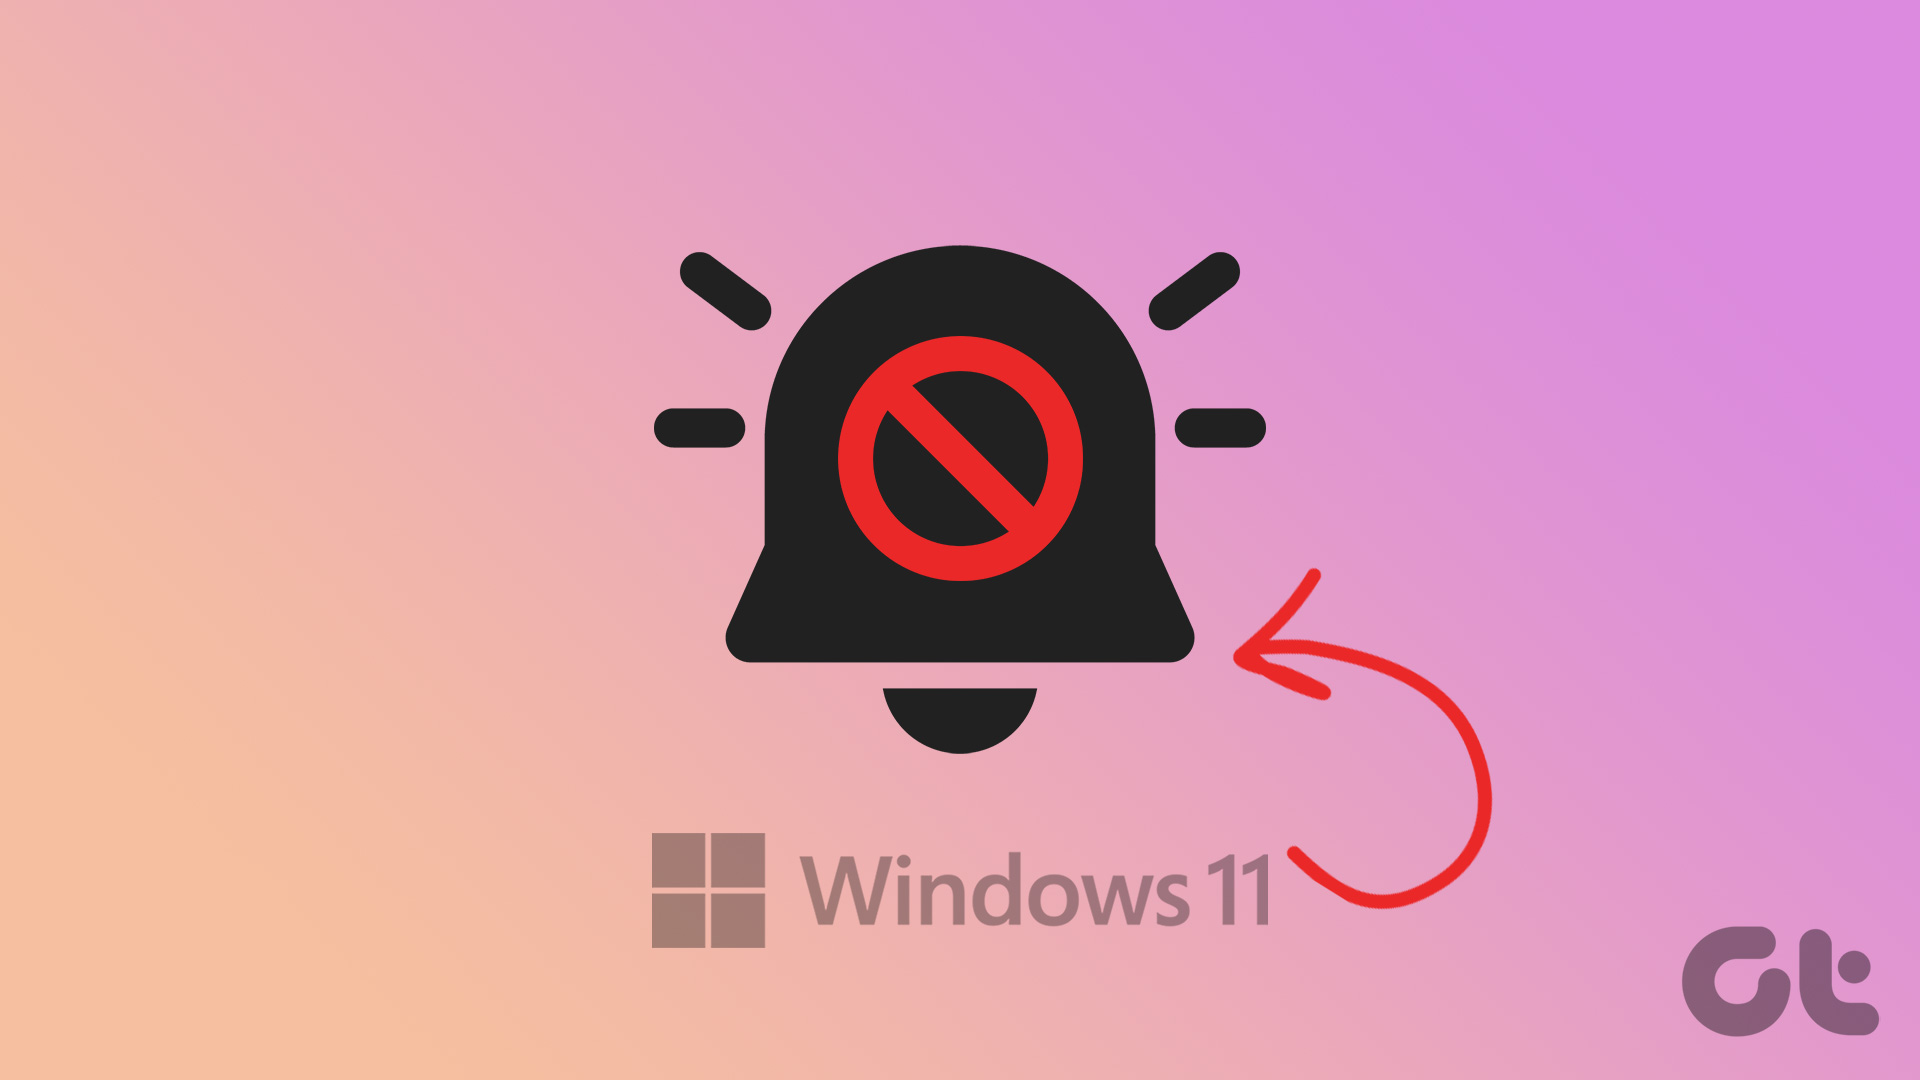
 6 Ways to Fix This Setting Is Managed by Your Administrator Error on Windows 11
Fix 1: Remove Third-Party Antivirus Some settings become unavailable in the Windows Security app after you install and run a third-party antivirus program on your PC.
6 Ways to Fix This Setting Is Managed by Your Administrator Error on Windows 11
Fix 1: Remove Third-Party Antivirus Some settings become unavailable in the Windows Security app after you install and run a third-party antivirus program on your PC.
 3 Ways to Change Priority Levels for Programs on Windows 10 and Windows 11
When Should You Change the Priority Level of a Program By default, Windows 11 assigns different priority levels to each process based on its importance.
3 Ways to Change Priority Levels for Programs on Windows 10 and Windows 11
When Should You Change the Priority Level of a Program By default, Windows 11 assigns different priority levels to each process based on its importance.
 4 Best Ways to Change Computer Name in Windows 10
How do you identify your Windows 10 computer for connecting to it over a network?
4 Best Ways to Change Computer Name in Windows 10
How do you identify your Windows 10 computer for connecting to it over a network?
 Top 3 Ways to Change Windows 10 Keyboard to US
When you unbox a new Windows computer, you can choose and add your preferred keyboard layout and language during set up.
Top 3 Ways to Change Windows 10 Keyboard to US
When you unbox a new Windows computer, you can choose and add your preferred keyboard layout and language during set up.
 How to Change or Disable Notification Sounds in Windows 11
How to Change the Default Notification Sound in Windows 11 If you’re going to hear the notification sound all day, you might as well change it to something you like.
How to Change or Disable Notification Sounds in Windows 11
How to Change the Default Notification Sound in Windows 11 If you’re going to hear the notification sound all day, you might as well change it to something you like.
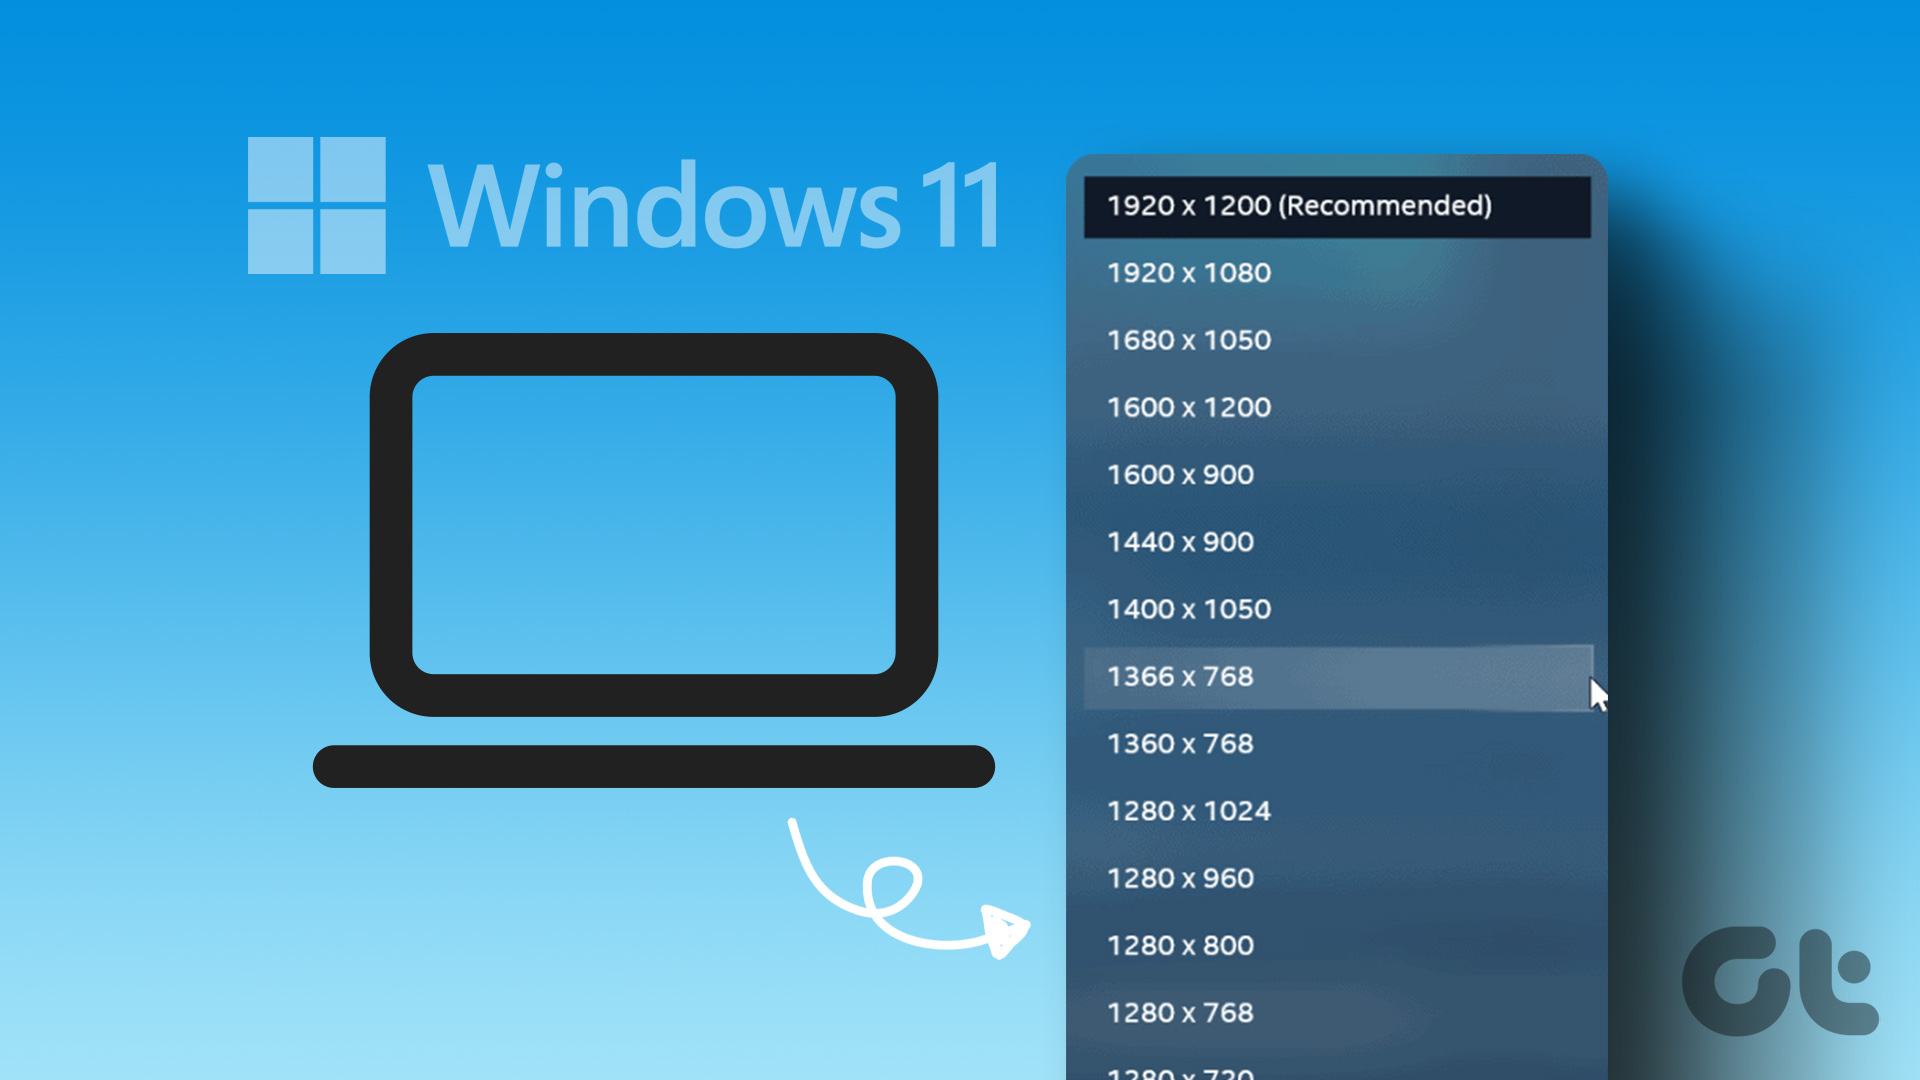 How to Change Screen Resolution in Windows 11
Method 1: Using Windows 11 Settings Menu In Windows 11, you can control or change almost every feature and option using the Settings menu.
How to Change Screen Resolution in Windows 11
Method 1: Using Windows 11 Settings Menu In Windows 11, you can control or change almost every feature and option using the Settings menu.
 Top 4 Ways to Change New Outlook Back to Old (Classic View) Outlook on Windows and Mac
The new Outlook app for desktop boasts a modern and simplified design, aligning it more closely with the web version of Microsoft Outlook.
Top 4 Ways to Change New Outlook Back to Old (Classic View) Outlook on Windows and Mac
The new Outlook app for desktop boasts a modern and simplified design, aligning it more closely with the web version of Microsoft Outlook.
The article above may contain affiliate links which help support Guiding Tech. The content remains unbiased and authentic and will never affect our editorial integrity.