Method 1: Using Windows 11 Settings Menu
In Windows 11, you can control or change almost every feature and option using the Settings menu. So, follow these steps to check the current screen resolution in your Windows 11 device and change it to your preferred one using the Settings menu.
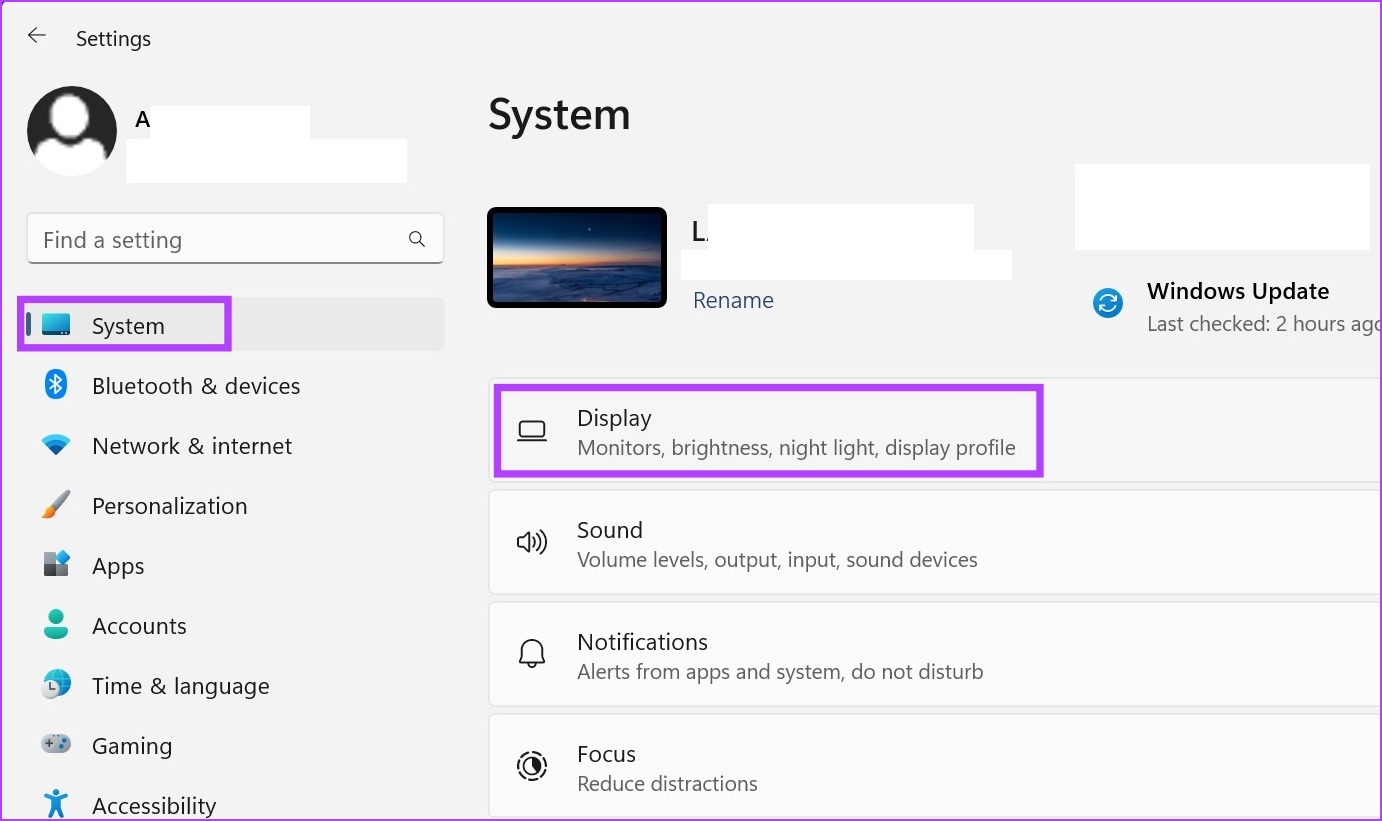
Step 1: Use the Windows + I key to open Settings. From the System tab, click on Display.
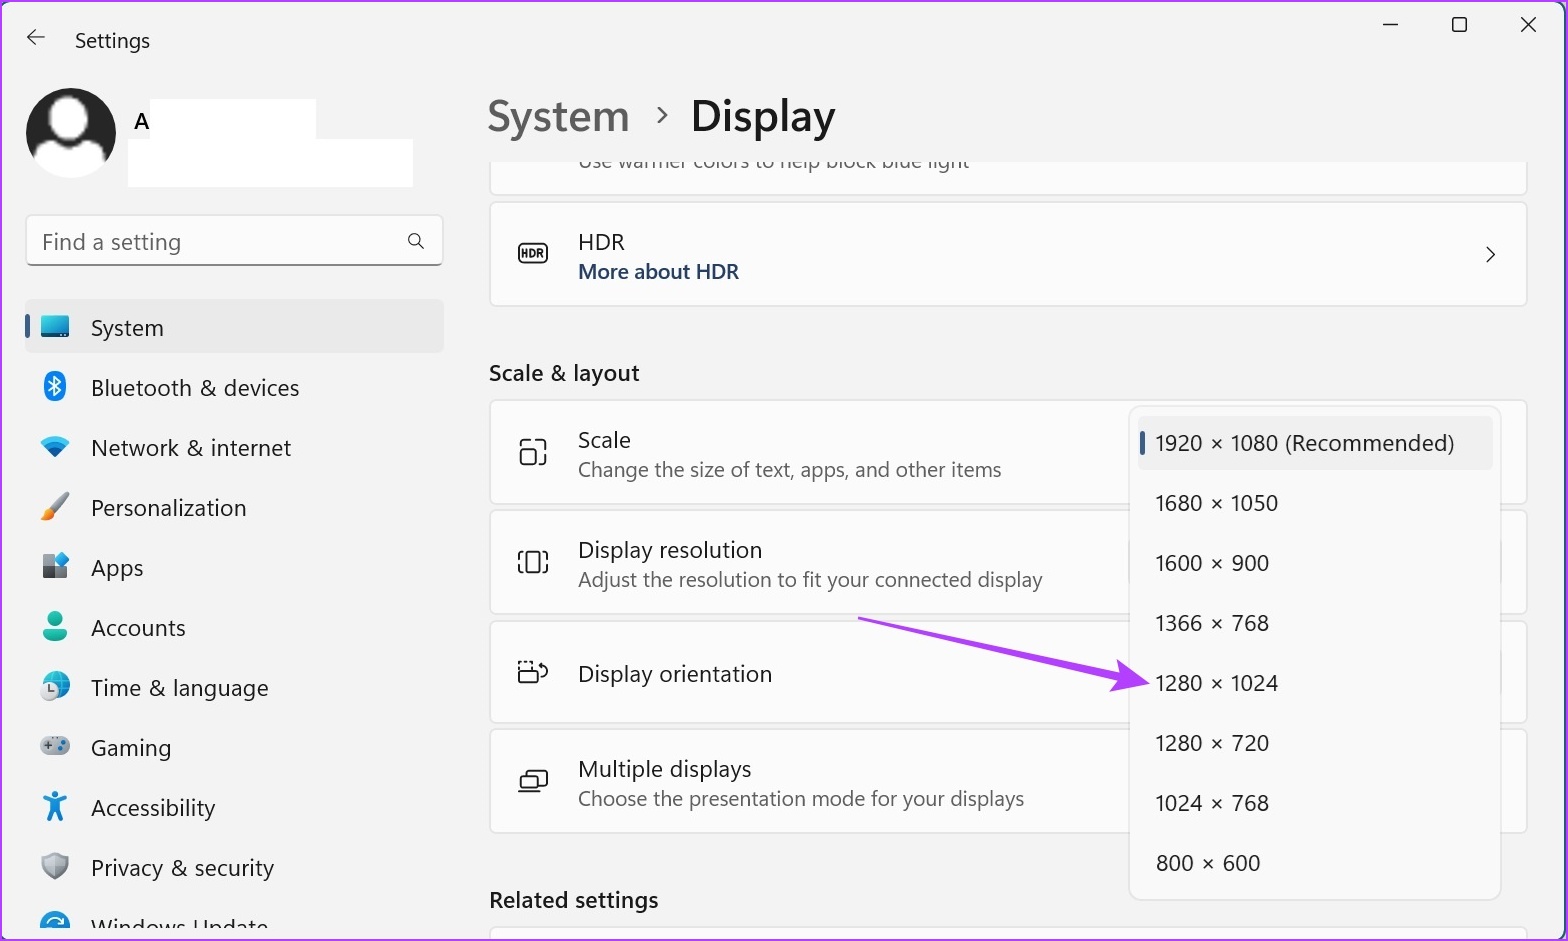
Step 2: Click on Display resolution.

Step 3: Select the relevant resolution from the drop-down menu.
Step 4: Click on Keep changes to confirm.

Also Read: How to rotate screen in Windows 11
Method 2: Using Display Adapter Properties
Display adapters help convert memory information to display. As the name suggests, they also contain options related to your device’s display. Follow the below steps to change Windows 11 display settings using the display adapter properties window.
Step 1: Open Settings → System → Display.
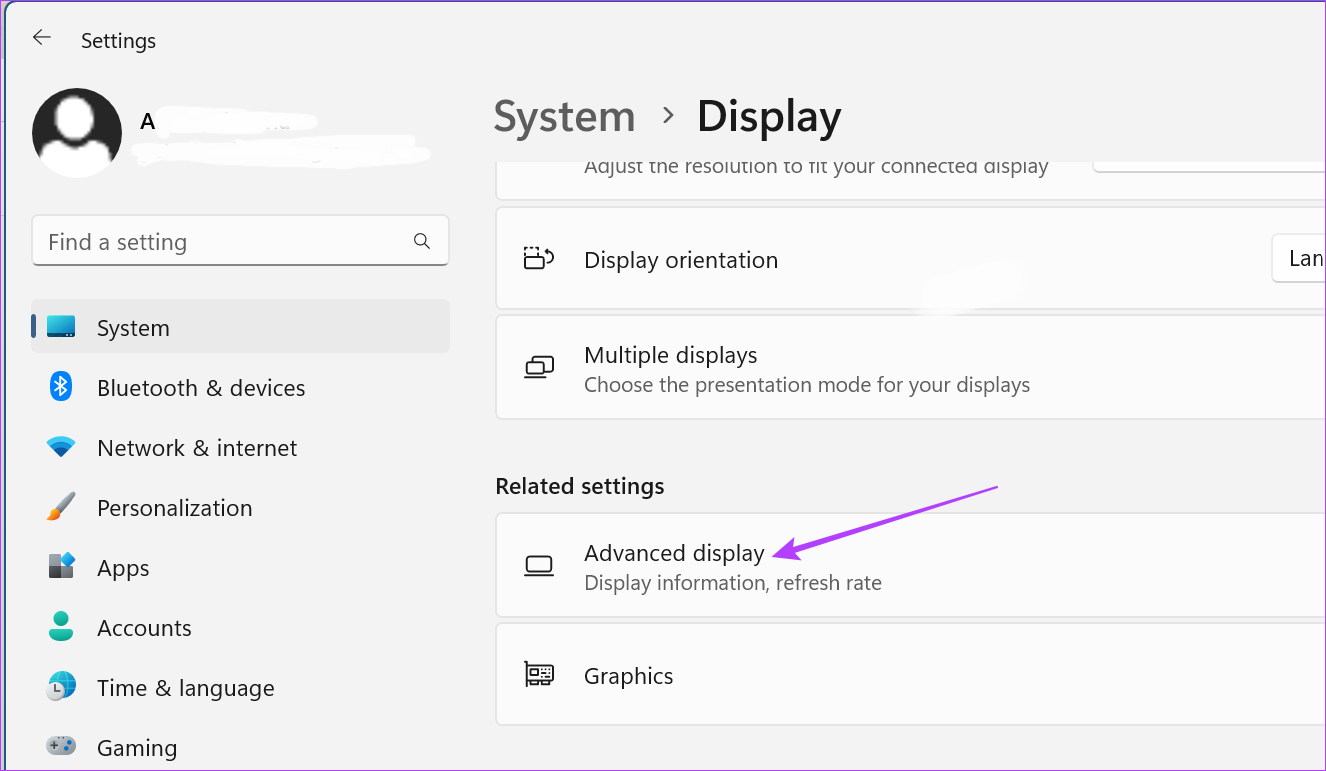
Step 2: Scroll down and click on Advanced display.
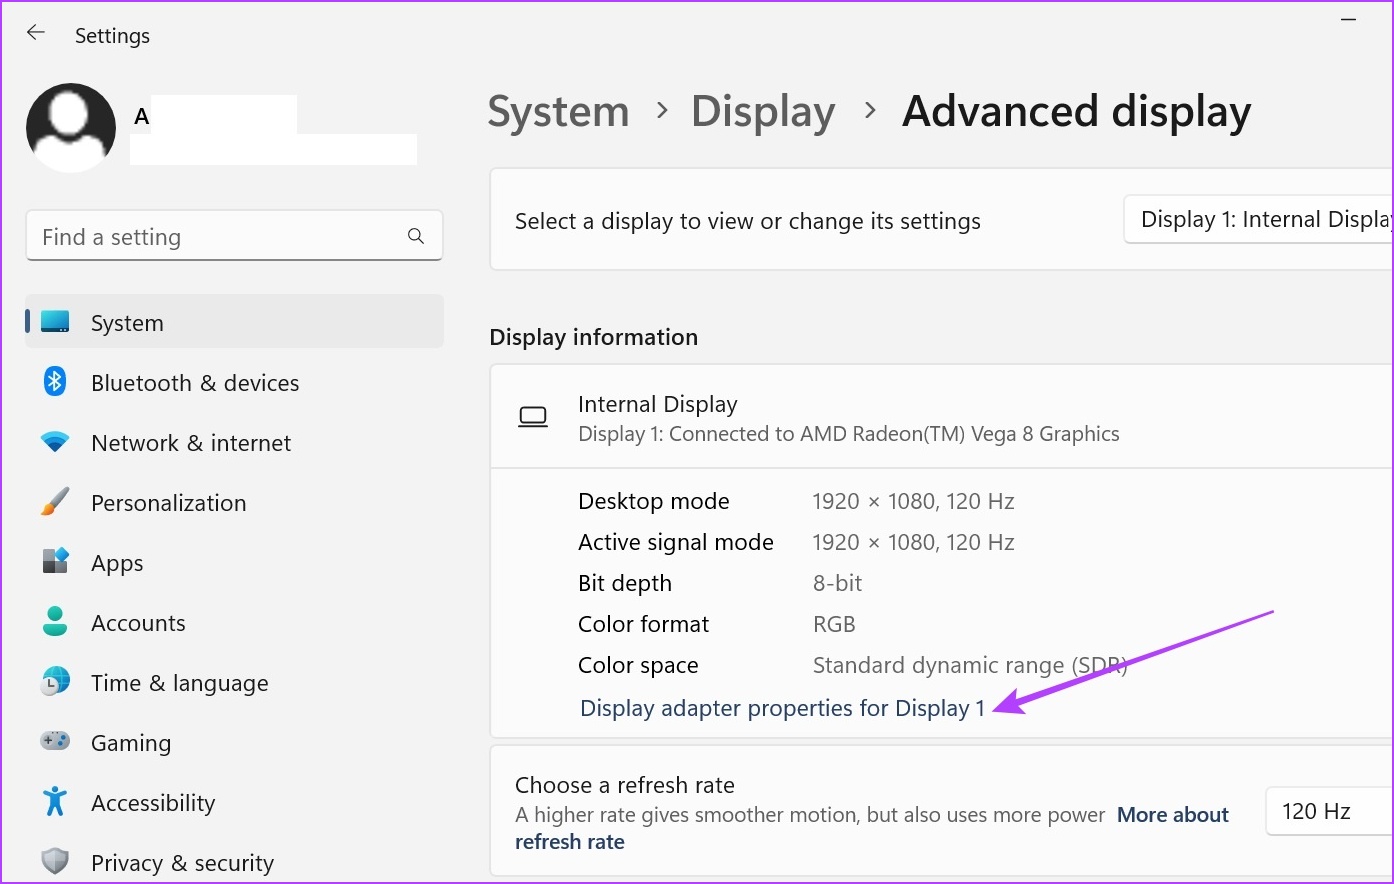
Step 3: Click on Display adapter properties.
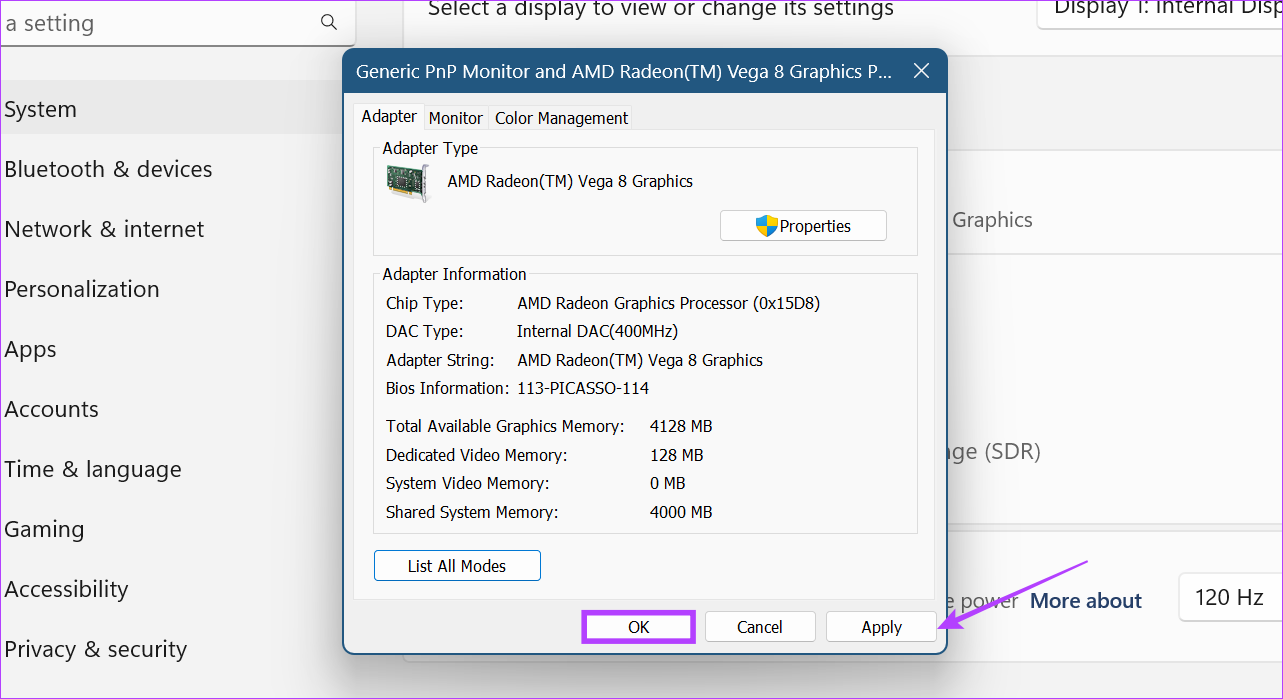
Step 4: Here, click on List All Modes.

Step 5: Select your preferred display mode and click on OK to select.

Step 6: Click on Apply and OK.
Method 3: Using the Intel Graphics Command Center
If your Windows 11 device uses Intel graphics, there would be display settings controls in the Intel Graphics Command Center. Here’s how to use the Intel Graphics Command Center to change the resolution on Windows 11.
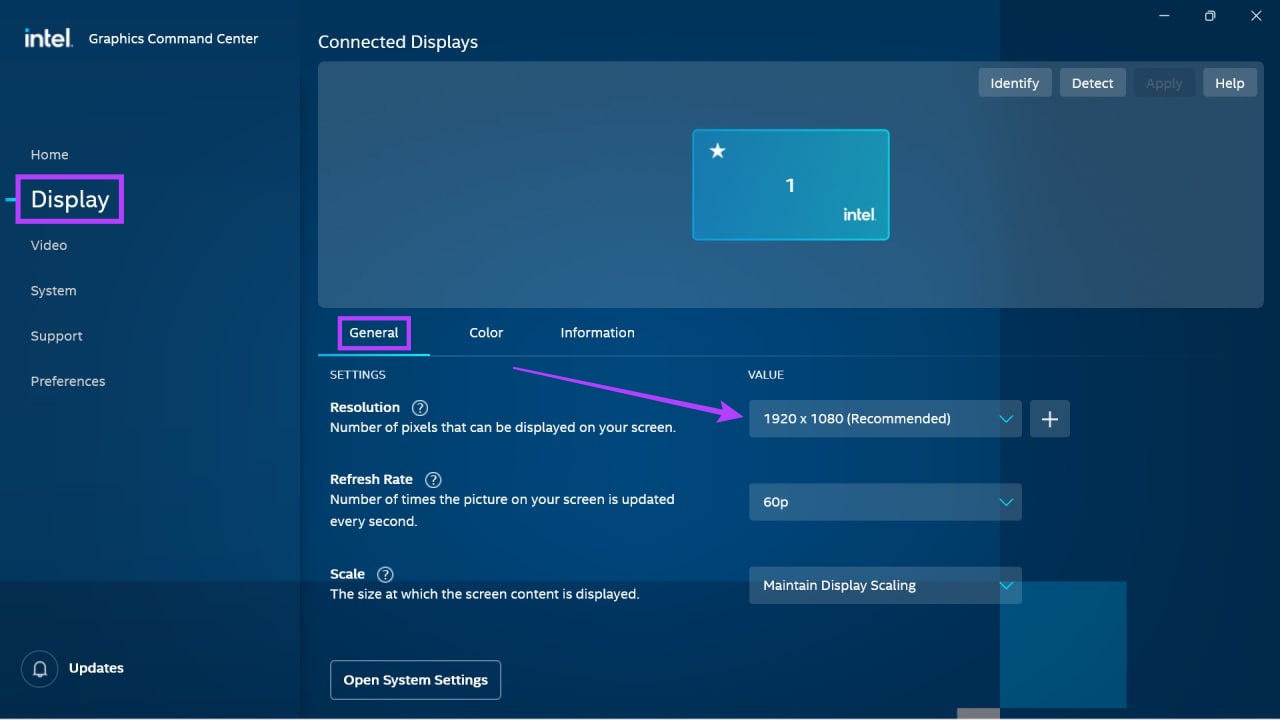
Step 1: Open the Intel Graphics Command Center and go to Display.
Step 2: Go to the General tab. Then, click on the Resolution drop-down.
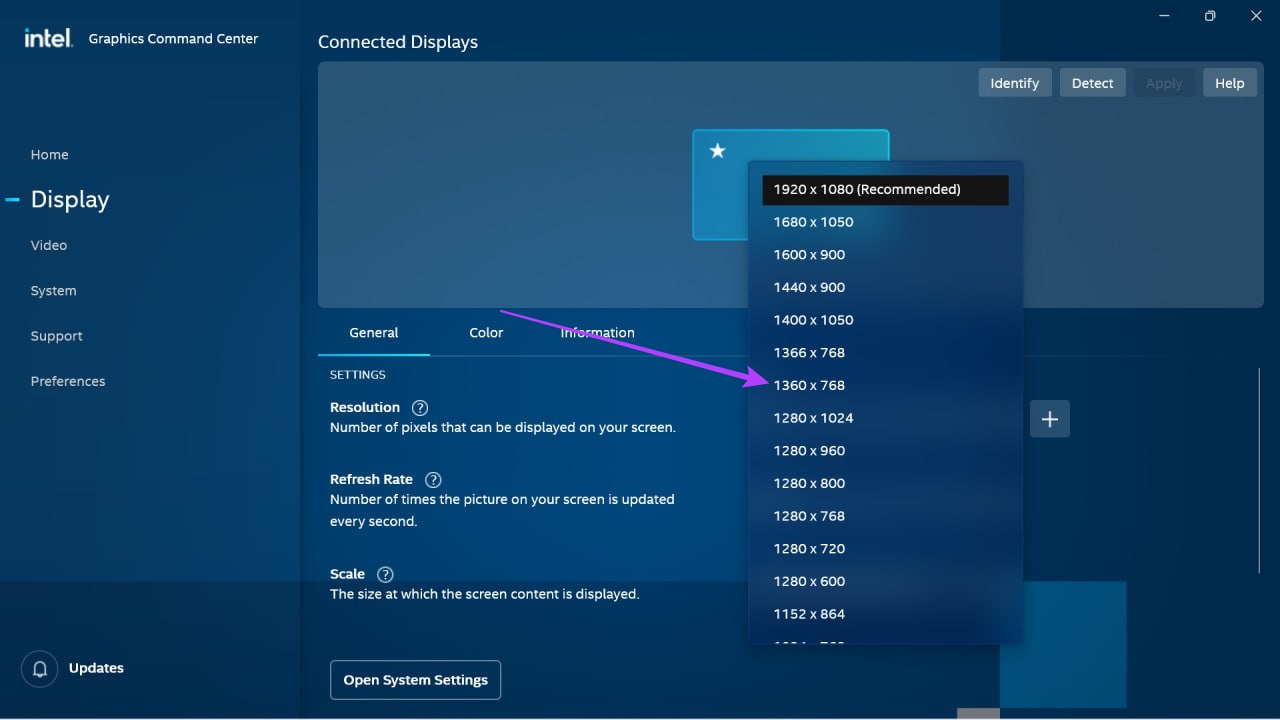
Step 3: Select the screen resolution value you want.
Note: Your screen might flicker slightly as Windows shows you how your screen will look with the selected resolution setting.
Step 4: Click on Keep to save the changes.

Method 4: Using NVIDIA Control Center
If your Windows 11 device uses NVIDIA to power its graphics, you can use the NVIDIA Control Panel to change your display resolution. Before proceeding, ensure to update your device’s NVIDIA drivers. Here’s how to do it.
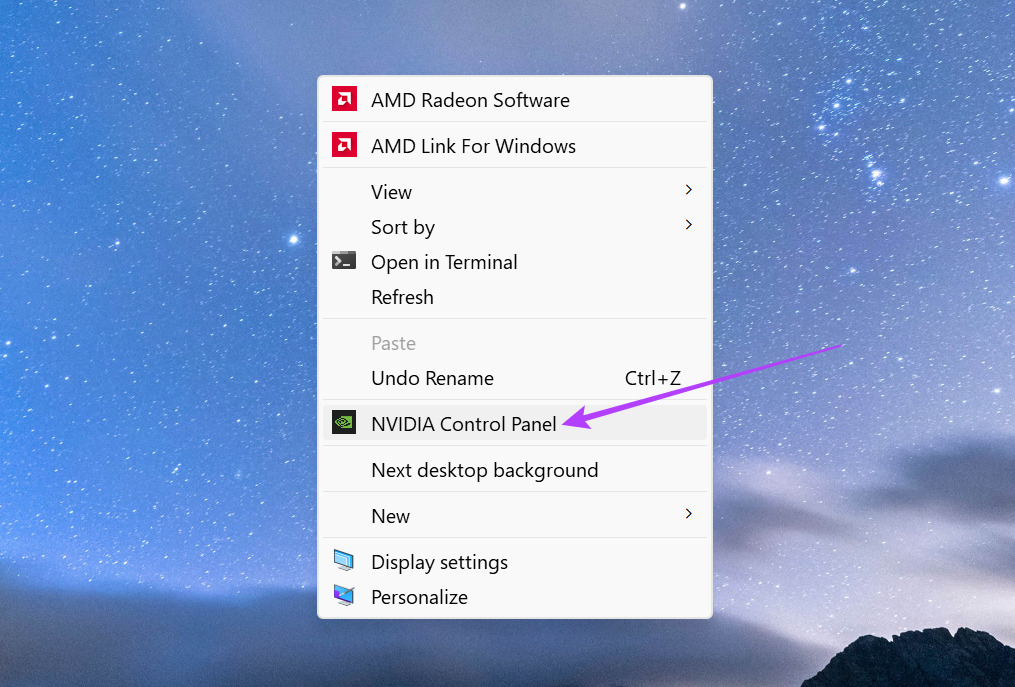
Step 1: Right-click on your desktop and click on Show more options.

Step 2: Here, click on NVIDIA Control Panel. This will open the NVIDIA Control Panel.
Now, go to the Task panel and expand the Display option. Click on Change resolution and select the display resolution. Once done, click on Keep changes to save your device’s display resolution changes.
Bonus: How to Reset Display Settings to Default in Windows 11
If you have issues with your modified display settings, reset them to Windows default. Follow the below steps to do it.
Step 1: Open Settings → System → Display.
Step 2: Click on Display resolution.
Step 3: Select the recommended display setting.
Tip: You can also change the Scale setting to the recommended percentage.

Step 4: Click on Keep changes to save these changes.
FAQs
Depending on your monitor’s size, you can choose between 1080p and 1440p screen resolution while gaming. While 6K and 8K monitors are available as well, most games don’t currently provide native-resolution support for them. So, if your game supports Full HD or 4K, depending on your budget, you can choose either and change your screen resolution accordingly.
While there are reports that changing your screen resolution to a lower one can help conserve battery, with the new generation machines, that might not be the case anymore. You can go for a lower screen resolution, but it might not have too much impact on your device’s overall battery life.
You can try updating your device’s graphic card driver to see if this resolves the issue. However, if your monitor’s hardware is incompatible with the changed display settings, we suggest changing the screen resolution to the previous one or getting a different monitor with a high refresh rate.
Outdated display drivers can cause issues when changing display resolution on Windows 11. In certain cases, this can also lock the screen resolution. So, ensure the display drivers are up-to-date. Additionally, you can also check and install the latest Windows and NVIDIA driver updates if updating display drivers doesn’t fix this issue. Then, try changing the screen resolution again.
Was this helpful?
Last updated on 28 June, 2024
Read Next
 Top 5 Ways to Fix Screen Resolution Setting Grayed Out Problem on Windows 10
Whether you’ve plugged in a new monitor or trying to improve the video performance, tweaking your screen resolution to the right settings is the key to a better viewing experience.
Top 5 Ways to Fix Screen Resolution Setting Grayed Out Problem on Windows 10
Whether you’ve plugged in a new monitor or trying to improve the video performance, tweaking your screen resolution to the right settings is the key to a better viewing experience.
 How to Check Video Resolution on Windows and Android
In the world of high definition content, quality is the king.
How to Check Video Resolution on Windows and Android
In the world of high definition content, quality is the king.
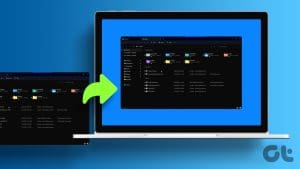
 How to Fix Display Resolution Greyed out on Windows 11
Basic Fixes: Restart the computer: Rebooting is effective because minor bugs may trigger the problem, and a reboot often kills the problematic services or processes.
How to Fix Display Resolution Greyed out on Windows 11
Basic Fixes: Restart the computer: Rebooting is effective because minor bugs may trigger the problem, and a reboot often kills the problematic services or processes.
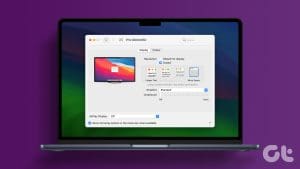 3 Ways to Adjust Resolution for Second Display on Mac
https://youtu.be/62dyX2dyuUw Method 1: Tweak Display Scaling Level for External Monitor If you don’t want to deal with third-party apps, you can tweak the display with these simple steps.
3 Ways to Adjust Resolution for Second Display on Mac
https://youtu.be/62dyX2dyuUw Method 1: Tweak Display Scaling Level for External Monitor If you don’t want to deal with third-party apps, you can tweak the display with these simple steps.
 6 Ways to Get an Off-Screen Window Back on Screen on Windows
While using Microsoft Windows, I had a window that had somehow fallen completely off of my screen.
6 Ways to Get an Off-Screen Window Back on Screen on Windows
While using Microsoft Windows, I had a window that had somehow fallen completely off of my screen.
 3 Ways to Change Priority Levels for Programs on Windows 10 and Windows 11
When Should You Change the Priority Level of a Program By default, Windows 11 assigns different priority levels to each process based on its importance.
3 Ways to Change Priority Levels for Programs on Windows 10 and Windows 11
When Should You Change the Priority Level of a Program By default, Windows 11 assigns different priority levels to each process based on its importance.
 5 Fixes for Windows Security App Showing White Screen on Windows 11
Common Fixes Reboot PC: Press the Windows + X shortcut to open the Power User Menu, select Shut down or sign out, and click Restart.
5 Fixes for Windows Security App Showing White Screen on Windows 11
Common Fixes Reboot PC: Press the Windows + X shortcut to open the Power User Menu, select Shut down or sign out, and click Restart.
 How to Change Lock Screen Shortcuts on Samsung Galaxy Phones
https://youtu.be/UAEMzgi_Ju0 How to Change Lock Screen Shortcuts in One UI The new One UI offers a few native settings to modify the lock screen shortcuts.
How to Change Lock Screen Shortcuts on Samsung Galaxy Phones
https://youtu.be/UAEMzgi_Ju0 How to Change Lock Screen Shortcuts in One UI The new One UI offers a few native settings to modify the lock screen shortcuts.
The article above may contain affiliate links which help support Guiding Tech. The content remains unbiased and authentic and will never affect our editorial integrity.

