Fix 1: Remove Third-Party Antivirus
Some settings become unavailable in the Windows Security app after you install and run a third-party antivirus program on your PC. So, removing the third-party antivirus can help Windows Security regain full control.
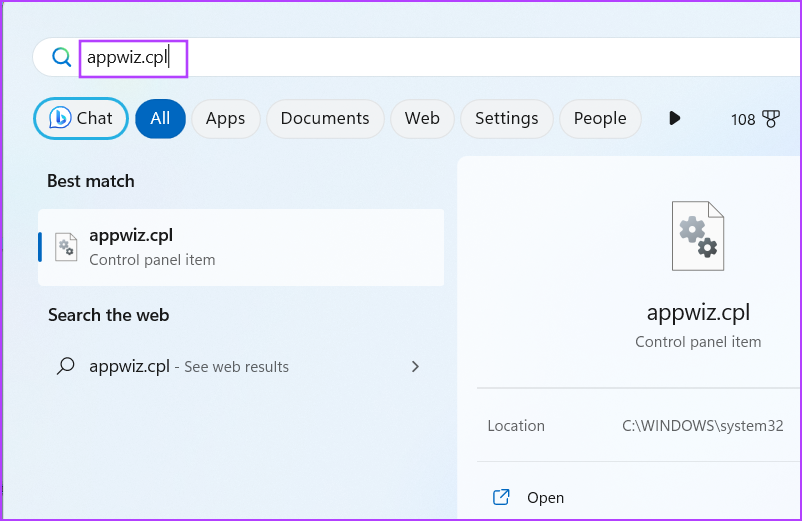
Step 1: Press the Windows key to open the Start menu, type appwiz.cpl, and press Enter.
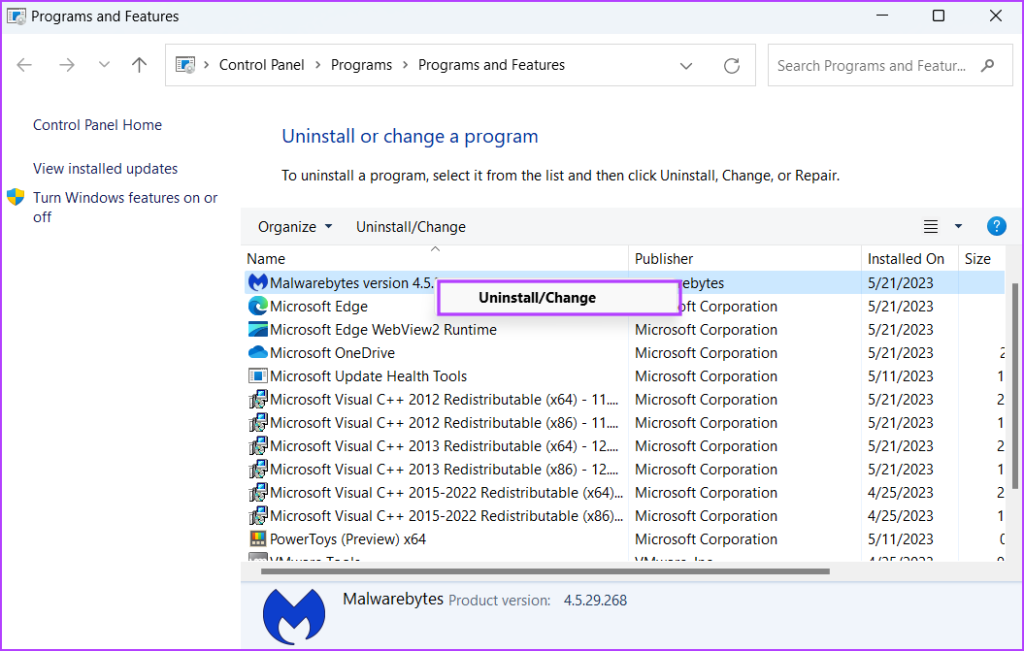
Step 2: Find the third-party antivirus in the list of installed programs. Right-click on it and select the Uninstall option.
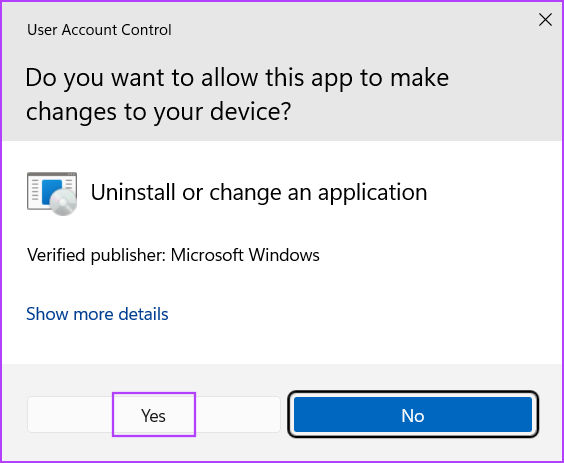
Step 3: User Account Control will launch. Click on the Yes button.
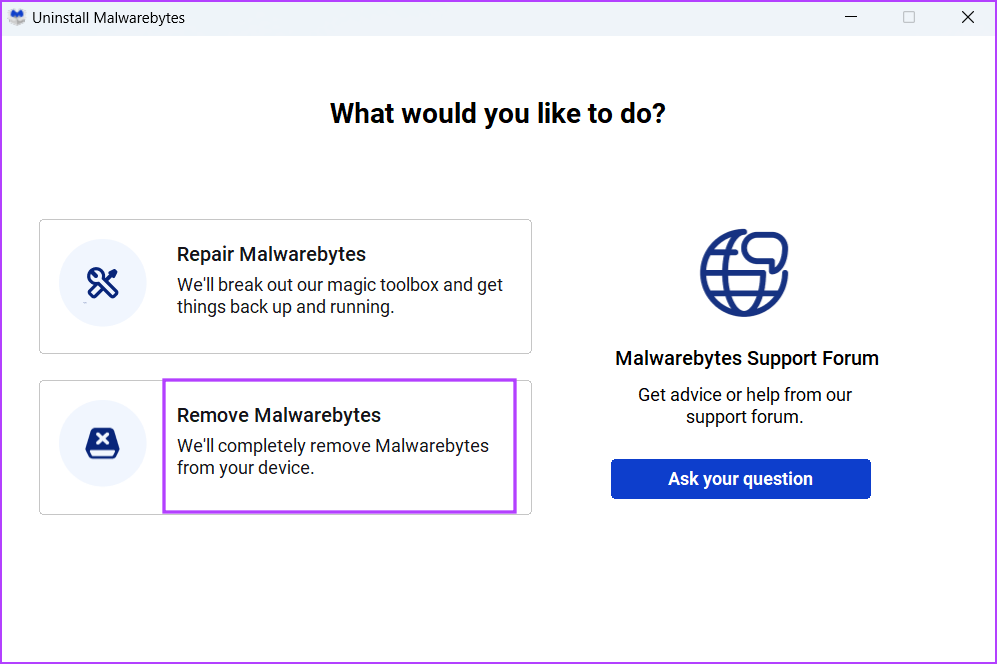
Step 4: Click on the Remove/Uninstall option and follow the on-screen instructions to uninstall the third-party antivirus from your system.
Step 5: Restart your system.
Windows Defender protection will automatically kick in after you remove the third-party antivirus app.
Fix 2: Tweak the Registry
Multiple users solved the ‘some settings are managed by your system administrator’ issue by deleting a registry key from their system.
But before proceeding with this step, create a registry backup of your system and copy it onto a USB drive.
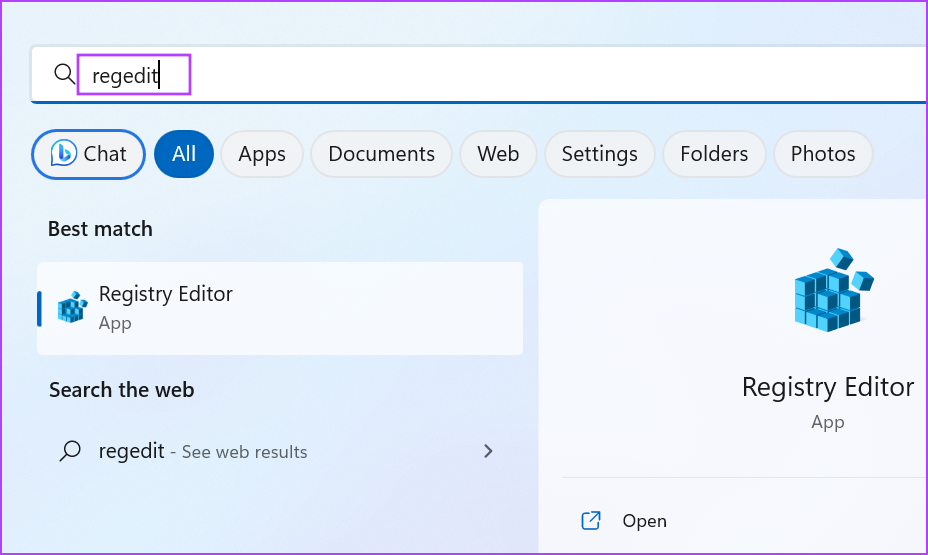
Step 1: Press the Windows key to open the Start menu, type regedit, and press Enter.
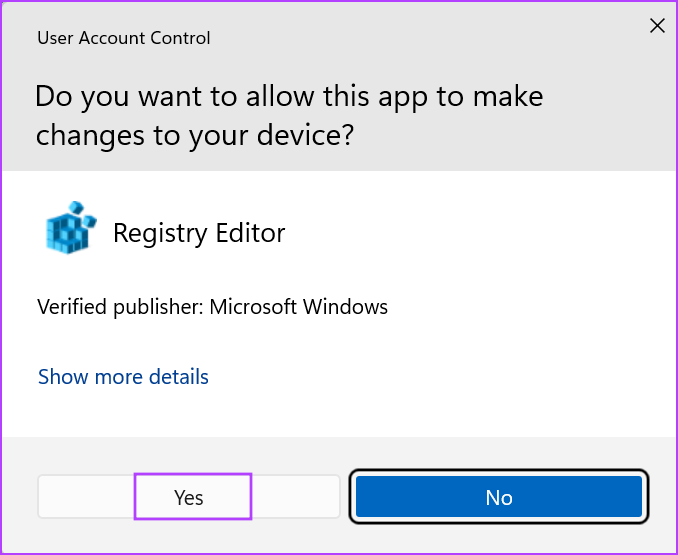
Step 2: User Account Control will open. Click on the Yes button.
Step 3: Go to the address bar, paste the following path, and press Enter:
HKLM\SOFTWARE\Policies\Microsoft\Windows DefenderStep 4: Right-click on the Windows Defender key and select the Delete option.

Step 5: Click on the Yes button.
Step 6: Close the Registry Editor and restart your system.

Fix 2: Reset Group Policy Editor Properties
You can make system-wide changes in Windows OS using the Group Policy Editor in every edition of Windows 11 except the Home version. So, if one or multiple policies related to Windows Security are changed using Group Policy Editor, you will see the error message and won’t be able to access the settings in the app. :
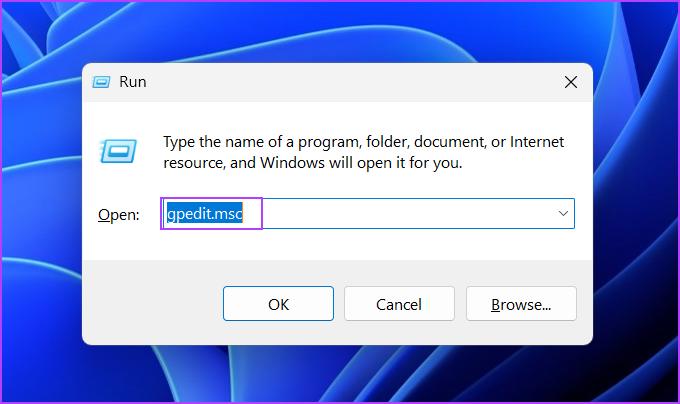
Step 1: Press the Windows + R keyboard shortcut to open the Run Dialog box. Type gpedit.msc in the text box and press Enter.
Step 2: Go to the left-hand side menu and click on the Computer Configuration section. Then, expand the Administrative Templates section and click on the Windows Components option.

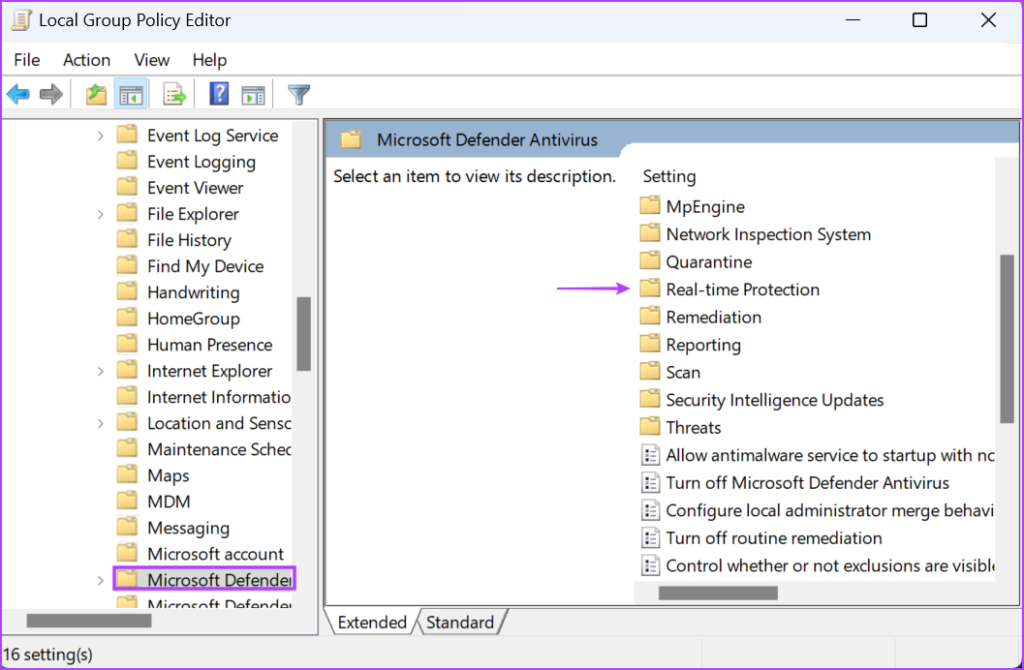
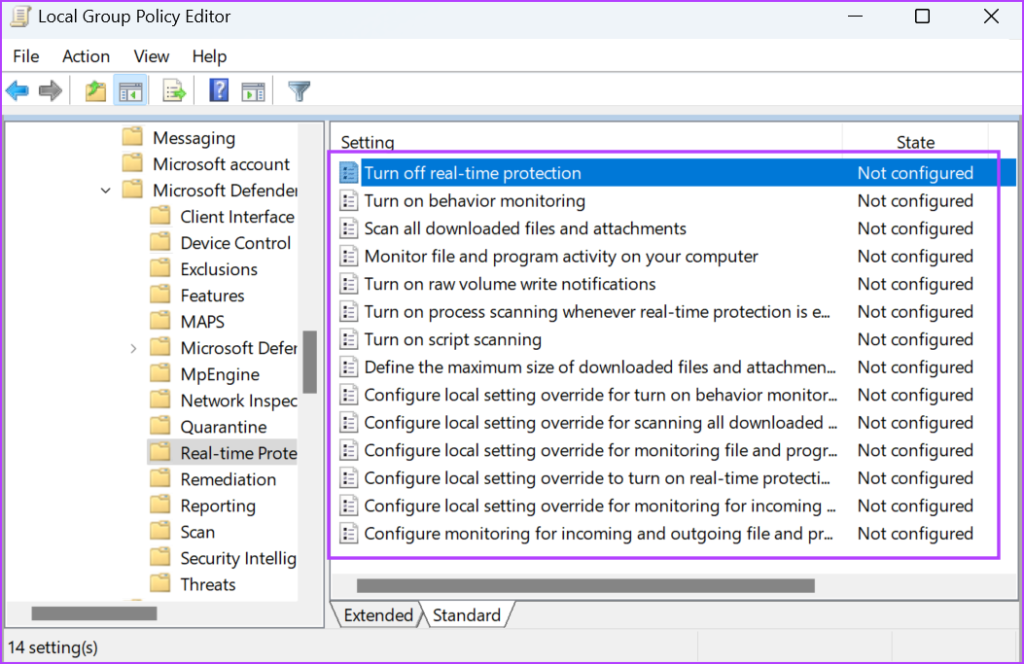
Step 3: Click on the Microsoft Defender Antivirus option. Then, click on the Real-Time Protection option.
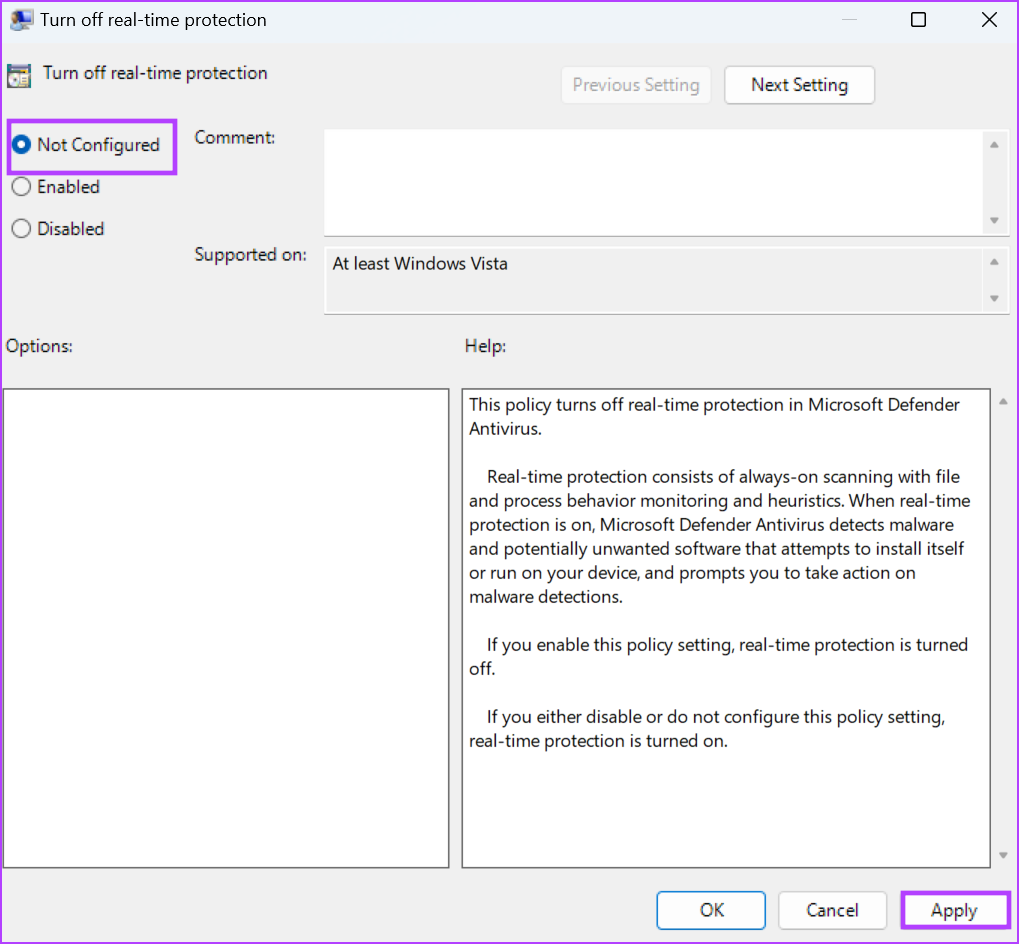
Step 4: Double-click on the Turn off real-time protection option to open its properties.

Step 5: Select the Not Configured radio button and click on the Apply button.
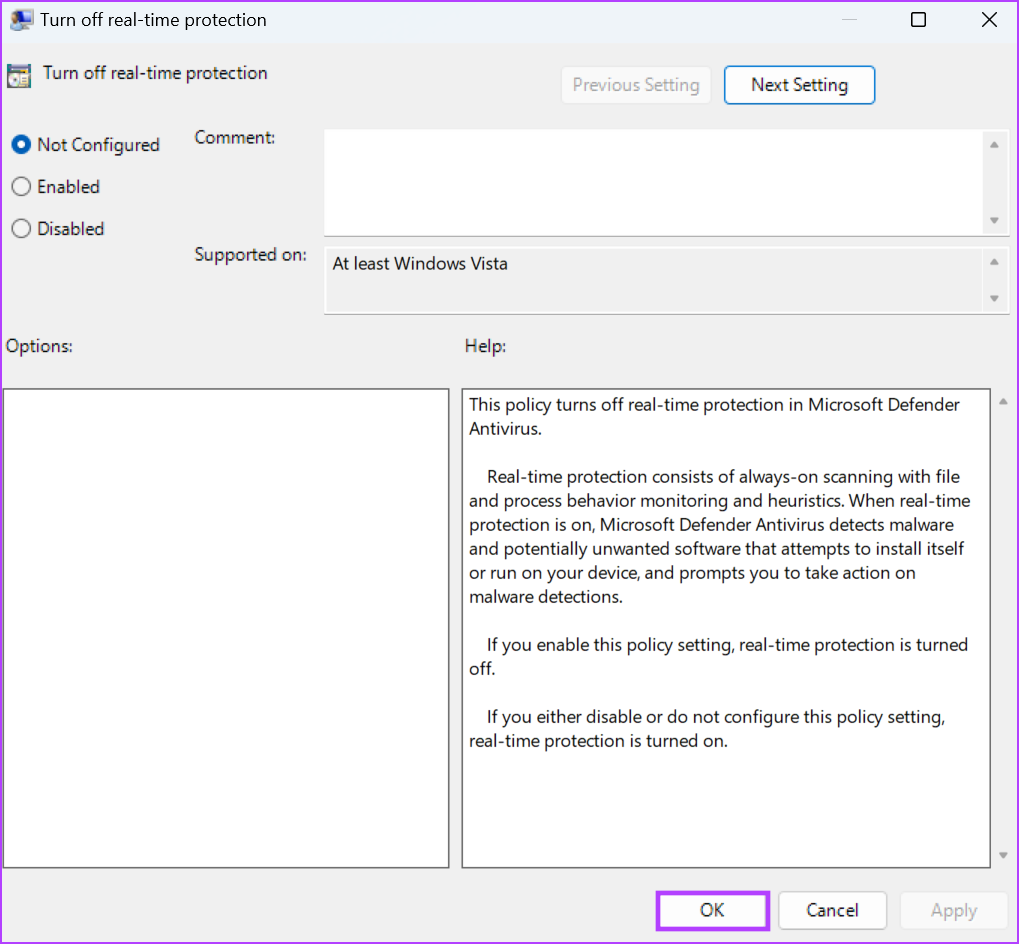
Step 6: Click on the OK button.
Step 7: Similarly, set all the policies listed on the page to Not Configured and close the Group Policy Editor.
Restart your PC to apply the changes.
Fix 4: Undo the Changes Made by a Third-Party Tool (Winaero)
Third-party Windows customization tools like Winaero Tweaker allow you to tweak many features in Windows OS that you normally cannot do using the Settings app.
But if you previously used this or any other tool to disable Windows Defender or any of its settings, you will see the “some settings are managed by your system administrator” error message. So, you must undo all those tweaks. Here’s how:
Step 1: Open the Winaero Tweaker app.
Step 2: Go to the top menu bar and click on the Actions button. Select the Reset all tweaks option.

Step 3: Winaero Tweaker will list all the changes you made to your PC. Select all tweaks and click on the Reset selected tweaks button.
Step 4: Restart your System.

Fix 5: Reset Windows Security
If all the above methods result in despair, you can try resetting the Windows Security app. Windows 10 and Windows 11 can repair or reset some system apps via Settings. It will remove all the changes and custom settings.
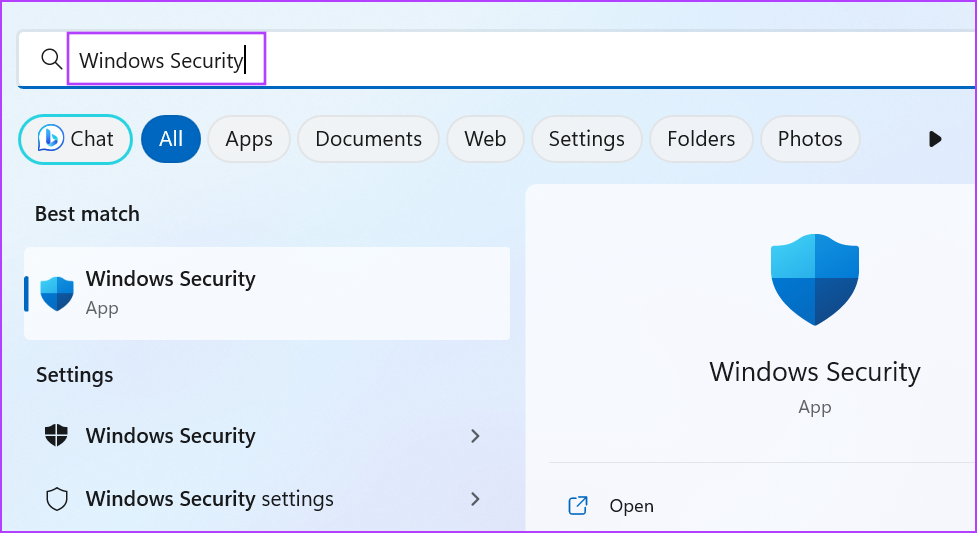
Step 1: Press the Windows key to open the Start menu, type Windows Security, and click on the App Settings option.
Step 2: Scroll down to the Reset section. Click on the Reset button. It may take a while to complete the action.
Step 3: Relaunch the Windows Security app and check if you see the same error message in Real-time Protection, Memory Integrity, or any other section.

Fix 6: Re-Register Windows Security App
You can re-register system apps via PowerShell in Windows. It removes the current installation of the system app and reinstalls it on your PC. Repeat the following steps:
Step 1: Press the Windows key to open the Start menu, type PowerShell, and press Ctrl + Shift + Enter keyboard shortcut.

Step 2: User Account Control will open. Click on the Yes button.

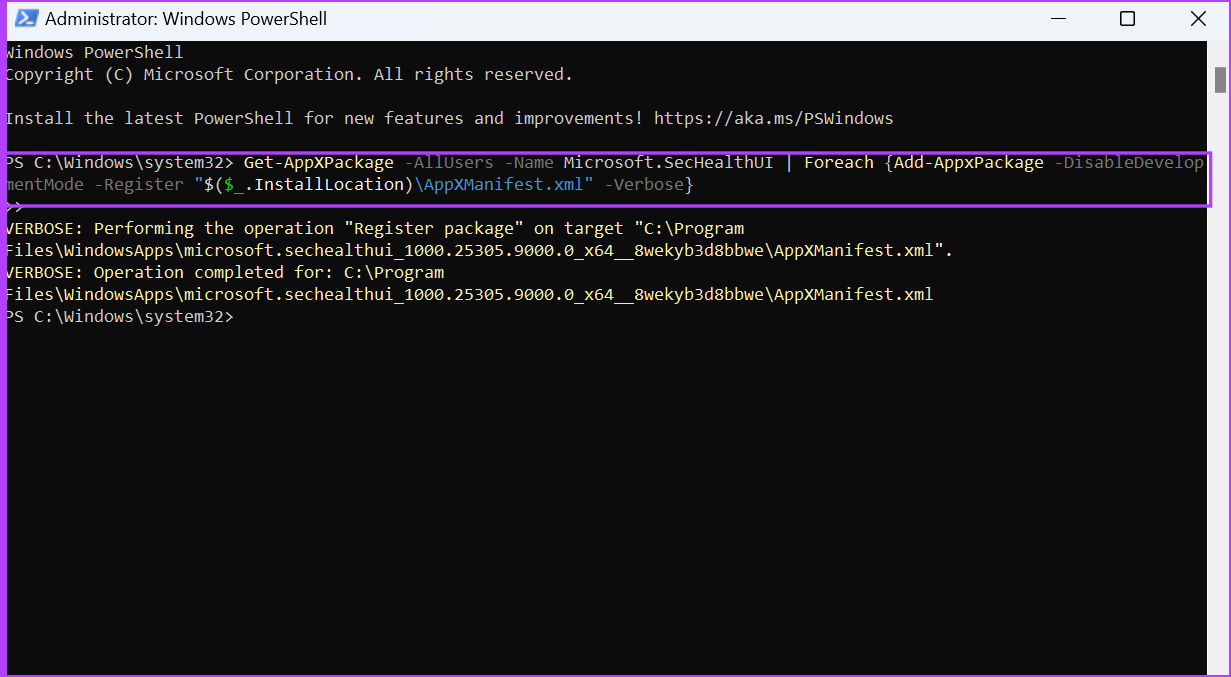
Step 3: Paste the following command in the PowerShell window, and press Enter:
Get-AppXPackage -AllUsers -Name Microsoft.SecHealthUI | Foreach {Add-AppxPackage -DisableDevelopmentMode -Register "$($_.InstallLocation)\AppXManifest.xml" -Verbose}Step 4: You won’t see a confirmation message after the command executes. Close the PowerShell window.
Also Read: How to fix Windows Security not opening or working on Windows.
Was this helpful?
Last updated on 22 July, 2024
Read Next
 Top 6 Ways to Remove Managed by Your Organization in Chrome on Windows
Recently, while browsing the internet via Chrome on my Windows 10 PC, my antivirus received an update.
Top 6 Ways to Remove Managed by Your Organization in Chrome on Windows
Recently, while browsing the internet via Chrome on my Windows 10 PC, my antivirus received an update.
 Top 5 Ways to Fix Screen Resolution Setting Grayed Out Problem on Windows 10
Whether you’ve plugged in a new monitor or trying to improve the video performance, tweaking your screen resolution to the right settings is the key to a better viewing experience.
Top 5 Ways to Fix Screen Resolution Setting Grayed Out Problem on Windows 10
Whether you’ve plugged in a new monitor or trying to improve the video performance, tweaking your screen resolution to the right settings is the key to a better viewing experience.
 6 Ways to Run PowerShell as Administrator in Windows 11
Method 1.
6 Ways to Run PowerShell as Administrator in Windows 11
Method 1.
 How to Change Your Administrator Name on Windows 11
Method 1: Using the Settings App The PC imports your information when you sign in to a Windows PC using your Microsoft Account details.
How to Change Your Administrator Name on Windows 11
Method 1: Using the Settings App The PC imports your information when you sign in to a Windows PC using your Microsoft Account details.
 2 Ways to Fix iPhone Stuck on Setting Up Your Apple ID
Fix 1: Force Restart the iPhone to Reset the Setup Process If your new iPhone is taking forever to set up, there might be a glitch or issue with the
2 Ways to Fix iPhone Stuck on Setting Up Your Apple ID
Fix 1: Force Restart the iPhone to Reset the Setup Process If your new iPhone is taking forever to set up, there might be a glitch or issue with the
 How to Get Back ‘Forget This Network’ iOS Setting if it Disappears
iOS has apparently had a very weird bug for quite a few years now that Apple has never addressed.
How to Get Back ‘Forget This Network’ iOS Setting if it Disappears
iOS has apparently had a very weird bug for quite a few years now that Apple has never addressed.
 High Efficiency vs Most Compatible: Which iPhone Camera Capture Setting Should You Choose
When it comes to photos and videos, Apple is almost always on par, if not better, than the competition.
High Efficiency vs Most Compatible: Which iPhone Camera Capture Setting Should You Choose
When it comes to photos and videos, Apple is almost always on par, if not better, than the competition.
 A Guide to Setting Up And Using OneDrive on Mac
Microsoft OneDrive plays a major role in the Microsoft 365 ecosystem.
A Guide to Setting Up And Using OneDrive on Mac
Microsoft OneDrive plays a major role in the Microsoft 365 ecosystem.
The article above may contain affiliate links which help support Guiding Tech. The content remains unbiased and authentic and will never affect our editorial integrity.
