Basic Fixes
- Check the keyboard connection: Ensure the keyboard connection wire isn’t loose. If you use a wireless keyboard, check its Bluetooth connection from Windows Settings > Bluetooth & devices > Devices.
- Switch the connection toggle: Some wireless keyboards provide a toggle button to switch between multiple connected devices. Adjust it to fix the keyboard connectivity issue.
- Replace/Charge Keyboard batteries: Check the battery level indicator on your wireless keyboard to know its status. If it’s blinking red, charge or replace its batteries (if replaceable).
- Update Windows 11: Press the Windows + I shortcut to open Settings, select Windows Update from the left sidebar, and install available system updates.
Fix 1: Disable Filter Keys
‘Filter keys’ in Windows set your keyboard sensitivity to ignore brief and repeated keystrokes. This may create issues if your typing involves repeated keystrokes. Head to the Windows Settings to disable it.
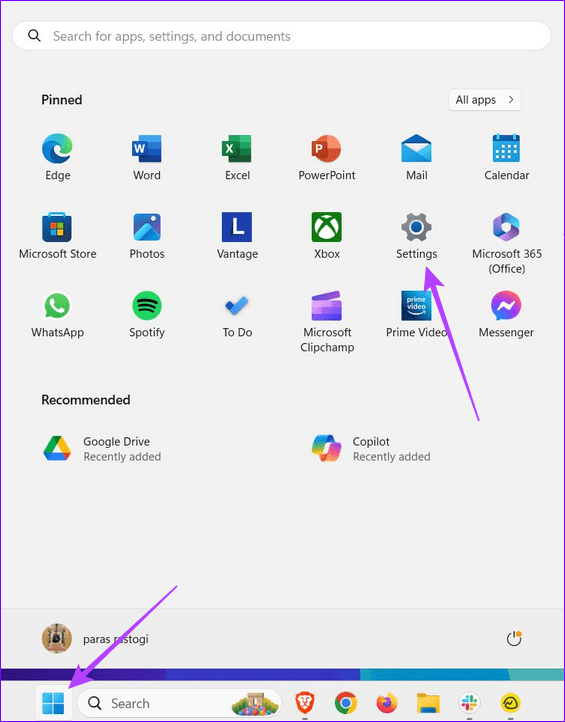
Step 1: Click the Windows icon in the taskbar to open the Settings app.
Step 2: Select Accessibility from the sidebar, and click Keyboard under Interaction.
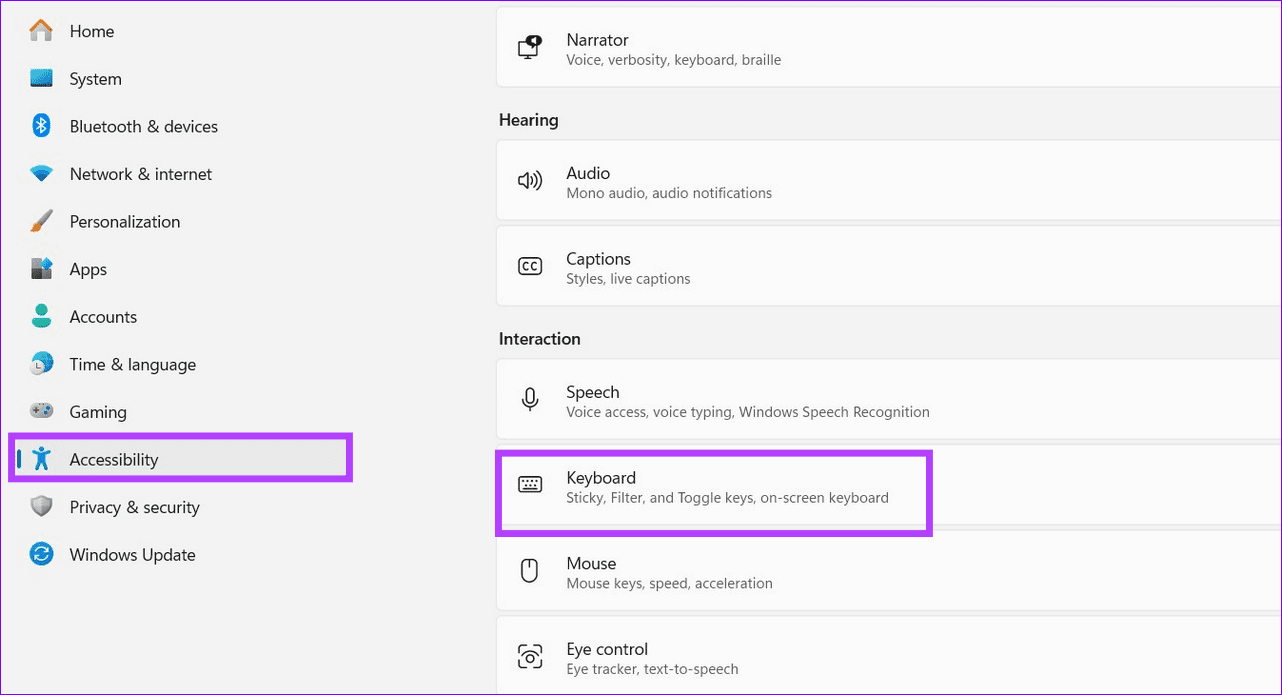
Step 3: Toggle off the Filter keys to disable it.

Fix 2: Run the Hardware and Devices Troubleshooter
Microsoft Windows offers an in-built troubleshooter to resolve keyboard-related errors. Here’s how you can access it to fix the keyboard not working issue on Windows 11.
Note: The ‘Keyboard troubleshooter’ no longer exists with the latest Windows Update. Instead, you can use the ‘Hardware and Devices troubleshooter’ to troubleshoot your connected keyboard.
Step 1: Right-click the Windows icon in the taskbar to open the Power User Menu, and select Run.
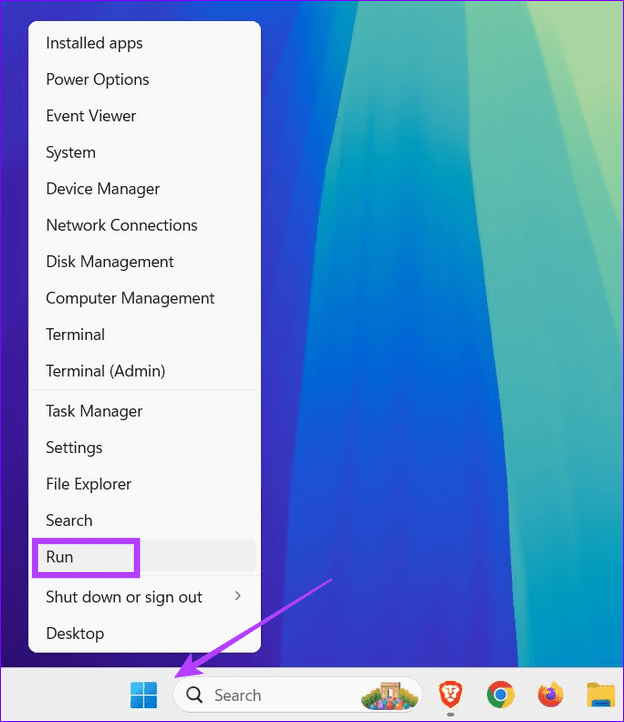
Step 2: Copy-paste the following, and hit Enter to open the ‘Hardware and Devices troubleshooter’.
msdt.exe -id DeviceDiagnostic

Step 3: Click Next and follow the on-screen instructions to fix the keyboard not working issue.

Fix 3: Update or Reinstall the Keyboard Drivers
An outdated keyboard driver is a common reason behind the keyboard not working issue on Windows 11. Open the Device Manager app to update it manually.
Step 1: Right-click the Windows icon in the taskbar to open the Power User Menu, and select Device Manager.

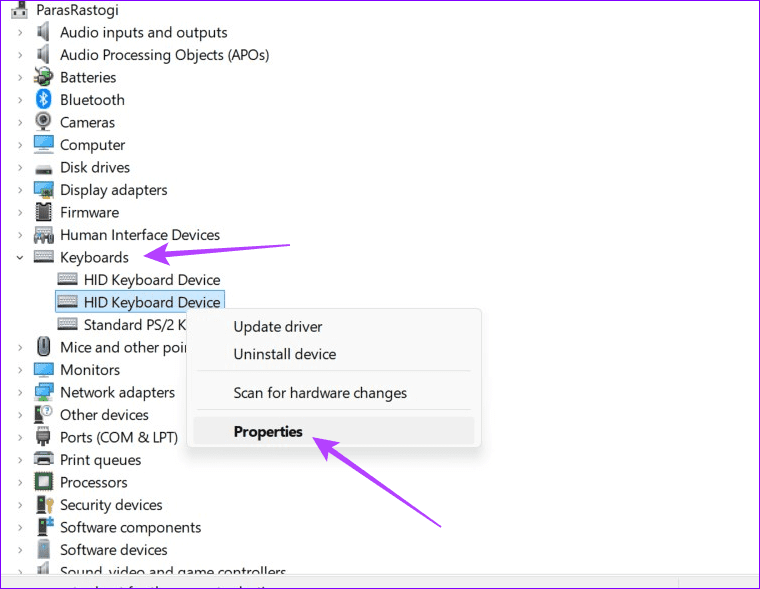
Step 2: Expand Keyboards, right-click your keyboard name, and select Update driver.

Step 3: Click Search automatically for drivers to install the latest keyboard drivers online.

Step 4: Alternatively, right-click your keyboard name, and select Uninstall device. Restart your PC to let Windows 11 automatically install the compatible keyboard drivers.

Fix 4: Check the Power Management Profile
If your connected keyboard stops working abruptly after a few minutes, its misconfigured power management settings are the underlying culprit. Head to the Device Manager app to fix it.
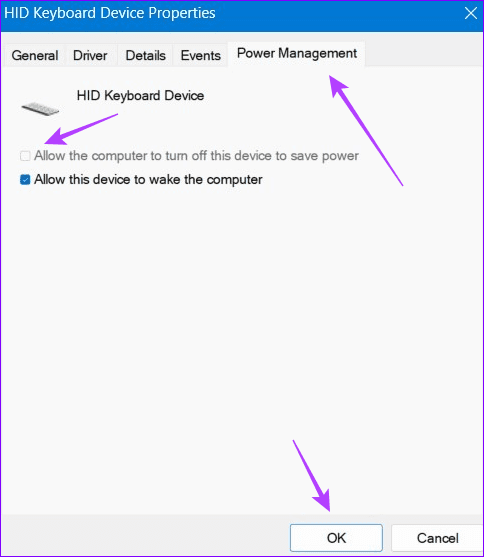
Step 1: Open Device Manager from the Power User Menu (check the above steps), expand Keyboards, and right-click your keyboard name to open its Properties.
Step 2: Select the Power Management tab, uncheck Allow the computer to turn off this device to save power, and click OK to save changes.
Fix 5: Disable Fast Startup
Fast Startup is useful to reduce your PC’s boot time. However, an issue with it can create problems with the keyboard or trackpad when they don’t receive enough power. Disable Fast Startup from the Control Panel app to restore normalcy.
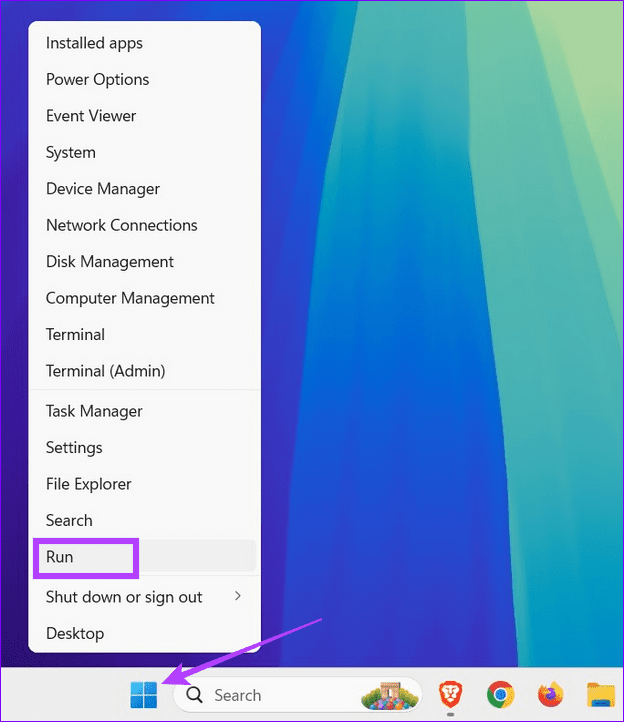
Step 1: Right-click the Windows icon in the taskbar to open the Power User Menu, and select Run.
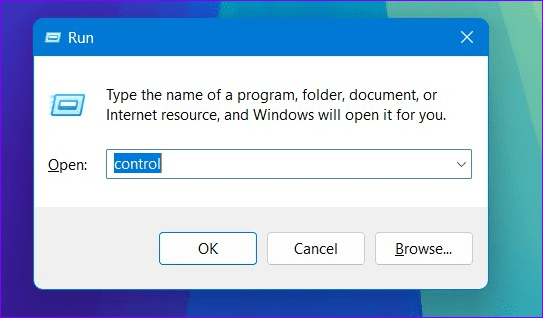
Step 2: Copy-paste ‘control‘ in the Open field and click OK to launch the Control Panel app.
Step 3: Switch View by to Small icons and click Power Options.

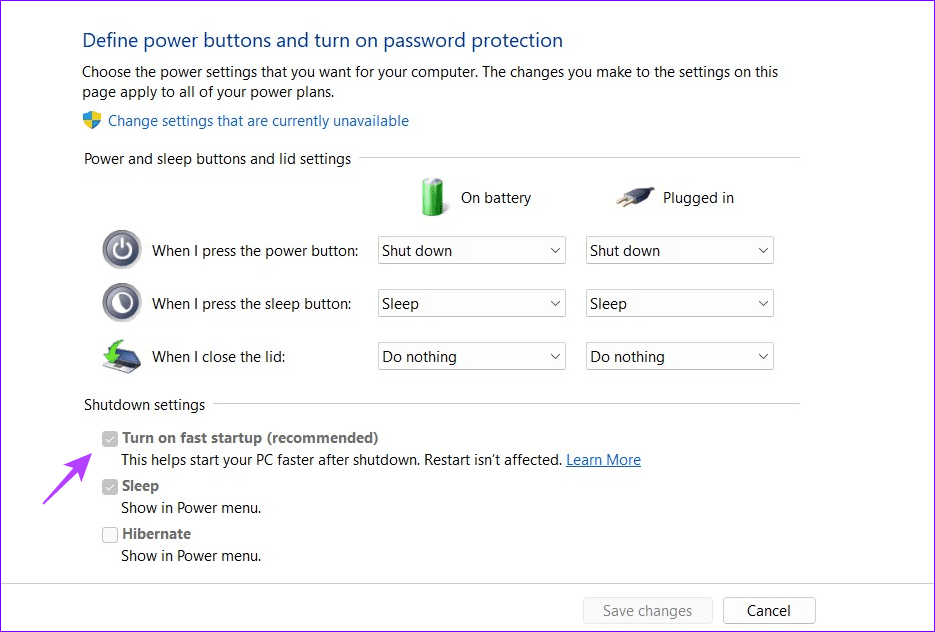
Step 4: Select Choose what the power buttons do from the left sidebar.

Step 5: Uncheck Turn on fast startup under Shutdown settings, and click Save changes.
Tip: If the ‘Turn on fast startup’ option is greyed out, click ‘Change settings that are currently unavailable at the top’ and approve the UAC prompt to modify it.
Was this helpful?
Last updated on 17 July, 2024
Read Next
 3 Best Ways to Fix Keyboard Backlight Not Working on Windows 10 and Windows 11
Try Basic Fixes Toggle the keyboard backlight using the hotkey: You can use a key combination to quickly enable or disable the keyboard backlight on your Windows 11 PC.
3 Best Ways to Fix Keyboard Backlight Not Working on Windows 10 and Windows 11
Try Basic Fixes Toggle the keyboard backlight using the hotkey: You can use a key combination to quickly enable or disable the keyboard backlight on your Windows 11 PC.
 5 Ways to Fix Windows 10 Keyboard Special Characters Not Working
Have you struggled to enter an email ID on your Windows 10 computer?
3 Ways to Fix Mouse and Keyboard Not Working in Windows
Basic Fixes Restart PC: A simple restart can refresh the system memory, clear temporary glitches, and reload device drivers, fixing issues caused by outdated or corrupted files.
5 Ways to Fix Windows 10 Keyboard Special Characters Not Working
Have you struggled to enter an email ID on your Windows 10 computer?
3 Ways to Fix Mouse and Keyboard Not Working in Windows
Basic Fixes Restart PC: A simple restart can refresh the system memory, clear temporary glitches, and reload device drivers, fixing issues caused by outdated or corrupted files.
 3 Ways to Fix Keyboard Function Keys Not Working on Windows 11/10
Fix 1: Confirm Shortcut Keys Don't Disable Function Keys Keyboards with an Fn key allow two sets of actions on the function keys.
3 Ways to Fix Keyboard Function Keys Not Working on Windows 11/10
Fix 1: Confirm Shortcut Keys Don't Disable Function Keys Keyboards with an Fn key allow two sets of actions on the function keys.
 4 Ways to Fix Keyboard Shortcuts Not Working on Windows 11
Preliminary Fixes Disable Game Mode: Gaming keyboards often have special modes that disable keyboard shortcuts.
4 Ways to Fix Keyboard Shortcuts Not Working on Windows 11
Preliminary Fixes Disable Game Mode: Gaming keyboards often have special modes that disable keyboard shortcuts.
 4 Ways to Fix Number Pad Not Working on Keyboard in Windows 11
Basic Fixes: Enable Num Lock on the keyboard: Most keyboards come with a dedicated Num Lock key.
4 Ways to Fix Number Pad Not Working on Keyboard in Windows 11
Basic Fixes: Enable Num Lock on the keyboard: Most keyboards come with a dedicated Num Lock key.
 4 Ways to Fix On-Screen Keyboard Not Working on Windows 11
Fix 1: Enable On-Screen Keyboard The on-screen keyboard may fail to open on Windows if you have previously disabled it from the Settings app.
4 Ways to Fix On-Screen Keyboard Not Working on Windows 11
Fix 1: Enable On-Screen Keyboard The on-screen keyboard may fail to open on Windows if you have previously disabled it from the Settings app.
 4 Ways to Fix Snipping Tool Keyboard Shortcut Not Working
Basic Fixes: Check your keyboard for damages: Any physical damage to keyboard keys might prevent them from working as expected.
4 Ways to Fix Snipping Tool Keyboard Shortcut Not Working
Basic Fixes: Check your keyboard for damages: Any physical damage to keyboard keys might prevent them from working as expected.
The article above may contain affiliate links which help support Guiding Tech. The content remains unbiased and authentic and will never affect our editorial integrity.