Method 1: Using Your Android TV Remote
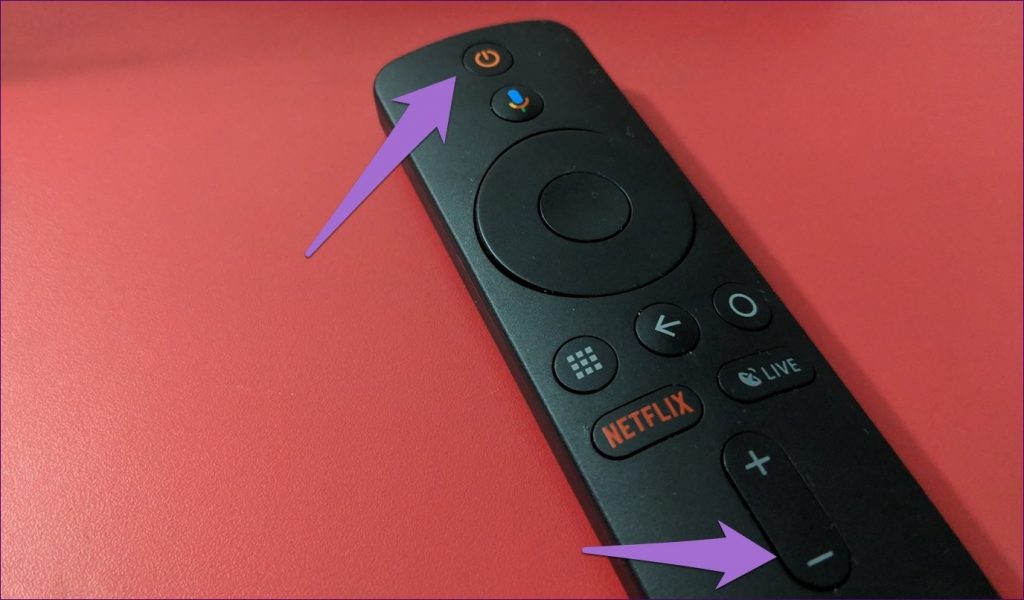
On the screen that you want to capture, press and hold the power and volume down buttons together of your remote. If you see a capture animation, the screenshot has been successfully captured.
Method 2: Using Official TV App
Typically, Android TVs and TV Boxes come with their remote control apps, which usually provide the screenshot option. For instance, if you own a Xiaomi TV, you can use the Mi Remote Controller app to take screenshots that will be saved directly on your phone.
Method 3: Using the CetusPlay App
CetusPlay is a free app for the Android TV Play Store that allows you to take screenshots on your Android TV.
Step 1: Download the CetusPlay app and install it on your Android TV and phone. Ensure you have connected your phone and TV to the same Wi-Fi network.
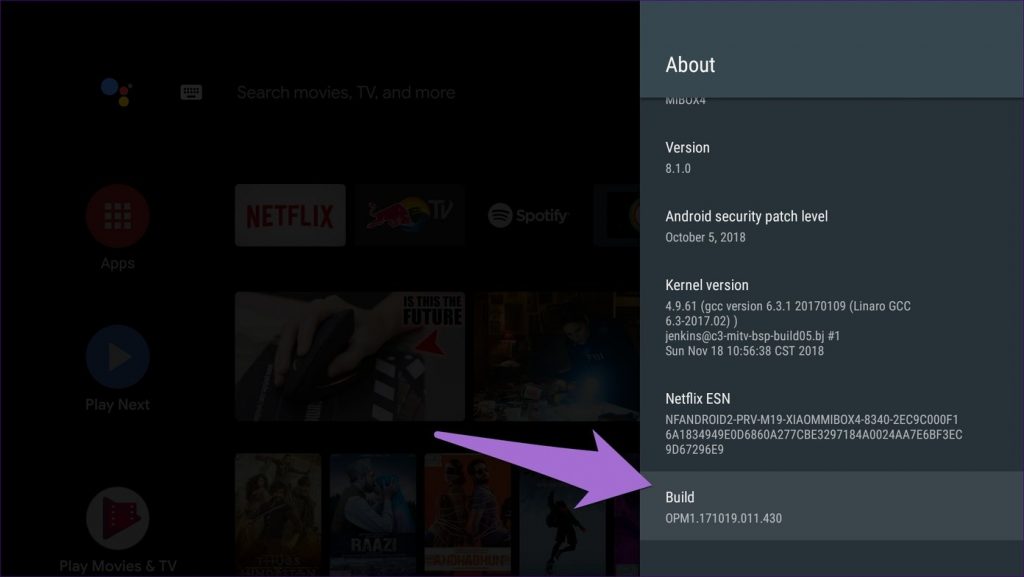
Step 2: On your Android TV, go to Settings > About > hit Build several times with the select button of your remote. A confirmation message will appear saying Developer mode has been activated.
Step 3: Now, go back to Settings and look for Developer options. Under it, enable USB Debugging.

Step 4: Now, open the CetusPlay app on your phone > tap on the three-bar icon at the top-left corner > select Screen Capture.


Method 4: Using the Hardware Button Mapper App
Just like CetusPlay, we have Button Mapper for Android TV users. This app helps you select a specific button on your remote to take screenshots.
Step 1: Download the Button Mapper app on your Android TV from the Google Play Store.

Step 2: Open the app on your Android TV. Then, assign the screenshot function to a button of your choice. You can even assign the functionality to double tap and long press.

Now that you have taken screenshots, view them or transfer them to your PC and mobile.
Alternatively, you can also connect a Keyboard to your Android TV and press the PrtScn button. This method did not work for our Android TV model. But you can check if it works on yours.
Was this helpful?
Last updated on 06 June, 2024
Read Next
 5 Ways to Take Screenshots Without Power Button on Android
Method 1: Use Gestures You can use Gestures to capture a screenshot - on Xiaomi devices, go to Settings > Additional Settings > Gestures > enable the Slide 3 fingers
5 Ways to Take Screenshots Without Power Button on Android
Method 1: Use Gestures You can use Gestures to capture a screenshot - on Xiaomi devices, go to Settings > Additional Settings > Gestures > enable the Slide 3 fingers
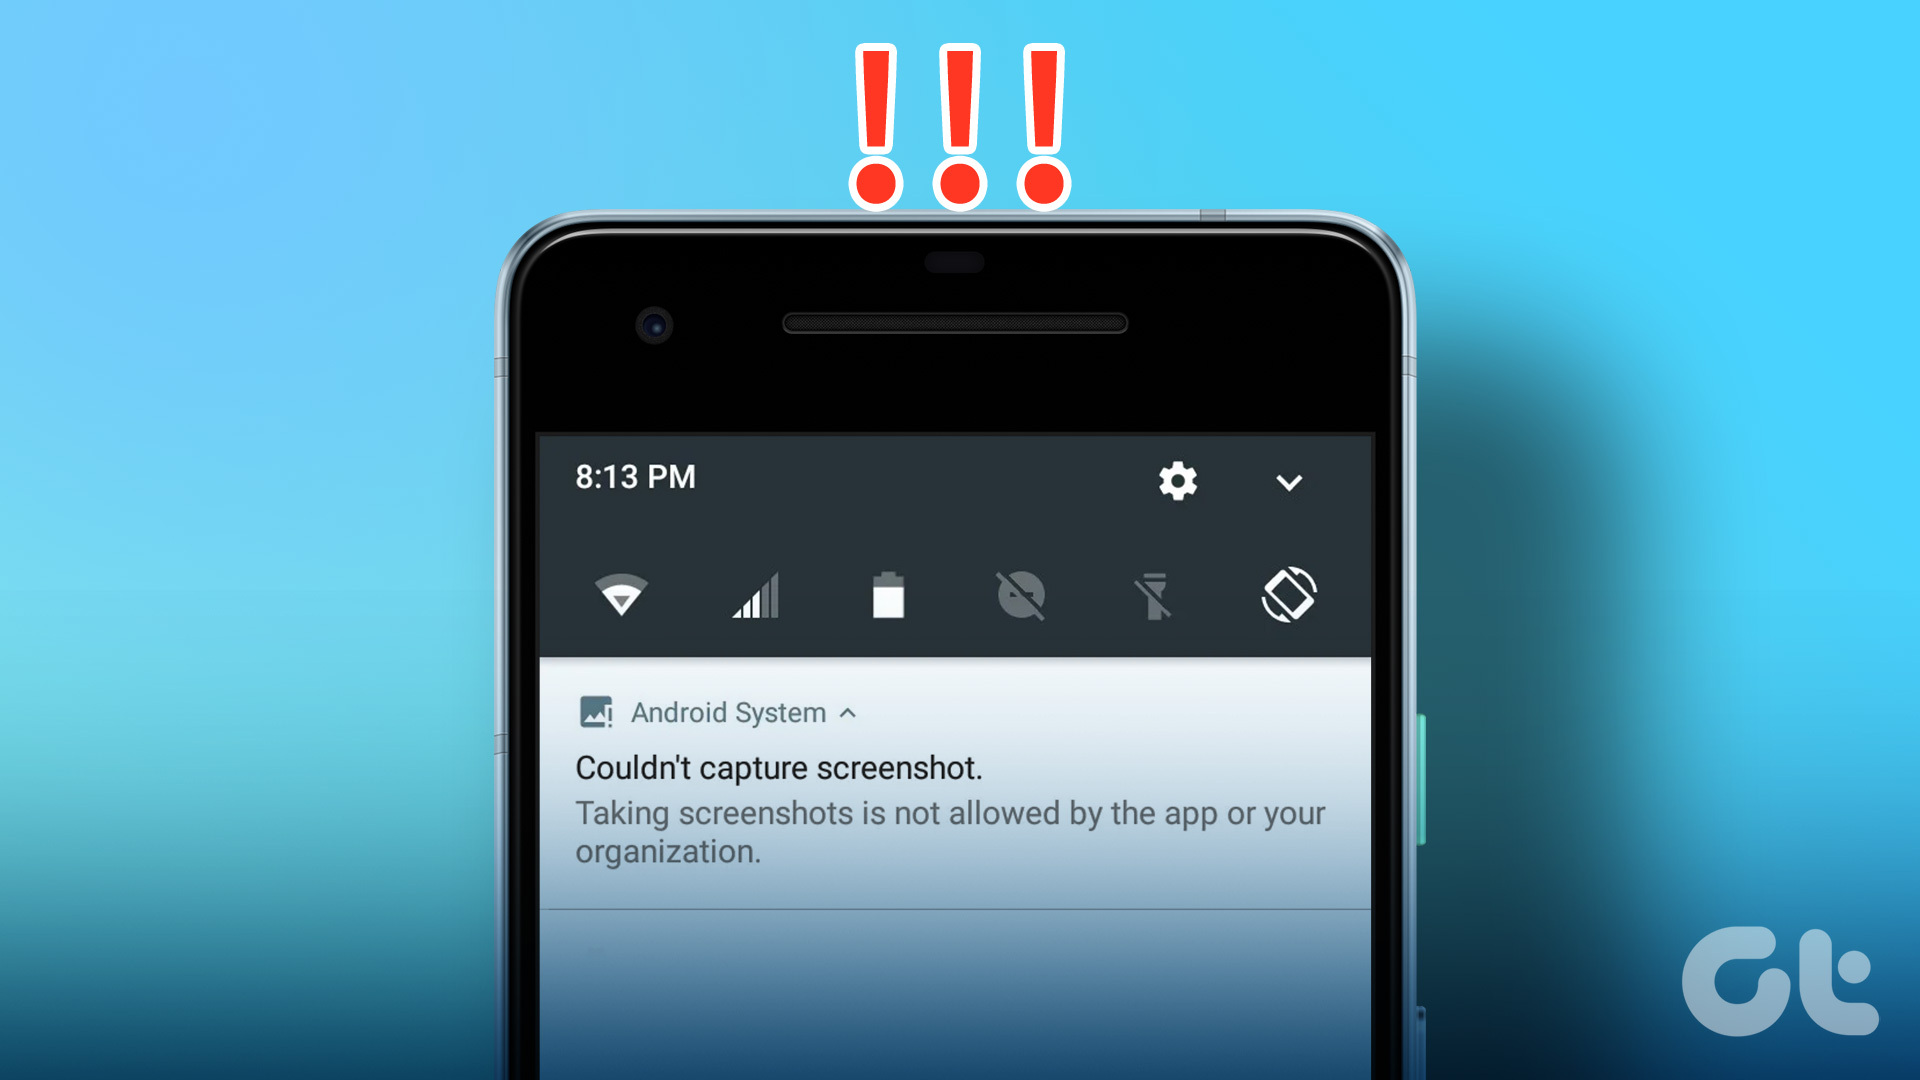 3 Ways to Fix Unable to Capture Screenshots on Android
Why Certain Apps Don’t Allow You to Take Screenshots on Android Some Android apps may prevent you from taking screenshots for security reasons.
3 Ways to Fix Unable to Capture Screenshots on Android
Why Certain Apps Don’t Allow You to Take Screenshots on Android Some Android apps may prevent you from taking screenshots for security reasons.
 How to Take Screenshots on Apple TV 4K
What Can You Capture Using Screenshots on Apple TV 4K The method that we recommend for taking screenshots on Apple TV 4K using your Mac comes with a few limitations.
How to Take Screenshots on Apple TV 4K
What Can You Capture Using Screenshots on Apple TV 4K The method that we recommend for taking screenshots on Apple TV 4K using your Mac comes with a few limitations.
 How to Take Scrolling (Long) Screenshots on Android
How to Take a Long Screenshot on Samsung Devices Step 1: Press the power button and volume down together.
How to Take Scrolling (Long) Screenshots on Android
How to Take a Long Screenshot on Samsung Devices Step 1: Press the power button and volume down together.
 How to Take Screenshots in Incognito Mode on Android
How to Take Screenshots in Chrome Incognito Mode Step 1: Open the Google Chrome browser on your Android phone.
How to Take Screenshots in Incognito Mode on Android
How to Take Screenshots in Chrome Incognito Mode Step 1: Open the Google Chrome browser on your Android phone.
 Best Ways to Capture Scrolling Screenshots on macOS
When you want to capture an entire webpage, document, or any content that extends beyond the visible screen, a scrolling screenshot is the best route.
Best Ways to Capture Scrolling Screenshots on macOS
When you want to capture an entire webpage, document, or any content that extends beyond the visible screen, a scrolling screenshot is the best route.
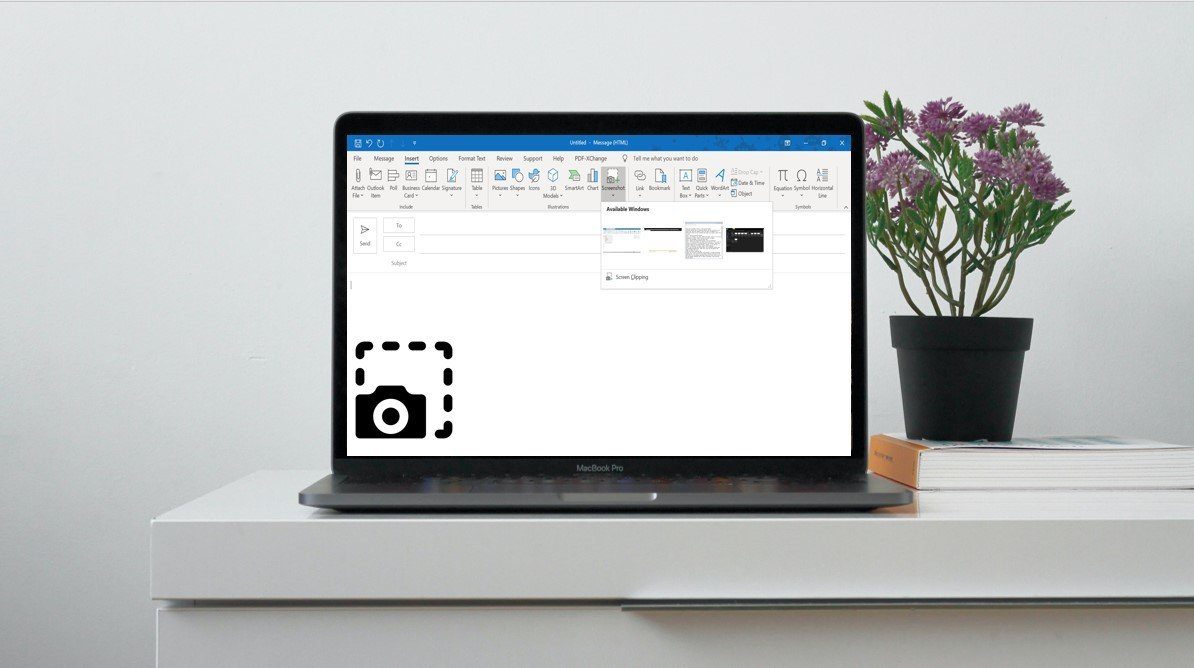 Top 3 Ways to Insert Screenshots in Microsoft Outlook
Screenshots can be very helpful when passing certain information over messages or social media.
Top 3 Ways to Insert Screenshots in Microsoft Outlook
Screenshots can be very helpful when passing certain information over messages or social media.
 3 Ways to Take Scrolling Screenshots in Windows 11
Method 1: Using Microsoft Edge Microsoft Edge offers a handy Web Capture tool to snap and annotate screenshots.
3 Ways to Take Scrolling Screenshots in Windows 11
Method 1: Using Microsoft Edge Microsoft Edge offers a handy Web Capture tool to snap and annotate screenshots.
The article above may contain affiliate links which help support Guiding Tech. The content remains unbiased and authentic and will never affect our editorial integrity.