How to Take a Long Screenshot on Samsung Devices
Step 1: Press the power button and volume down together. A screenshot menu will appear.
Step 2: Once the screenshot menu appears, keep tapping the down icon till where you want the screenshot to be.
Once you complete taking the required screenshot, tap on the image thumbnail (on the leftmost side – which is the first option in the menu) to save the screenshot.

Also Read: How to take scrolling screenshots in Windows
How to Take a Full Page Screenshot on Pixel (Stock Android) Devices
Step 1: Press and hold the power button and the volume down button simultaneously.
Step 2: Once the screenshot of the visible area is captured, tap on the Capture More button.
Step 3: Drag the slider down to capture all the areas that you need. You will see a magnification of the display to help you understand where to stop. Tap on Save.

Also Read: How to take screenshots in incognito mode on Android
How to Take a Scrollable Screenshot on OnePlus, Oppo, and Realme Devices
Step 1: Press and hold the power button and the volume down button simultaneously.
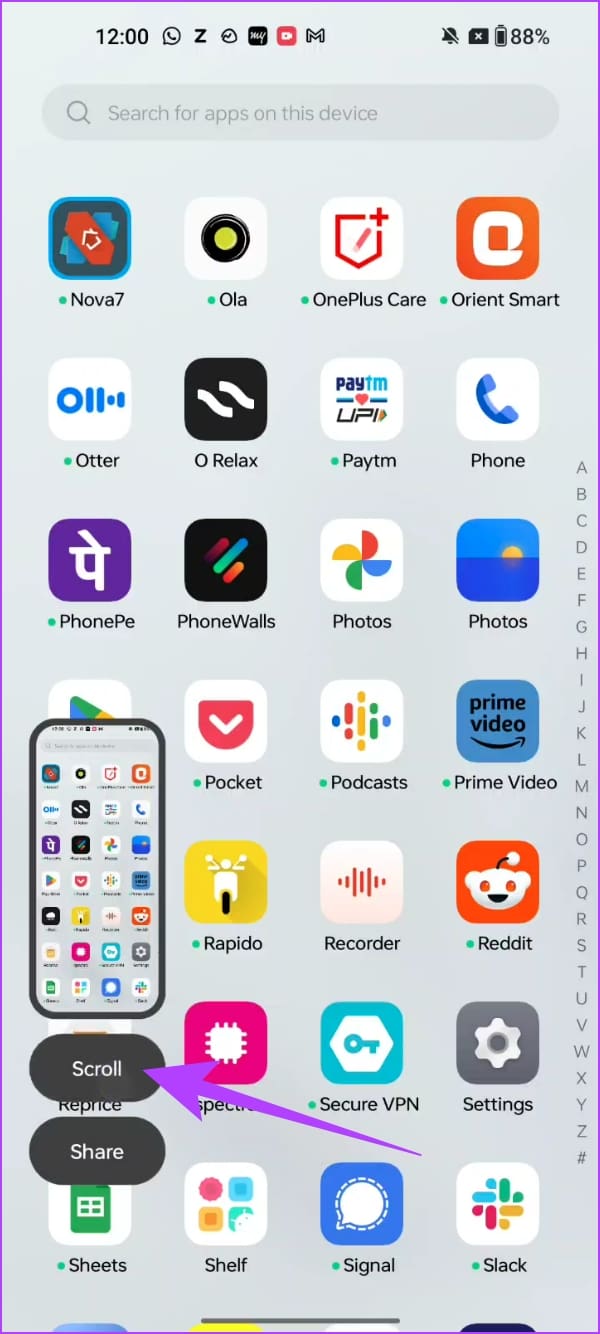
Step 2: The screenshot of the visible area will be captured. Tap on Scroll.
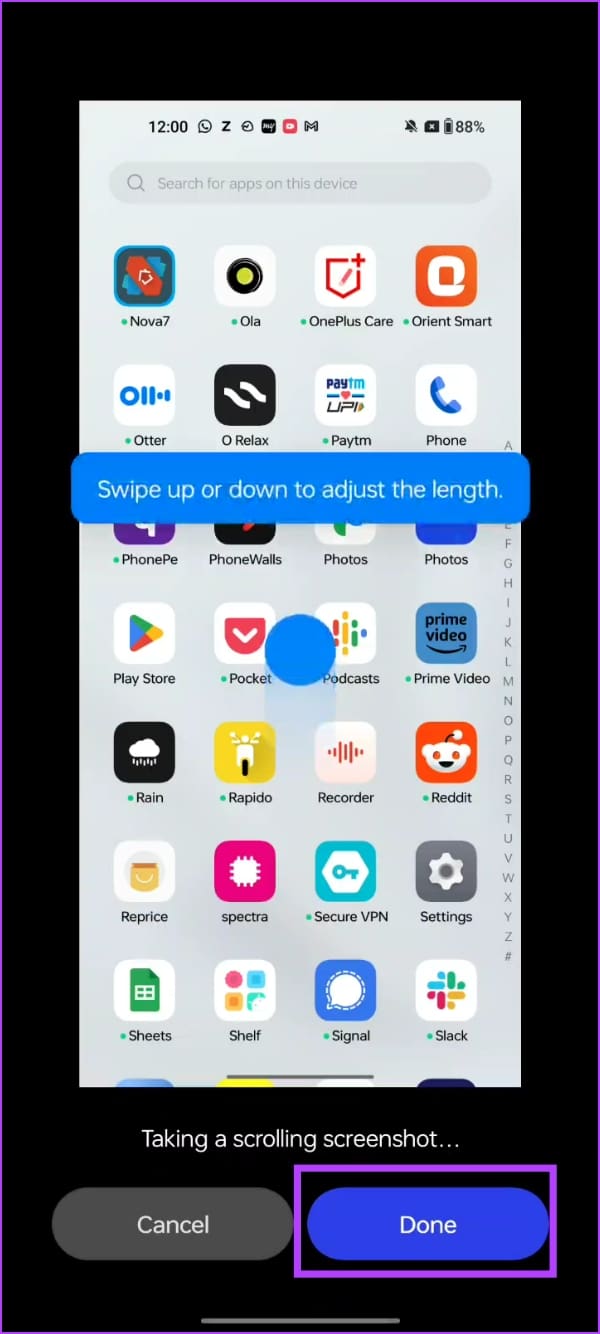
Step 3: The display will automatically scroll down, and you can tap on Done once you reach the desired area of the screen. Additionally, you can also swipe/up or down to adjust the selection for the screenshot.
How to Take a Scrolling Screenshot on MIUI (Xiaomi, Redmi, and Poco Devices)
Step 1: Press and hold the power button and the volume down button simultaneously.
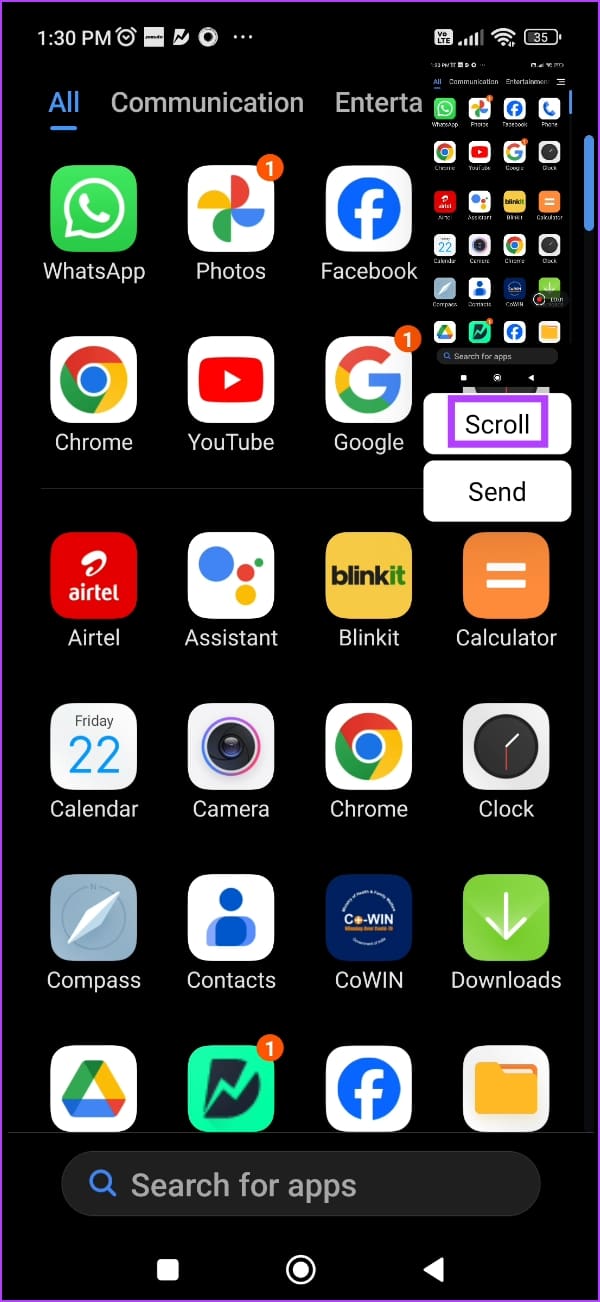
Step 2: Once the screenshot of the visible area is captured, you will see a pop-up. Tap on Scroll.
Step 3: The window will automatically scroll the screen, and tap on Done once the desired area is captured. Now, tap on the check mark icon to save the screenshot.
Best Third-Party App to Take an Extended Screenshot on Android
While most Android devices have the option to capture a scrolling screenshot, if yours does not – do not worry. Here’s a third-party app that you can install to capture full-size scrollable screenshots on your Android device.
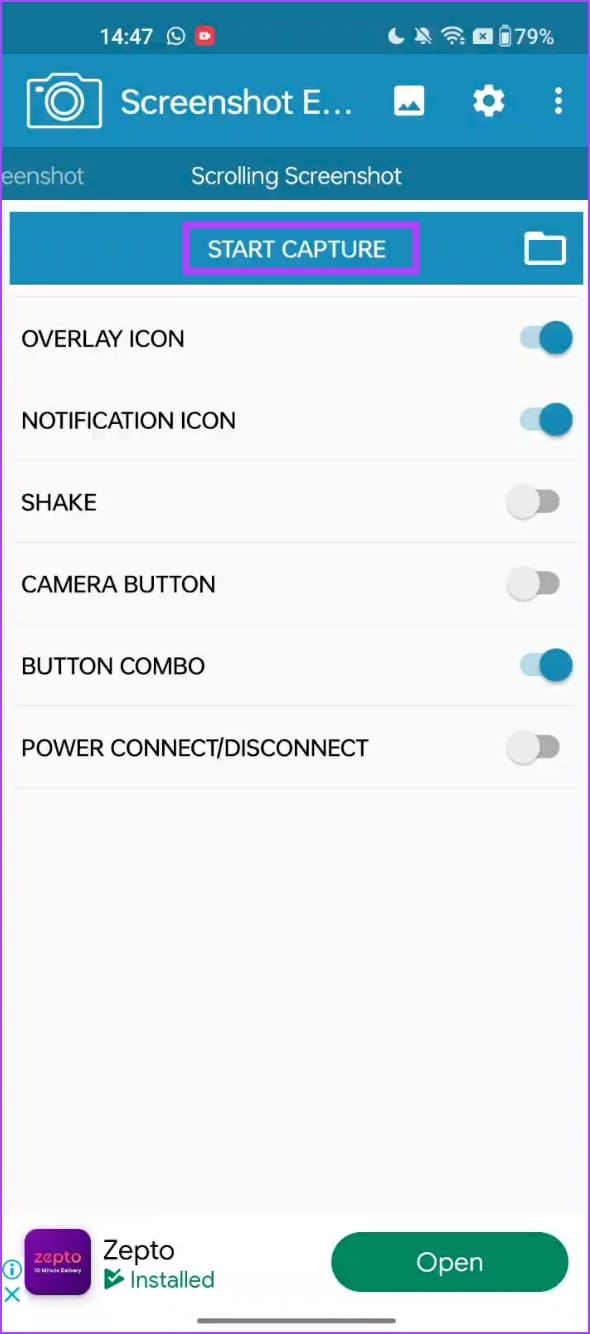
Step 1: Download the app called Screenshot Easy from the Play Store. Open the app, and provide all the necessary permissions.
Step 2: Swipe across the menus, and go to the Scrolling Screenshot Menu.
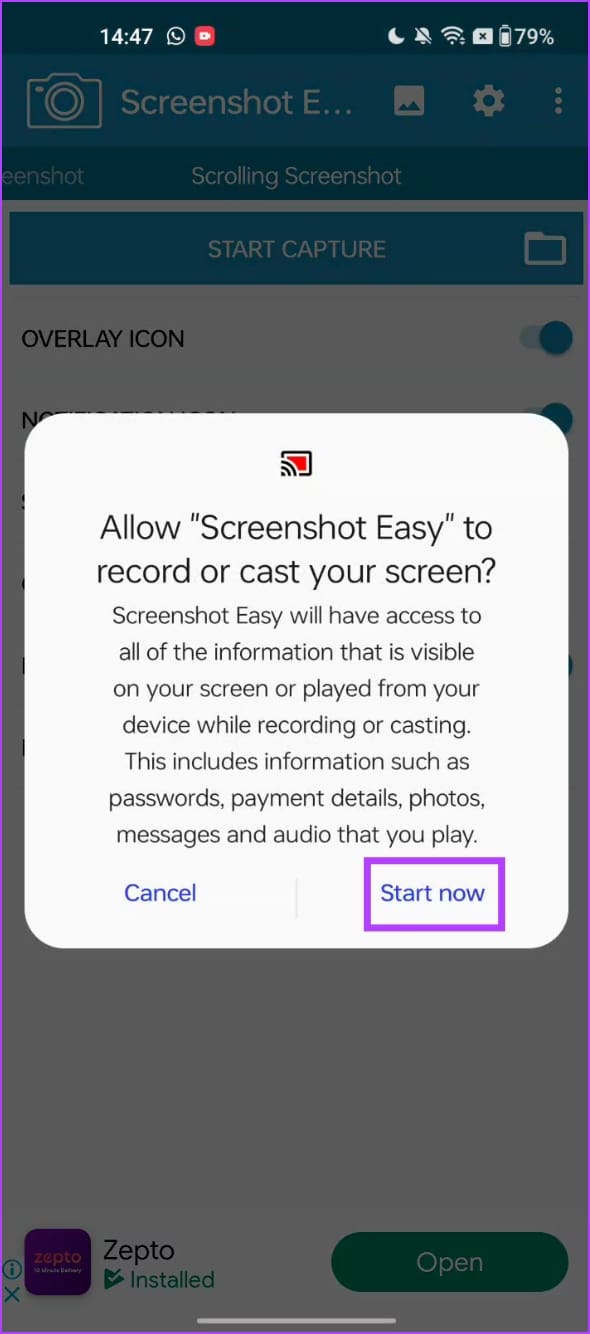
Step 3: Tap on Start Capture. Tap on Start Now.
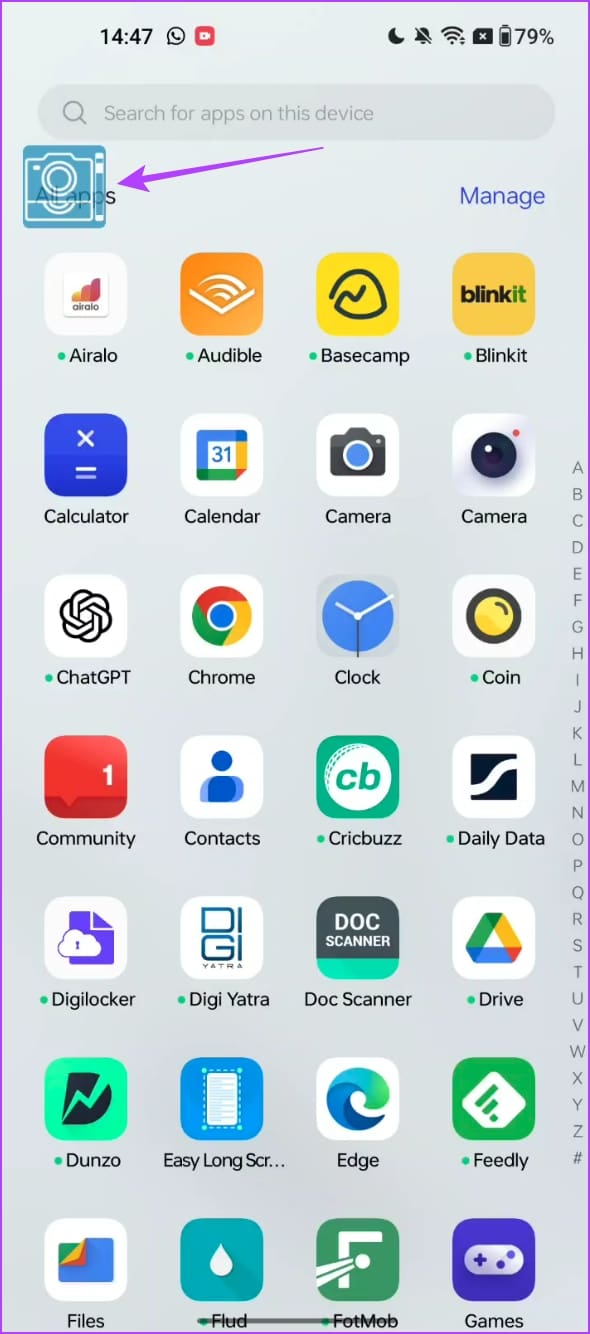
Step 4: Tap on the floating camera button. This will capture the screenshot of the visible area.
Scroll down to the next area, and capture the button again. Repeat the process until you scroll down, and capture all of the required area.
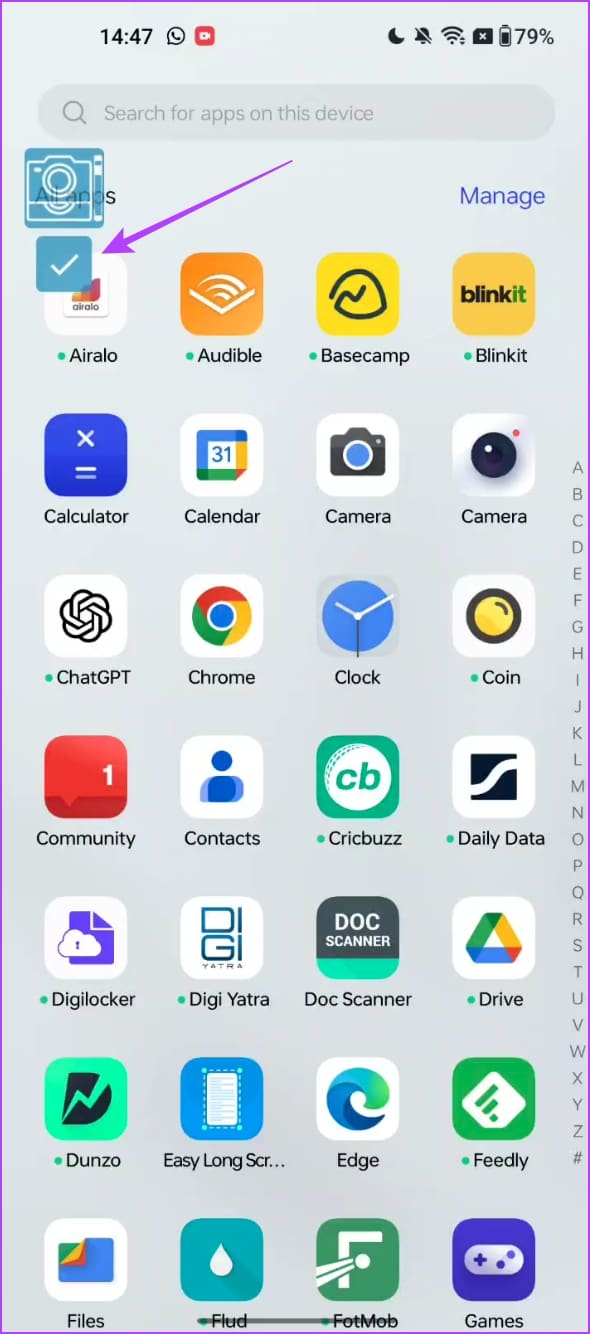
Step 5: Once you complete it, tap on the check mark.
You will see the preview within the app. The app essentially captures multiple images and stitches them together.
You can use the tool to crop the individual screenshots and prevent any redundant areas from being stitched.
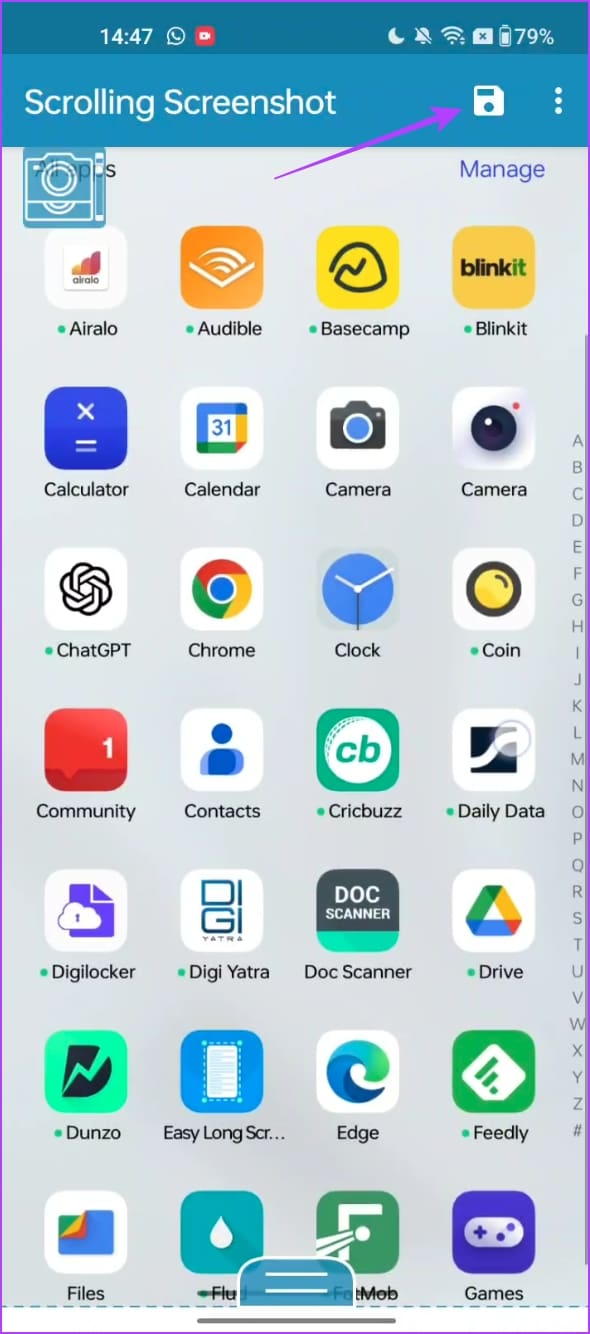
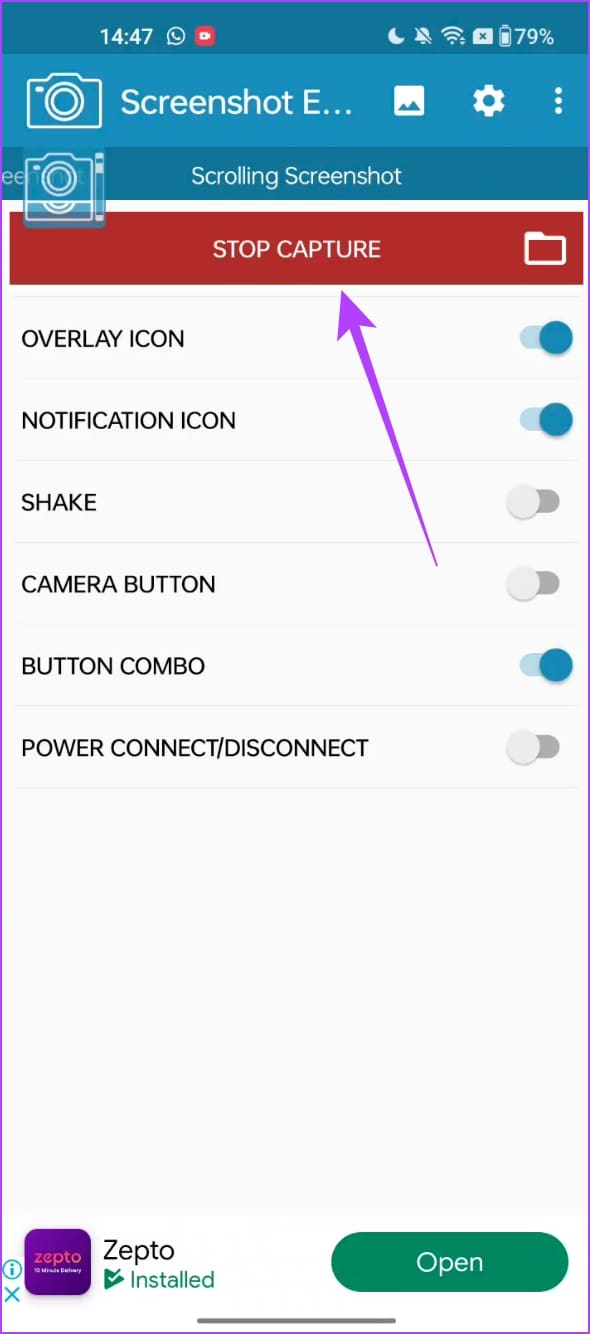
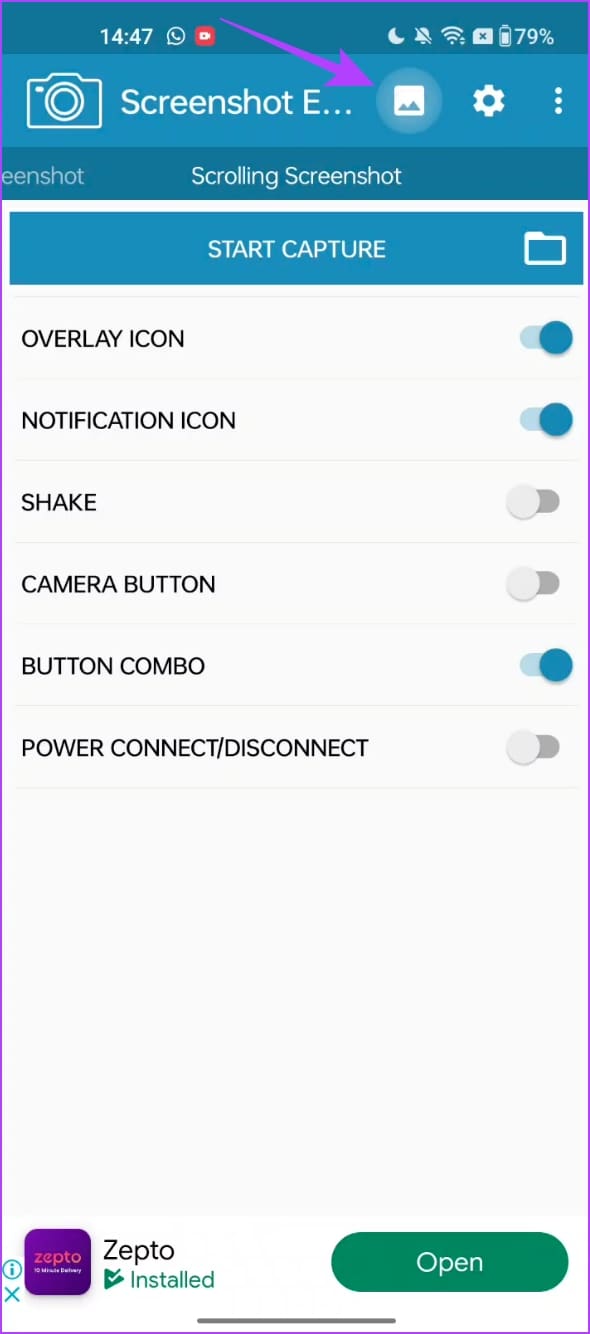
Step 6: Tap on the save icon. Open the app once again, and tap on stop capture to hide the camera overlay button.
Step 7: Tap on the image icon to view your captured screenshots. You can save the images to your local folders as well.
Also Read: How to fix can’t take screenshots due to security policy on Android
Was this helpful?
Last updated on 30 June, 2024
Read Next
 Best Ways to Capture Scrolling Screenshots on macOS
When you want to capture an entire webpage, document, or any content that extends beyond the visible screen, a scrolling screenshot is the best route.
Best Ways to Capture Scrolling Screenshots on macOS
When you want to capture an entire webpage, document, or any content that extends beyond the visible screen, a scrolling screenshot is the best route.
 3 Ways to Take Scrolling Screenshots in Windows 11
Method 1: Using Microsoft Edge Microsoft Edge offers a handy Web Capture tool to snap and annotate screenshots.
3 Ways to Take Scrolling Screenshots in Windows 11
Method 1: Using Microsoft Edge Microsoft Edge offers a handy Web Capture tool to snap and annotate screenshots.
 5 Ways to Take Screenshots Without Power Button on Android
Method 1: Use Gestures You can use Gestures to capture a screenshot - on Xiaomi devices, go to Settings > Additional Settings > Gestures > enable the Slide 3 fingers
5 Ways to Take Screenshots Without Power Button on Android
Method 1: Use Gestures You can use Gestures to capture a screenshot - on Xiaomi devices, go to Settings > Additional Settings > Gestures > enable the Slide 3 fingers
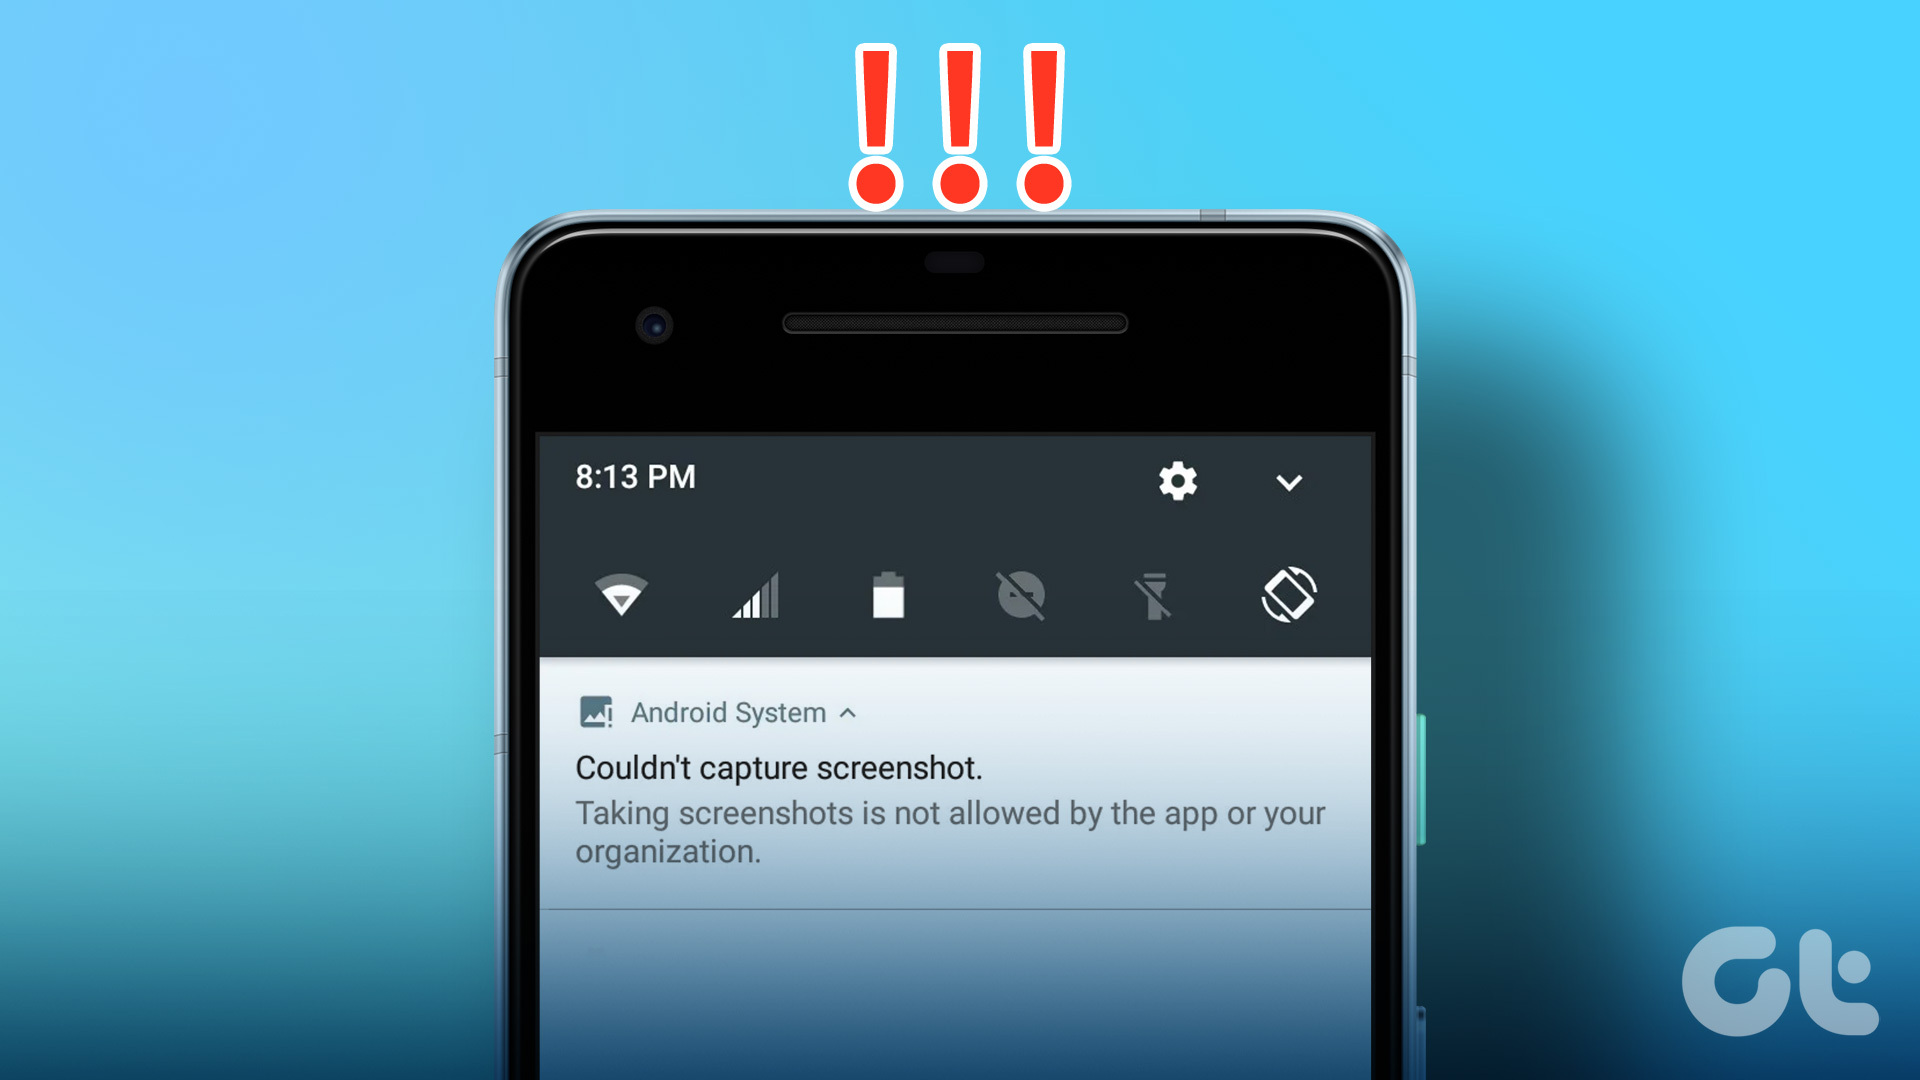 3 Ways to Fix Unable to Capture Screenshots on Android
Why Certain Apps Don’t Allow You to Take Screenshots on Android Some Android apps may prevent you from taking screenshots for security reasons.
3 Ways to Fix Unable to Capture Screenshots on Android
Why Certain Apps Don’t Allow You to Take Screenshots on Android Some Android apps may prevent you from taking screenshots for security reasons.
 How to Take Screenshots in Incognito Mode on Android
How to Take Screenshots in Chrome Incognito Mode Step 1: Open the Google Chrome browser on your Android phone.
How to Take Screenshots in Incognito Mode on Android
How to Take Screenshots in Chrome Incognito Mode Step 1: Open the Google Chrome browser on your Android phone.
 4 Ways to Take Screenshots on Android TV
Method 1: Using Your Android TV Remote On the screen that you want to capture, press and hold the power and volume down buttons together of your remote.
4 Ways to Take Screenshots on Android TV
Method 1: Using Your Android TV Remote On the screen that you want to capture, press and hold the power and volume down buttons together of your remote.
 3 Ways to Fix Mouse Keeps Scrolling Automatically Windows 10 and Windows 11
https://youtu.be/1UZ3PWNr-lE Try Basic Fixes Disconnect and reconnect the mouse: Unplug your mouse cable or wireless adapter from your computer and reconnect it to a different port.
3 Ways to Fix Mouse Keeps Scrolling Automatically Windows 10 and Windows 11
https://youtu.be/1UZ3PWNr-lE Try Basic Fixes Disconnect and reconnect the mouse: Unplug your mouse cable or wireless adapter from your computer and reconnect it to a different port.
 How to Stop Facebook From Scrolling Automatically
Basic Fixes Update your web browser: Ensure that you use the latest version of your preferred web browser.
How to Stop Facebook From Scrolling Automatically
Basic Fixes Update your web browser: Ensure that you use the latest version of your preferred web browser.
The article above may contain affiliate links which help support Guiding Tech. The content remains unbiased and authentic and will never affect our editorial integrity.