What Can You Capture Using Screenshots on Apple TV 4K
The method that we recommend for taking screenshots on Apple TV 4K using your Mac comes with a few limitations. Since streaming platforms offer content that is protected using DRM (Digital Rights Management), you can’t really take a screenshot of every piece of content on these platforms. We tried taking a screenshot of various streaming platforms like Netflix, Amazon Prime Video, Disney+, Mubi, and Apple TV Plus.
It seems that Netflix, Prime Video, Mubi, and Apple TV Plus allow taking screenshots of their interface. The moment you start content playback, the screen goes black on your Mac.

However, this is not applicable to Disney+ and YouTube as they both let you take screenshots while any content plays.

You can also take screenshots while games like Asphalt 8: Airborne on your Apple TV 4K.
How To Take a Screenshot on Apple TV 4K
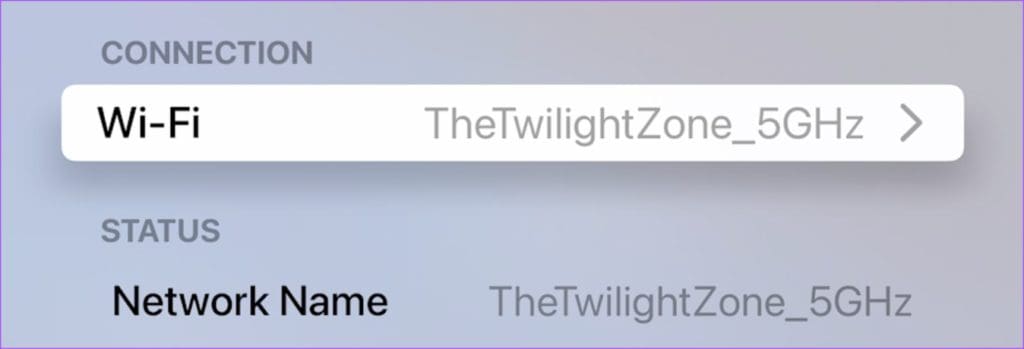
After you install updates, connect your Apple TV 4K and Mac to the same Wi-Fi network. On your Mac, click the Wi-Fi icon at the top-right corner of the menu bar to check the network name.
Step 1: Open Settings > Network > Under Connection, check the name of your Wi-Fi network.
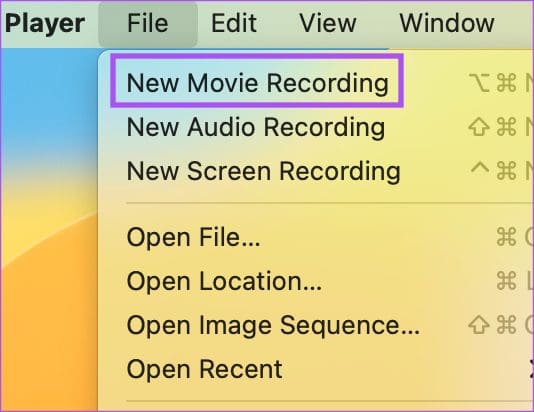
Step 2: Open QuickTime Player on your Mac.

Step 3: Click on File > New Movie Recording.
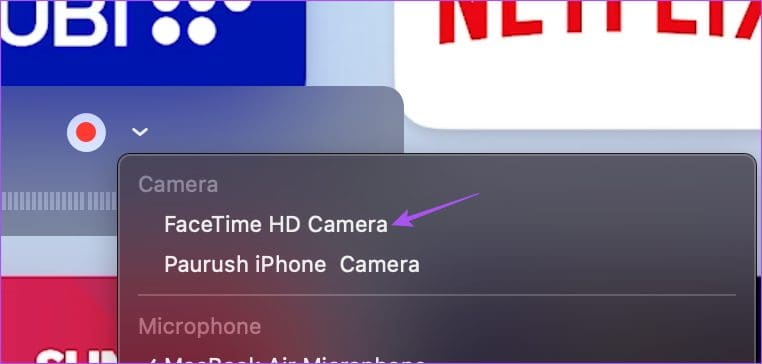
Step 4: When a recording bar opens, click the down arrow icon next to the Record button.
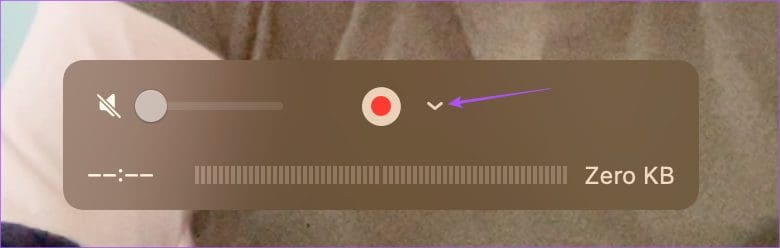
Step 5: Select the name of your Apple TV 4K as the Screen input.
Step 6: Enter the AirPlay code that appears on your TV screen.

You will see your the Apple TV 4K screen mirrored wirelessly using AirPlay on your Mac.
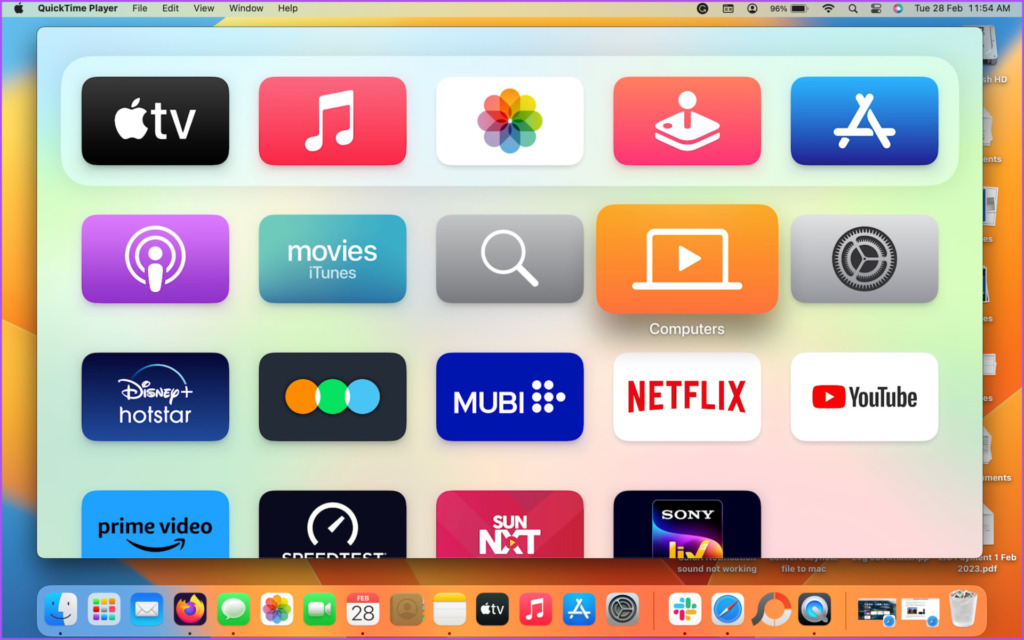
Step 7: Open app to choose the frame which you want to capture.
Step 8: Press Command + Shift + 3 keys on your Mac to take a screenshot.
You can also take cropped screenshots on your Mac. Press the Record button to start a screen recording which will be saved on your Mac.
To stop capturing the screen of your Apple TV 4K, you can switch back to the FaceTime HD Camera in the QuickTime Player window.
Was this helpful?
Last updated on 14 August, 2024
Read Next
 4 Ways to Take Screenshots on Android TV
Method 1: Using Your Android TV Remote On the screen that you want to capture, press and hold the power and volume down buttons together of your remote.
4 Ways to Take Screenshots on Android TV
Method 1: Using Your Android TV Remote On the screen that you want to capture, press and hold the power and volume down buttons together of your remote.
 2 Tools to Automatically Take Screenshots on Windows PC
Just think for a moment.
2 Tools to Automatically Take Screenshots on Windows PC
Just think for a moment.
 Best Ways to Capture Scrolling Screenshots on macOS
When you want to capture an entire webpage, document, or any content that extends beyond the visible screen, a scrolling screenshot is the best route.
Best Ways to Capture Scrolling Screenshots on macOS
When you want to capture an entire webpage, document, or any content that extends beyond the visible screen, a scrolling screenshot is the best route.
 5 Ways to Take Screenshots Without Power Button on Android
Method 1: Use Gestures You can use Gestures to capture a screenshot - on Xiaomi devices, go to Settings > Additional Settings > Gestures > enable the Slide 3 fingers
5 Ways to Take Screenshots Without Power Button on Android
Method 1: Use Gestures You can use Gestures to capture a screenshot - on Xiaomi devices, go to Settings > Additional Settings > Gestures > enable the Slide 3 fingers
 Top 3 Ways to Insert Screenshots in Microsoft Outlook
Screenshots can be very helpful when passing certain information over messages or social media.
Top 3 Ways to Insert Screenshots in Microsoft Outlook
Screenshots can be very helpful when passing certain information over messages or social media.
 How to Capture and Edit Screenshots on Mac
Capture Screenshots on Mac Just like Windows, macOS comes with a built-in screenshot-capturing tool that you can summon with keyboard shortcuts.
How to Capture and Edit Screenshots on Mac
Capture Screenshots on Mac Just like Windows, macOS comes with a built-in screenshot-capturing tool that you can summon with keyboard shortcuts.
 Where to Find Screenshots on Windows 11 and 10
Where Does Snipping Tool Save Screenshots?
Where to Find Screenshots on Windows 11 and 10
Where Does Snipping Tool Save Screenshots?
 3 Ways to Take Scrolling Screenshots in Windows 11
Method 1: Using Microsoft Edge Microsoft Edge offers a handy Web Capture tool to snap and annotate screenshots.
3 Ways to Take Scrolling Screenshots in Windows 11
Method 1: Using Microsoft Edge Microsoft Edge offers a handy Web Capture tool to snap and annotate screenshots.
The article above may contain affiliate links which help support Guiding Tech. The content remains unbiased and authentic and will never affect our editorial integrity.