Method 1: Run Check Disk Utility From File Explorer
File Explorer provides an easy way to run the Check Disk Utility on your selected system drive to repair its errors. Here’s what you need to follow:
Step 1: Press the Windows + E shortcut to open File Explorer, select This PC from the sidebar, and right-click a system drive to open its Properties.

Step 2: Navigate to the Tools tab, and click Check under ‘Error Checking’.

Step 3: Approve the UAC prompt and click Scan drive to commence the CHKDSK scan.

Step 4: Wait for the scan to finish. If it detects any disk errors, it’ll ask you to reboot Windows to fix it.
Method 2: Using Command Prompt
If you prefer the old-school method of executing commands, the Command Prompt app can help you run the CHKDSK Utility on Windows 11 to repair disk errors.
Step 1: Press the Windows key, search Command Prompt, and click Run as administrator.

Step 2: Paste the below command in the console and press Enter to scan your C: drive for issues and fix them.
chkdsk c: /r /scan /perf

Step 3: To run the CHKDSK Utility on a different drive (say D: drive), replace ‘c:’ in the above command with your desired drive letter. For example,
chkdsk d: /r /scan /perf
Method 3: Use Advanced Startup Options to Run Check Disk Utility
Can’t boot your computer to see the desktop? Fret not, you can run the CHKDSK Utility on Windows 11 via Advanced Startup Options. Here’s how:
Step 1: Press the Power button to boot your PC. When the Windows logo appears, press and hold the Power button to force it to shut down.
Step 2: Repeat the above step at least three times until you see the Automatic Repair screen, and click Advanced options.

Step 3: Select Troubleshoot on the next screen.

Step 4: Click Advanced options and select Command Prompt.


Step 5: Type the following command in the console and press Enter to scan and fix your system drive issues. Let’s take the C: drive for instance.
chkdsk /f C:

Step 6: Wait for the scan to complete and reboot your PC.
FAQs
Yes. Replace the drive letter in the CHKDSK command with the exact drive letter of your external disk and execute it in the Command Prompt console.
No. CHKDSK Utility in Windows 11 is designed to fix file system errors such as bad sectors but can’t fix the contents of a corrupted file.
Was this helpful?
Last updated on 02 August, 2024
Read Next
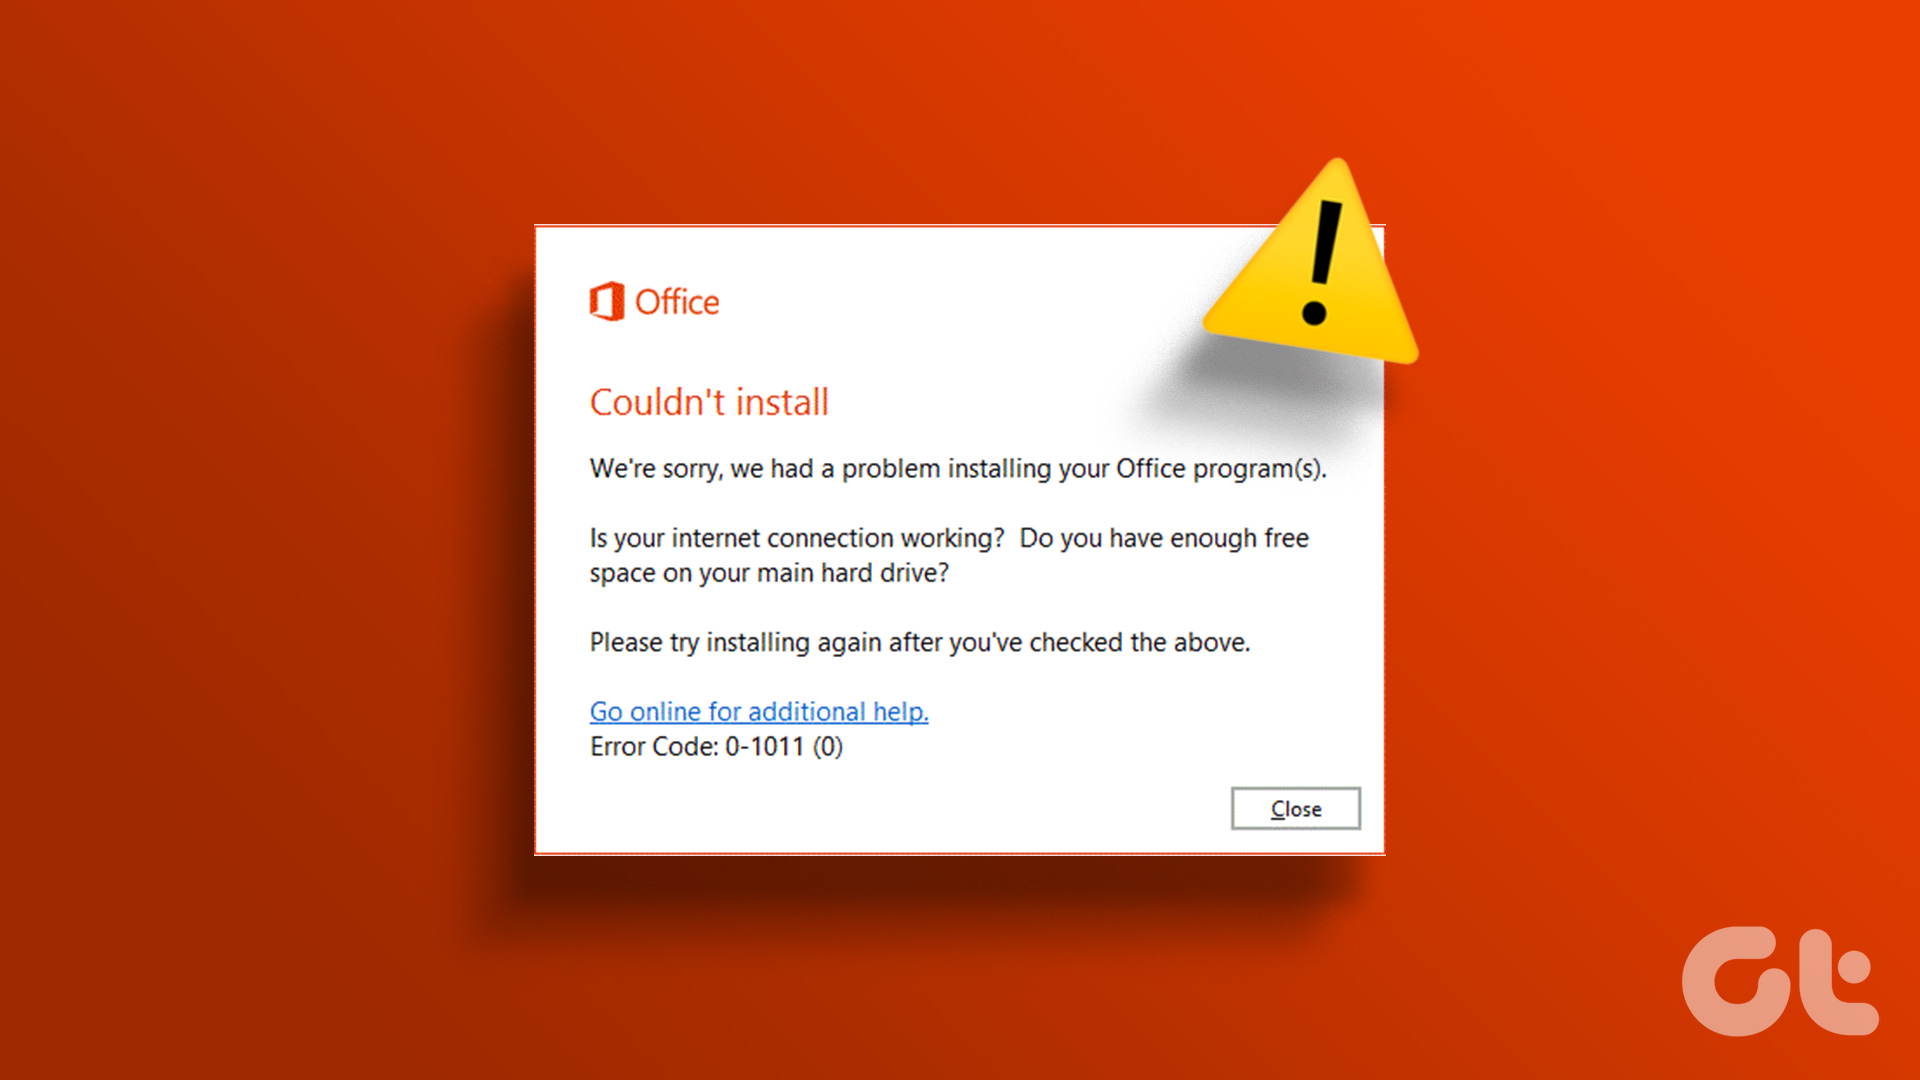 How to Repair Microsoft Office Installation Errors in Windows
Are you having trouble installing Microsoft Office on your Windows computer?
How to Repair Microsoft Office Installation Errors in Windows
Are you having trouble installing Microsoft Office on your Windows computer?
 8 Ways to Fix Windows Stuck on Repairing Disk Errors
If your Windows PC is stuck on repairing disk errors and shows that 'this might take an hour to complete,’ we are here to fix this issue without you having
8 Ways to Fix Windows Stuck on Repairing Disk Errors
If your Windows PC is stuck on repairing disk errors and shows that 'this might take an hour to complete,’ we are here to fix this issue without you having
 6 Ways to Run Disk Cleanup on Windows 11
Method 1: Run the Disk Cleanup Utility From the Control Panel The Control Panel app houses a majority of crucial system tools and Windows settings.
6 Ways to Run Disk Cleanup on Windows 11
Method 1: Run the Disk Cleanup Utility From the Control Panel The Control Panel app houses a majority of crucial system tools and Windows settings.
 6 Ways to Fix Runtime Errors on Windows 11
Fix 1: Run SFC and DISM Scans Damaged or corrupted system files on your PC can often result in runtime errors.
6 Ways to Fix Runtime Errors on Windows 11
Fix 1: Run SFC and DISM Scans Damaged or corrupted system files on your PC can often result in runtime errors.
 4 Ways to Fix File System Errors on Windows 11
Identify Common File System Error Codes Identify these common error codes before troubleshooting the file system errors to understand what they mean.
4 Ways to Fix File System Errors on Windows 11
Identify Common File System Error Codes Identify these common error codes before troubleshooting the file system errors to understand what they mean.
 10 Ways to Fix Discord “RTC Connecting” and “No Route” Errors on Windows
Discord has evolved into one of the best chat platforms.
10 Ways to Fix Discord “RTC Connecting” and “No Route” Errors on Windows
Discord has evolved into one of the best chat platforms.
 How to Fix Default Gateway Errors in Windows 11
Try These Things First Disable the third-party security program: The web safety feature of your third-party antivirus program can interfere with your network and cause the default gateway error.
How to Fix Default Gateway Errors in Windows 11
Try These Things First Disable the third-party security program: The web safety feature of your third-party antivirus program can interfere with your network and cause the default gateway error.
 3 Ways to Repair Broken Apps and Programs In Windows 11
Method 1: Using Apps and Features in the Settings App The first step for the native or third-party app is to use the Settings app.
3 Ways to Repair Broken Apps and Programs In Windows 11
Method 1: Using Apps and Features in the Settings App The first step for the native or third-party app is to use the Settings app.
The article above may contain affiliate links which help support Guiding Tech. The content remains unbiased and authentic and will never affect our editorial integrity.