A mouse that often stutters or lags can result in an unpleasant computing experience. Sadly, many Windows 11 users have been experiencing this annoying issue where there’s an unusual delay as they try to move the cursor, eventually leading to mistakes, loss of productivity, or less than idle gaming performance. But it doesn’t have to be that way. Below are some troubleshooting tips you can try to fix the mouse lagging problem on Windows 11. So, let’s begin.

1. Remove and Reconnect Mouse
Sometimes simplest of solutions can work wonders. Hence, you should always start with the basic ones. Try disconnecting your mouse and connecting it again. If it’s a wired mouse, simply unplug it and plug it into a different USB port. If it’s a wireless mouse, try replacing the batteries or check for any Bluetooth issues.
If possible, you can also connect another mouse or try connecting your mouse to another computer to rule out any hardware issues.
2. Run Hardware Troubleshooter
By running the hardware troubleshooter, you can allow Windows to detect and resolve any hardware-related issues that might be responsible for the mouse lag.
Step 1: Press Windows key + R to launch the Run command, type in msdt.exe -id DeviceDiagnostic, and press Enter.

Step 2: Then hit Next to begin the process.

3. Turn Off HDR
Several Windows 11 users on the forums complained about experiencing mouse lag when HDR was enabled. You can turn it off momentarily to see if that reduces or fixes the mouse lag issue on Windows 11.
Step 1: Right-click anywhere on the empty space on the desktop and select Display settings.

Step 2: Turn off HDR from here.

4. Check Mouse Speed and Sensitivity Settings
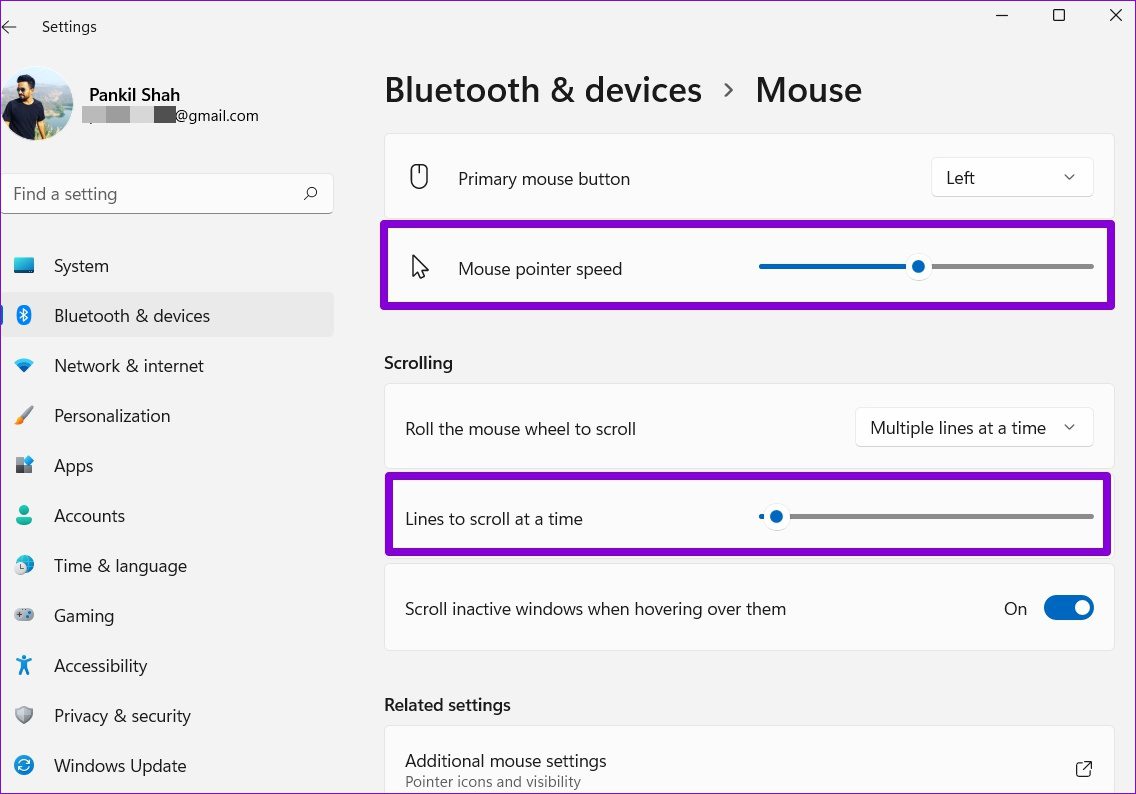
Next, you should take some time to check the mouse speed and sensitivity settings on your PC. It’s possible that the recent Windows update has changed the mouse settings to their default values. If you’re accustomed to a specific mouse speed then you might feel that your mouse is lagging when the speed is decreased. Here’s how to change that.
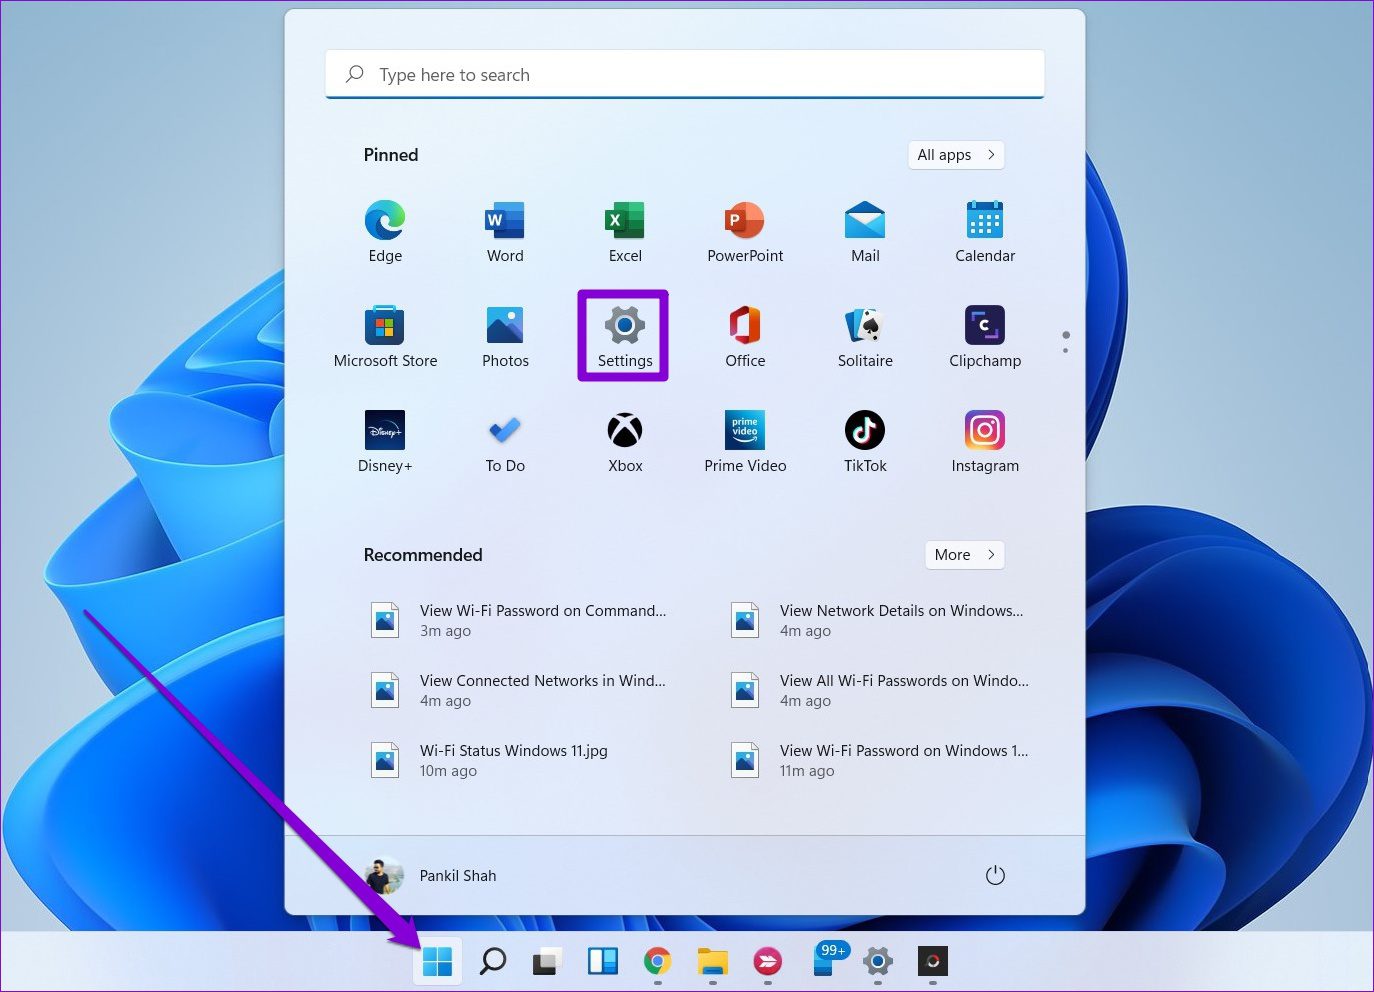
Step 1: Open the Start menu and launch the Settings app.
Step 2: Switch to Bluetooth & devices tab to open Mouse settings.
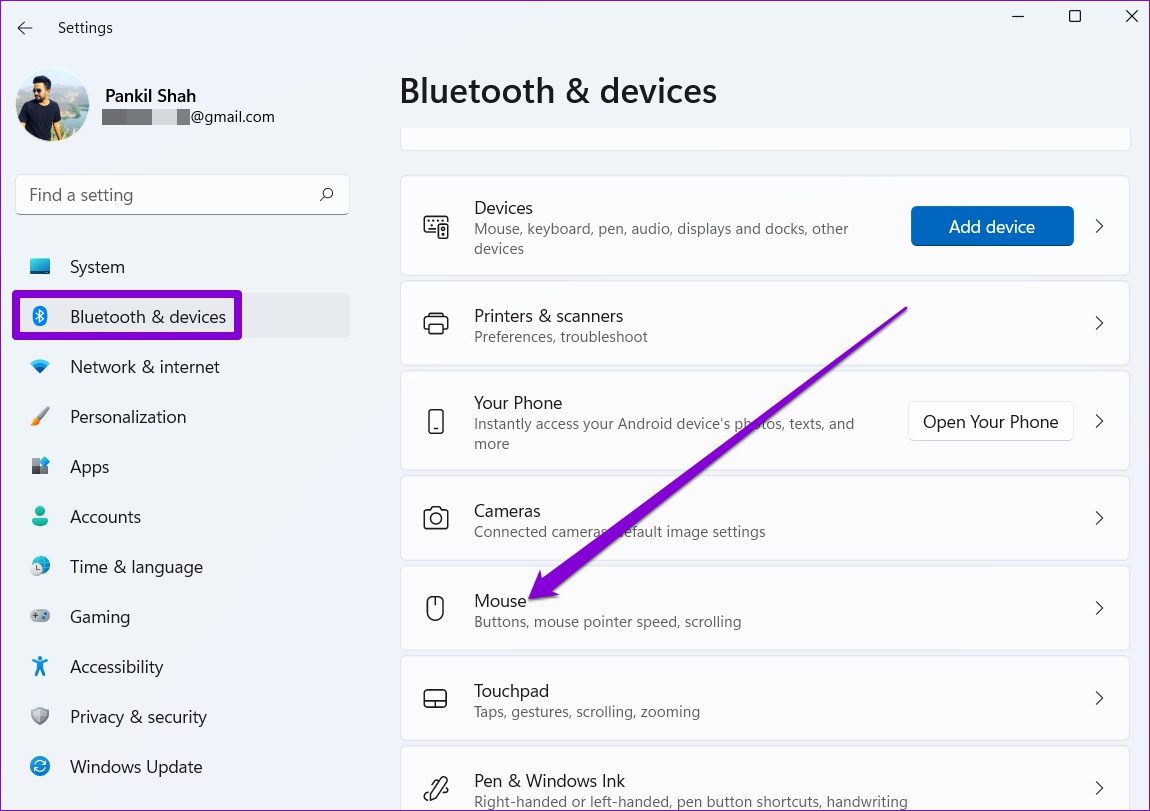
Step 3: Modify the Mouse pointer speed and scrolling settings from here.
5. Disable Scroll Inactive Window
Scroll inactive window is a feature that allows you to scroll windows that aren’t active by hovering your mouse over them. This can be handy if you’re working on multiple windows at the same time. But oddly enough, this feature is also known to create mouse lag issues. Thus, you can try disabling it by following the steps below.
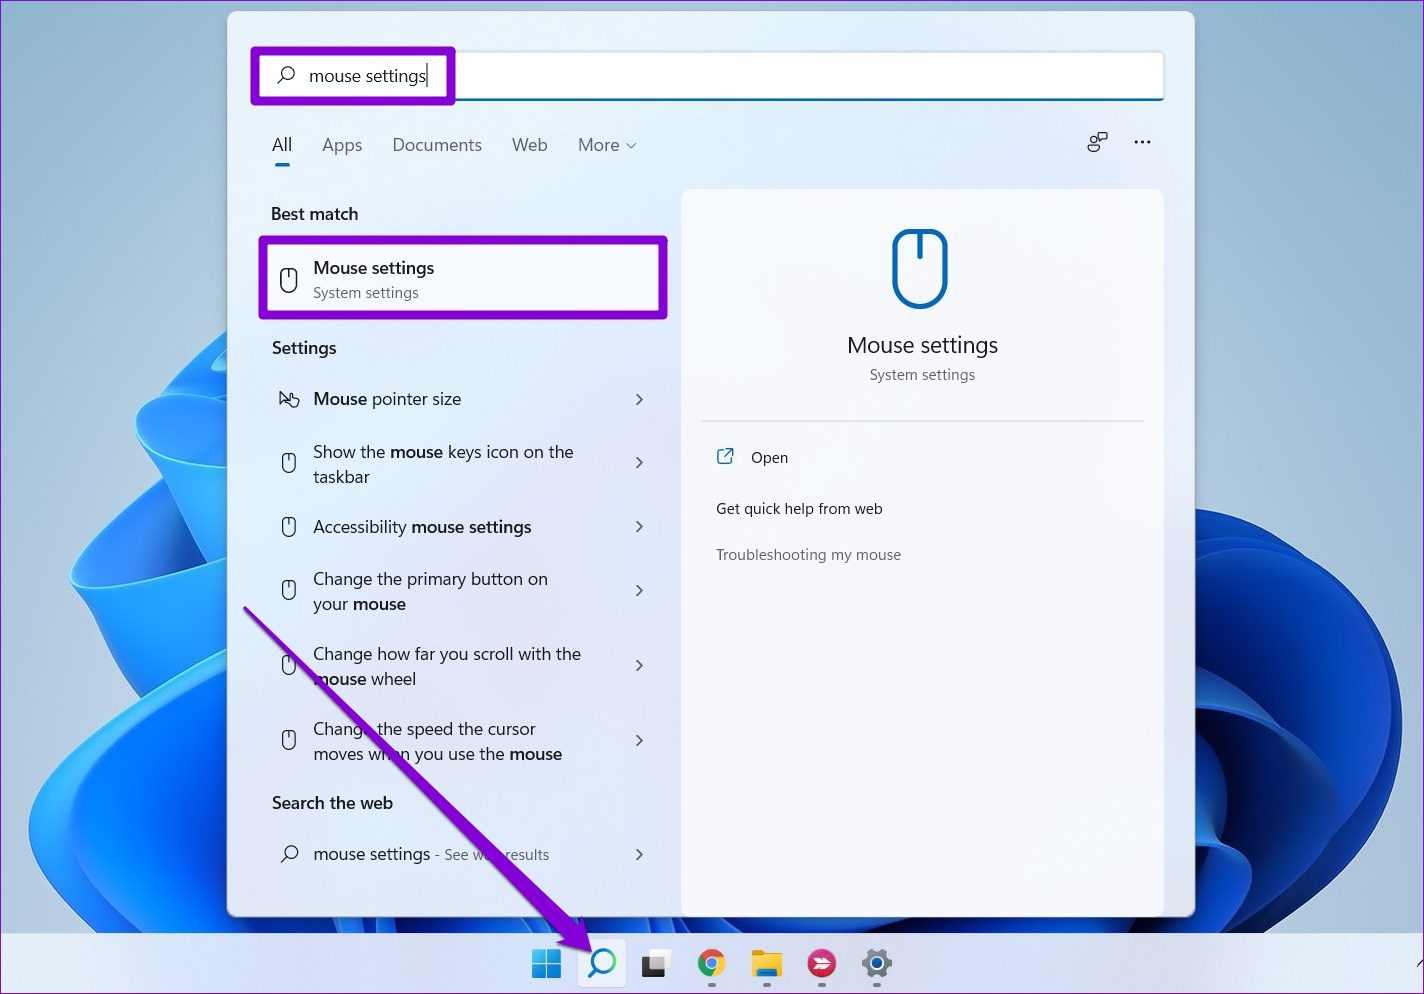
Step 1: Open Windows Search, type in mouse settings, and press Enter.
Step 2: Turn off the switch next to ‘Scroll inactive window when hovering over them’.

6. Disable Mouse Trails
The mouse trails effect is yet another feature that is known to cause mouse lag on Windows computers. You can try disabling it momentarily to see if that improves the situation.
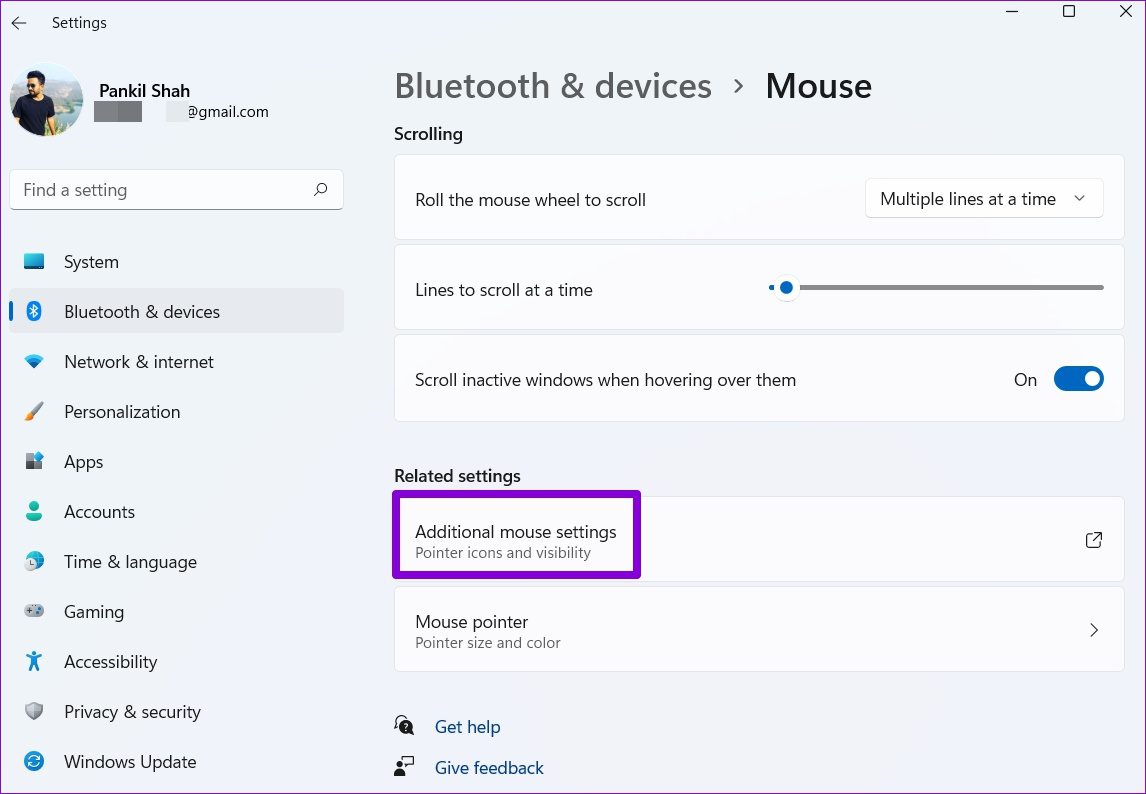
Step 1: Open the Start menu, type in mouse settings, and press Enter.
Step 2: Under Related settings, open Additional mouse settings.
Step 3: Switch to the Pointer Options tab and uncheck the box that reads ‘Display pointer trails’. Then hit Apply.

Check to see if the mouse lag is still there.
7. Turn Off Power Saver
The power saver mode on Windows 11 automatically kicks in whenever your laptop’s battery percentage falls below a certain value. It can extend your laptop’s battery life by cutting down on things like brightness, background activities, animations, and so on. But at the same time, you’ll also experience slower performance or input lag.
Plug your PC into a power outlet and try changing the power mode to Balanced or High performance to see if that eliminates the mouse lag.
8. Update or Reinstall Mouse Drivers
Windows 11 is quite efficient when it comes to detecting and installing the relevant mouse drivers on your PC. But if those drivers have become outdated or corrupted then updating them will help. Here’s how to do it.
Step 1: Press Windows key + X and select Device Manager from the list.
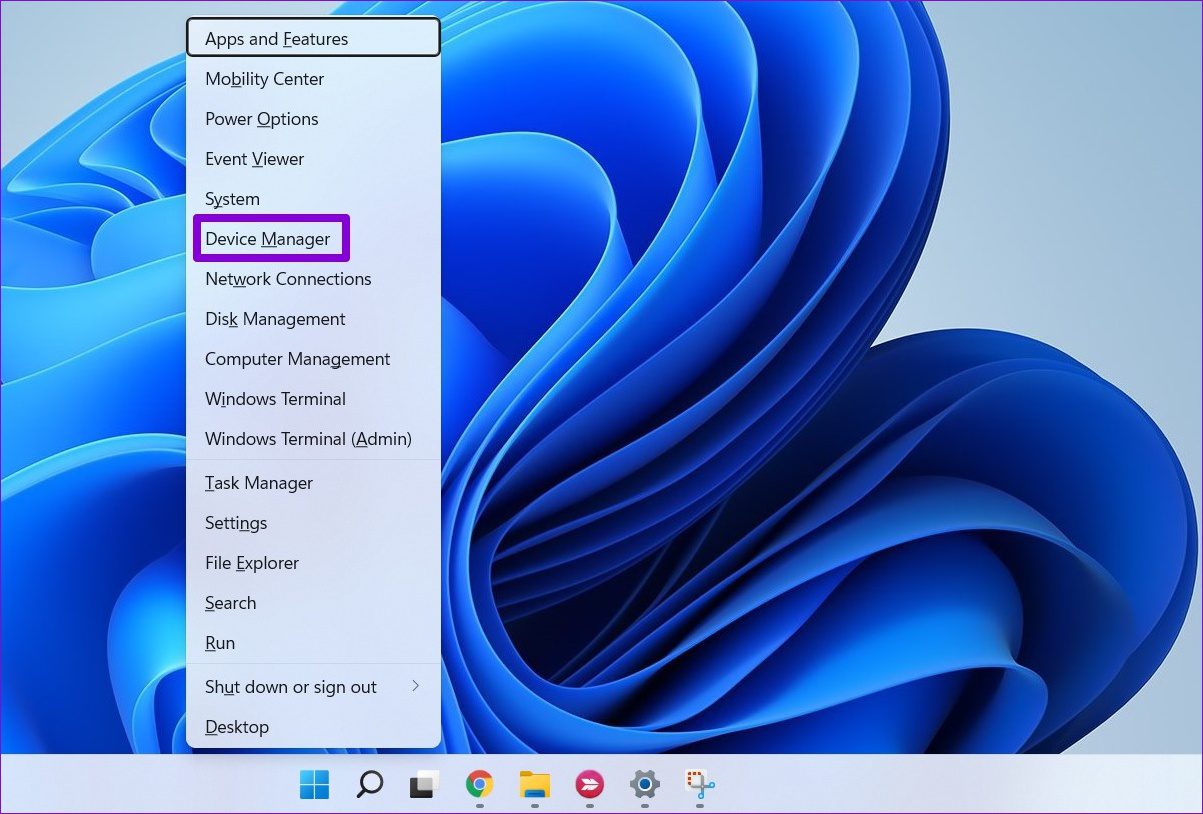
Step 2: Expand ‘Mice and other pointing devices’, right-click on your mouse, and select the Update driver option.

If the problem persists, then you can follow the same steps above and uninstall the existing mouse drivers. Once removed, restart your PC to allow Windows to install them again.
No More Lagging
Any kind of computing lag is almost always unbearable. And input lags on Windows are nothing new. The above solutions should help you resolve any mouse lag issues for good. If you found another way, do share it with us in the comments below.
Was this helpful?
Last updated on 04 March, 2022
Read Next
 Top 8 Ways to Fix Windows 11 Lag After an Update
While Windows 11 is a welcome change with the start menu, taskbar, and other design improvements, the upgrade didn’t go well with some users.
Top 8 Ways to Fix Windows 11 Lag After an Update
While Windows 11 is a welcome change with the start menu, taskbar, and other design improvements, the upgrade didn’t go well with some users.
 Top 7 Ways to Fix Zoom Lag on Windows 10
Even after fierce competition from the likes of Google Meet and Microsoft Teams, Zoom continues to grow its market share in the video calling market.
Top 7 Ways to Fix Zoom Lag on Windows 10
Even after fierce competition from the likes of Google Meet and Microsoft Teams, Zoom continues to grow its market share in the video calling market.
 Top 3 Touch Mouse Alternatives to Apple’s Magic Mouse
The Magic Mouse is useful for plenty of people, but some can get annoyed by its poor ergonomics.
Top 3 Touch Mouse Alternatives to Apple’s Magic Mouse
The Magic Mouse is useful for plenty of people, but some can get annoyed by its poor ergonomics.
 5 Ways to Fix Keyboard Lag on Windows 11
Basic Fixes Disconnect and reconnect the keyboard: If your keyboard is lagging due to a minor connection issue, disconnecting and reconnecting it should help.
5 Ways to Fix Keyboard Lag on Windows 11
Basic Fixes Disconnect and reconnect the keyboard: If your keyboard is lagging due to a minor connection issue, disconnecting and reconnecting it should help.
 4 Ways to Fix Facebook Messenger Lag on Android
Basic Fixes Check internet speeds: Check whether your Android phone is connected to a strong internet network.
4 Ways to Fix Facebook Messenger Lag on Android
Basic Fixes Check internet speeds: Check whether your Android phone is connected to a strong internet network.
 5 Ways to Fix Discord Lag on Windows and Mac
Basic Fixes Close unused apps: Unused open apps could cause lag in Discord.
5 Ways to Fix Discord Lag on Windows and Mac
Basic Fixes Close unused apps: Unused open apps could cause lag in Discord.
 4 Fixes for Roblox Lag on Windows
Fix 1: Change Graphics Preference for Roblox Windows lets you set graphics preferences for each app and program separately.
4 Fixes for Roblox Lag on Windows
Fix 1: Change Graphics Preference for Roblox Windows lets you set graphics preferences for each app and program separately.
 4 Ways to Fix Camera Lag on Android
Try Basic Fixes Close recent apps: Keeping too many apps running in the background can hold your phone’s memory and make the camera app slow.
4 Ways to Fix Camera Lag on Android
Try Basic Fixes Close recent apps: Keeping too many apps running in the background can hold your phone’s memory and make the camera app slow.
The article above may contain affiliate links which help support Guiding Tech. The content remains unbiased and authentic and will never affect our editorial integrity.