Apple’s Find My services are ultra useful, especially if you have multiple Apple devices. However, there are occasions you might need to remove devices from Find My. Maybe because you’re selling, gifting, or lost the device. Or perhaps you’re not currently using it and don’t want it listed in the Find My app. Whatever the case, we can help you out.
Find My covers almost every product under Apple’s umbrella, be it iPhone, iPad, Mac, Apple Watch, AirPods, Airtags, iPhone MagSafe Wallet, and even some third-party products. And remarkably, offers two ways to remove a device from Find My. Let’s find out more about these methods.
The Difference Between Removing or Erasing a Device From Find My
As mentioned above, there are two ways to go about the task.
- Remove a device from Find My: It temporarily stops your device from showing up on Find My. Although, it will reappear in Find My when the device comes online (for an iPhone, iPad, Mac, or Apple Watch) or paired with iOS/iPadOS device (for AirPods or Beats headphones).
- Erase a device from Find My: The feature will erase all content saved on your device. Mostly used in case of theft or lost devices to protect your data and personal information from being accessed, while still maintaining the Activation Lock.
Note: Removing or erasing a device from Find My does not disconnect your device from Apple ID unless you sign out of Apple ID or turn off the Activation Lock.
How to Remove a Device From Find My Without Erasing
Before we start, do one of the following depending on the device you want to remove.
- For iPhone, iPad, Mac, or Apple Watch: Switch off the device.
- For AirPods: Turn off the AirPods or put them in their case and close the lid.
- For Beats headphones: Turn off the headphones.
1. Remove Devices From Find My On iPhone or iPad
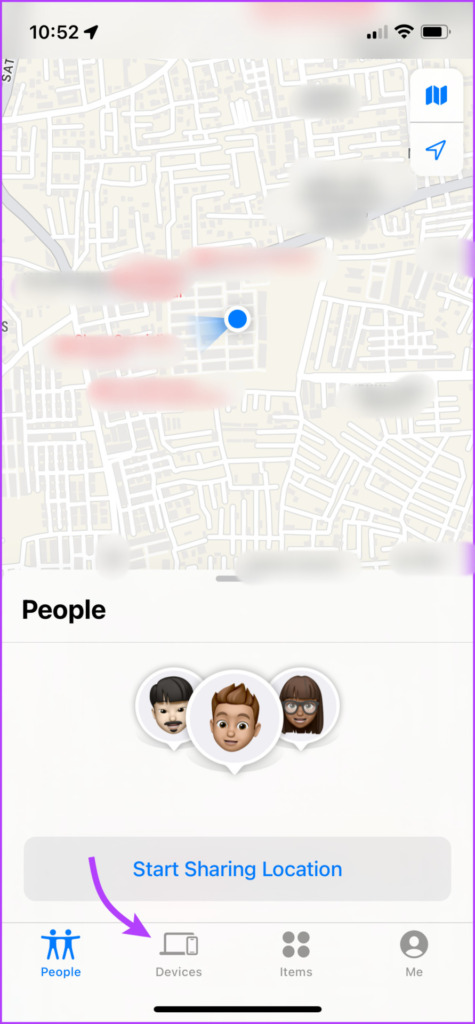
Step 1: Launch the Find My app.
Step 2: Go to the Devices tab from the bottom of the screen.
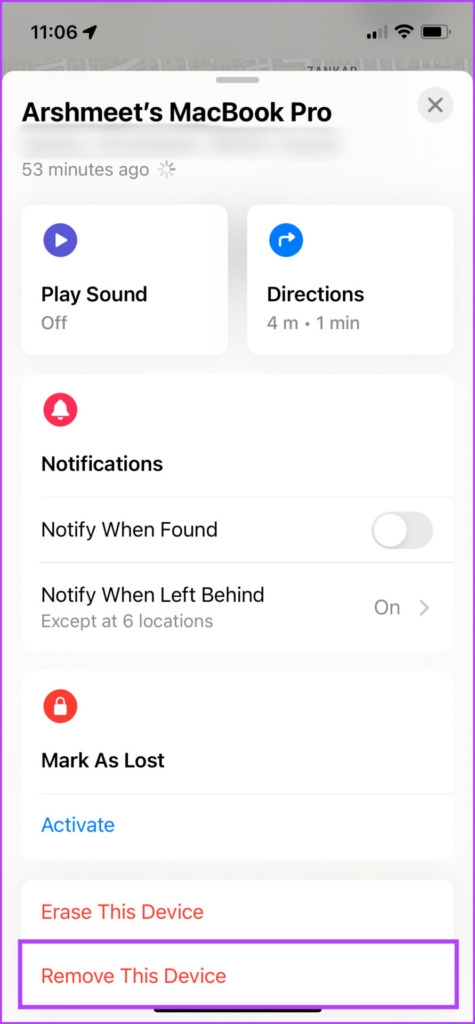
Step 3: Select the device you want to delete from the device list on Find My.

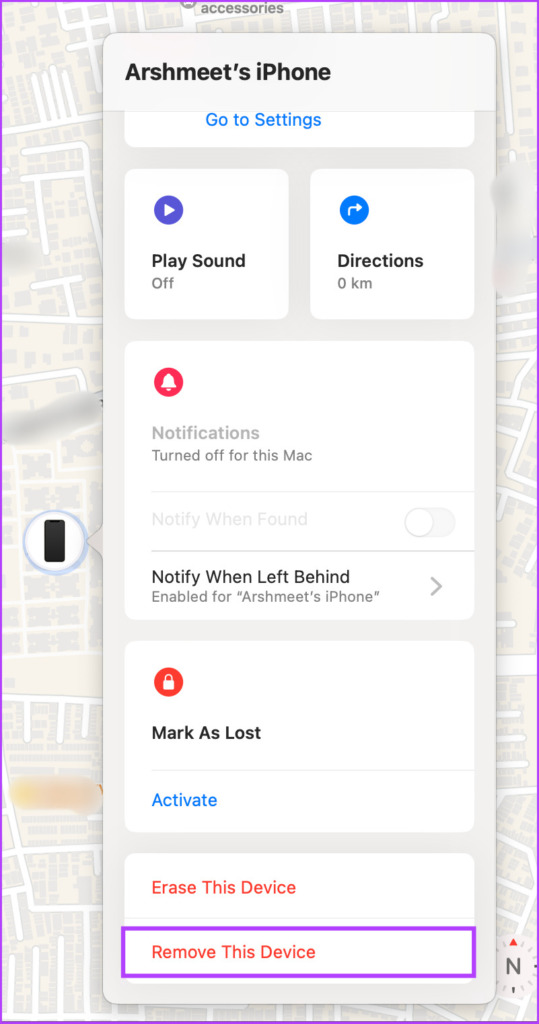
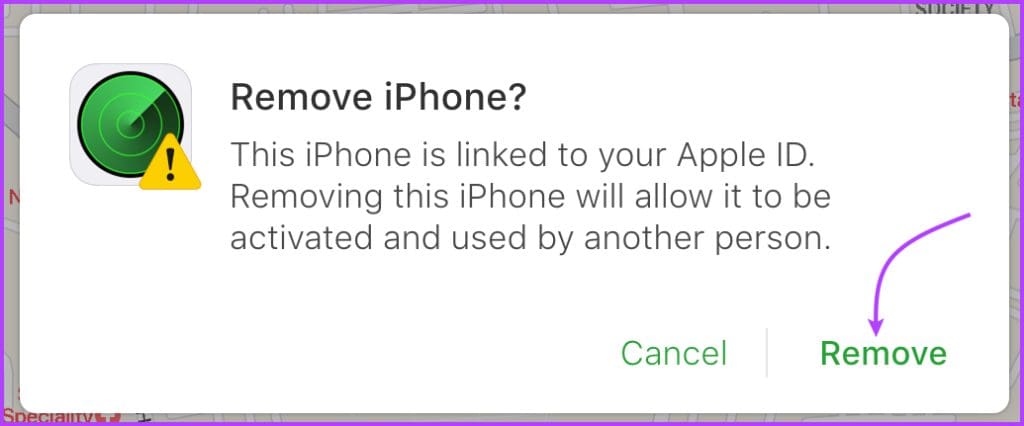
Step 4: Here, scroll down and select Remove This Device.
Step 5: Tap Remove to confirm the action.
2. Remove the Device From Find My On Mac
Step 1: Open the Find My app.
Step 2: Go to the Devices tab.
Step 3: Select the device you want to remove.


Step 4: Tap the i icon.
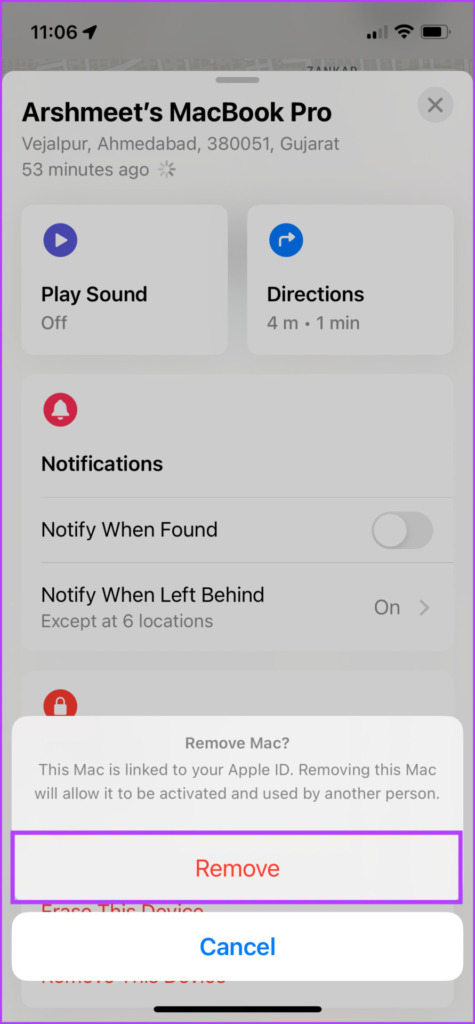
Step 5: Scroll down and select Remove This Device.

Step 6: Click Remove to confirm the action.

3. How to Remove a Device From iCloud
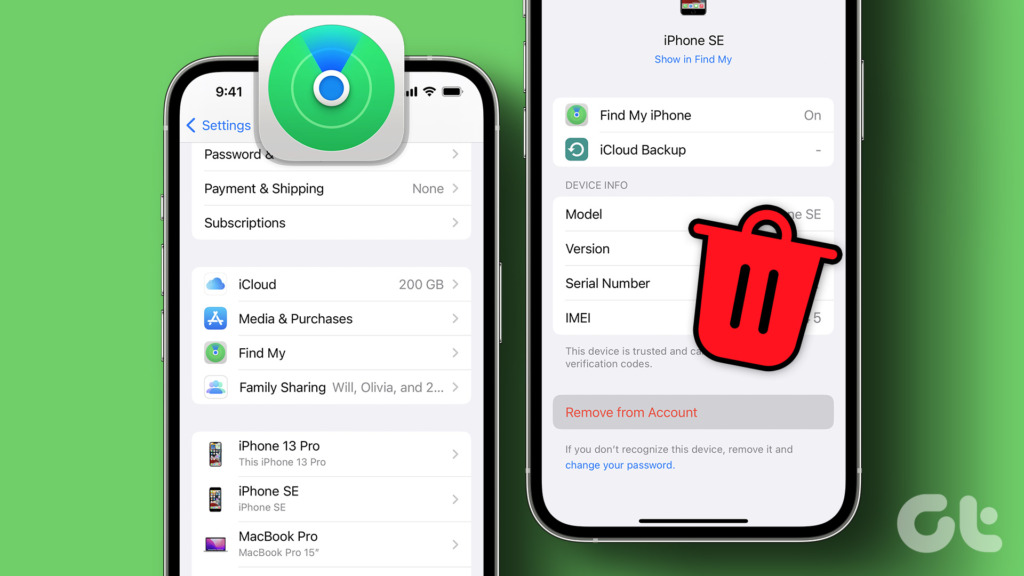
Step 1: Open a preferred web browser and go to iCloud’s website using the link below.
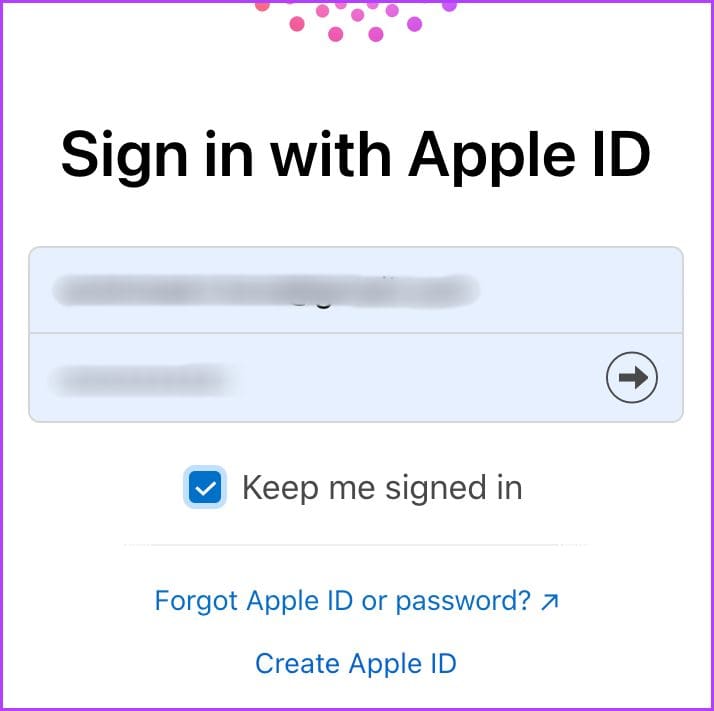
Step 2: Log in with your Apple ID account.
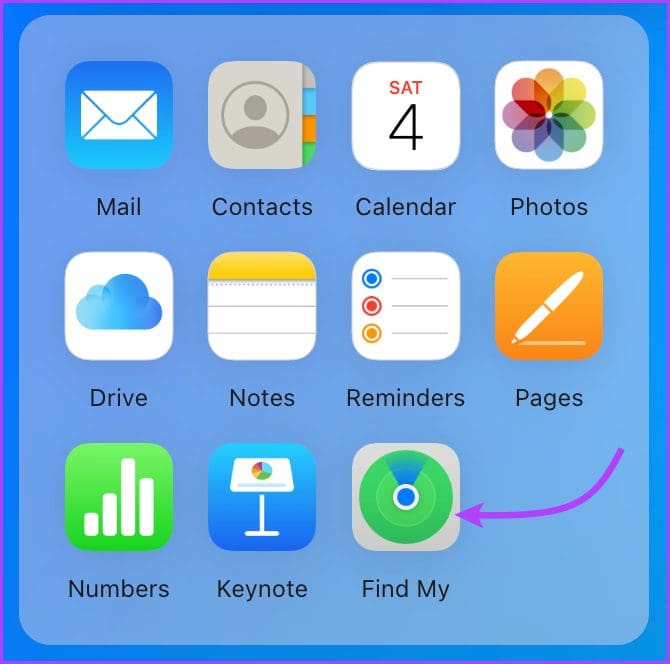
Step 3: Scroll down and click on the Find My icon. If prompted enter your Apple ID password again.
Step 4: Click the drop-down menu from the top and select the device.

Step 5: Simply select Remove from Account.

Step 6: Click Remove again to confirm the action.
Preventing Devices From Reconnecting to Find My
As noted earlier, removing the device from Find My is a temporary solution. However, if you don’t want your Apple Devices to reappear in Find my when connected to a server, turn off Find My completely on the said device.
However, that also means you won’t be able to track or remotely erase the device in case of loss or theft. So, use the method with caution.
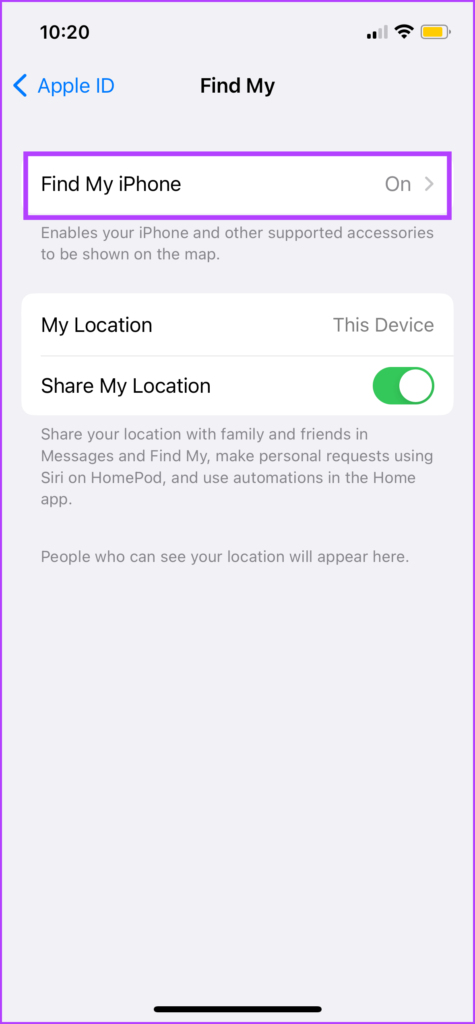
Turn off Find My on iPhone or iPad: Go to Settings → tap your Name → Find My → Find My (Device) → tap it → enter Apple ID password → toggle it off.

Turn off Find My on Apple Watch: As long as your iPhone is connected to the Apple Watch, it will stay connected to Find My. So, to remove it from Find My, unpair Apple Watch from your iPhone.
Turn off Find My on Mac: Click the Apple menu → System Settings (or System Preferences) → click your name (or Apple ID) → iCloud → scroll down to Find My Mac (or click Options next to Find My Mac) → Turn Off.

Note: You can also turn off iCloud completely to remove the device from Find My. However, that will also turn off all other iCloud features and thus, is not advisable.
How to Erase a Device From Find My
Wiping out your device is one of the first things to do before selling your iPhone or other devices or if you’ve lost the device. The only key requirement is that the device’s Find My (device) is turned on.
When you erase a device, all the data like passwords, settings, payment credentials, etc. are wiped out of the device. Additionally, a confirmation email is sent to your Apple ID email address to inform you of the option.
However, the Activation Lock remains intact, i.e., you can’t reactivate the device without the original Apple ID and password. You can also find steps to remove Activation Lock below.
1. Erase a Device From Find My on iPhone and iPad
Step 1: In the Find My app, open the Devices tab → select the device.
Step 2: Scroll down and tap on Erase the device.
Step 3: Tap Continue to confirm.
Step 4: Next, tap Erase (skip adding a number or messages).
Step 5: Enter your Apple ID password and tap Erase to confirm.


Once the device is completely erased, tap Remove This Device and then tap Remove to turn off Activation Lock.
2. Erase a Device Using Mac
Step 1: Open the Find My app → click on the Devices tab → select the device.
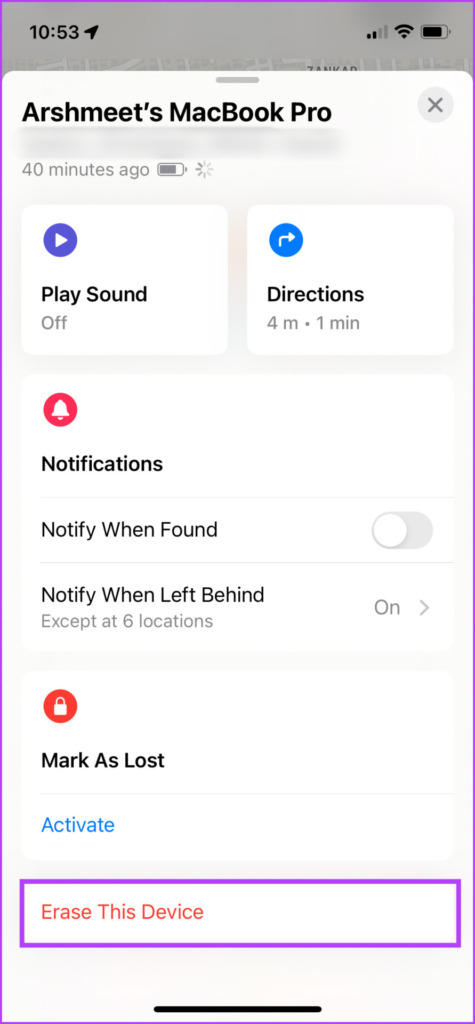
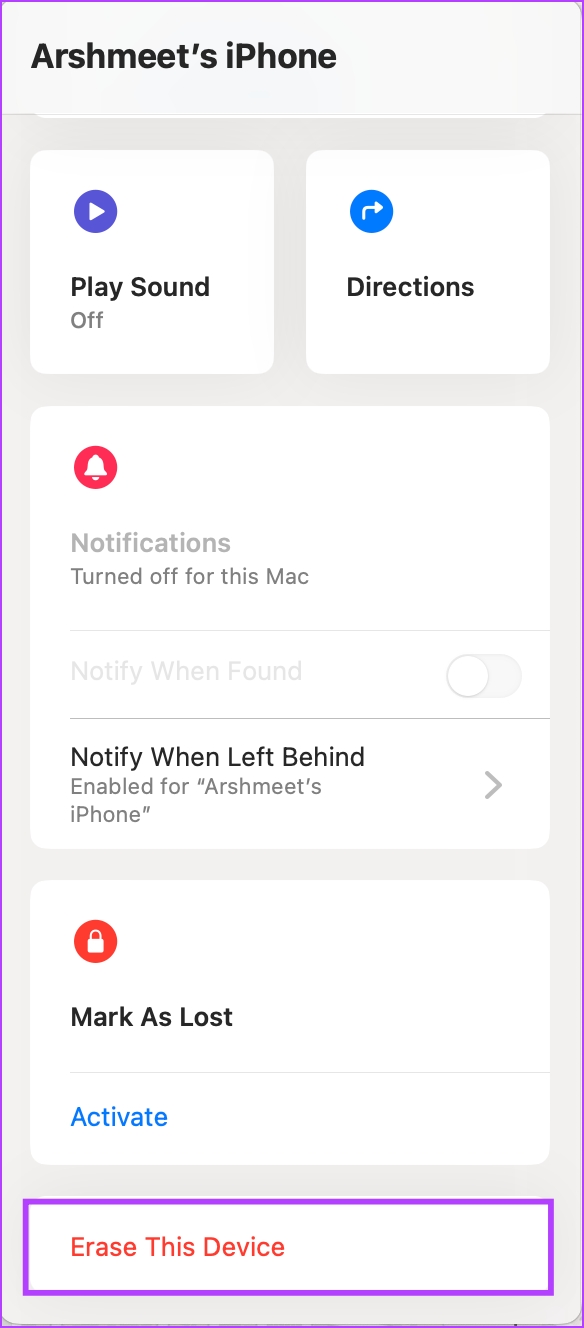
Step 2: Click the i icon, scroll down, and select Erase This Device.
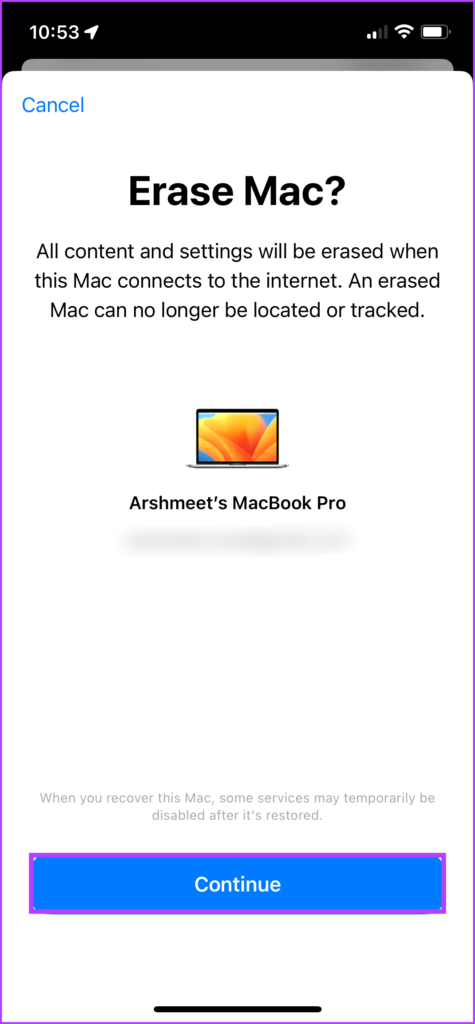
Step 3: Select Continue.
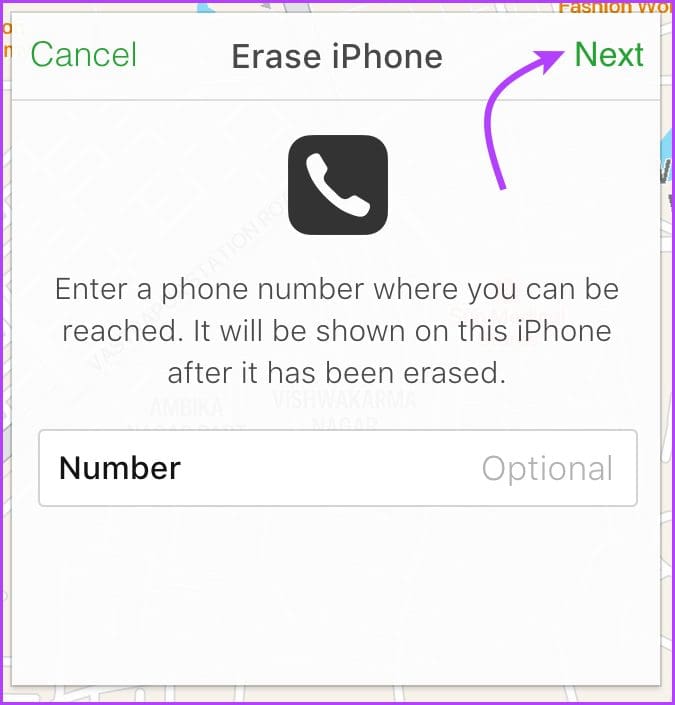
Step 4: Next, click Erase from the top-right corner (skip adding your number).


Step 5: Key in your Apple ID password and click Erase to confirm.

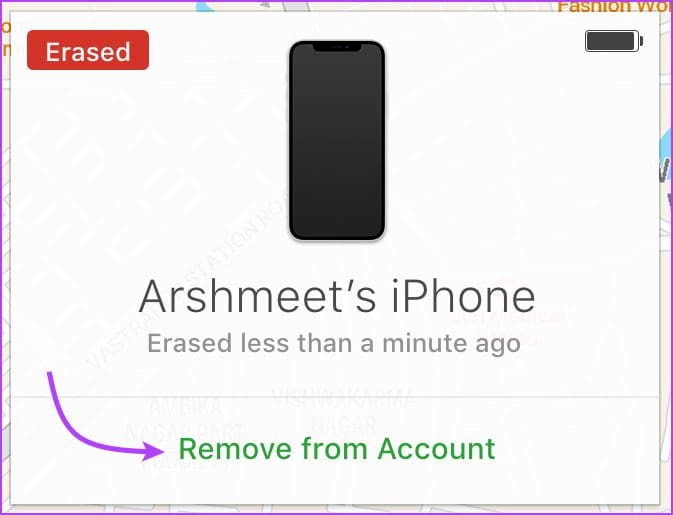
You can turn off Activation Lock once the device is completely erased. On the device page, click Remove This Device and then Remove.
3. Erase a Device on iCloud
Step 1: Open the iCloud website in your preferred browser (you can use the link below).
Step 2: Login, scroll down, and click the Find My icon.
Step 3: Select the device from the drop-down menu.
Step 4: Click Erase Device.

Step 5: Select Erase to continue.

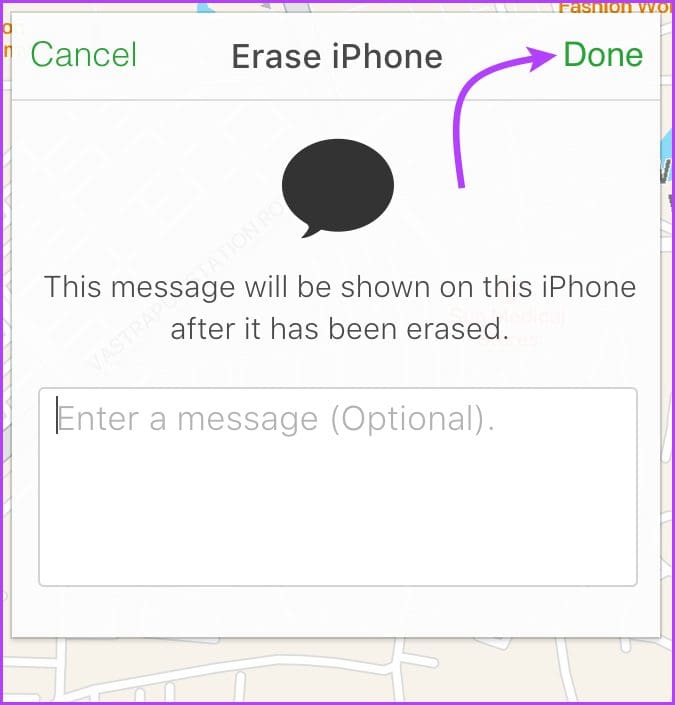
Step 6: Click Next and then Done (avoid adding the number or message).
To remove Activation Lock from the iCloud web: When the device is erased, repeat steps 1 to 3 if you’re not already on the device page. Here, click Remove from Account and then Remove again to confirm.
That’s it! You have successfully deleted a device from your ecosystem. If you have more queries, move on to the next section.
Frequently Asked Questions
Yes, even if your device is offline you can erase it from Find My. However, you’ll see an Erase Pending message as the erase can only happen when the device is connected to a Wi-Fi or Cellular Network.
Usually, the process is pretty instantaneous, so, you can’t cancel it. Although, if the device is offline, you can cancel the request before the device comes online. Go to Find My → Devices → select device → Cancel Erase.
Usually, when you set up a device, Find My is automatically enabled. However, you can also manually set up Find My on all devices. Refer to this guide from Apple for more information.
Remove a Device Quickly
Apple’s ecosystem is simply incredible, there are so many big and small ways that connect all Apple devices, from Continuity Camera to AirDrop, and Find My is a proud part of the unending feature list.
What’s your favorite Apple Ecosystem feature? Share your take in the comments section below.
Was this helpful?
Last updated on 07 February, 2023
Read Next
 6 Ways to Clear iCloud Storage That Is Full on iPhone and iPad
Method 1: Turn Off iCloud Photos Turning off iCloud Photos will turn off all subsequent backups to iCloud.
6 Ways to Clear iCloud Storage That Is Full on iPhone and iPad
Method 1: Turn Off iCloud Photos Turning off iCloud Photos will turn off all subsequent backups to iCloud.
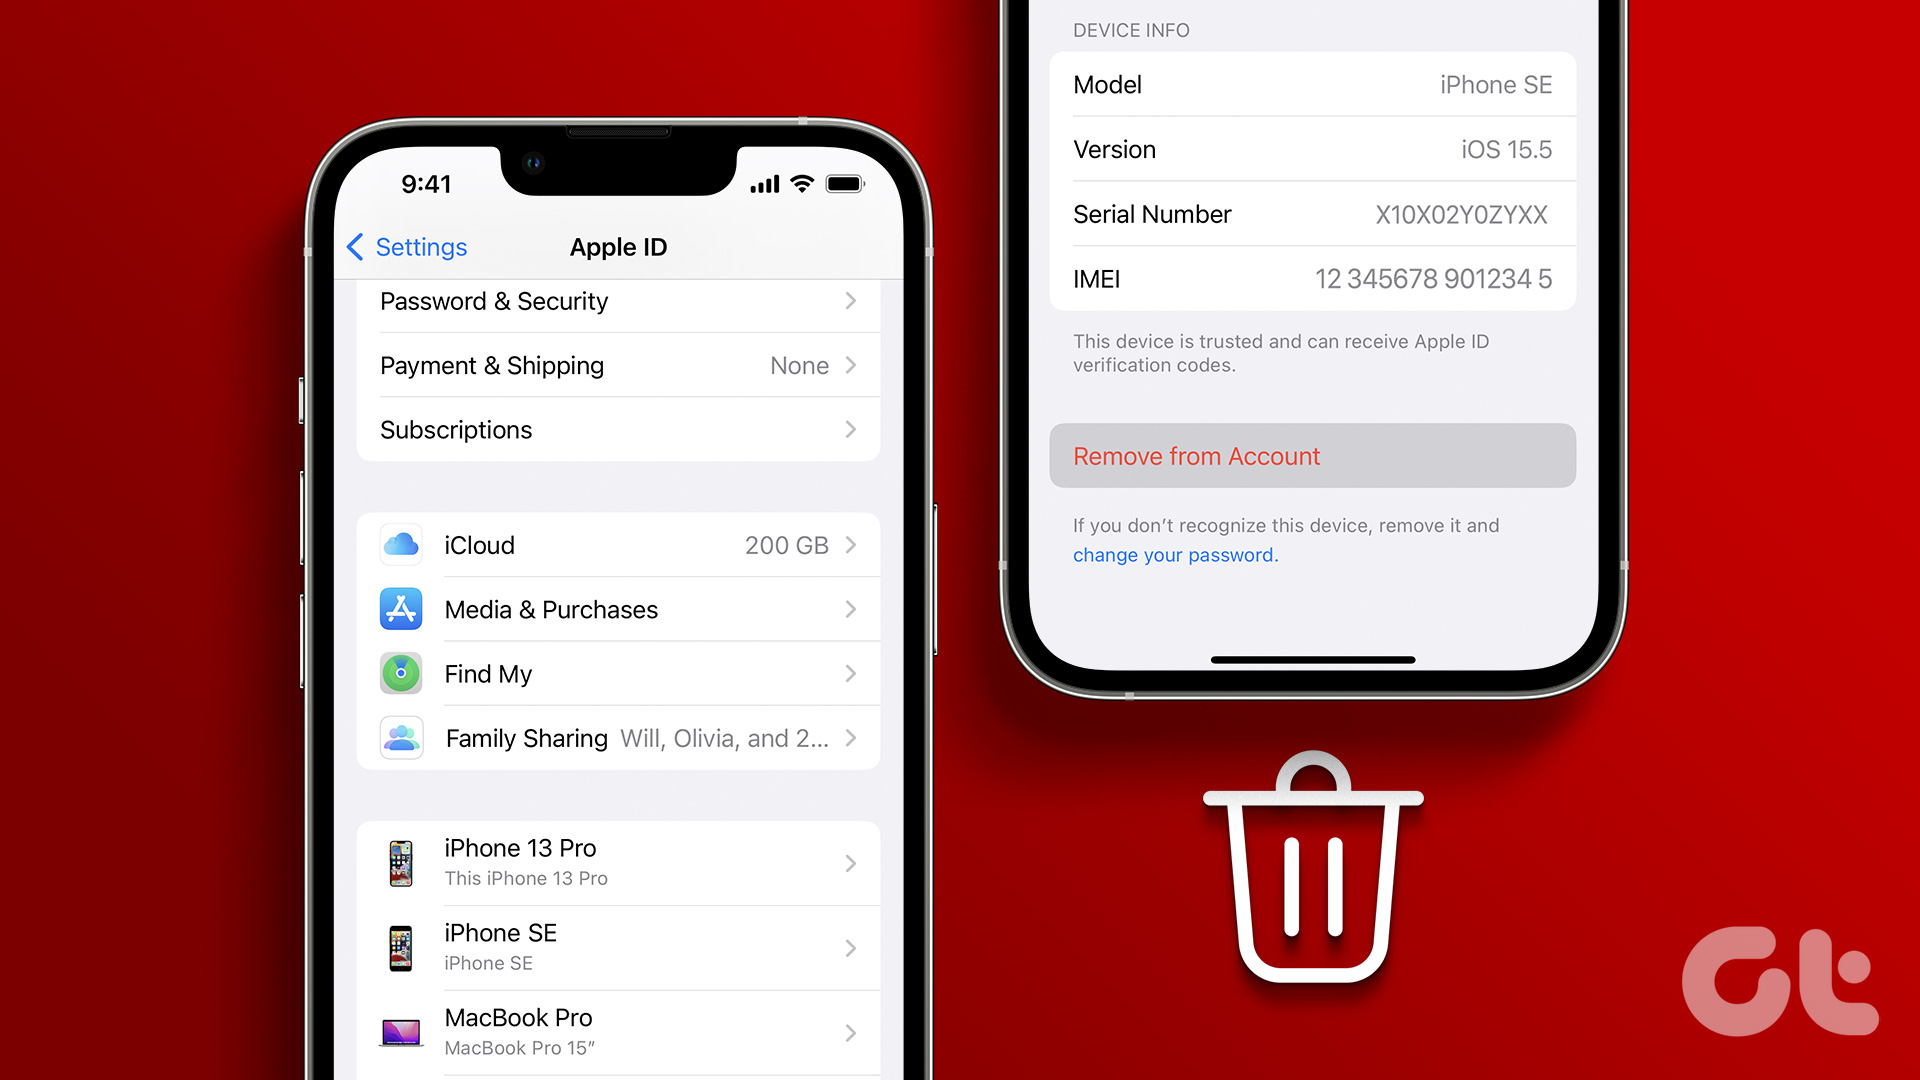 4 Ways to Remove a Device From Apple ID
Method 1: Remove Devices From Apple ID Using an iPhone or iPad Removing devices from your Apple ID is straightforward on the iPhone and iPad.
4 Ways to Remove a Device From Apple ID
Method 1: Remove Devices From Apple ID Using an iPhone or iPad Removing devices from your Apple ID is straightforward on the iPhone and iPad.
 How to Download HEIC as JPG in iCloud on Windows and Mac
While HEIC is the default storage format in the iPhone (ever since iOS 11), you don’t need to stick with it.
How to Download HEIC as JPG in iCloud on Windows and Mac
While HEIC is the default storage format in the iPhone (ever since iOS 11), you don’t need to stick with it.
 How to Reduce Photo Size on iPhone, iPad, and Mac
How to Reduce Photo Size on iPhone and iPad, Method 1.
How to Reduce Photo Size on iPhone, iPad, and Mac
How to Reduce Photo Size on iPhone and iPad, Method 1.
 How to Enable Dolby Atmos on iPhone, iPad, and Mac
Apple Devices That Support Dolby Atmos Before we begin, it is important to know whether your current iPhone, iPad, or Mac supports Spatial Audio with Dolby Atmos.
How to Enable Dolby Atmos on iPhone, iPad, and Mac
Apple Devices That Support Dolby Atmos Before we begin, it is important to know whether your current iPhone, iPad, or Mac supports Spatial Audio with Dolby Atmos.
 How to Change Font Style in Notes App on iPhone, iPad and Mac
Change Font Style in Notes App on iPhone and iPad Let's first show you how to change the font style of your notes in the Notes app on your iPhone
How to Change Font Style in Notes App on iPhone, iPad and Mac
Change Font Style in Notes App on iPhone and iPad Let's first show you how to change the font style of your notes in the Notes app on your iPhone
 How to Change Default Search Engine in Safari on iPhone, iPad, and Mac
The Safari browser is the default app to browse the web on Apple devices.
How to Change Default Search Engine in Safari on iPhone, iPad, and Mac
The Safari browser is the default app to browse the web on Apple devices.
 How to Enable Sensitive Content Warning on iPhone, iPad, and Mac
Apple provides the best security features for iPhone, iPad, and Mac.
How to Enable Sensitive Content Warning on iPhone, iPad, and Mac
Apple provides the best security features for iPhone, iPad, and Mac.
The article above may contain affiliate links which help support Guiding Tech. The content remains unbiased and authentic and will never affect our editorial integrity.