You may want to add a watermark to your Microsoft Word document for branding, confidentiality, or copyright reasons. Whatever your reason, there are a couple of simple ways to add this element to your Word document.
Method 1: Insert a Watermark in Word Through the Design Tab
Microsoft Word’s design tab is the quickest and easiest way to add a watermark to your document. You have the option to add a pre-set or custom watermark to your document. Additionally, you can also choose to insert a custom image or text to use as your watermark.
Step 1. Open your Microsoft Word document and click on the ‘Design’ tab found at the top of the page.
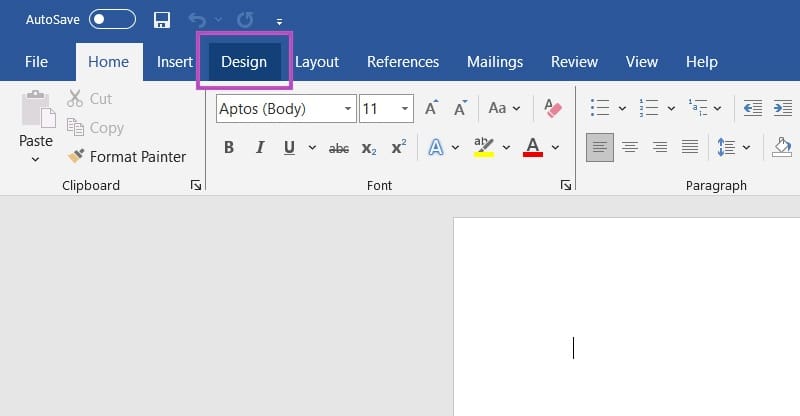
Step 2. Click on the ‘Watermark’ option found on the right side of your screen.

Step 3. Choose between a pre-set watermark or a custom image. To select a pre-set watermark, browse the available options in the tab and click one to add it to your document.
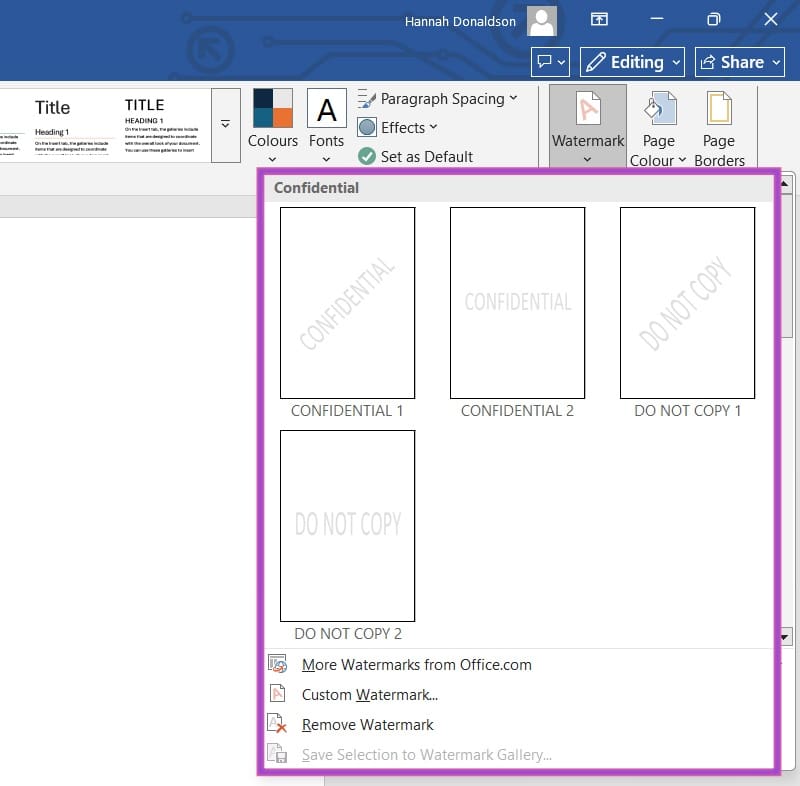
To use a custom watermark in your document, click on ‘Custom Watermark…’. From here, you can select either a picture or text watermark. To use a custom picture, click on ‘Picture Watermark’, then ‘Select Picture’. You can now browse your personal gallery or the internet for your chosen watermark.
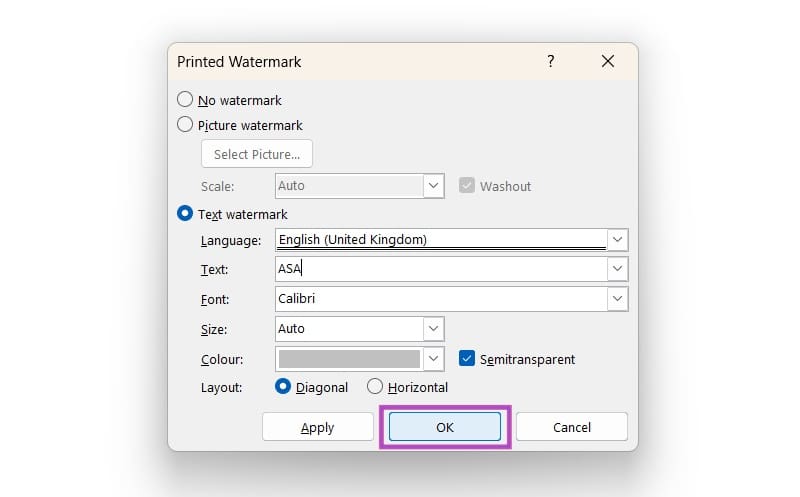
If you’d prefer text only, click on ‘Text Watermark’ and select your language, text, font, size, color, and layout preferences.
Step 4. Once you’re satisfied with your custom text or image, press ‘OK’ to upload it to your document.
Method 2: Insert a Watermark in Word as a Header/Footer Object
Another method of inserting a watermark into a Word document is through headers and footers. Since they appear on every page of the document, watermarks here are often used for branding purposes.
Step 1. Open your Microsoft Word document and click on the ‘Insert’ tab.

Step 2. Select either ‘Header’ or ‘Footer’ (noting that the header is located at the top of the page and the footer at the bottom). If you’d like to add a text watermark to your document, you may select one of the pre-set headers available in the tab.

If you’d like to add a custom watermark to your document, select ‘Edit Header’. You will then select either ‘Pictures’ to choose a custom image from your gallery, or ‘Online Pictures’ to browse the internet for one.
Step 3. Once you’ve chosen your image, click ‘OK’.
Step 4. Format your image as desired (transparency, orientation, etc.) and click ‘Close Header and Footer’ once satisfied.
Was this helpful?
Last updated on 01 October, 2025
Read Next
 How to Insert a Table of Contents in Microsoft Word
 (Windows and Mac) As a part of the Office redesign, Microsoft revamped the Word app on the desktop.
How to Insert a Table of Contents in Microsoft Word
How to Insert a Table of Contents in Microsoft Word (Windows and Mac) As a part of the Office redesign, Microsoft revamped the Word app on the desktop.
 5 Ways to Insert Tick Symbol in Word and Other Office Apps
Method 1: Using Emoji Panel Windows and Mac provide an emoji panel to access multiple emojis and symbols.
5 Ways to Insert Tick Symbol in Word and Other Office Apps
Method 1: Using Emoji Panel Windows and Mac provide an emoji panel to access multiple emojis and symbols.
 How to Create and Insert a Signature in Microsoft Word
Microsoft Word is so versatile that you can use it for official documentation and creating invoices.
How to Create and Insert a Signature in Microsoft Word
Microsoft Word is so versatile that you can use it for official documentation and creating invoices.
 How to Insert Audio Files into Microsoft Word
Method 1: Using a Simple Drag and Drop The easiest way to insert audio in Microsoft Word is to use a simple drag-and-drop method.
How to Insert Audio Files into Microsoft Word
Method 1: Using a Simple Drag and Drop The easiest way to insert audio in Microsoft Word is to use a simple drag-and-drop method.
 How to Get Shot on iPhone Watermark (Best Apps)
Whether it's protecting your rights or following the latest trend or showing off, watermarked photos have quickly become the latest fad in social media.
How to Get Shot on iPhone Watermark (Best Apps)
Whether it's protecting your rights or following the latest trend or showing off, watermarked photos have quickly become the latest fad in social media.
 How to Create and Add Watermark in PowerPoint Slides
Create and Add Watermarks to Slides Use the Master Slide feature to add it to all the slides in one go.
How to Create and Add Watermark in PowerPoint Slides
Create and Add Watermarks to Slides Use the Master Slide feature to add it to all the slides in one go.
 How to Create a Watermark in Canva
Create a Watermark Using Canva on Desktop While Canva’s mobile app gets the job done, it’s the desktop version where the real action happens.
How to Create a Watermark in Canva
Create a Watermark Using Canva on Desktop While Canva’s mobile app gets the job done, it’s the desktop version where the real action happens.
The article above may contain affiliate links which help support Guiding Tech. The content remains unbiased and authentic and will never affect our editorial integrity.