Instagram lets you post Stories to share your everyday shenanigans with your followers. You can also create a Story Highlight to ensure your Stories stay on your profile page and don’t vanish after 24 hours. More notably, you can choose to go Live through Instagram and share your experiences in real time as well.
Of course, there are a handful of ways to go live via Instagram. As such, this post will serve as your comprehensive guide on how to go Live on your Instagram account using your mobile and desktop. Do note that a Live Broadcast on Instagram requires a strong internet connection. We suggest ensuring the same on your device. With that out of the way, let’s get on with the article.
Go Live on Instagram on Mobile
When you do a Live Broadcast on your Instagram account, your followers are instantly notified of your activity. More than your phone’s camera quality, the strength of your internet connection plays a crucial role in relaying a high-quality stream to your followers. We suggest conducting a speed test before going Live on Instagram.
Step 1: Open the Instagram app on your iPhone or Android phone.
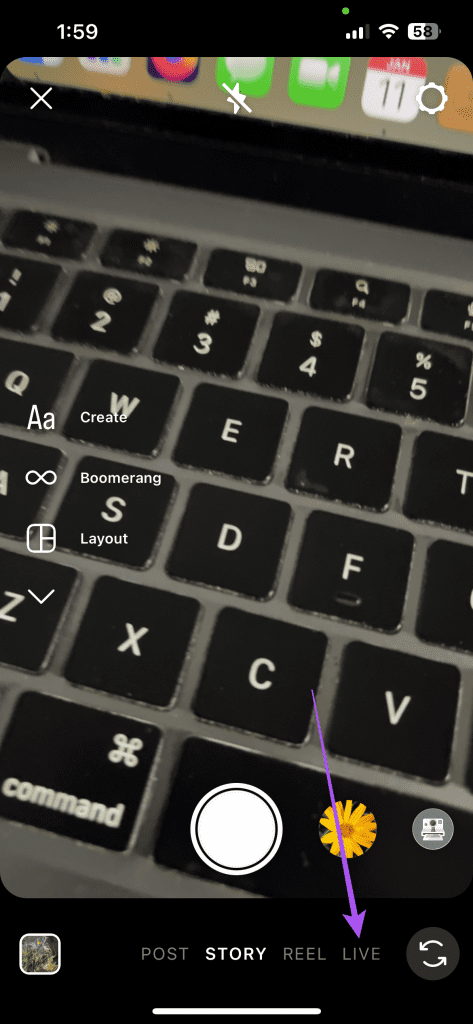
Step 2: Swipe right on the home screen to open the Story view.
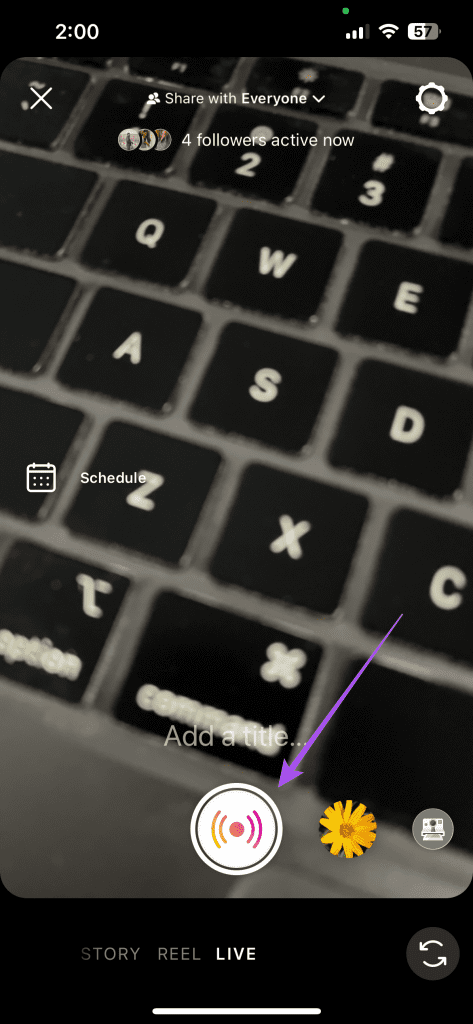
Step 3: Tap on Live at the bottom.
You will also see how many of your followers are active on Instagram.
Step 4: Add a title to your Live Broadcast and tap the Live icon to start.
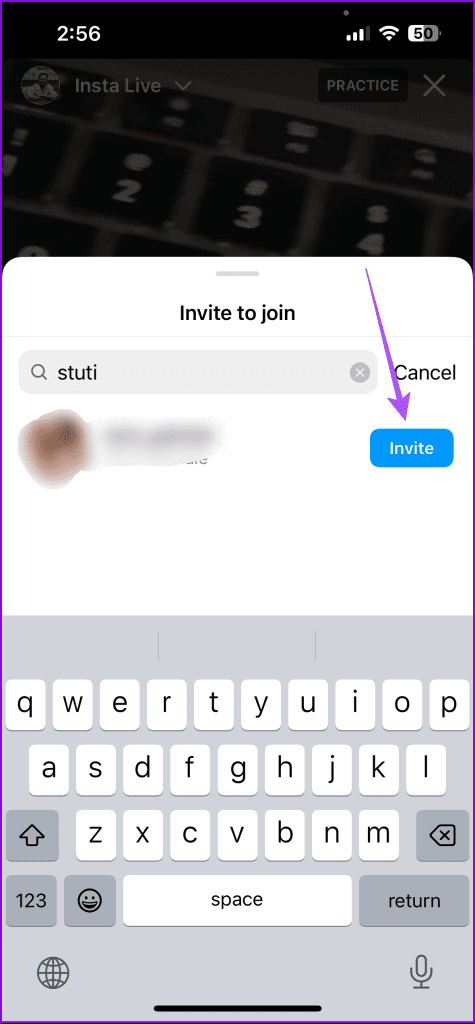
Once the Live Video begins, you can tap the Invite icon at the bottom, enter the name of a participant, and tap on Invite. This way, you can ask your followers to participate in your livestream.

How to Schedule Your Instagram Live
You also get the option to schedule your Instagram Live session for a later date. This is similar to scheduling your posts to publish them later. Here’s how.
Step 1: Open Instagram and swipe right to open the Live window.
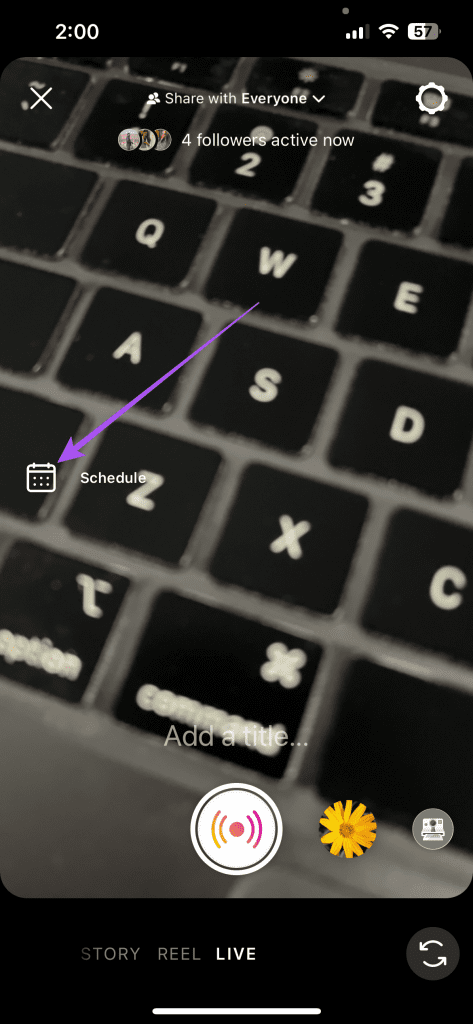
Step 2: Tap on Live at the bottom and then tap the Calendar icon.
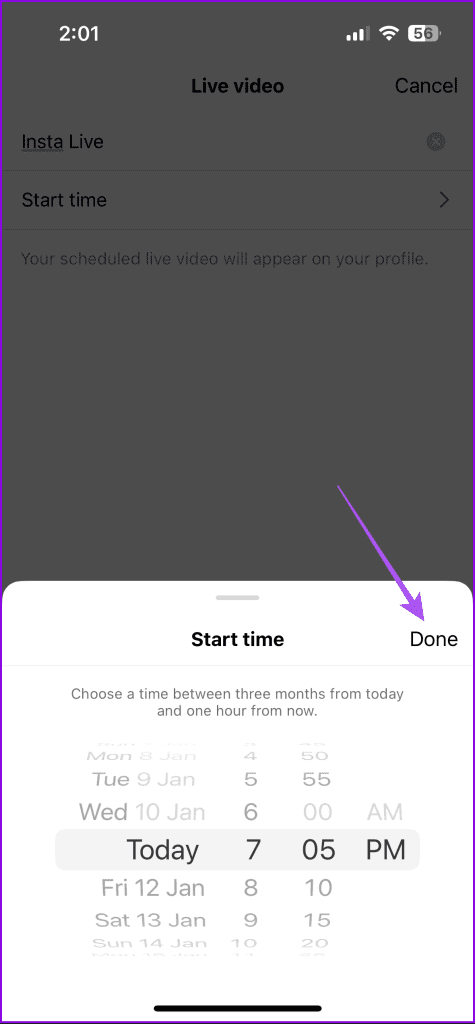
Step 3: Give title to your Live Broadcast and then tap on Start Time.
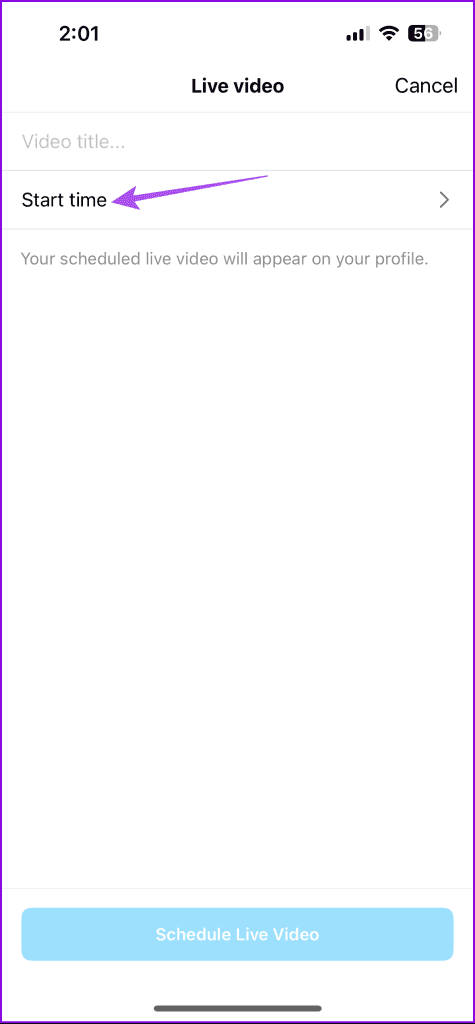
Step 4: Select the date and time. Then tap on Done.
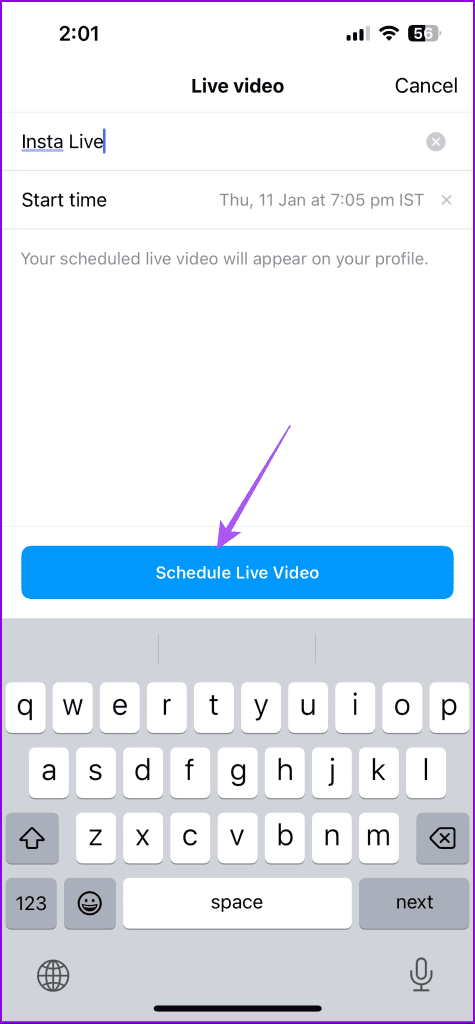
Step 6: Tap on ‘Schedule Live Video’ to confirm.
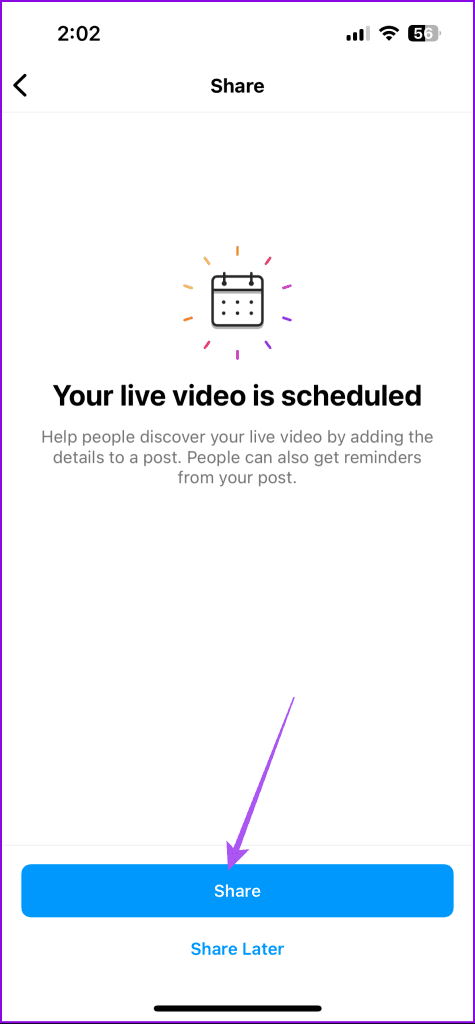
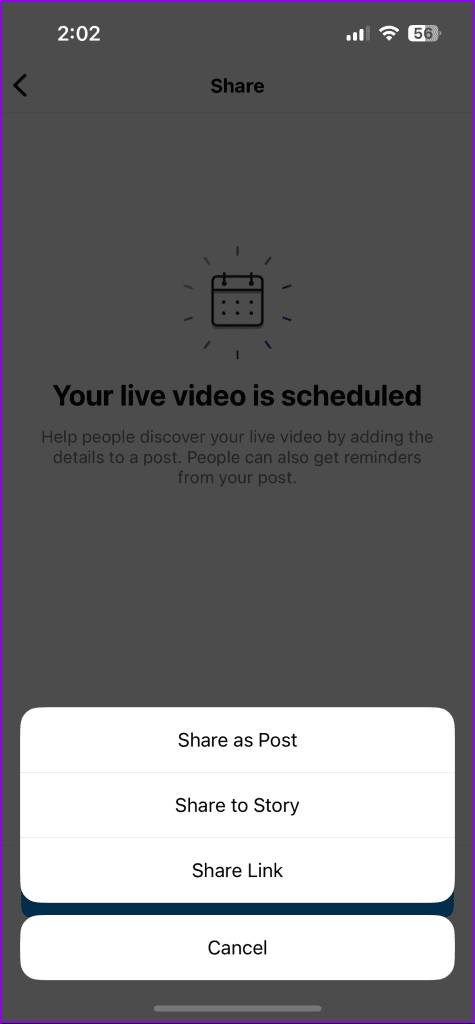
You can also share the link of your scheduled live video as a Post or Story.
Edit or Delete Scheduled Live Broadcasts on Instagram
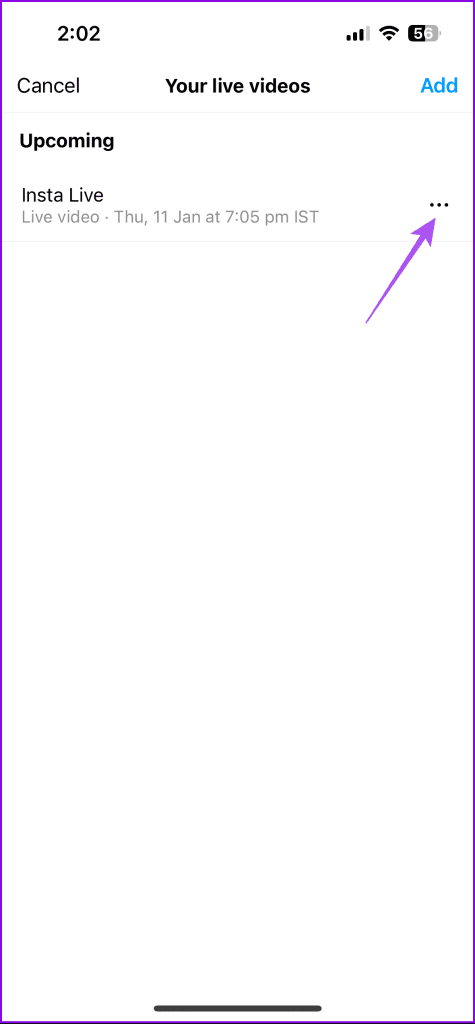
Step 1: Open Instagram and open the Live Video view.
Step 2: Tap the Calendar icon and tap the three dots next to your scheduled Live Video session name.
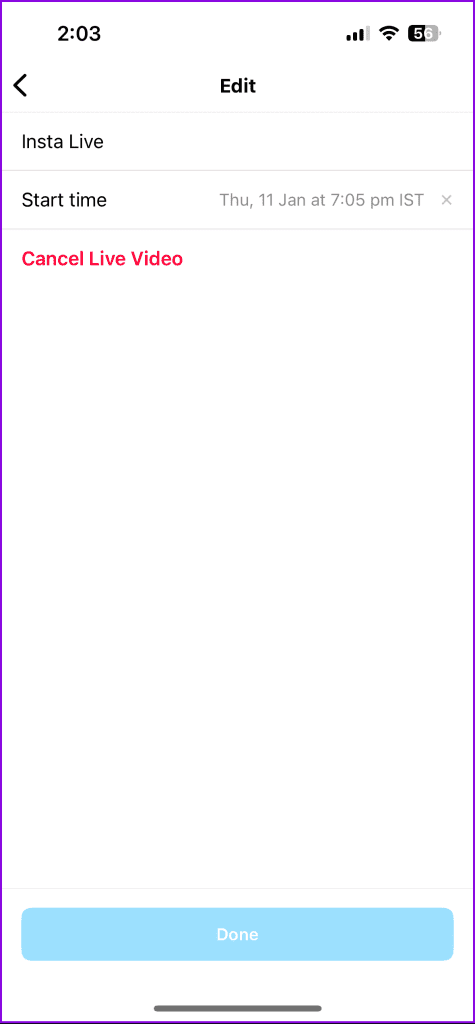
Step 3: Tap on Edit at the bottom.

You can now either change the scheduled date and time or tap on Cancel Live Video to delete it.
Download Your Instagram Livestream When It’s Over
Instagram also allows you to save your Livestream for up to 30 days to view it again. Here’s how to enable this functionality.
Step 1: Open Instagram and switch to Live Video view.
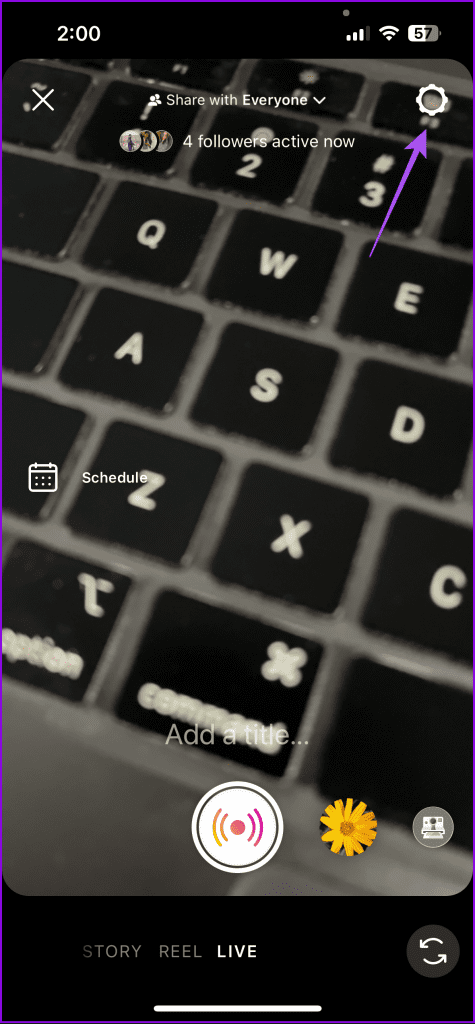
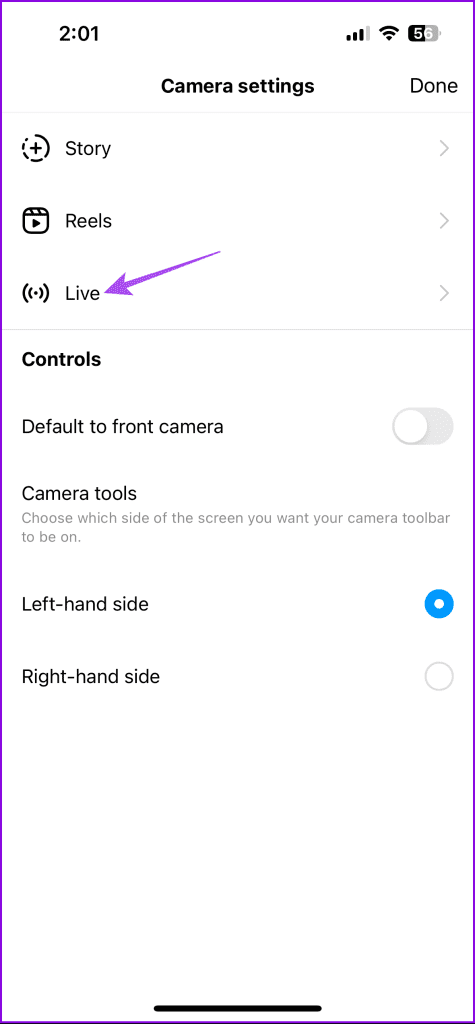
Step 2: Tap the Settings icon at the top-right corner and select Live.
Step 3: Tap the toggle next to Save Live to Archive.
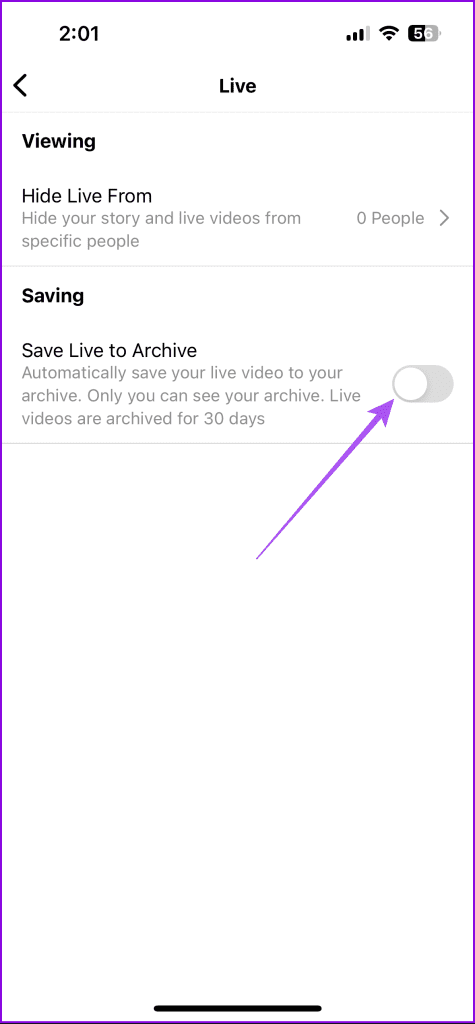
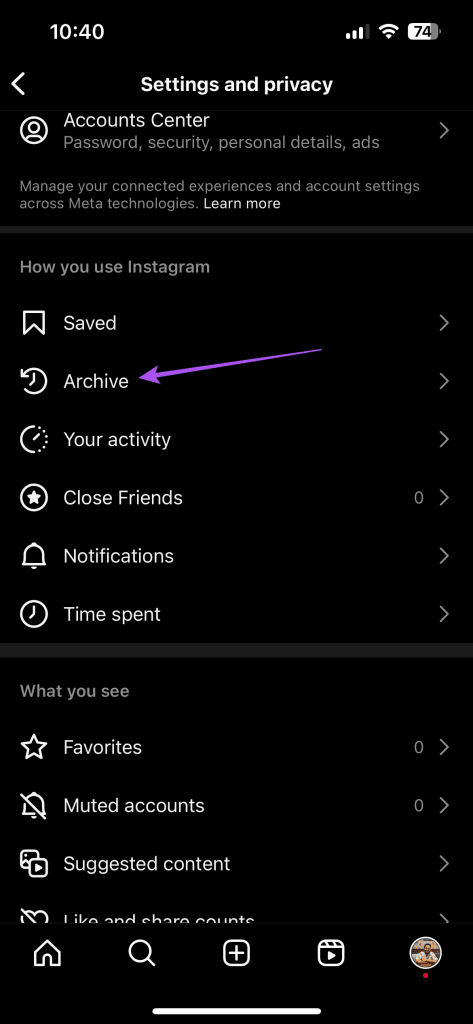
This will save your Live video for 30 days. You can open the Settings page and tap on Archive to see your Live Video. You can then choose to download it on your phone.
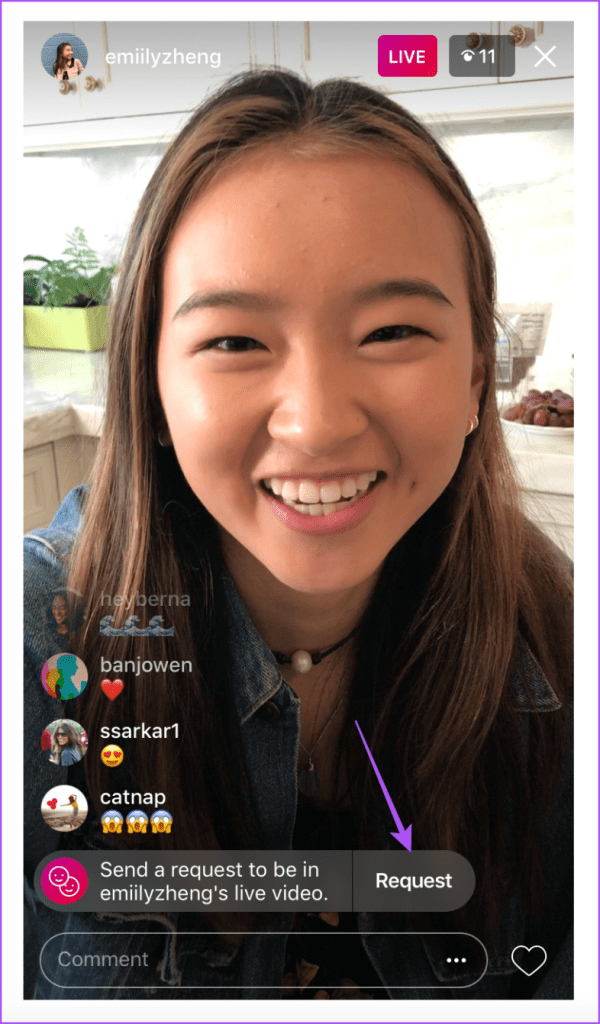
How to Participate in Live Video on Instagram
As a viewer, you can participate in someone’s Live Video on Instagram by just opening the Livestream and tapping on Request at the bottom. Once approved, you will be able to share the space with your favorite content creator.
How to Go Live on Instagram From Desktop
Instagram introduced Live Producer for doing Live Videos from your Mac or Windows PC. The feature will require third-party streaming software like OBS and Streamlabs. We will take OBS as an example to show you how to set up Instagram Live Streaming on your desktop. You can download OBS from the link below and then proceed with the steps.
Step 1: Open the web browser on your desktop and go to instagram.com.
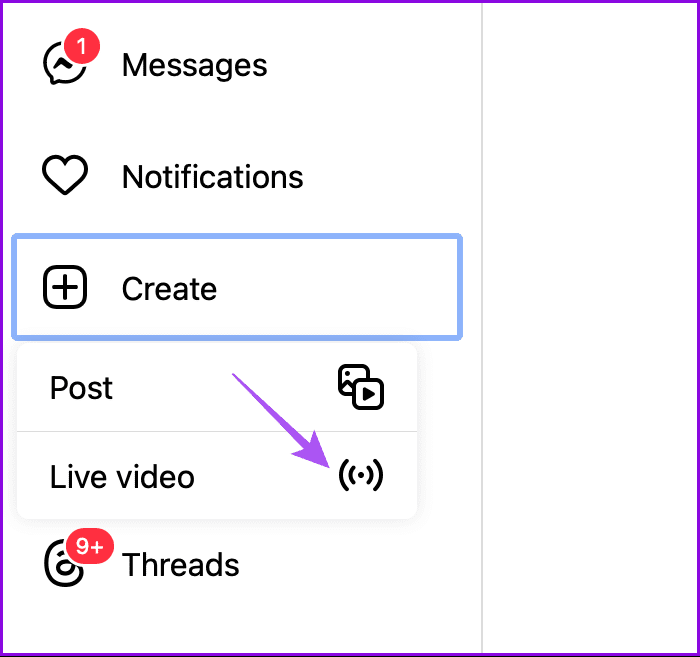
Step 2: Log in to your account and click on Create from the left menu.
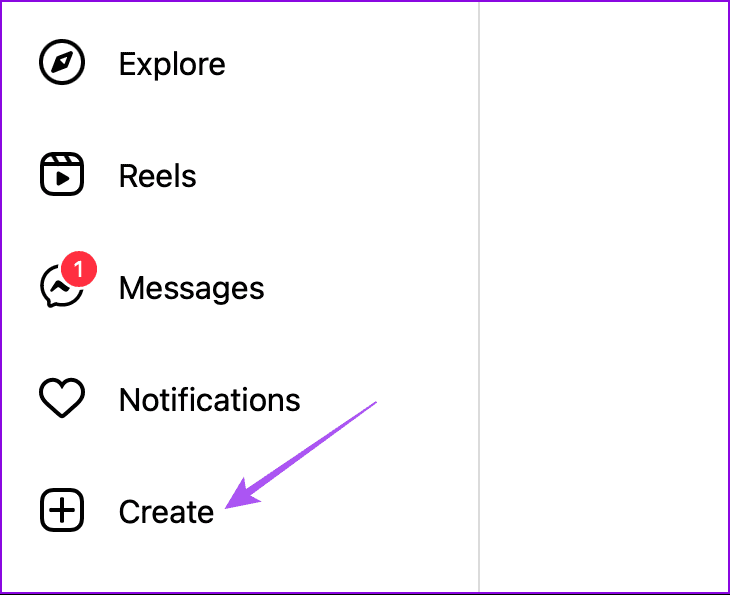
Step 3: Click on Live Video.
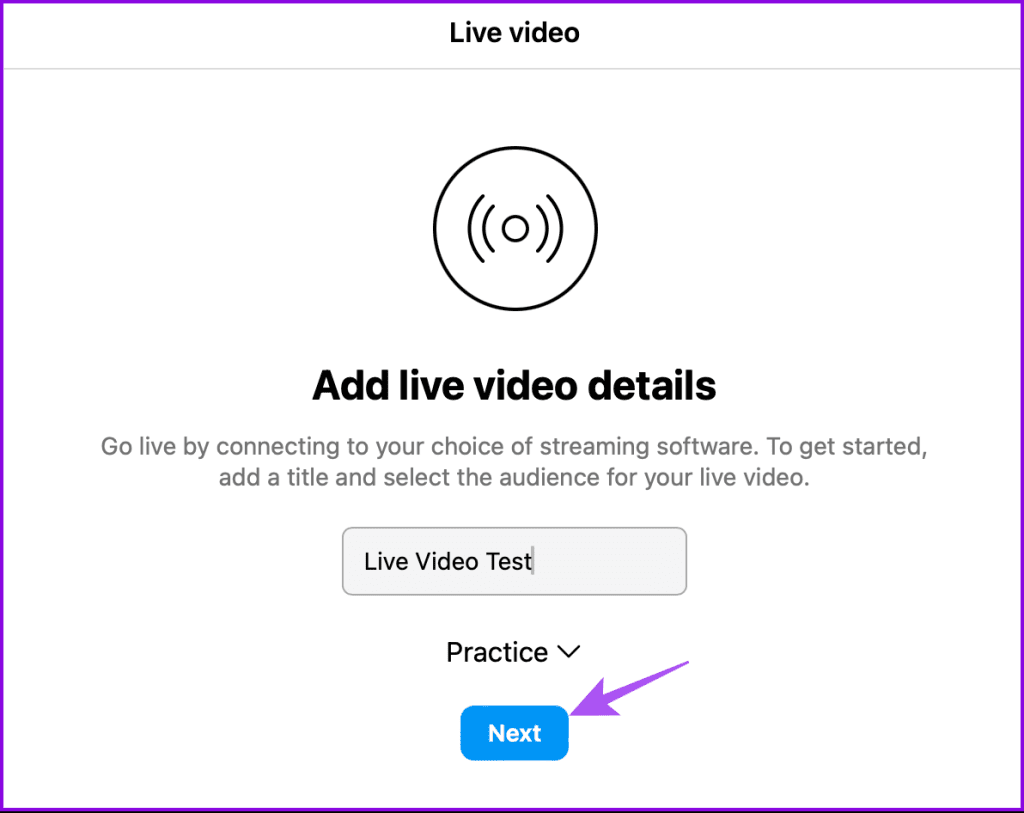
Step 4: Add your Live Video topic and then click on Next.
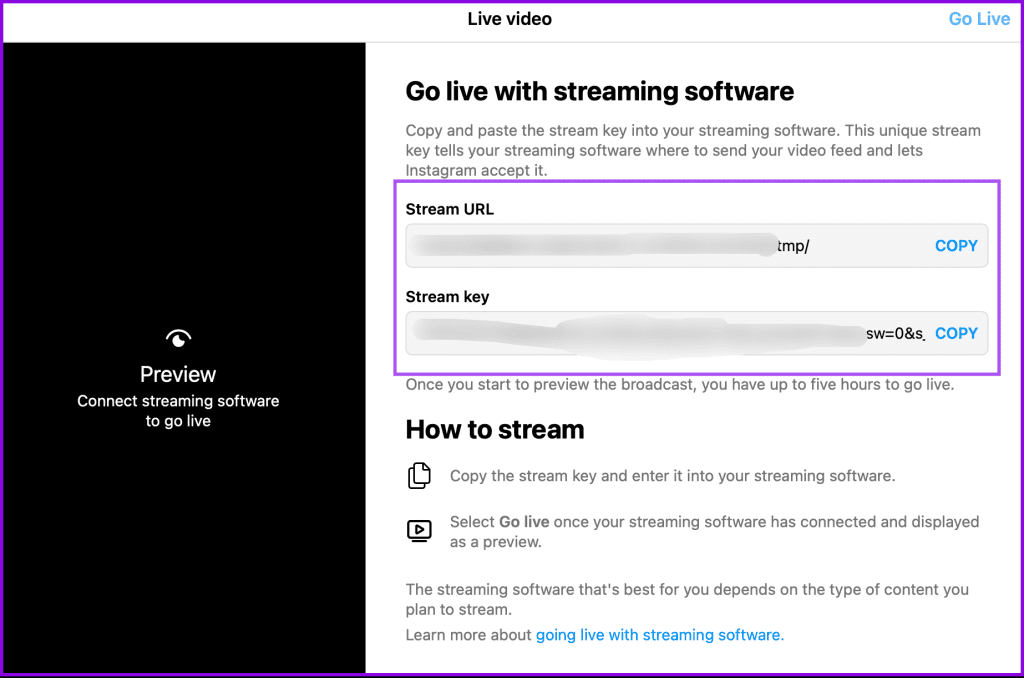
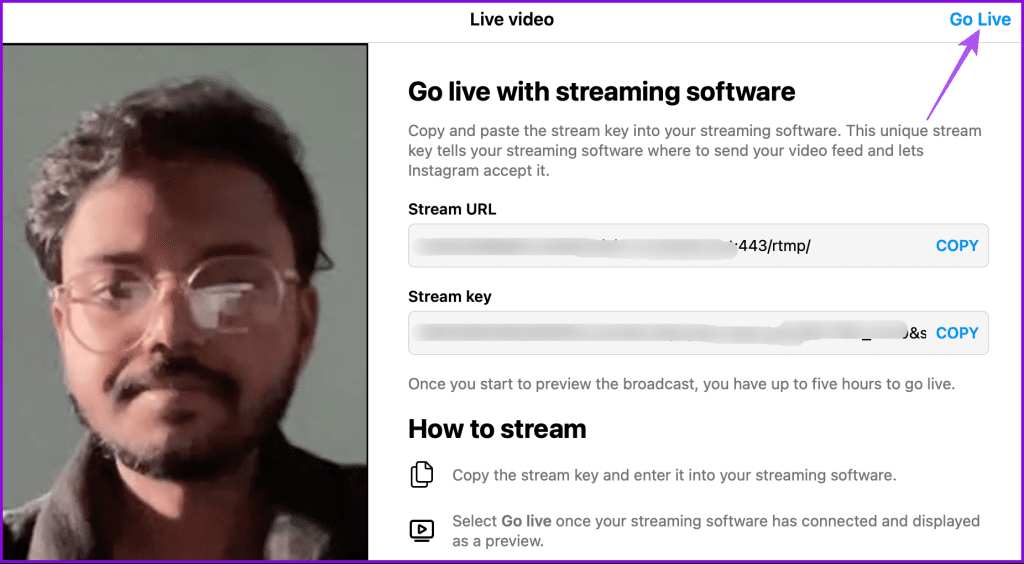
You will now see the Stream URL and Stream Key for your Live Video.
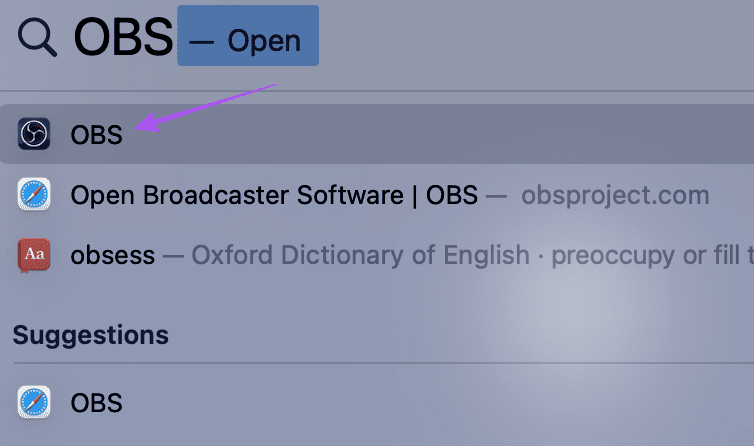
Step 5: Keep your browser open and launch OBS on your desktop.
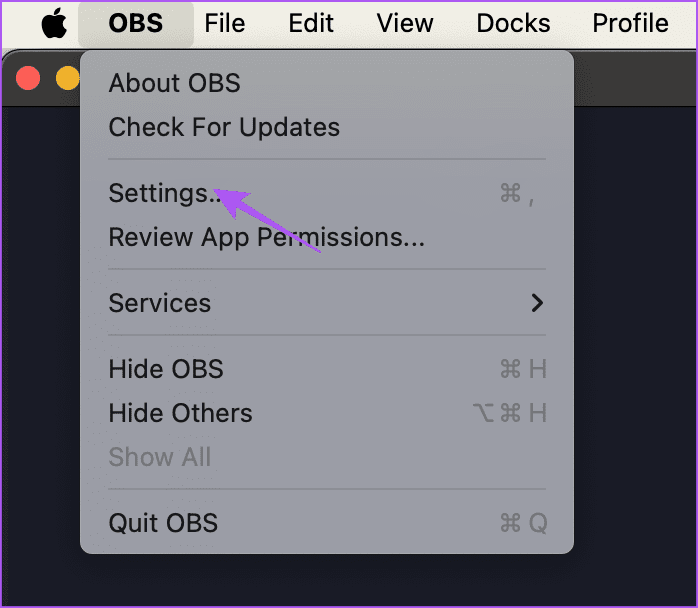
Step 6: Finish setting up OBS on your desktop. Then click on OBS at the top-left corner and select Settings (Mac).
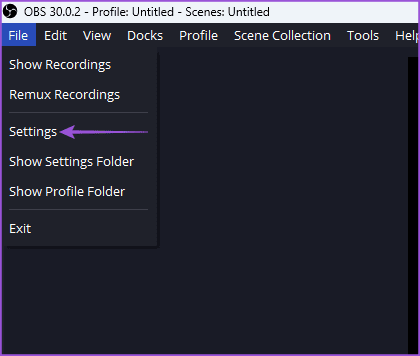
On Windows, click on File and select Settings after setting up OBS.
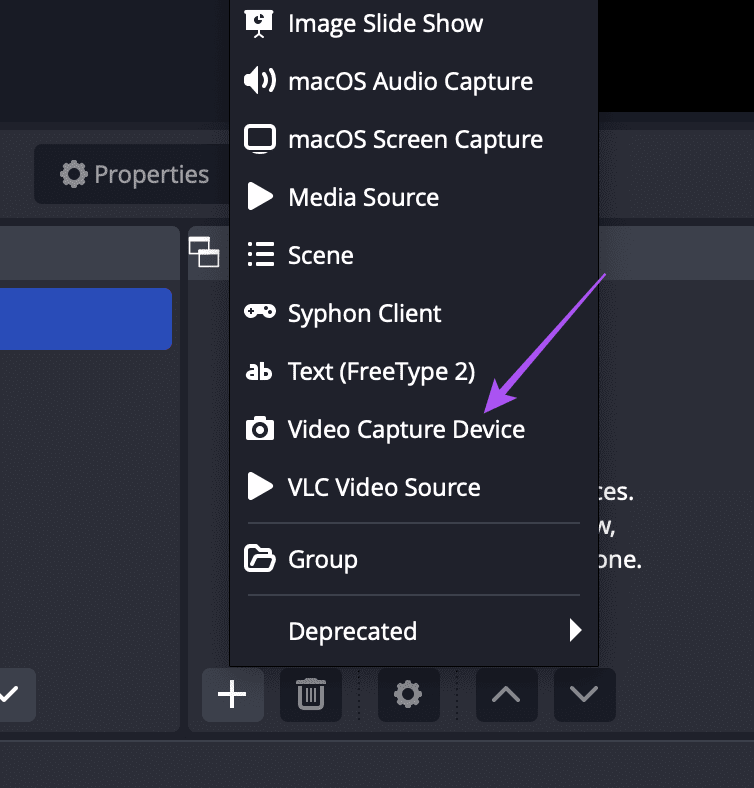
Step 7: Click the Plus icon below the Sources window and select Video Capture Device.
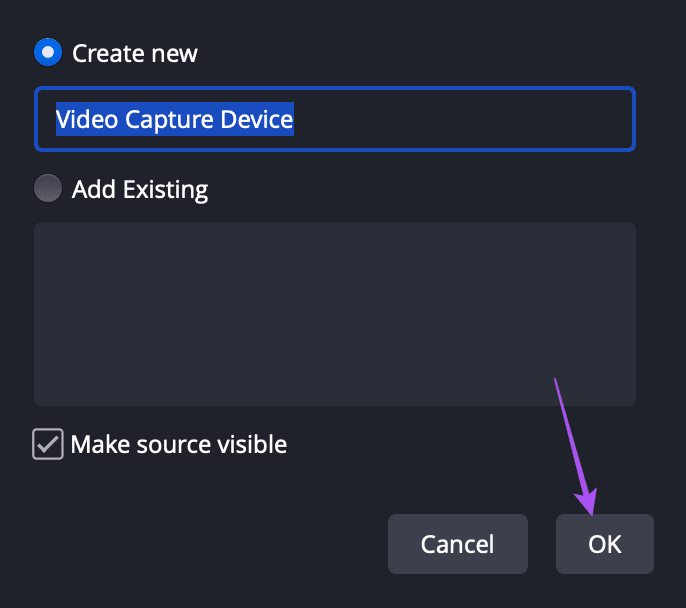
Step 8: Name your Video Capture Device and click OK.
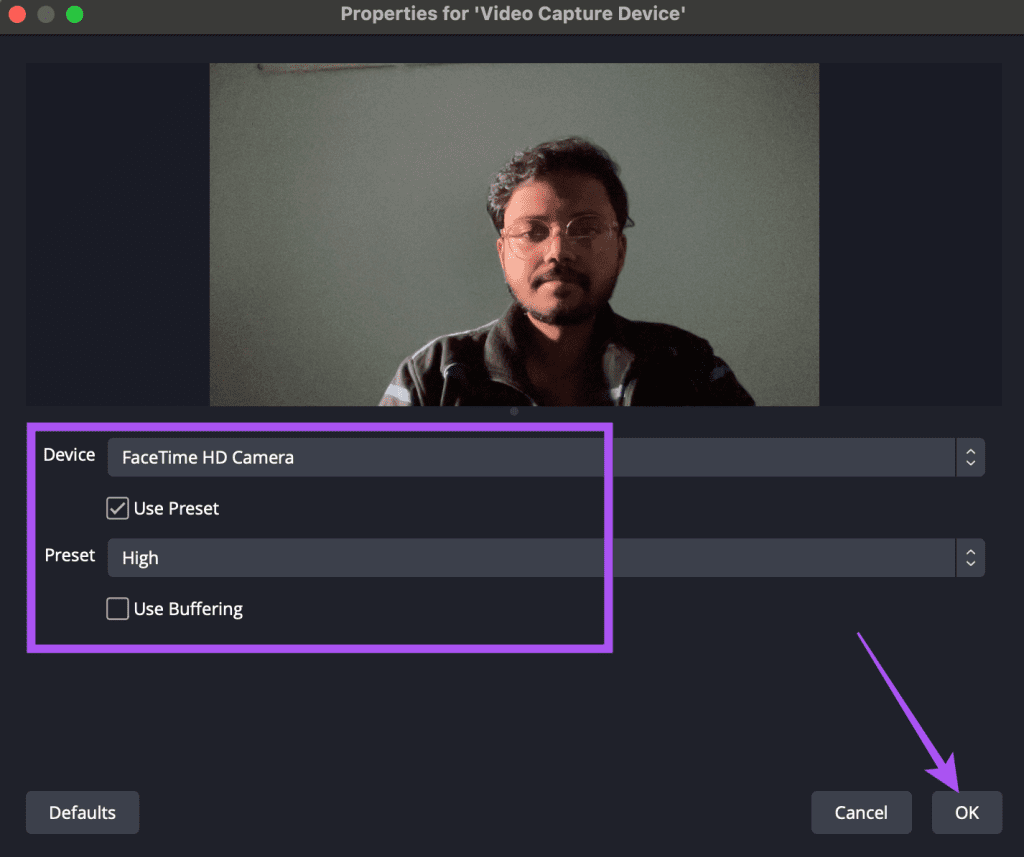
Step 9: Select your camera or webcam and set the preset (resolution and frame rate) to 1,280×720 30fps. Then click OK to confirm.
Step 10: On Mac, click on OBS at the top-right corner and select Settings.
On Windows PC, click on File and select Settings.
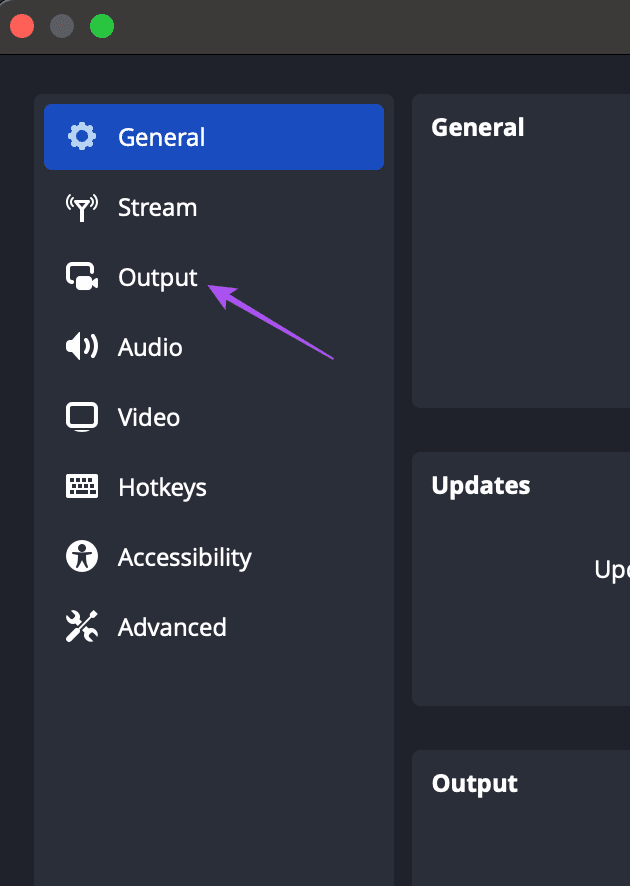
Step 11: Click on Output from the left menu.
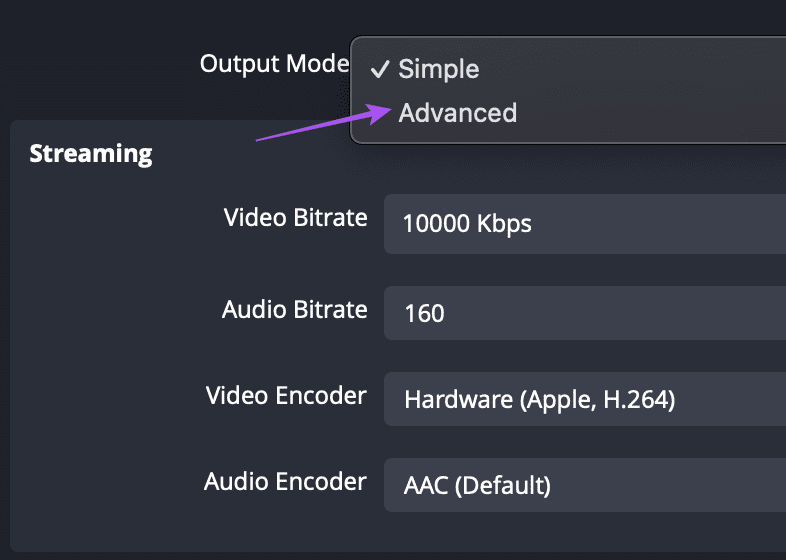
Step 12: Choose Advanced for the Output Mode.
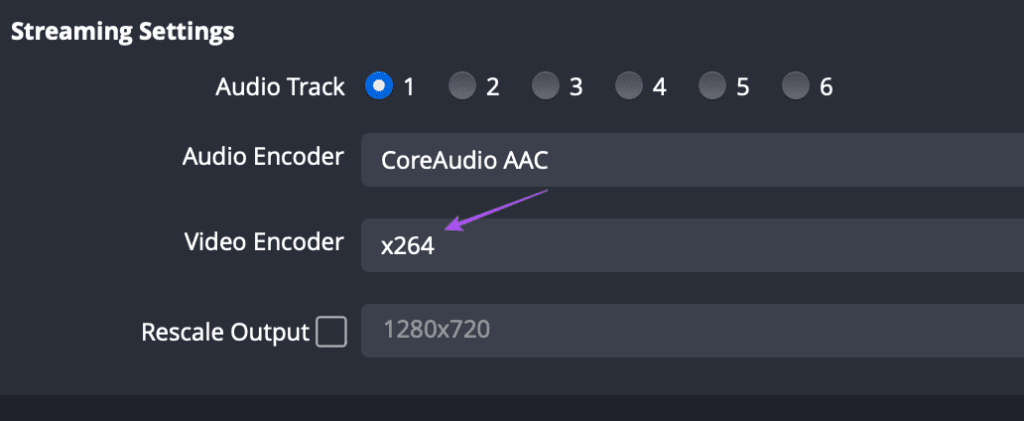
Step 13: Select Video Encoder as x264.
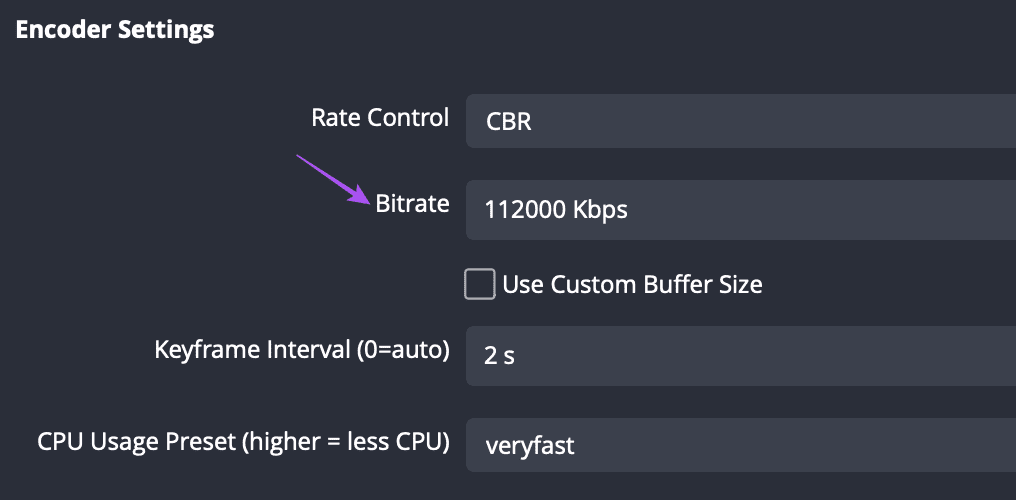
Step 14: In Bitrate, enter your upload speeds after subtracting 20 percent. For example, our upload speed is 140 Mbps. And after reducing 20 percent, we get 112 Mbps, which translates to 11,2000 Kbps.
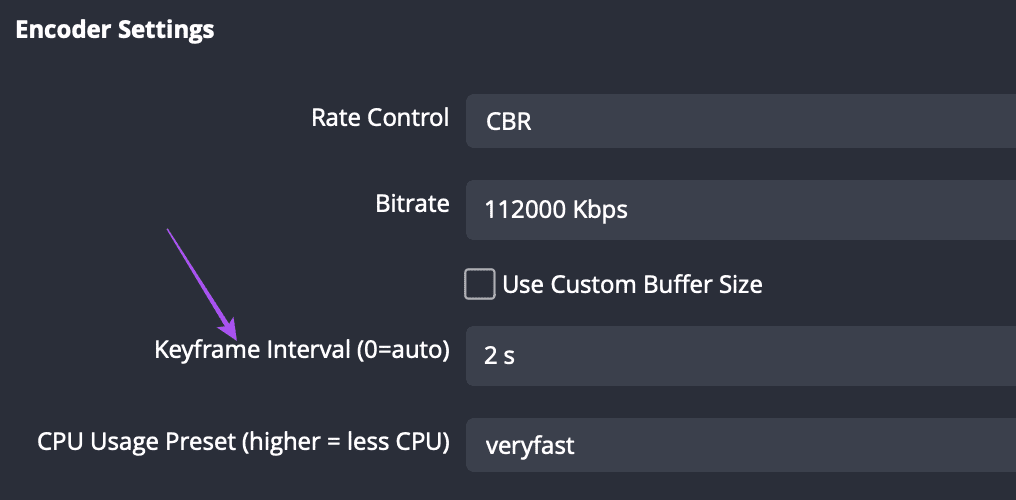
Step 15: Enter the Keyframe interval between 2 seconds to 4 seconds. For the uninitiated, Keyframe Interval determines how a full-frame or keyframe is sent during a video stream. The lesser the number, the more frequently and smoothly your image will get delivered during the live stream.
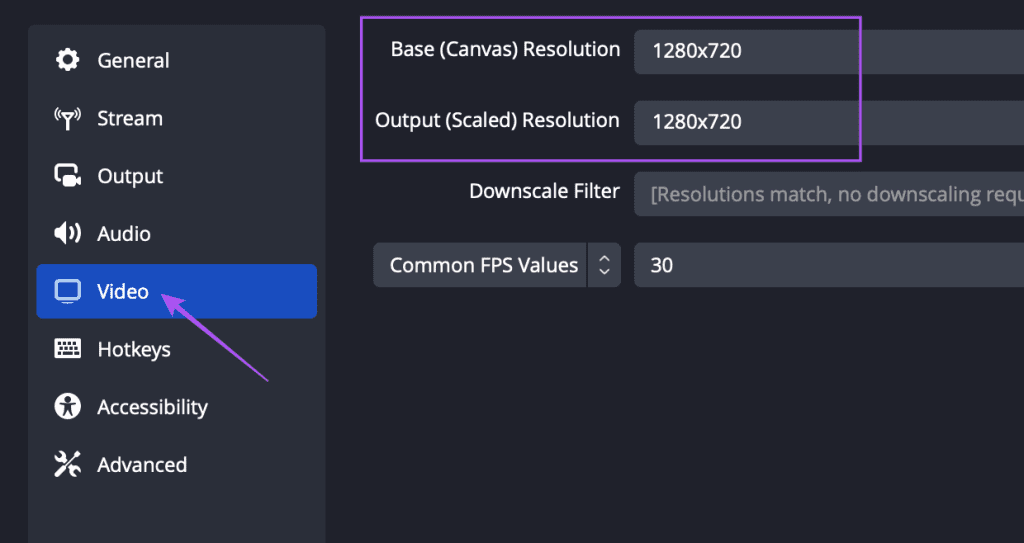
Step 15: Click on Video from the left menu and set the resolution (Base and Output) of your Livestream to 1,280x720p.
Step 16: Click on OK to confirm.

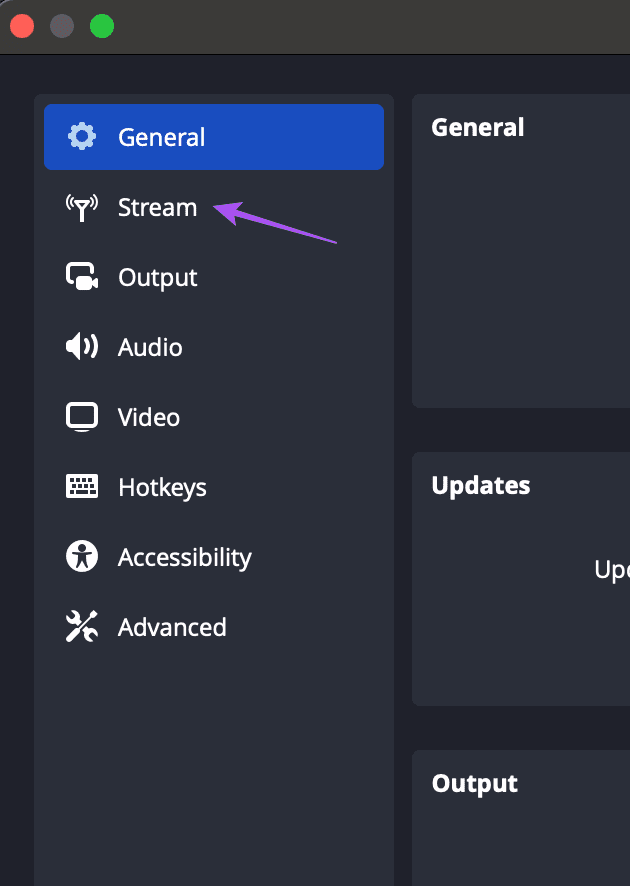
Step 17: Open Settings again and click on Stream.
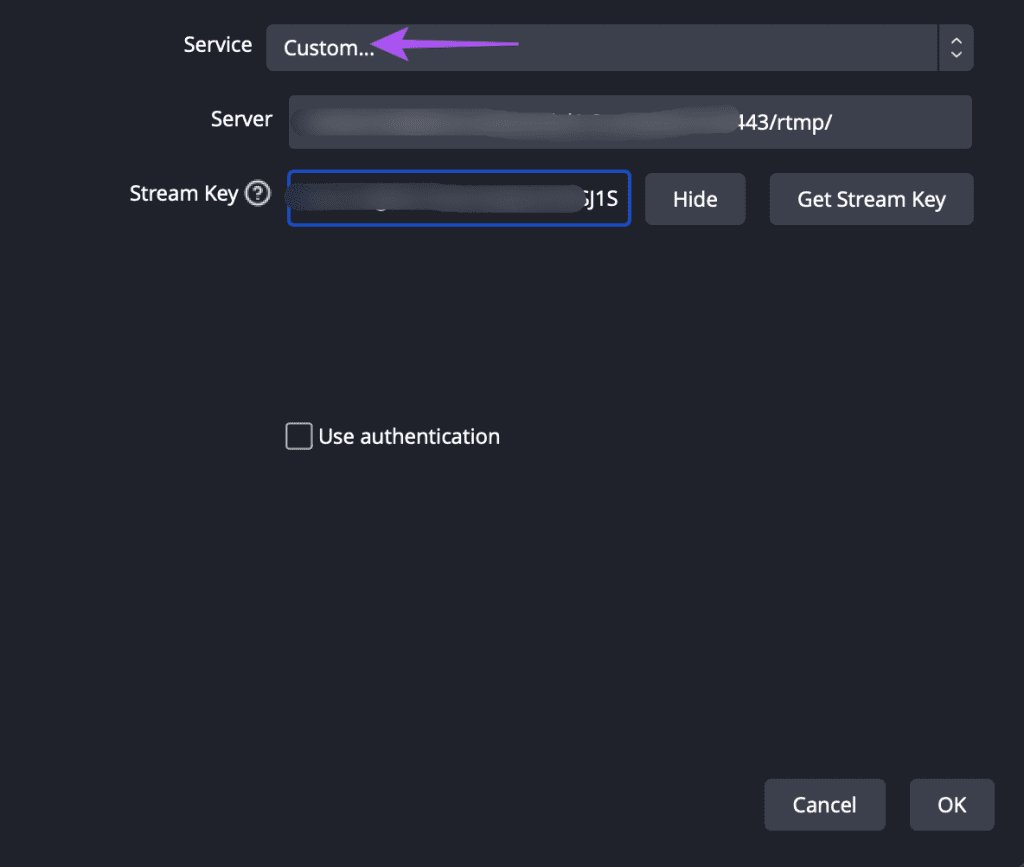
Step 18: Select Service as Custom. Then copy the Stream Key and Stream URL from Instagram on your web browser.
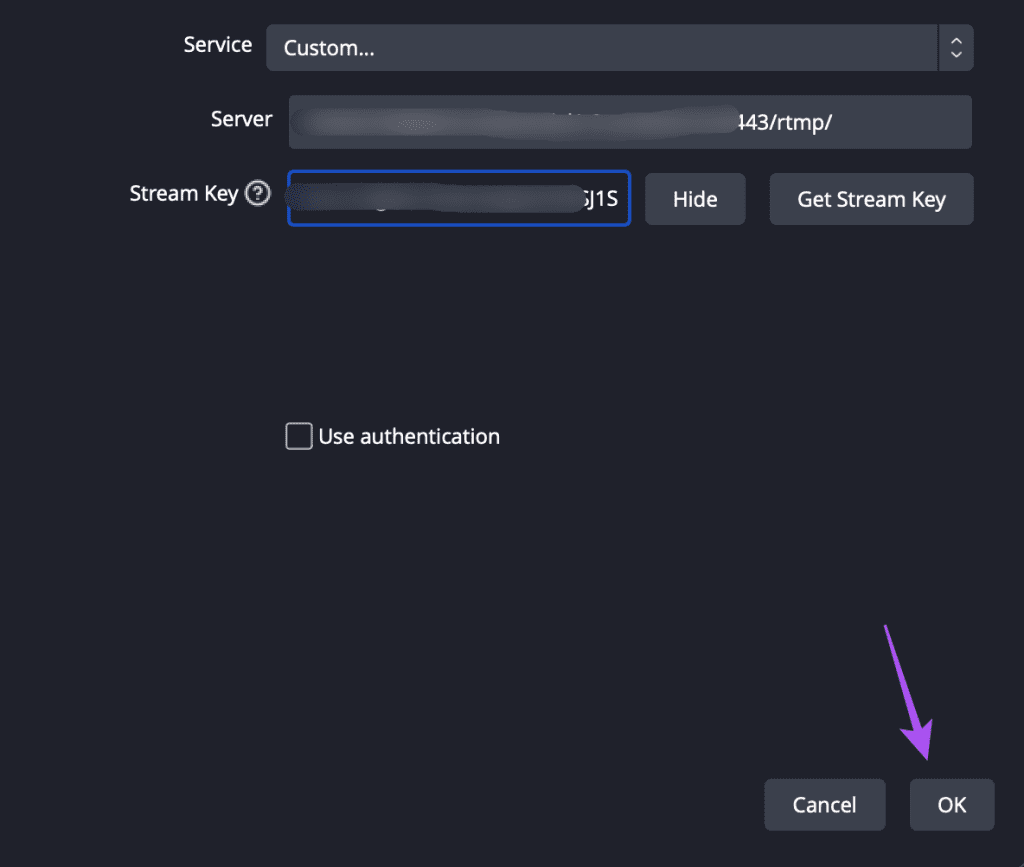
Step 19: Paste both of them in OBS and click on OK.
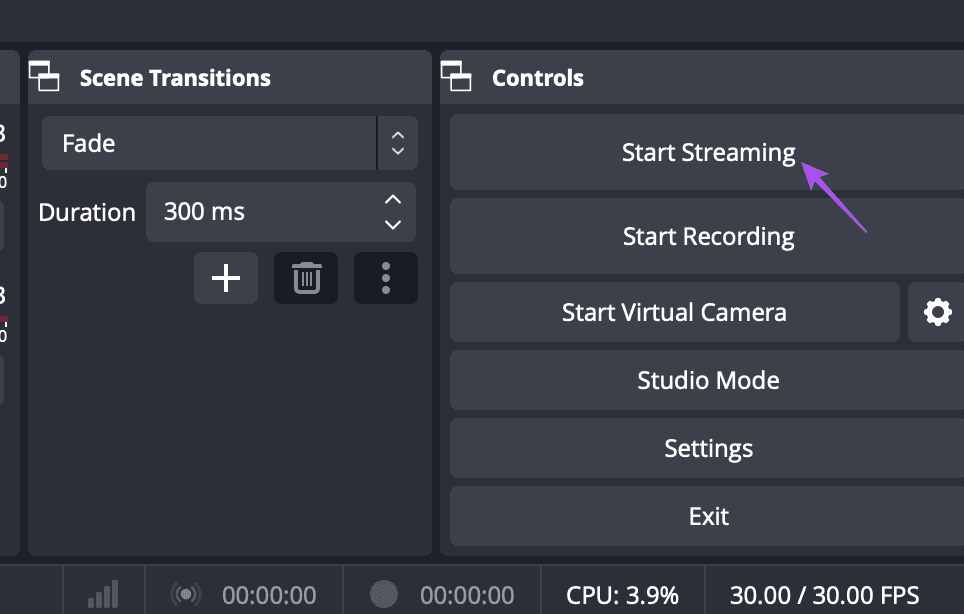
Step 20: Click on Start Streaming at the bottom right side in the OBS window.
Step 21: Once you see the Live Preview working on Instagram, click on Go Live at the top-right corner.
Share Live Moments on Instagram
You can go Live on Instagram to interact with your followers and also share something that you feel is worth celebrating. Do let us know which method to go live on Instagram fits your bill in the comments below.
Was this helpful?
Last updated on 29 January, 2024
Read Next
 How to Add Contacts Using Skype Live ID on PC and Mobile
On WhatsApp, people automatically appear in your contacts list if their number is saved on your phone.
How to Add Contacts Using Skype Live ID on PC and Mobile
On WhatsApp, people automatically appear in your contacts list if their number is saved on your phone.
 7 Ways to Fix YouTube Music Live Lyrics Not Showing on Mobile
Be it regular YouTube Music users or premium users, we can all enjoy the Live Lyrics feature when playing a song.
7 Ways to Fix YouTube Music Live Lyrics Not Showing on Mobile
Be it regular YouTube Music users or premium users, we can all enjoy the Live Lyrics feature when playing a song.
 How to Share Screen in Instagram Video Calls
Method 1: Share Your Screen on Mobile Step 1: Open the Instagram app on your iPhone or Android.
How to Share Screen in Instagram Video Calls
Method 1: Share Your Screen on Mobile Step 1: Open the Instagram app on your iPhone or Android.
 How to Find Your Instagram Password on Any Device
Find Your Instagram Password on Android and iPhone Whenever you sign in for the first time on any device, you usually get a prompt for saving your account password.
How to Find Your Instagram Password on Any Device
Find Your Instagram Password on Android and iPhone Whenever you sign in for the first time on any device, you usually get a prompt for saving your account password.
 How to Fast Forward (and Rewind) Instagram Live Stories Video Replays
Instagram Stories are the new medium to keep up with the people's activities on the platform.
How to Fast Forward (and Rewind) Instagram Live Stories Video Replays
Instagram Stories are the new medium to keep up with the people's activities on the platform.
 How to Pin a Comment on Instagram Live, Reels, and Posts
It is highly likely that you will get lost in the flurry of comments on your Instagram posts if your Instagram account is extremely active and engaged.
How to Pin a Comment on Instagram Live, Reels, and Posts
It is highly likely that you will get lost in the flurry of comments on your Instagram posts if your Instagram account is extremely active and engaged.
 How to Find a Discord User ID on Web, Desktop, and Mobile
Have you ever needed to find the User ID of someone on Discord?
How to Find a Discord User ID on Web, Desktop, and Mobile
Have you ever needed to find the User ID of someone on Discord?
 How to Unmute Emails in Gmail on Desktop or Mobile
Are you tired of missing critical emails in your Gmail inbox because you accidentally muted them?
How to Unmute Emails in Gmail on Desktop or Mobile
Are you tired of missing critical emails in your Gmail inbox because you accidentally muted them?
The article above may contain affiliate links which help support Guiding Tech. The content remains unbiased and authentic and will never affect our editorial integrity.