Are you tired of missing critical emails in your Gmail inbox because you accidentally muted them? Muting an email is a handy feature that silences a noisy or unwanted email thread. However, there may be times when you accidentally mute an important email. In this article, we will guide you on how to unmute email in Gmail and start receiving notifications again.
But before we start, you may wonder what happens when you mute an email in Gmail. When you mute a conversation, it gets automatically archived and won’t appear in your inbox. And when you unmute, the email reappears in your inbox, and you start receiving notifications. With this understanding, let’s dive into the steps.
How to Find Muted Emails in Gmail
Now that you understand what happens when you mute a mail, it is time to find the muted emails before unmuting them. If you are a desktop user, follow the below steps.
On Desktop
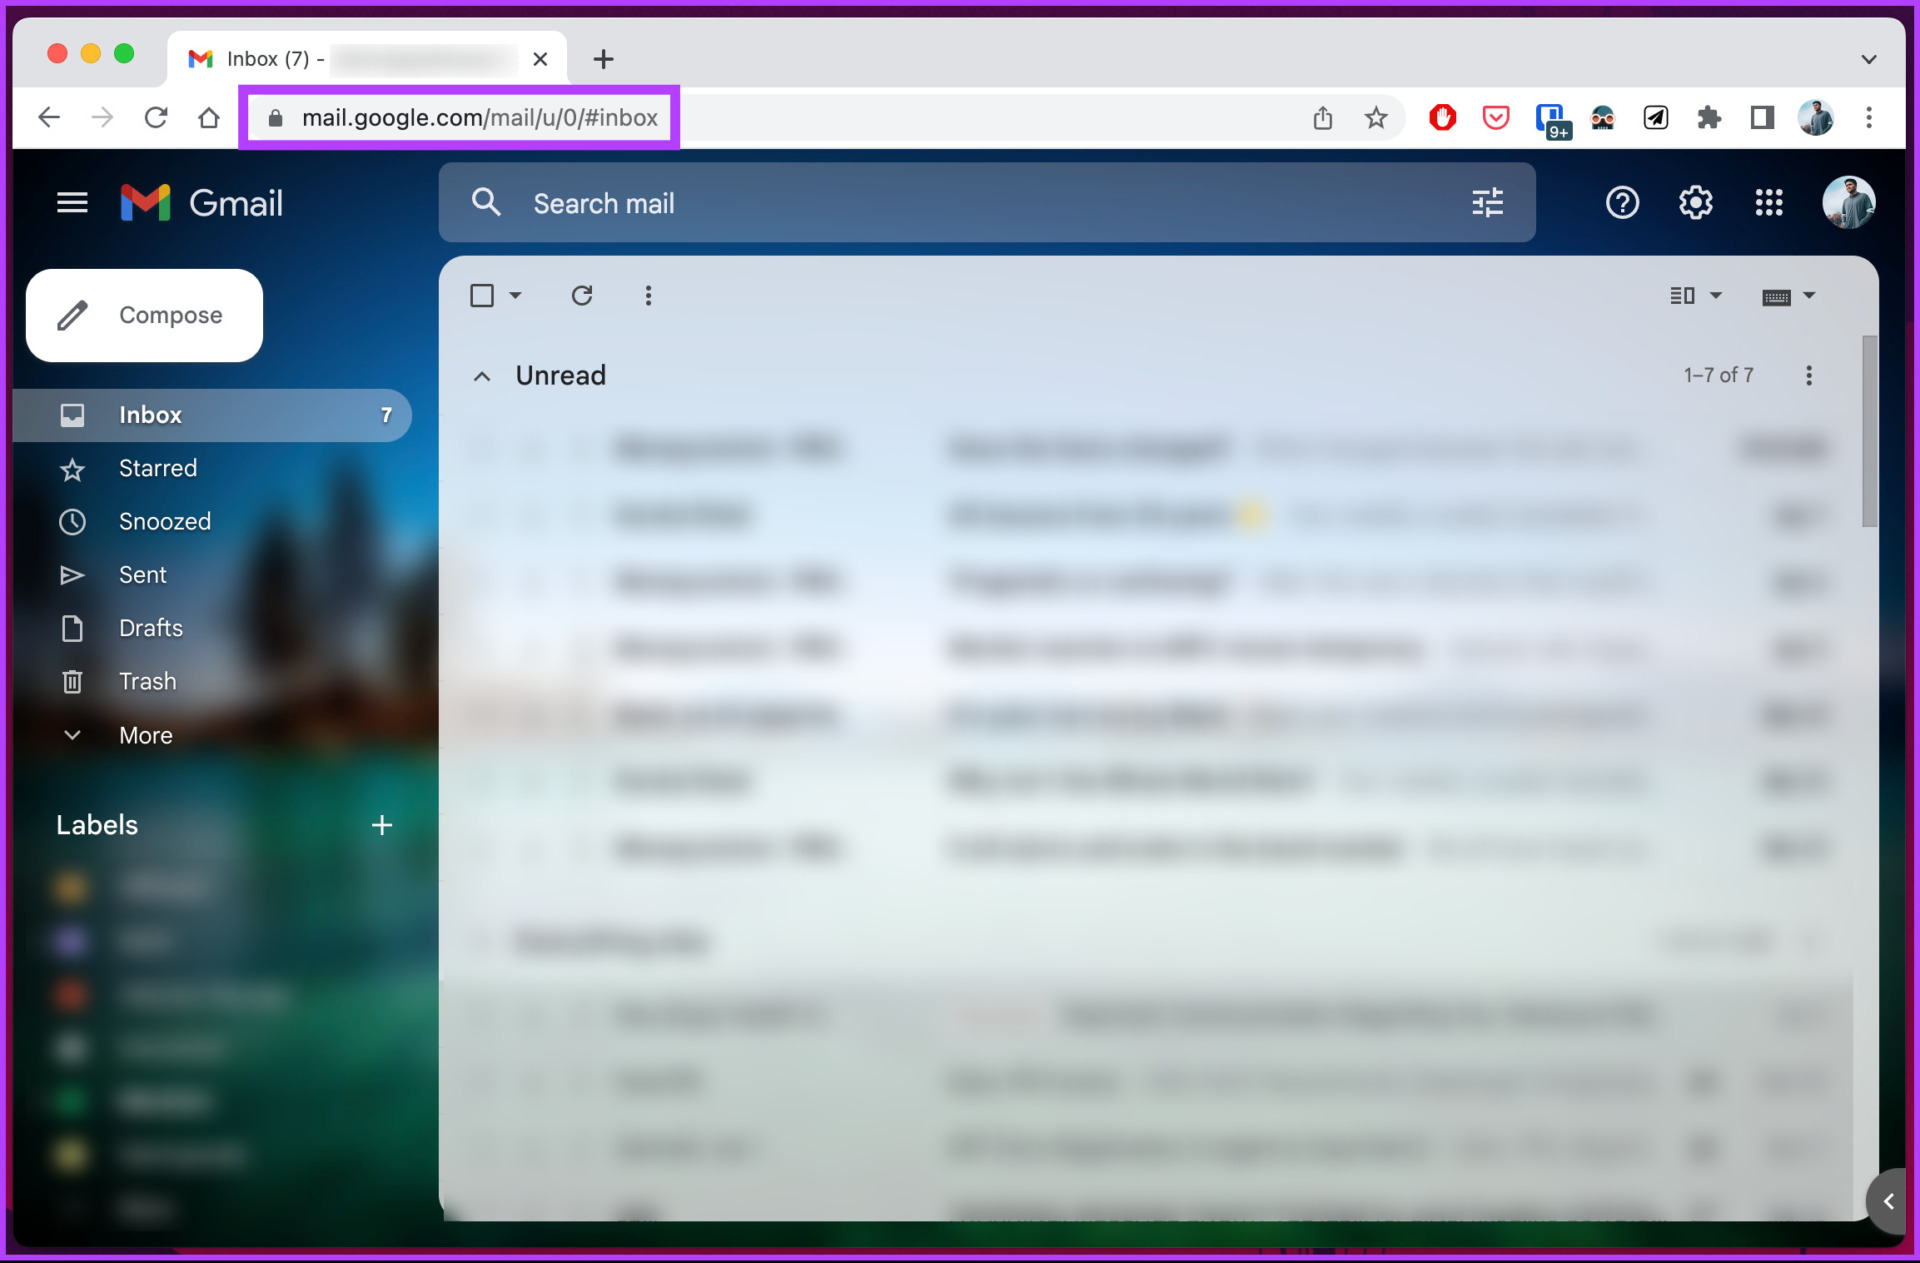
Step 1: Open Gmail in your preferred browser.
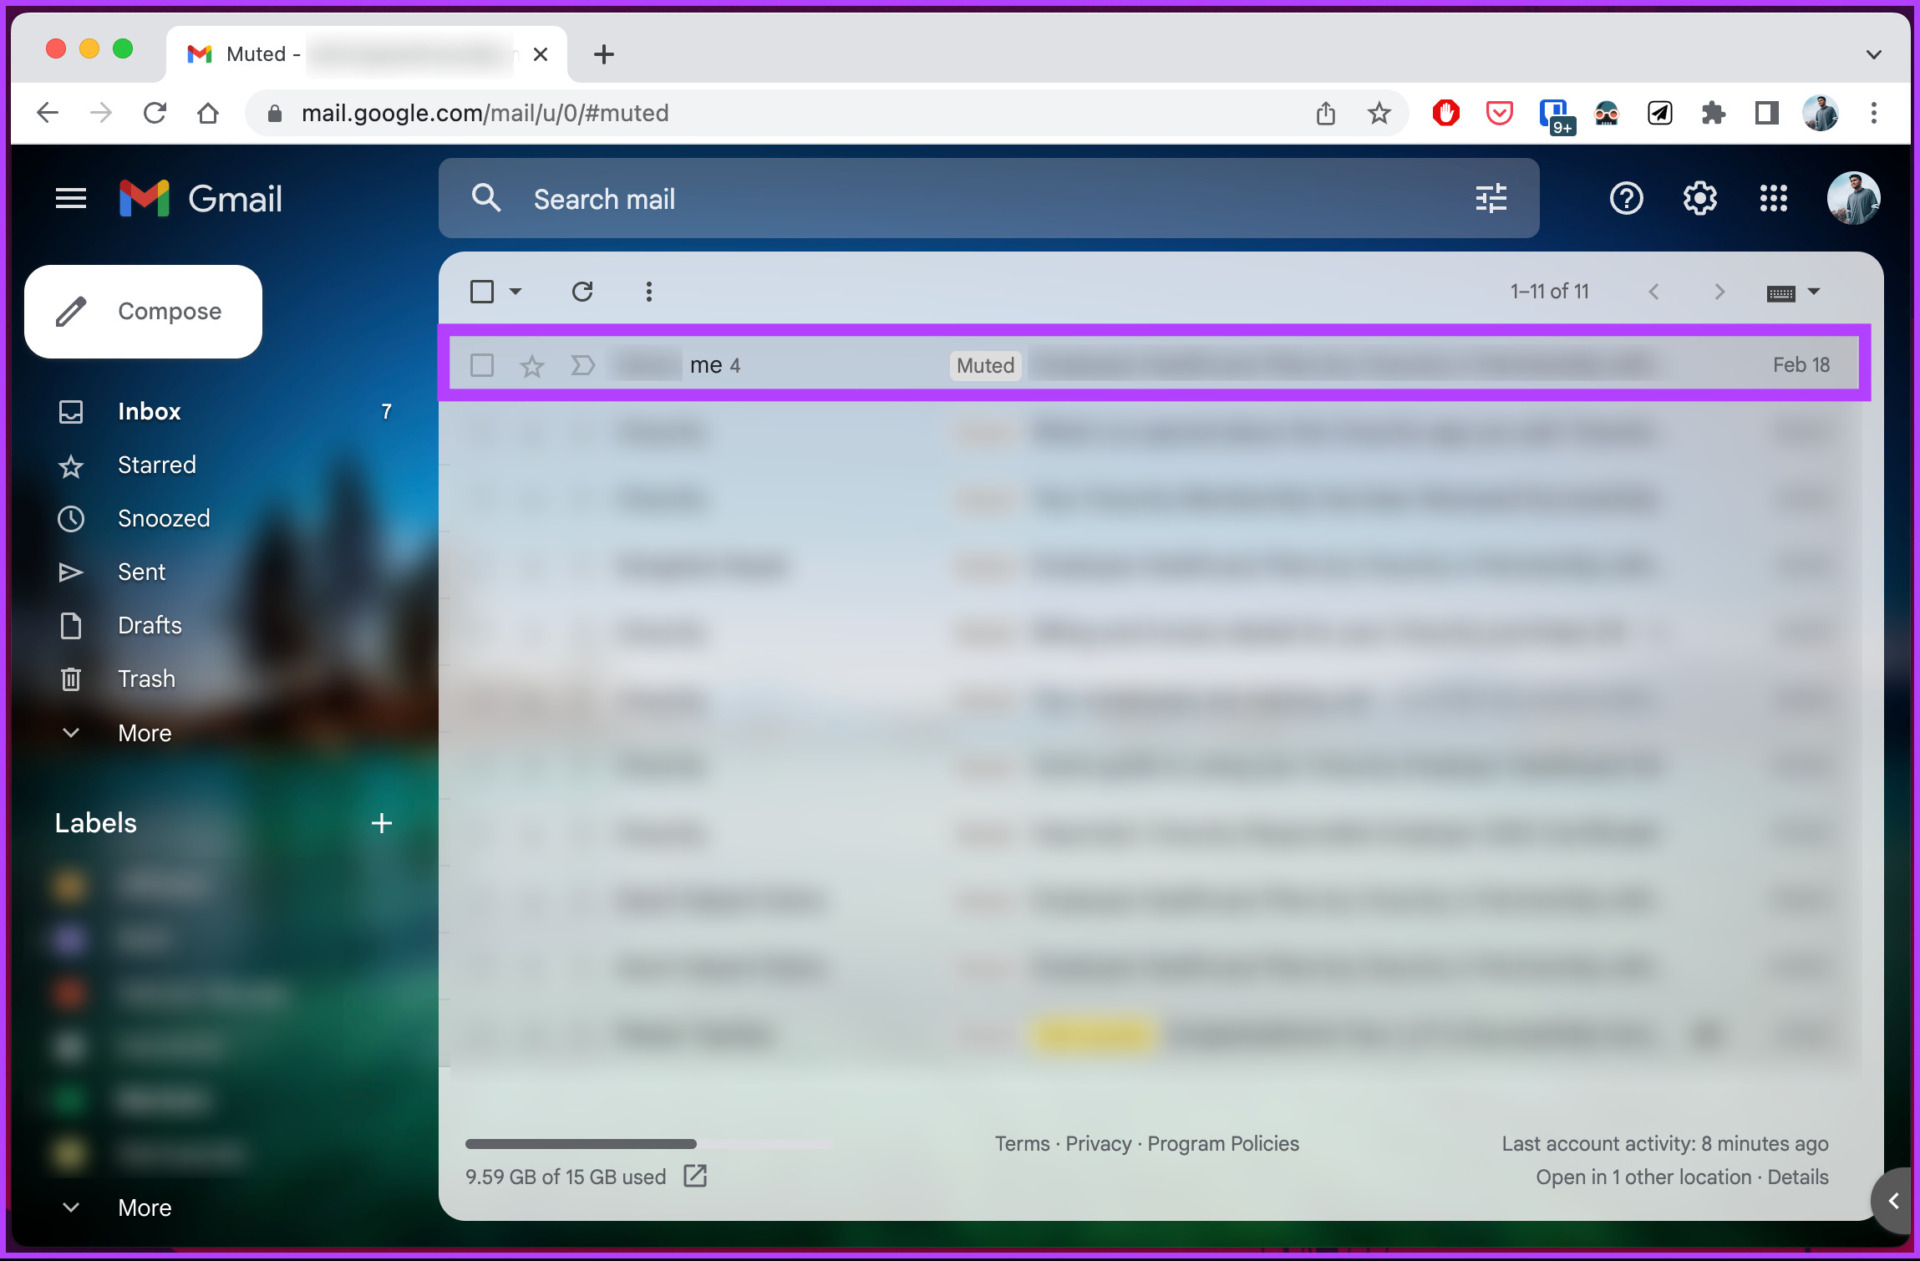
Step 2: Click on the search box at the top, type mute, and select ‘label:mute’ from the drop-down.
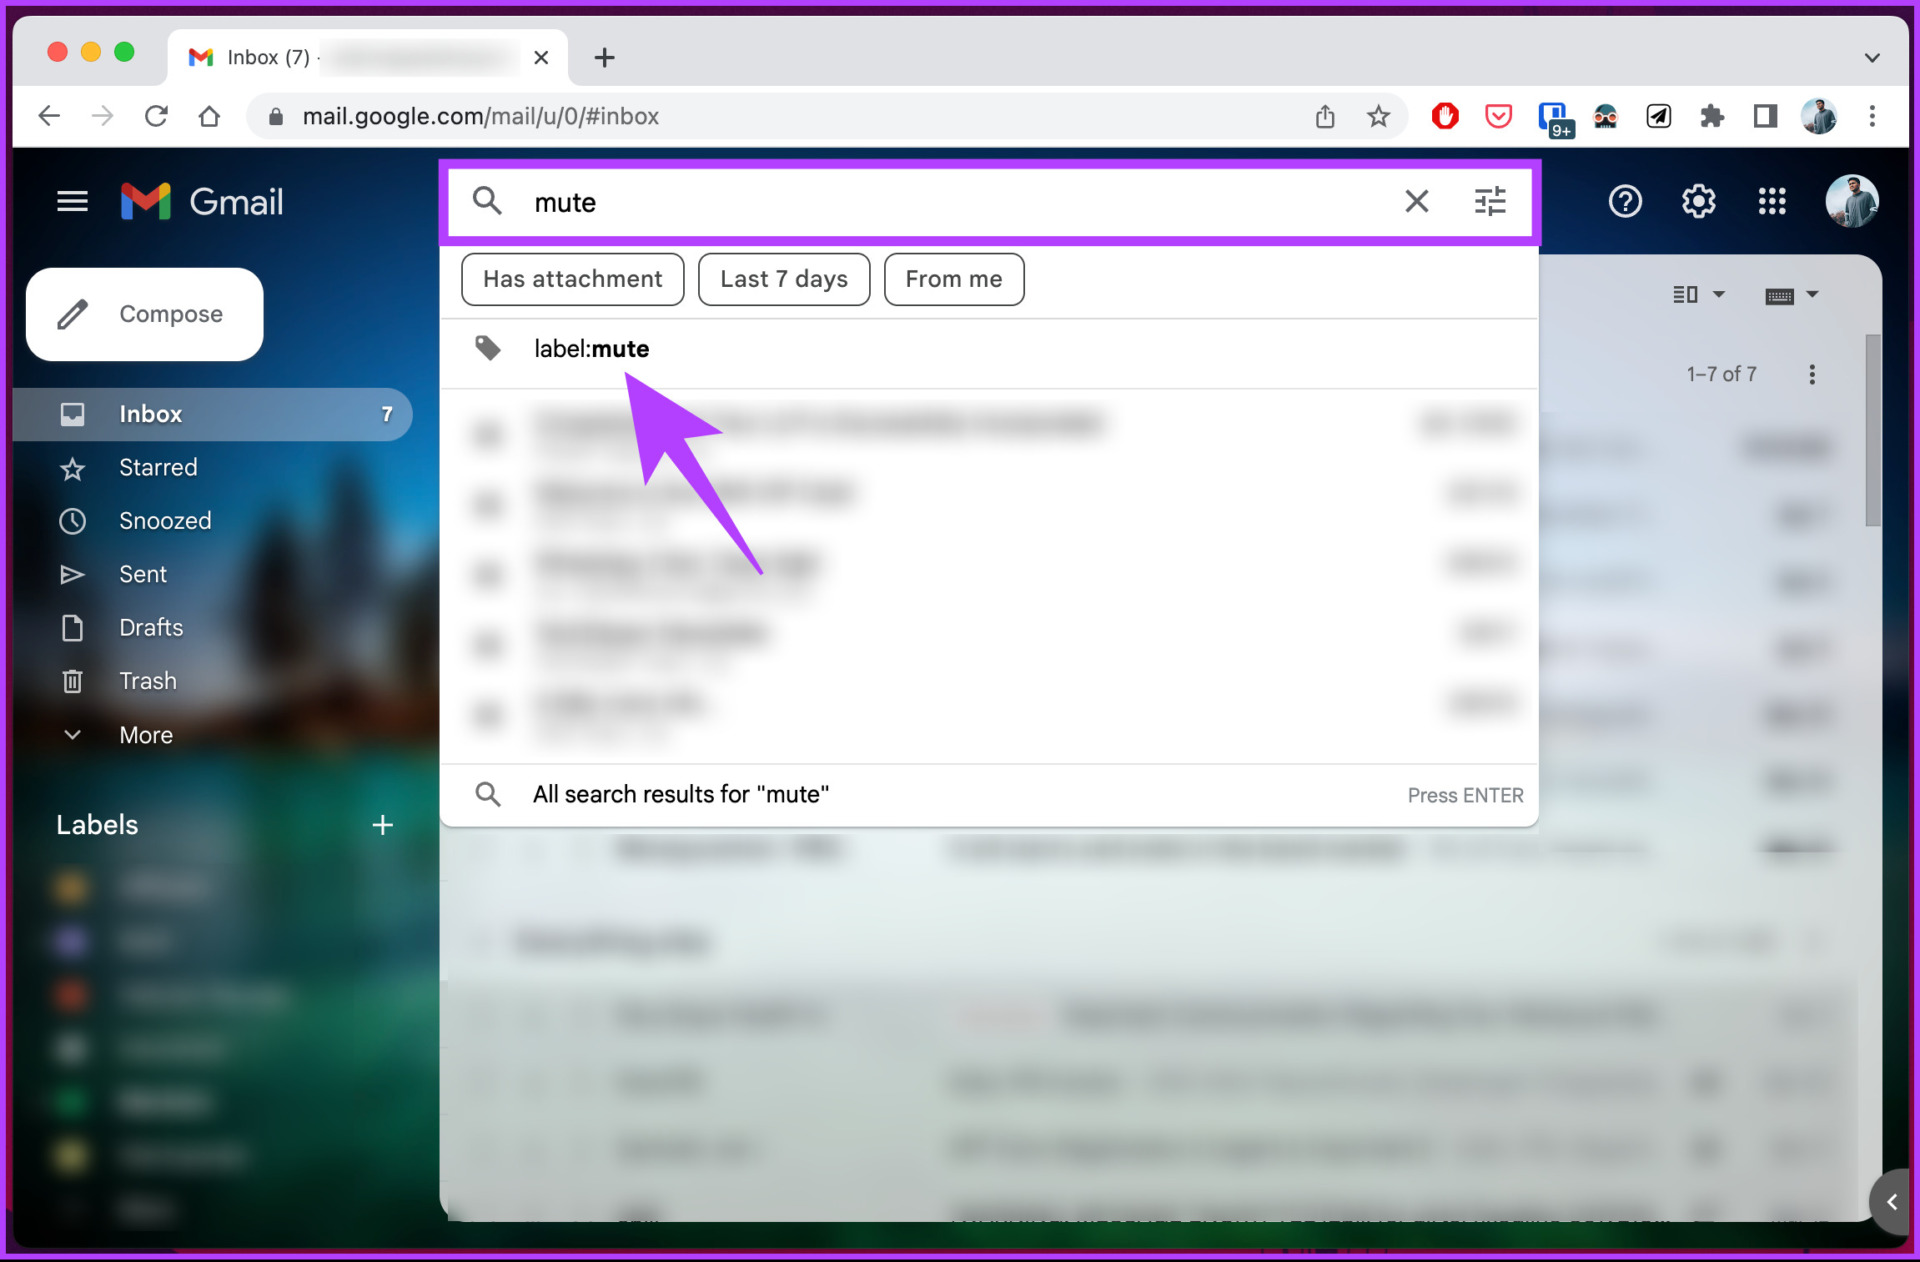
With this, you will see a list of muted conversations with a Mute label on their left side in the email preview, which you can click open and review it.
On Gmail App for Android and iPhone
The steps are the same for both Android and iOS devices. Follow the instructions below.
Step 1: Launch the Gmail app.

Step 2: Once launched, tap on the search bar, type Mute, and from the drop-down, select ‘label:mute.’

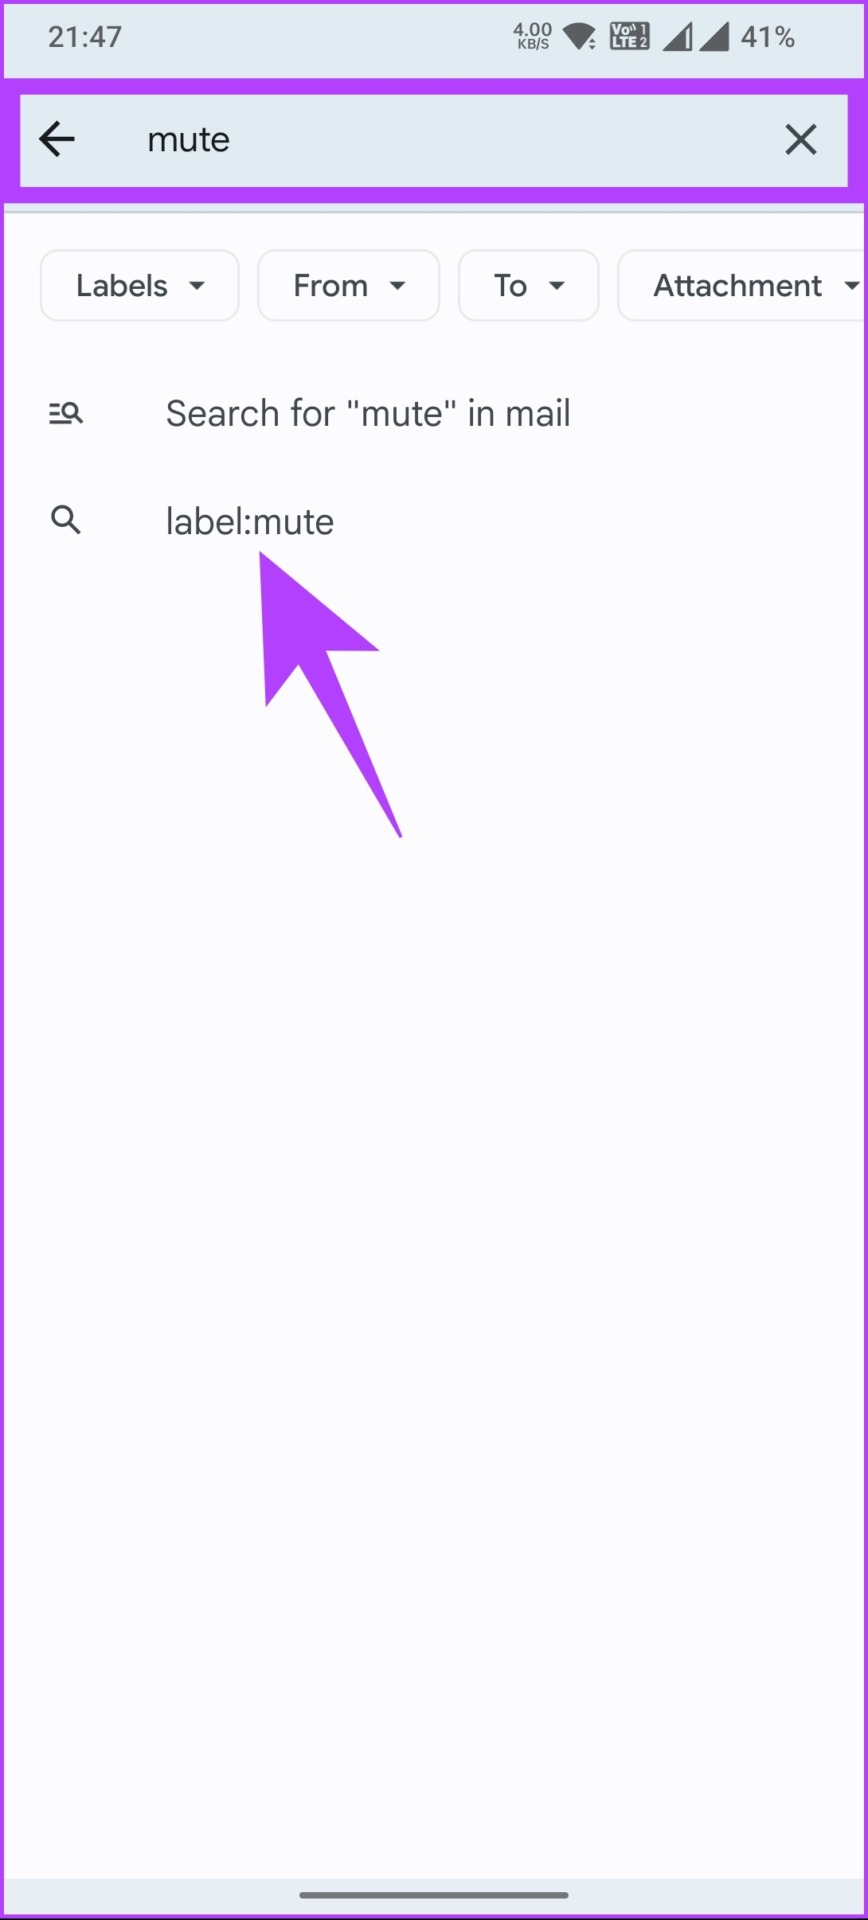
Much like on the desktop, you will see a list of muted emails with a Mute label as a preview. Now that you have found muted emails on your Gmail account, it is time to unmute the ones you want. Move to the next method to find out how.
Also read: How to edit or cancel a scheduled email in Gmail
How to Unmute Muted Emails in Gmail
As easy as it was to find the muted emails, it is much easier to unmute them. Simply follow the below steps based on the device you are accessing your email from.
Note: Ensure you’ve followed the above steps to find the muted emails before moving on to the below steps.
On Desktop
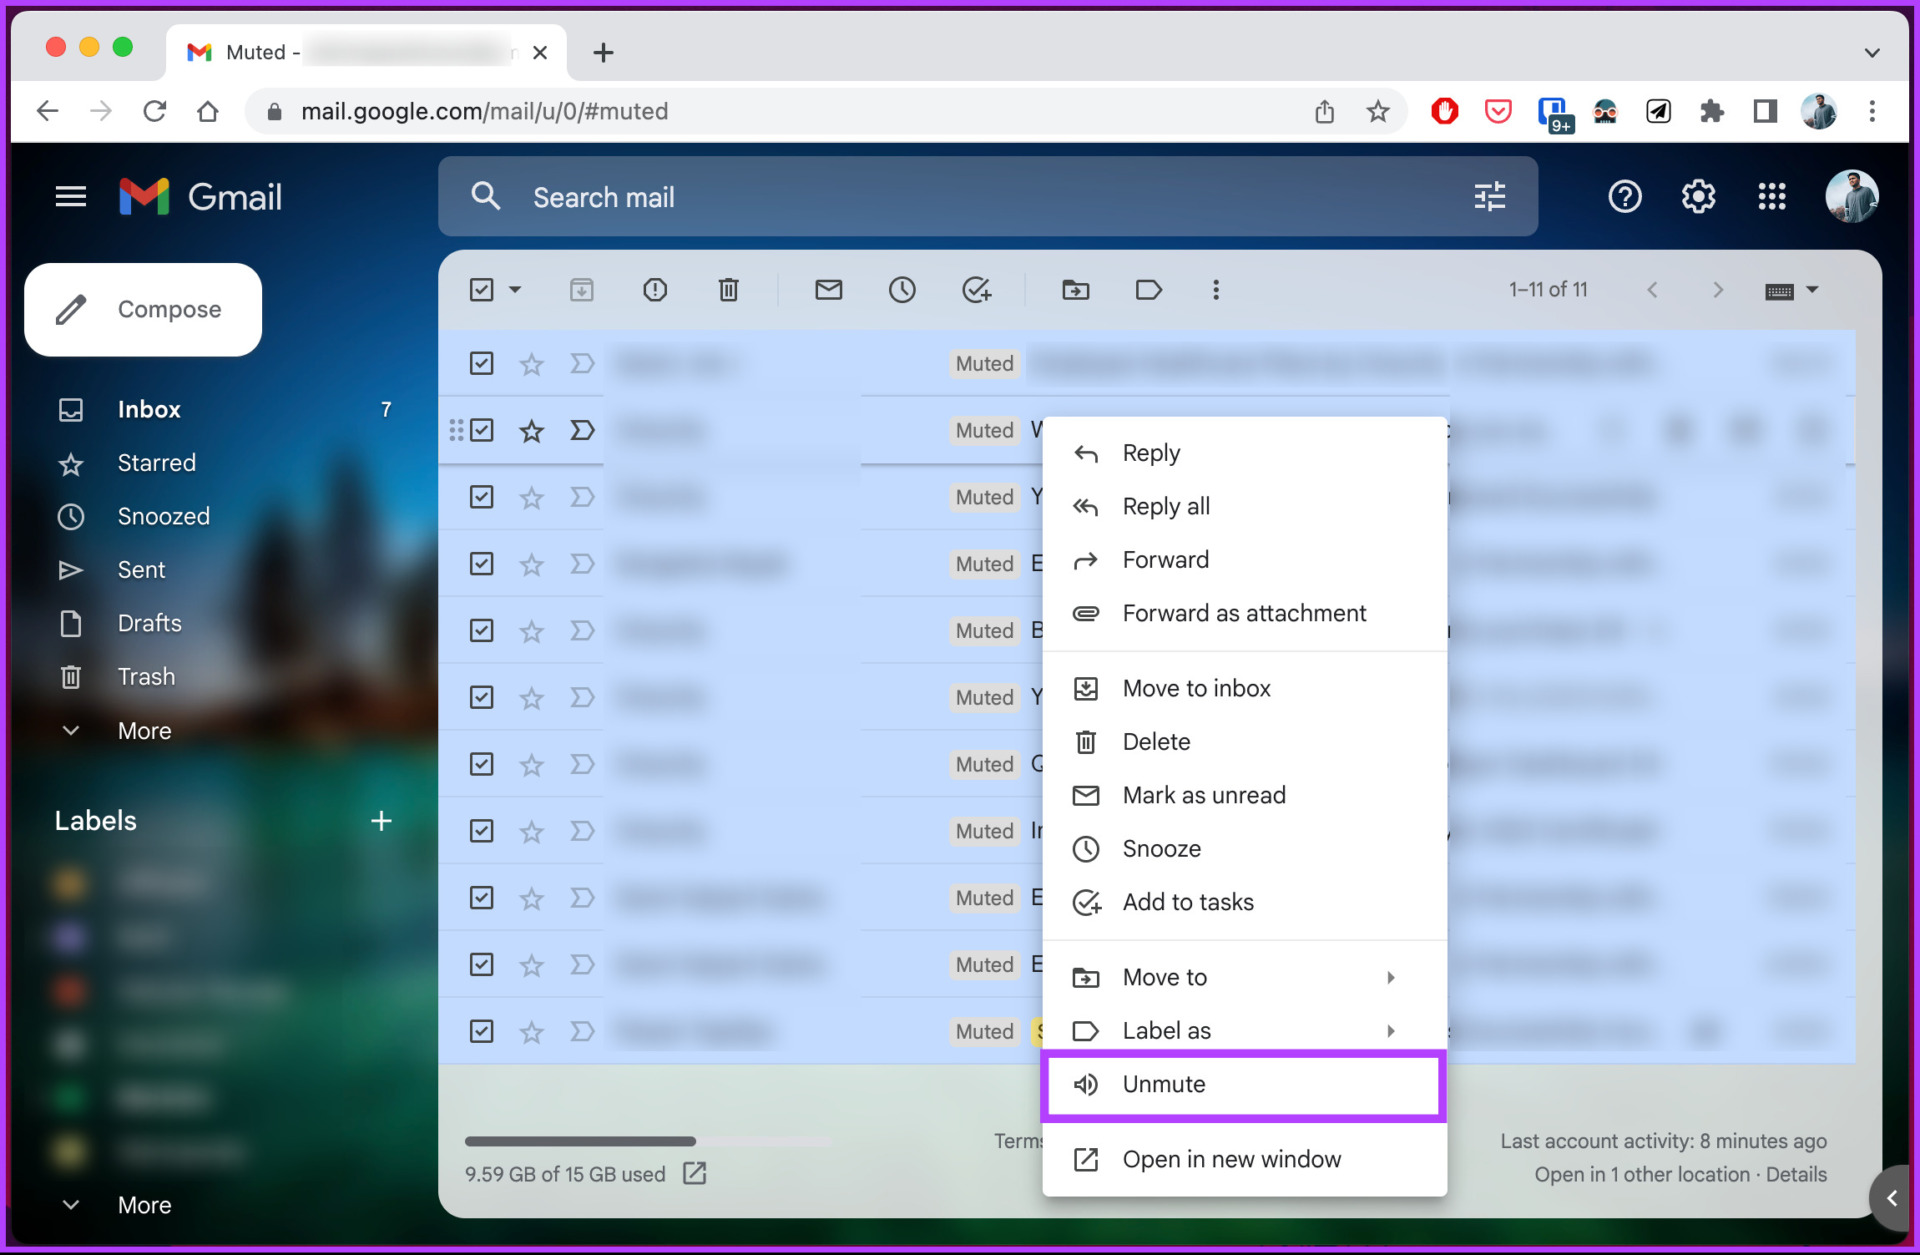
Step 1: Right-click on the email you want to unmute.
Step 2: From the context menu, select Unmute.

This was the case when you had a single email to unmute. If you want to unmute multiple emails, move on to the next steps.
Step 3: Select the emails you want to unmute using the checkboxes on the left-hand side.
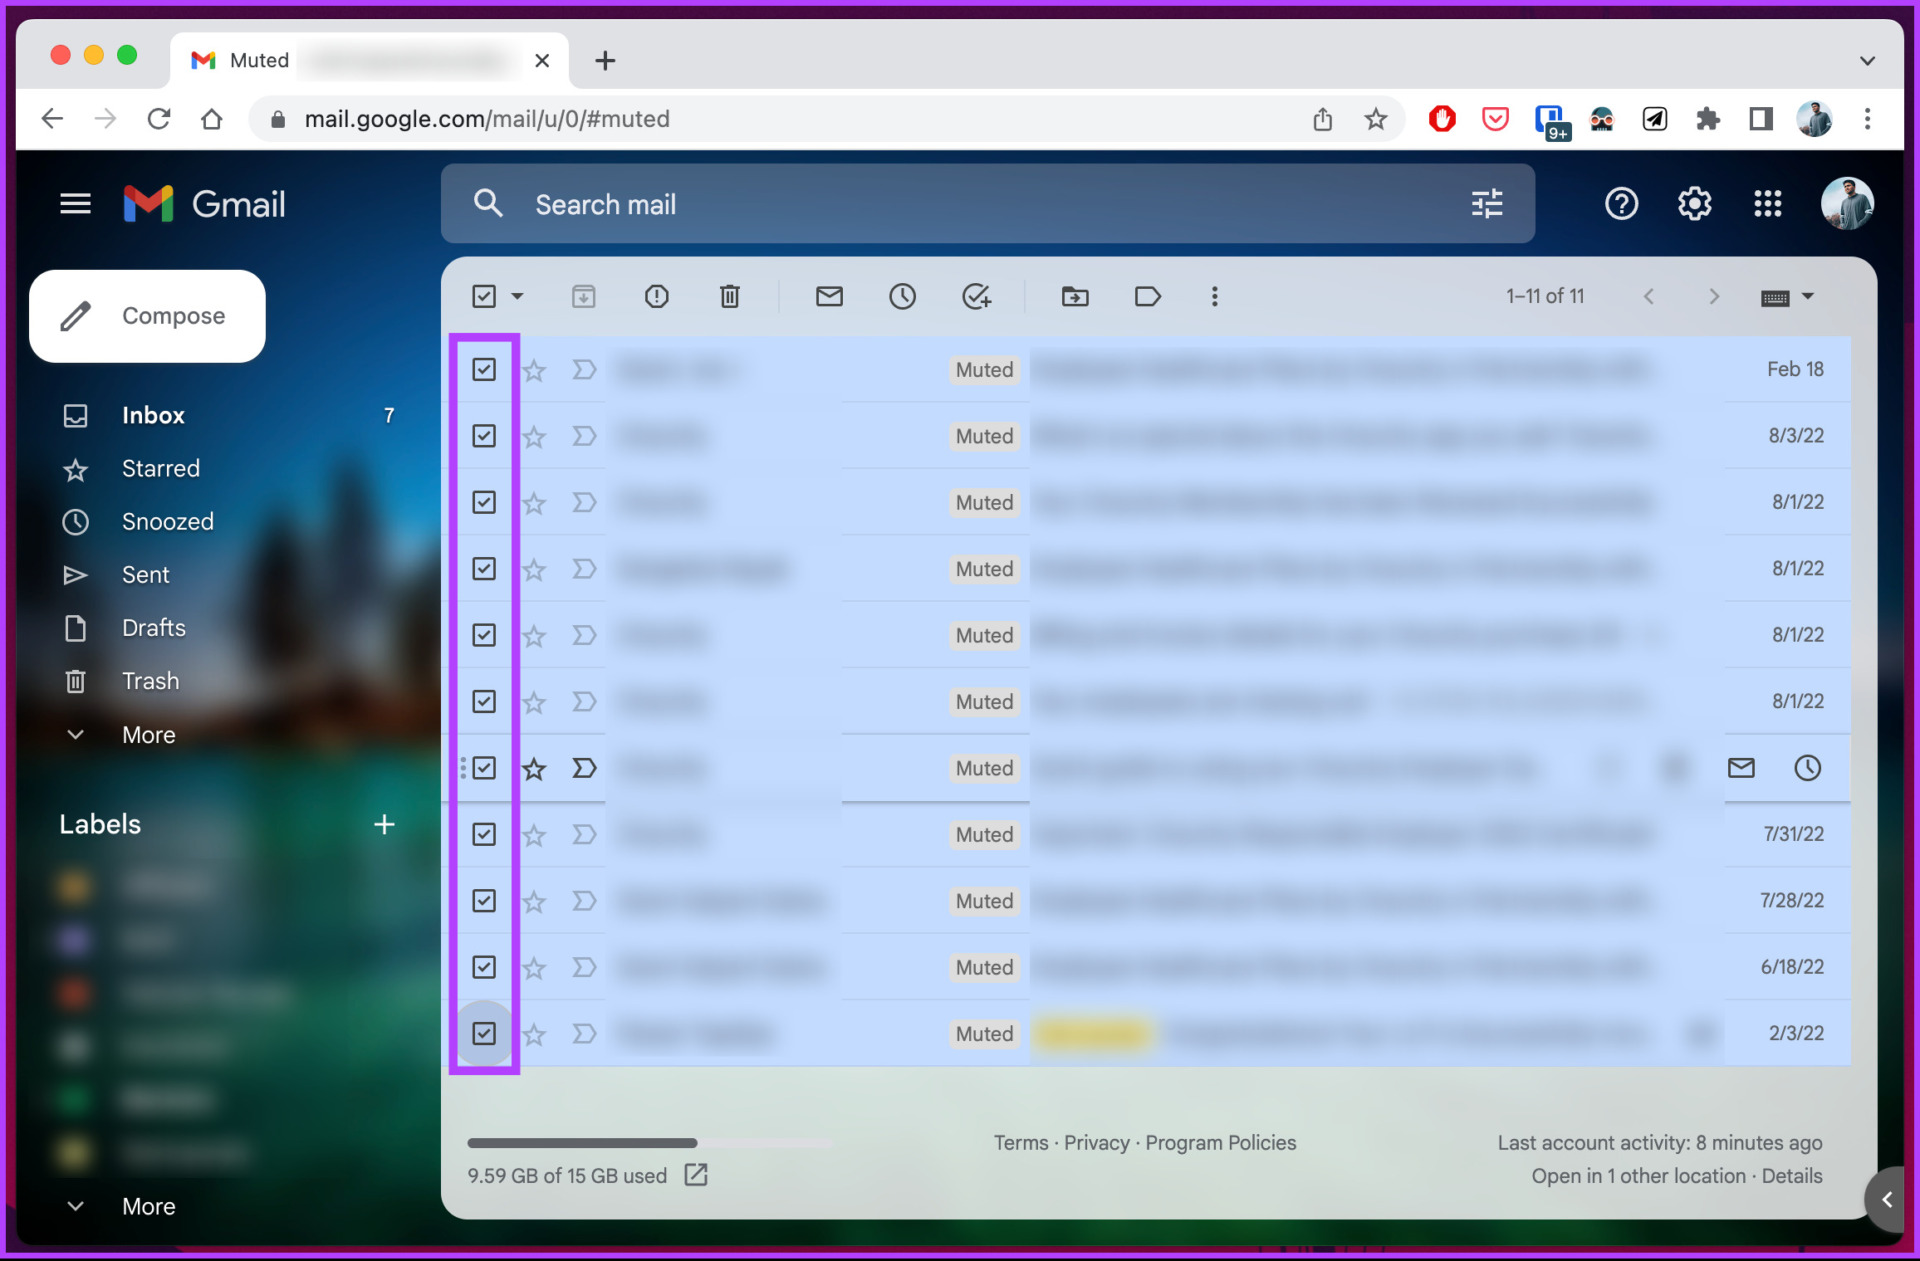
Step 4: Once selected, right-click the highlighted emails or click the three-dots icon. From the context menu, select Unmute.
On Mobile
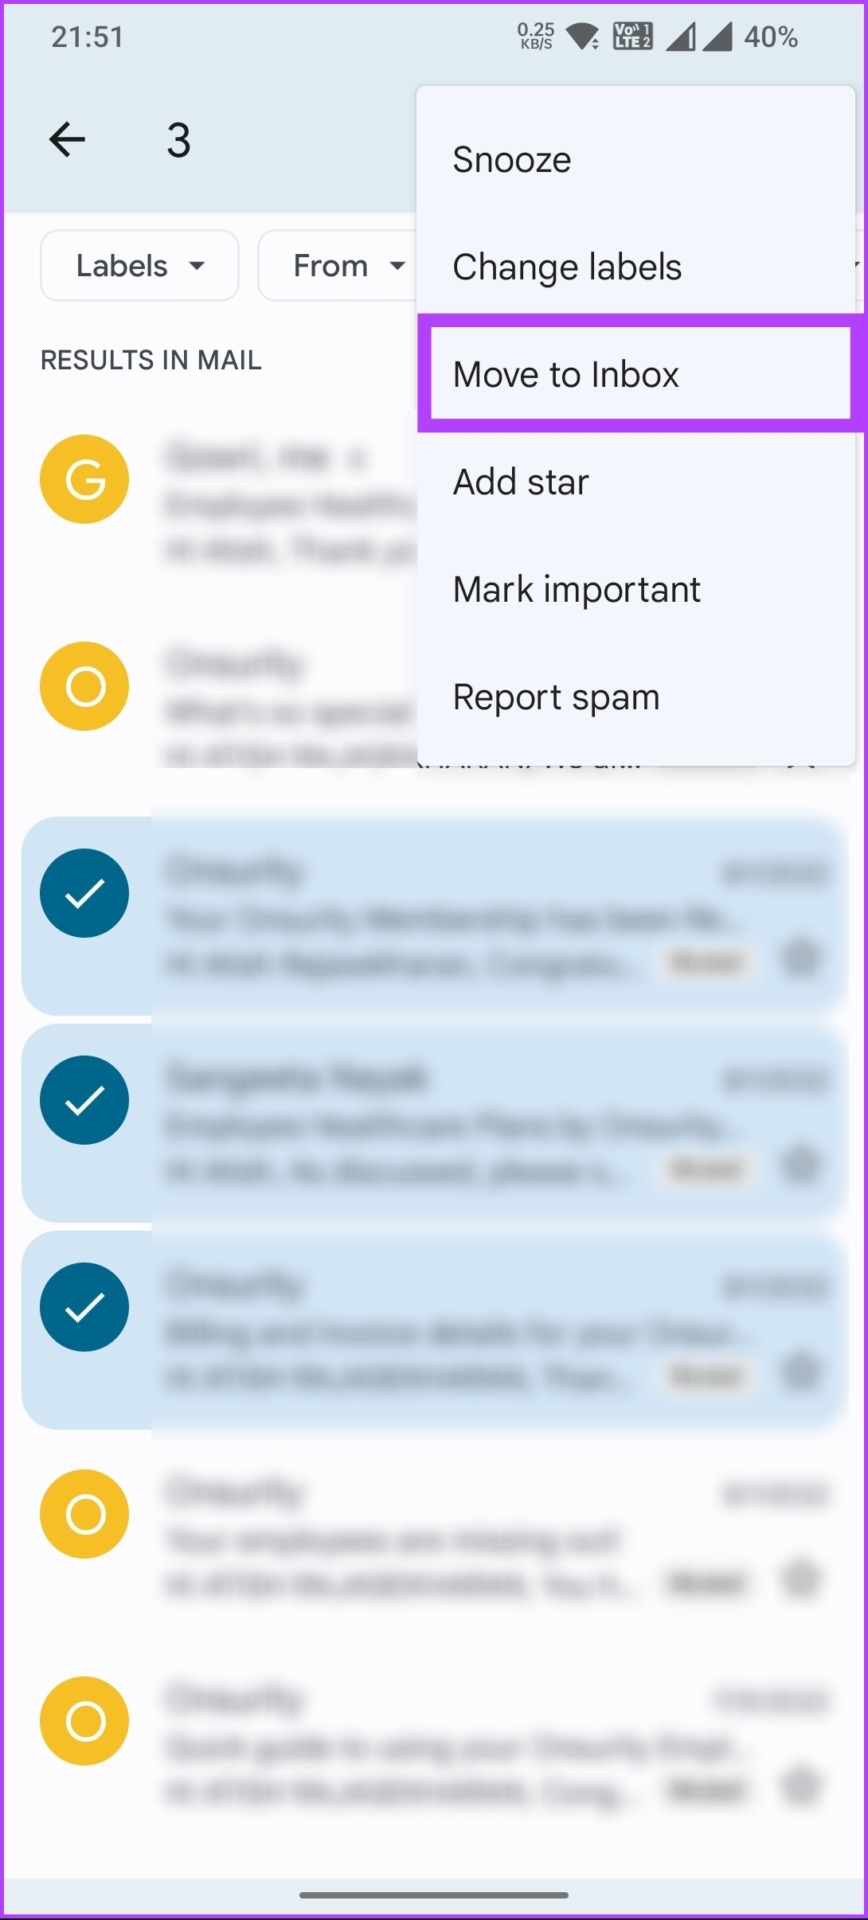
Step 1: Long tap on the muted email until it gets highlighted with a tick sign. Now, tap on the three-dot icon in the top right corner.
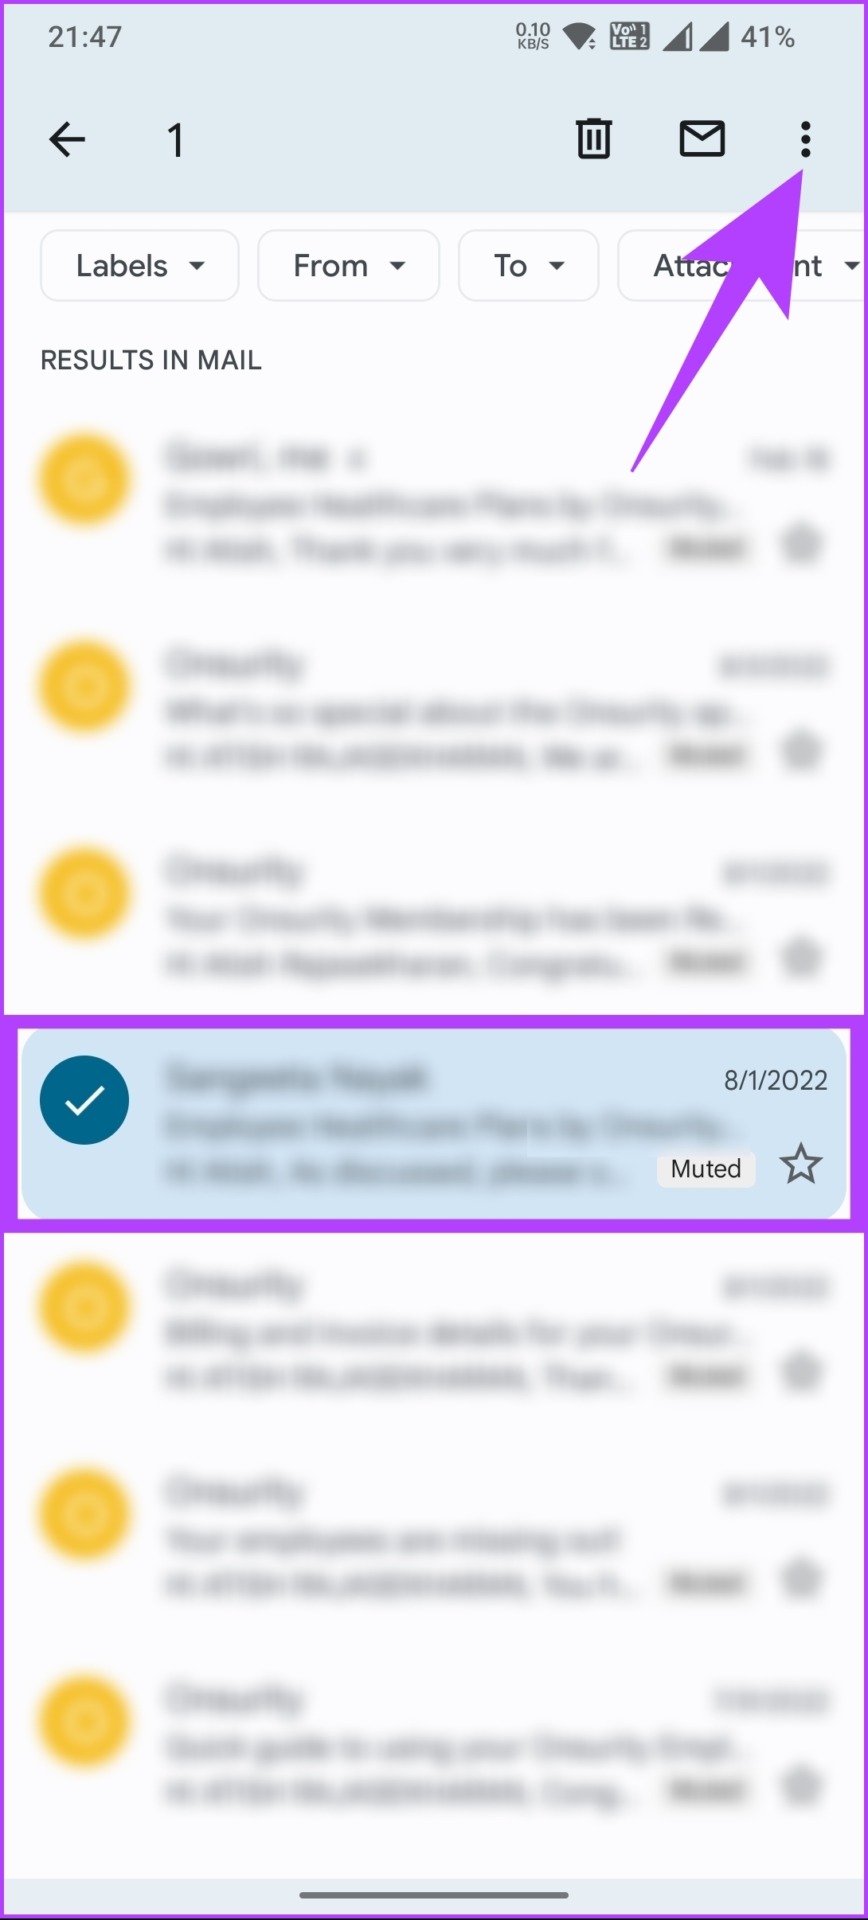
Step 2: From the drop-down, select ‘Move to Inbox.’
Note: Alternatively, you may also select Unmute option in place of ‘Move to Inbox.’

The selected email will be unmuted and sent back to your inbox. If you have multiple emails to unmute, follow the below steps.
Step 3: Tap and hold on to one of the muted emails until it gets highlighted with a tick sign. Now, select the emails you want to unmute by tapping on them. Once selected, tap on the three-dot icon in the top right corner.

Step 4: From the drop-down, select ‘Move to Inbox.’
Note: Alternatively, you may also select the Unmute option.
There you go. The selected unmuted emails are sent back to your inbox and will no longer carry the mute label on them.
Much like the Mute feature, there’s a similar but distinct feature in Gmail called Snooze that helps you focus on your priorities and take up the email later. Move on to the next method to learn more.
Also read: Gmail Mute vs. Snooze vs. Archive: What’s the difference
How to Snooze or Temporarily Mute Emails in Gmail
As you have seen, muting an email is a way to conveniently ignore the email and any subsequent replies or conversations without deleting it. However, the downside is that it disappears permanently from your inbox until you unmute it again.
If you want to ignore Gmail emails temporarily, you can use the Snooze function. This allows you to temporarily hide an email from your inbox until a later date, then have it reappear when you are ready to deal with it. This can help manage your inbox and keep it organized.
On Desktop
Step 1: Open Gmail in your preferred browser.
Step 2: Hover your mouse over the email you want to snooze and click the snooze button (clock icon).
Notes:
- If you have multiple emails to snooze, check the box on the left side of the emails you want to snooze and click the snooze button at the top.
- Alternatively, you can open the email and click the snooze button at the top or right-click on the email and select Snooze from the context menu.

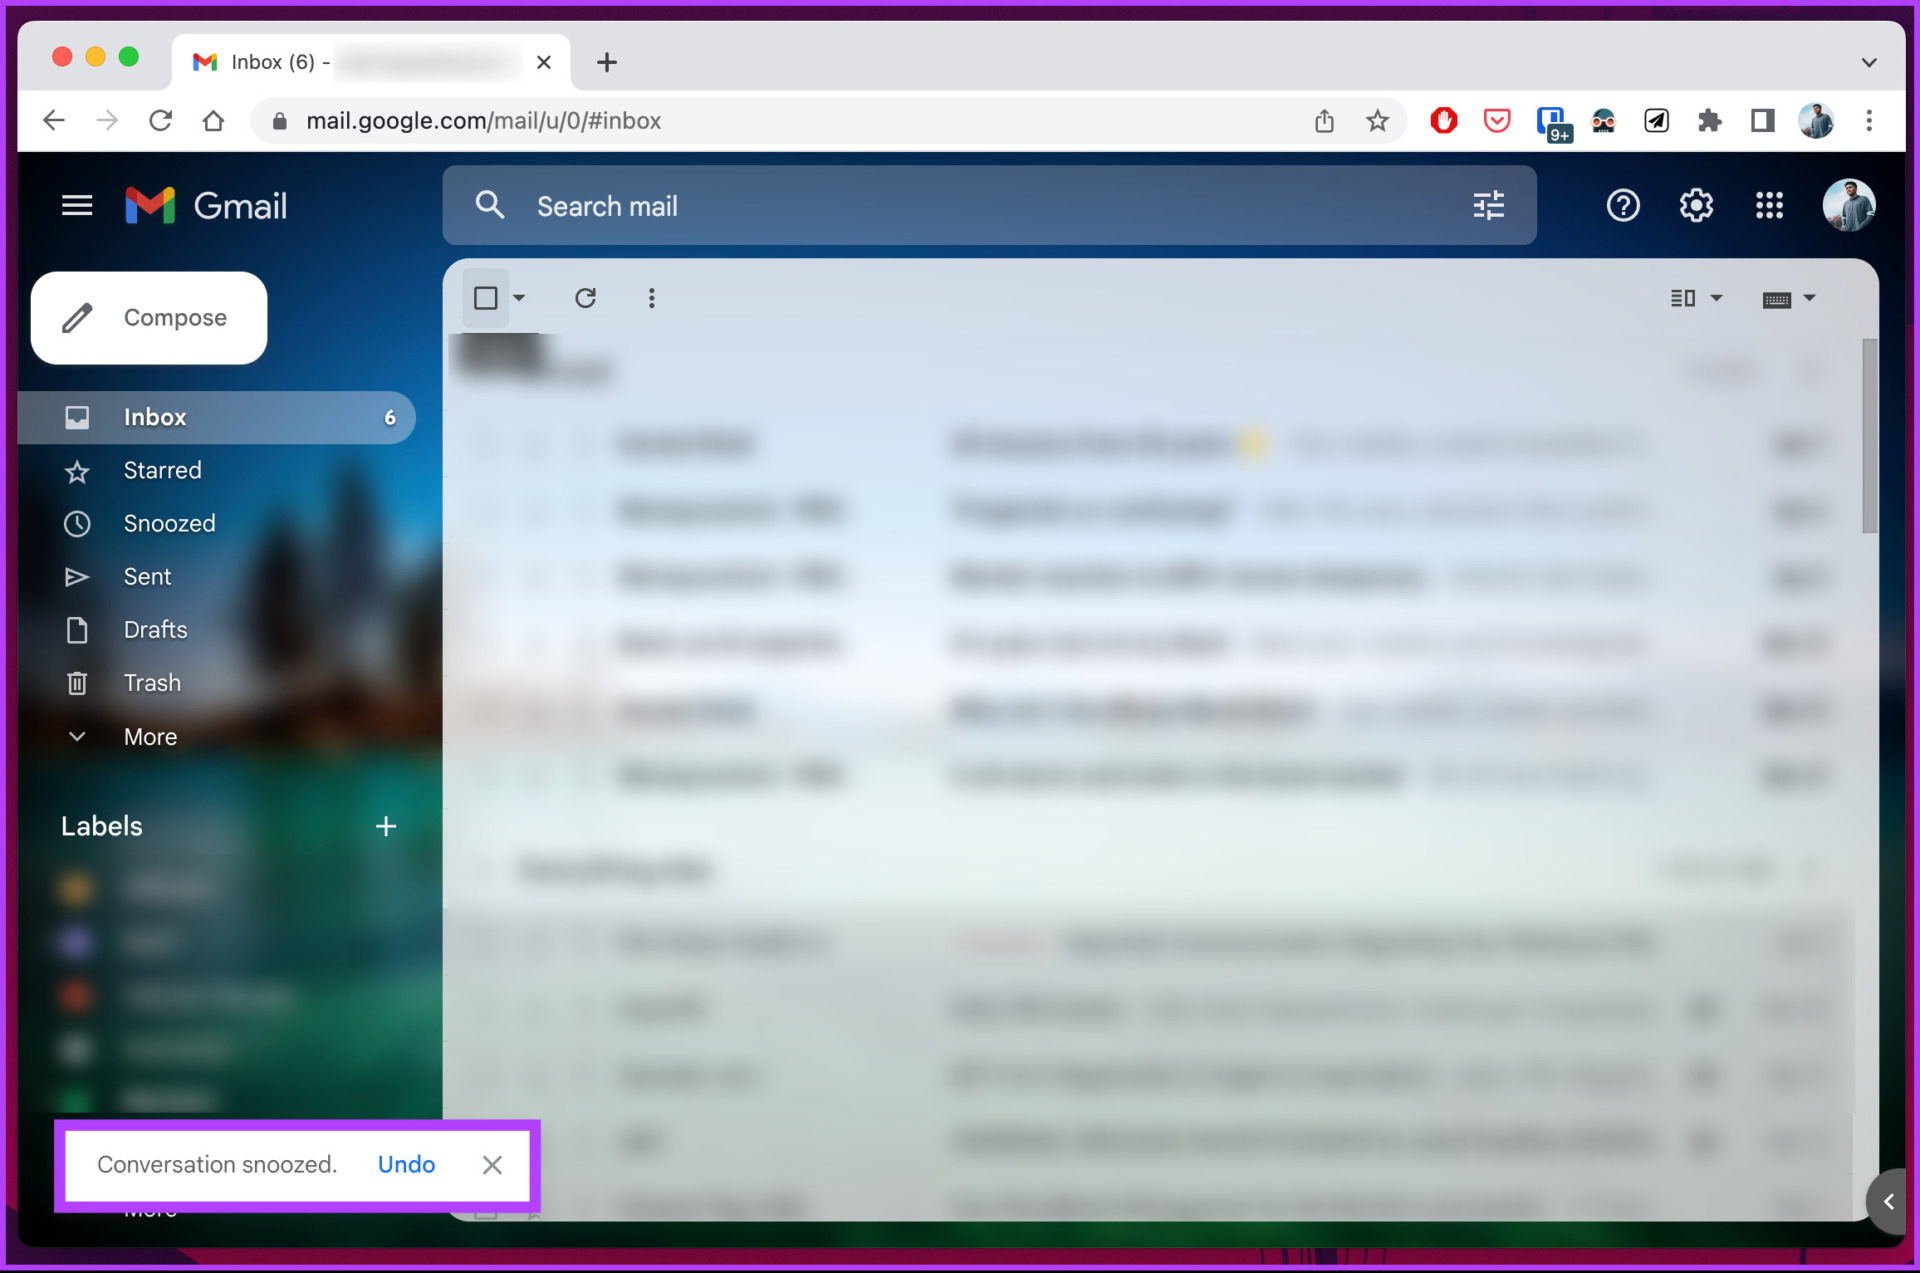
Step 3: Select the day and time you want to be notified about this email from the modal menu. Select ‘Pick date & time’ if you want to customize the date and time.

The selected emails will be snoozed, and as a mark of confirmation, you will see a Conversation snoozed notification at the bottom left corner.
On Mobile
The steps to snooze emails in Gmail are the same for Android and iOS devices. Follow the steps below.
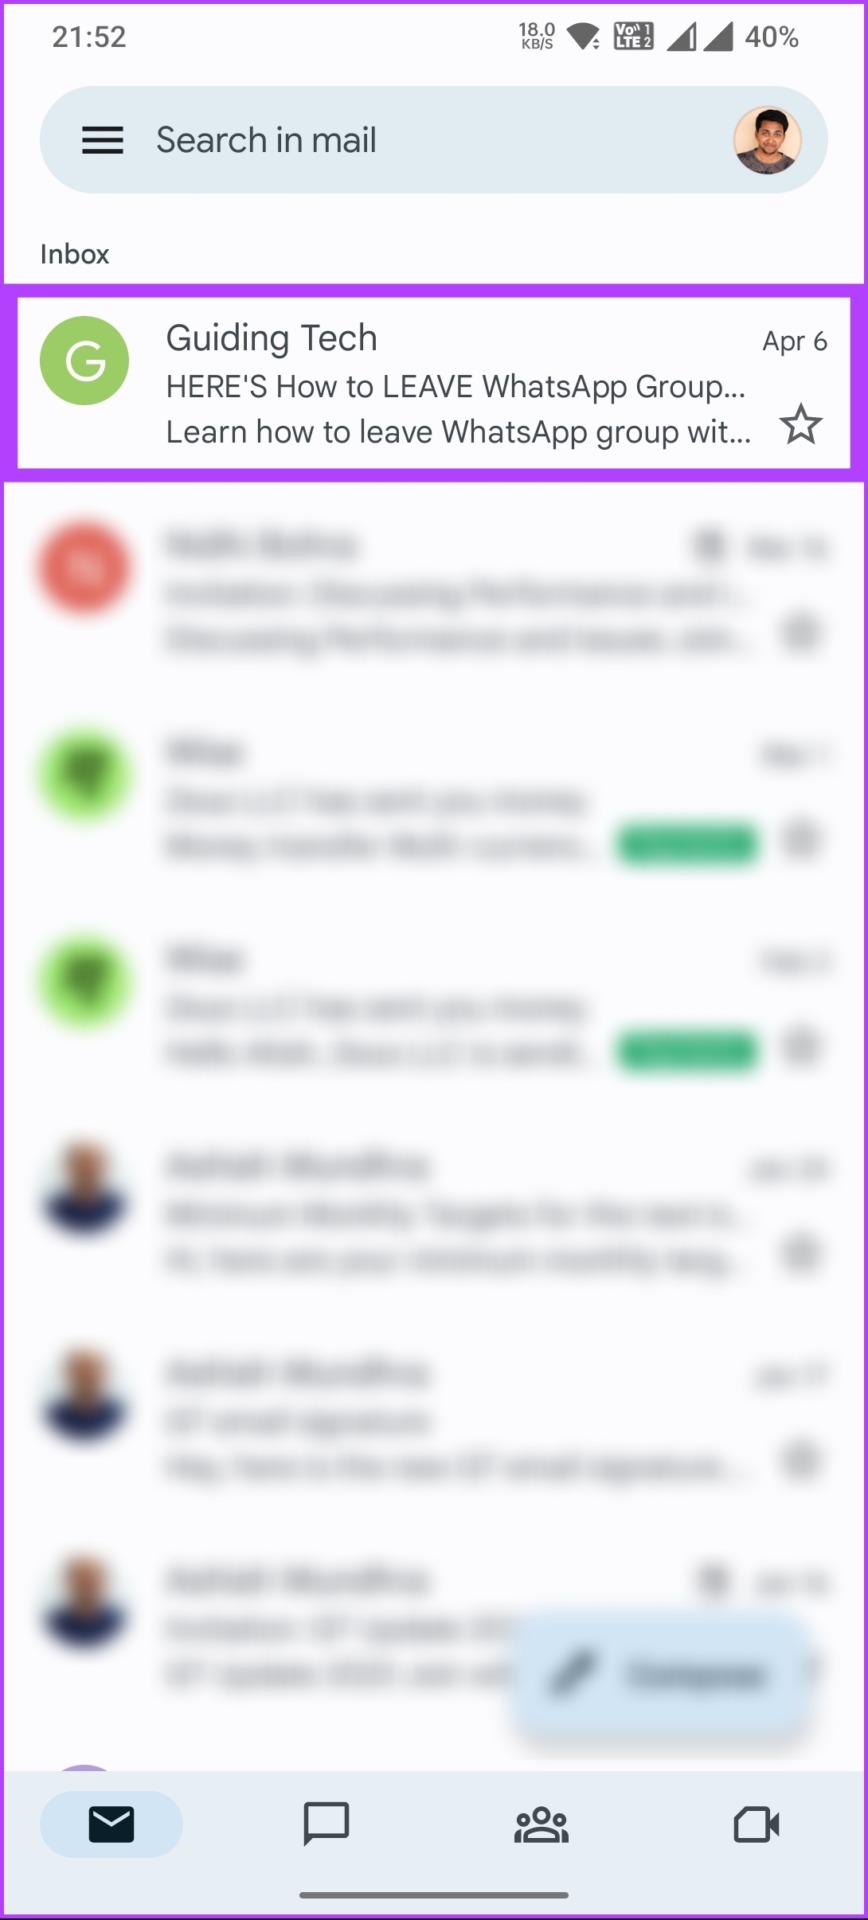
Step 1: Launch the Gmail app.
Step 2: Tap on the email you want to snooze. Once open, tap on the three-dots icon at the top right corner.
Note: If you have multiple emails you want to snooze, long-press and hold on to one of the muted emails until it gets highlighted with a tick sign. Now, select the emails you want to unmute by tapping them and clicking on the three-dot icon at the top right corner.

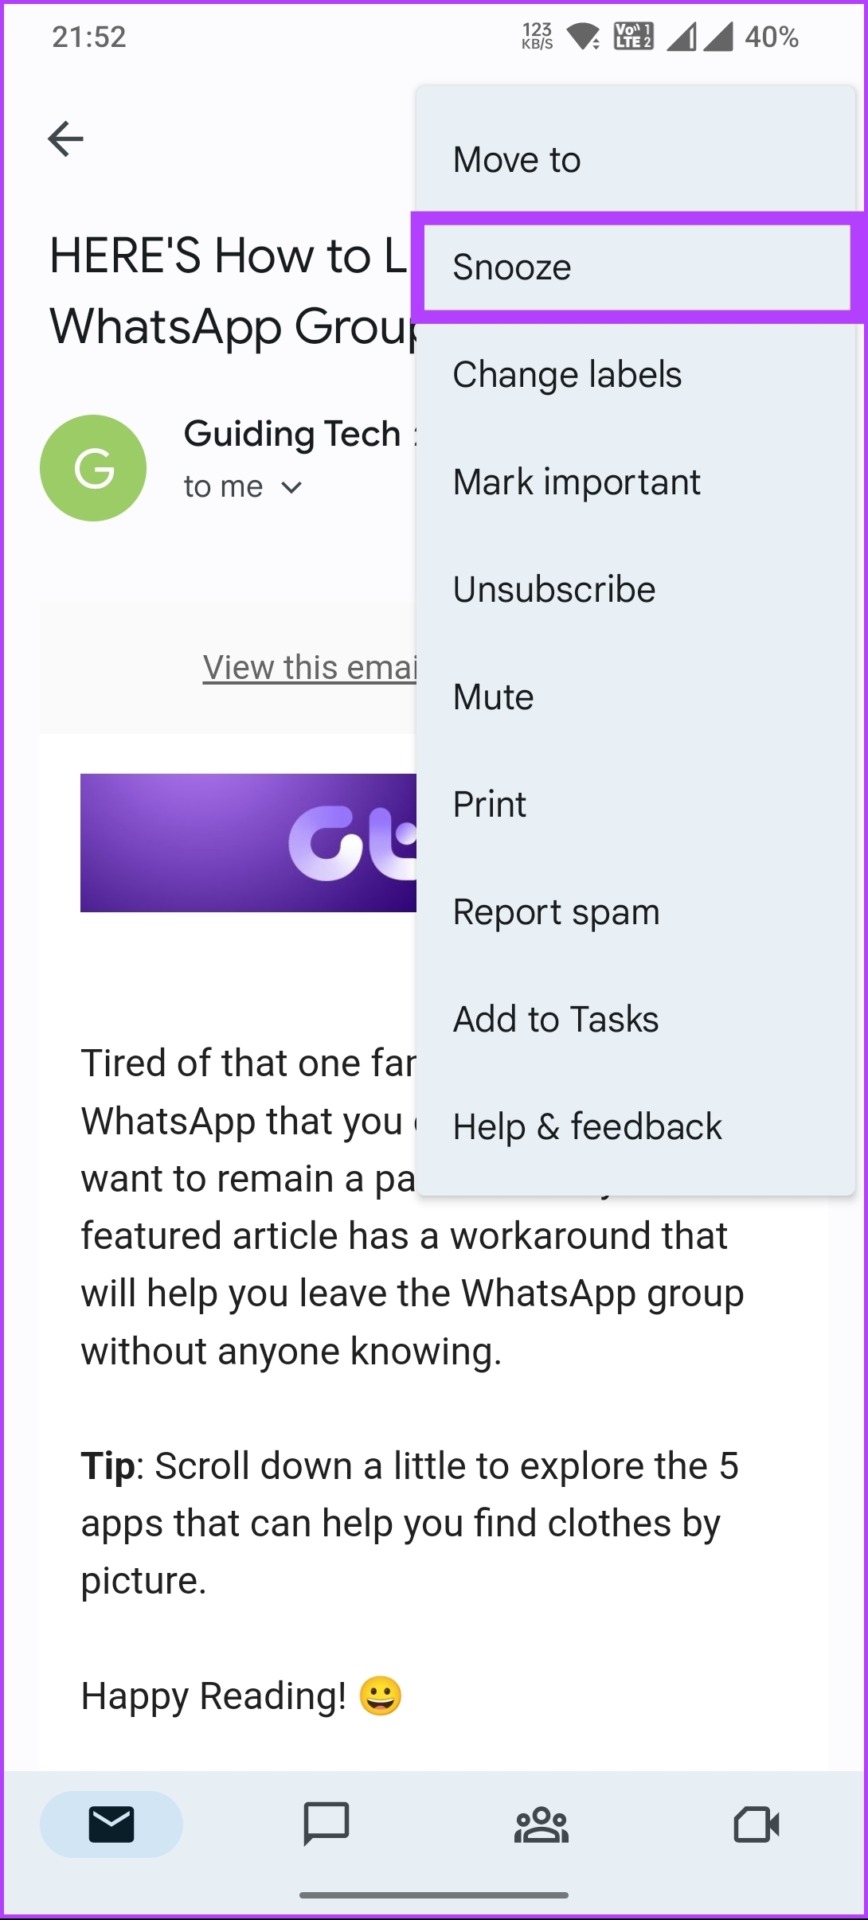
Step 3: From the drop-down menu, select Snooze. In the pop-up modal, select the day and time you want to be notified about this email. Choose ‘Pick date & time’ to select a custom date and time.

The selected emails will be snoozed, and as a mark of confirmation, you will see a Conversation snoozed banner at the bottom left corner with the details.
As and when the snooze period ends, the email(s) will automatically land back in the inbox and be visible again.
FAQs on Unmuting Emails in Gmail
Yes, you can mute all emails on Gmail. When you mute a conversation, all future replies will be automatically archived and won’t appear in your inbox. To mute a conversation in Gmail, use the keyboard shortcut m to mute a conversation.
No, muting and blocking in Gmail are different actions. Muting an email conversation means you will no longer receive notifications of new messages in that conversation. However, the conversation will remain in your inbox.
On the other hand, blocking someone in Gmail means you will no longer receive emails from that person. Their emails will automatically be sent to your spam folder.
Re-Arrange Email Conversations
Whether you muted a message intentionally or accidentally, following the steps outlined in this article, you now know how to unmute email in Gmail and start receiving notifications again. You may also want to read these best tips to keep your Gmail inbox clean.
Was this helpful?
Last updated on 13 April, 2023
Read Next
 How to Mute and Unmute Participants in Microsoft Teams
Microsoft Teams has risen as a challenging competitor to Zoom, a video conferencing app.
How to Mute and Unmute Participants in Microsoft Teams
Microsoft Teams has risen as a challenging competitor to Zoom, a video conferencing app.
 How to Mark Emails as Read in Outlook on Web, Desktop, or Mobile App
Outlook is a widely used email client for personal and professional purposes.
How to Mark Emails as Read in Outlook on Web, Desktop, or Mobile App
Outlook is a widely used email client for personal and professional purposes.
 How to Download Emails From Outlook on Web, Desktop, and Mobile
Are you tired of constantly sifting through your Outlook emails to find that one crucial message?
How to Download Emails From Outlook on Web, Desktop, and Mobile
Are you tired of constantly sifting through your Outlook emails to find that one crucial message?
 How to Mute and Unmute on Zoom From Phone
Video conferencing apps such as Zoom, Microsoft Teams, Hangouts, etc.
How to Mute and Unmute on Zoom From Phone
Video conferencing apps such as Zoom, Microsoft Teams, Hangouts, etc.
 How to Change Gmail Name on Desktop and Mobile
Gmail is one of the most popular and widely used email services globally.
How to Change Gmail Name on Desktop and Mobile
Gmail is one of the most popular and widely used email services globally.
 How to Use Snooze in Gmail on Mobile and Desktop
Maintaining your business using Google Workspace can help track your emails while monitoring other parameters, like site views, all in one place.
How to Use Snooze in Gmail on Mobile and Desktop
Maintaining your business using Google Workspace can help track your emails while monitoring other parameters, like site views, all in one place.
 How to Share Gmail Folder With Another User Along With Emails Automatically
Gmail continues to be one of the most popular email services out there.
How to Share Gmail Folder With Another User Along With Emails Automatically
Gmail continues to be one of the most popular email services out there.
 How to Create Rules to Filter Emails in Gmail
Most Gmail users are familiar with the email service's interface.
How to Create Rules to Filter Emails in Gmail
Most Gmail users are familiar with the email service's interface.
The article above may contain affiliate links which help support Guiding Tech. The content remains unbiased and authentic and will never affect our editorial integrity.