Basic Fixes
- Check the internet connection: The DirectX web installer requires internet connectivity to download files from the server. You may disconnect and reconnect to your Wi-Fi network.
- Try the offline installer: If the problem is caused by faulty internet, try using the online installer.
- Run the installer with admin rights: To fix the DirectX error, you may need to grant the installer access to full system resources.
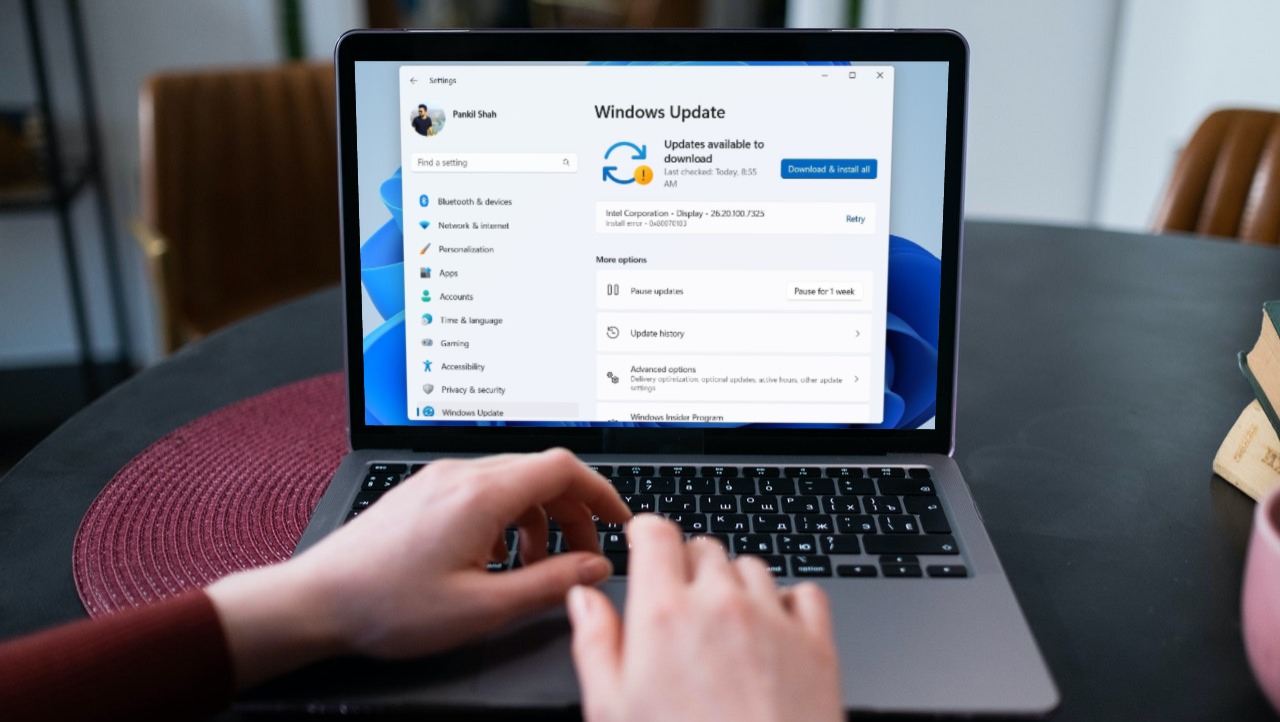
- Update Windows 11: Updating the operating system may help with bug fixes and patches and restore missing dependencies that caused the error.
Fix 1: Run the Program Compatibility Troubleshooter
Older versions of the DirectX setup application can encounter compatibility issues with new versions of Windows 11. So, you can use the built-in Program Compatibility Troubleshooter to identify and fix problems with the installer file.
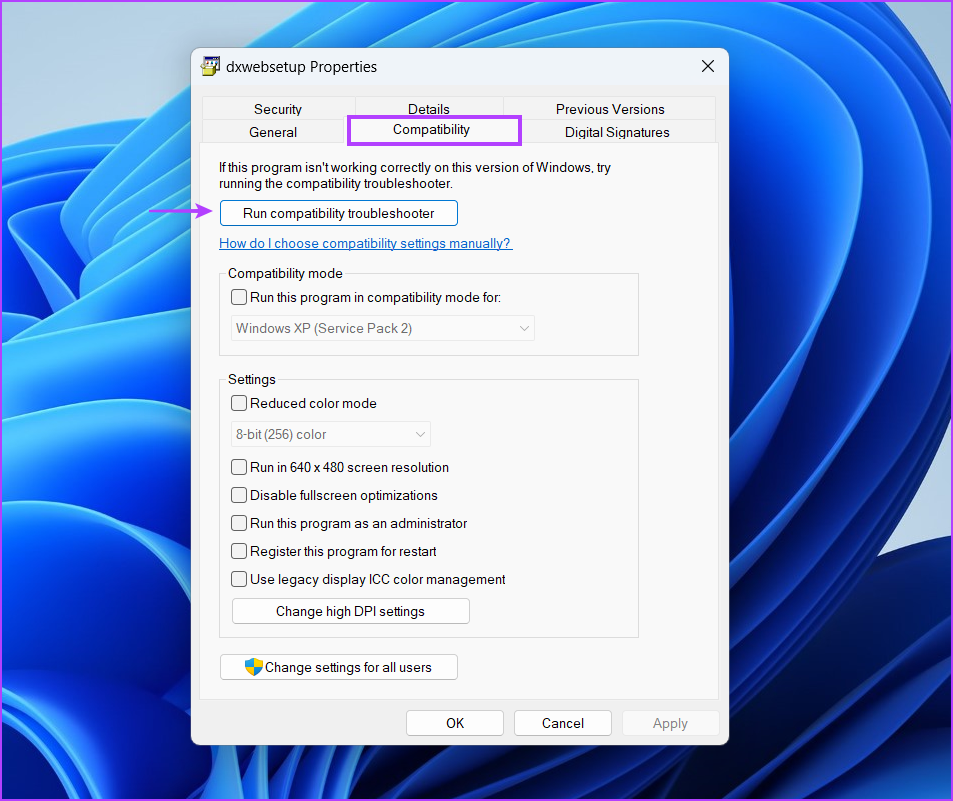
Step 1: Go to the download location of the DirectX setup file and click on it. Press the Alt + Enter keyboard shortcut to open the Properties window.
Step 2: Switch to the Compatibility tab > click on the Run compatibility troubleshooter button.
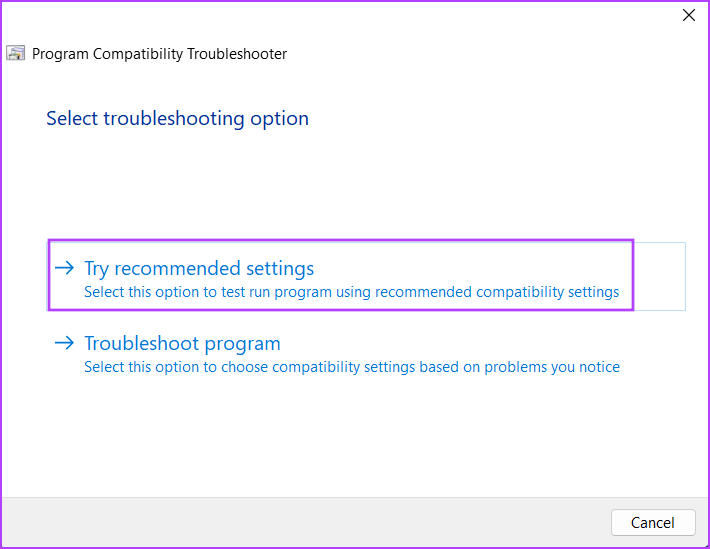
Step 3: Click on the Try recommended settings option in the Program Compatibility Troubleshooter window.
Step 4: Click on the Test the program button.

Step 5: User Account Control will launch. Click on Yes.
Step 6: Proceed with the installation and check if you can install DirectX on your system, then close the Program Compatibility Troubleshooter window.
Fix 2: Install or Repair the .Net Framework 3.5
The DirectX installer needs the .NET Framework 3.5 to work properly. However, if the feature isn’t installed on your Windows computer, you will face an error while installing the DirectX runtime. You can install the .NET Framework 3.5 via the Control Panel.
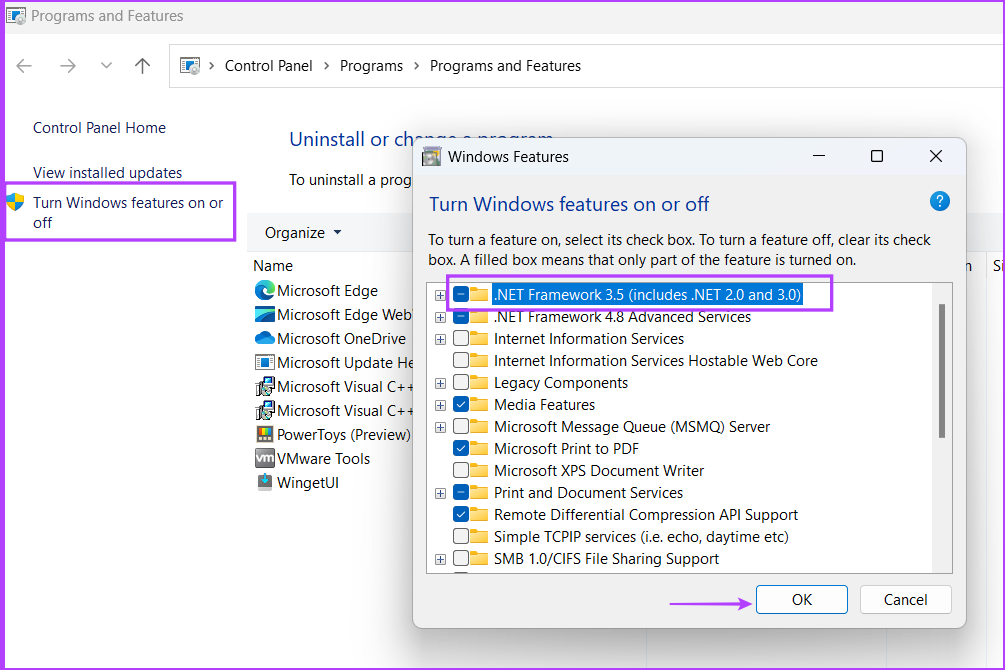
Step 1: Press the Windows key to open the Start menu, type appwiz.cpl in the search bar, and press Enter.

Step 2: Go to the top left area and click the Turn Windows features on or off option. Then, select the checkbox next to the .NET Framework 3.5 (includes .NET 2.0 and 3.0) option.
Step 3: Click on OK.
Step 4: Click Let Windows Update download the files for you, then wait for the download to finish, install it, and close the download window.

Step 5: Restart your computer to apply the changes.
Alternatively, you may repair the existing .NET Framework by downloading the repair tool and following the steps below:
Step 1: Go to the download location and run the tool.
Step 2: Click the I have read and accept the license terms checkbox. Then, click on Next.

Step 3: The tool will suggest some changes. Click on the Next button.

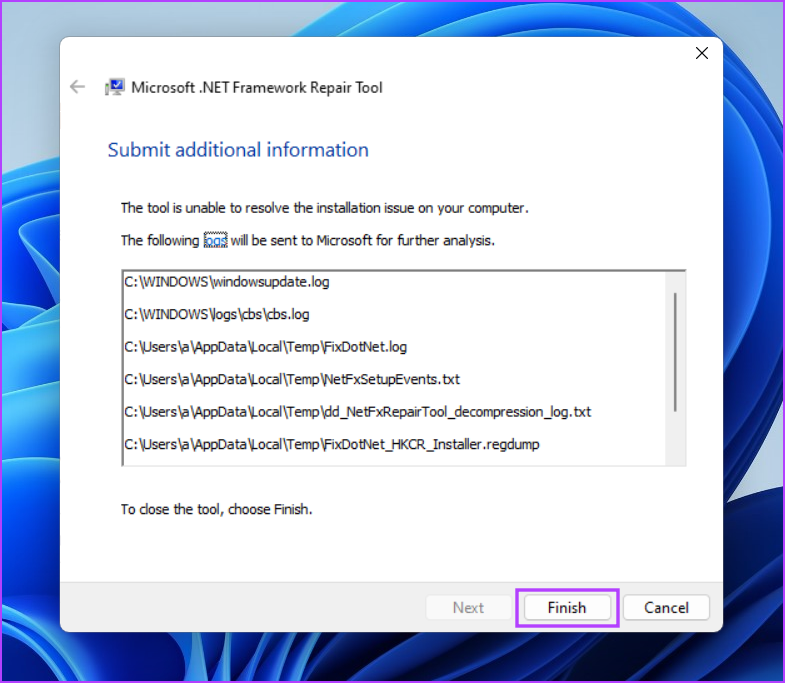
Step 4: Wait for the tool to apply the changes and click Next.

Step 5: Lastly, click the Finish button to close the tool.
Step 6: Reattempt the DirectX installation.
Fix 3: Temporarily Disable the Antivirus Program
Windows Defender or a third-party program can sometimes be overprotective and impede installation. So, you must disable the antivirus program like Windows Defender for a short while and try to install DirectX. Here’s how to do it:
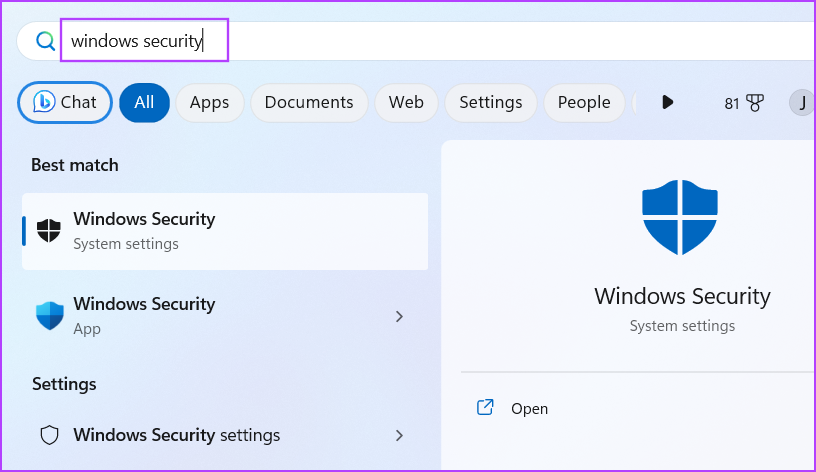
Step 1: Press the Windows key to open the Start menu, type Windows Security in the search bar, and press Enter.
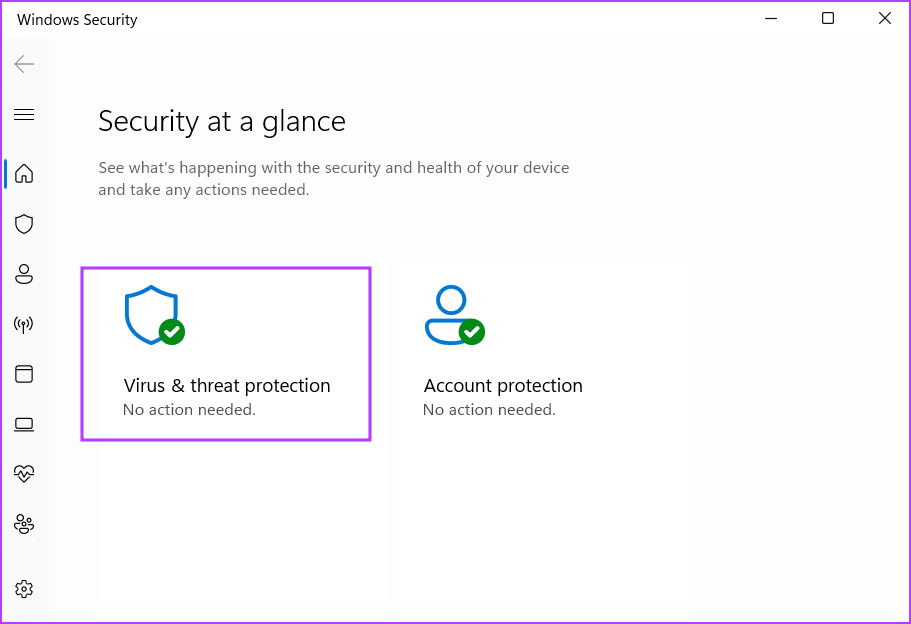
Step 2: Click on the Virus & threat protection icon.
Step 3: Scroll to the Virus & threat protection settings section. Click on Manage Settings.

Step 4: Disable the toggle for the Real-time protection option.
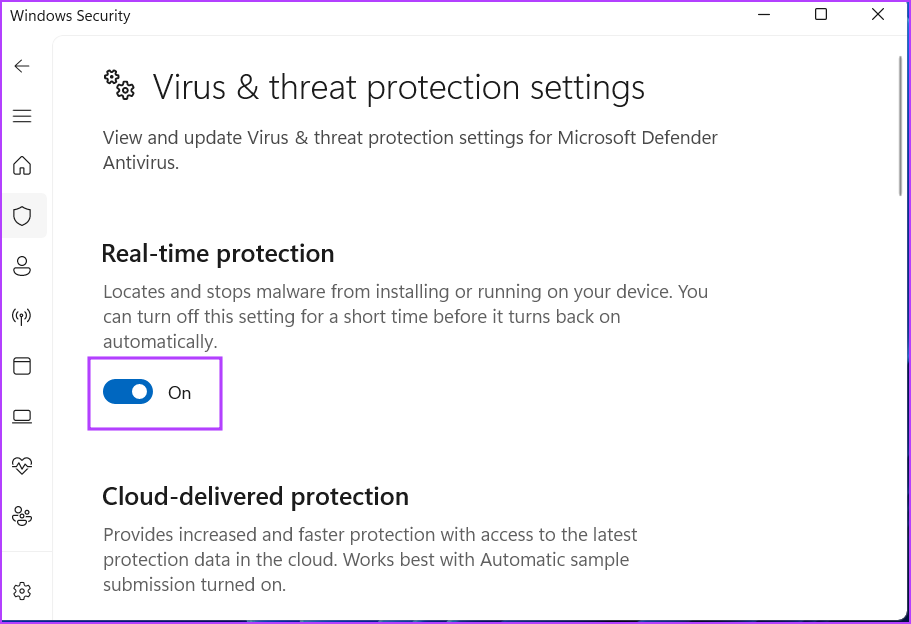
Step 5: When the User Account Control prompt appears, click the Yes button. Windows Defender is temporarily inactive on your system.
Step 6: Run the DirectX installer on your system.
If you use a third-party antivirus on your system, you can disable it temporarily or until the next reboot by going to the system tray icons.
Was this helpful?
Last updated on 28 May, 2024
2 Comments
Leave a Reply
Read Next
 4 Ways to Fix DirectX ‘Could Not Allocate Sufficient Memory’ Error on Windows 11
Common Fixes Launch the Windows Memory Diagnostic tool: Press the Windows key, search Windows Memory Diagnostic tool, and click to open it.
4 Ways to Fix DirectX ‘Could Not Allocate Sufficient Memory’ Error on Windows 11
Common Fixes Launch the Windows Memory Diagnostic tool: Press the Windows key, search Windows Memory Diagnostic tool, and click to open it.
 5 Ways to Open the DirectX Diagnostic Tool on Windows 11
Method 1: Open the DirectX Diagnostic Tool With the Task Manager The Task Manager app on Windows 11 allows you to monitor and manage all running applications and processes.
5 Ways to Open the DirectX Diagnostic Tool on Windows 11
Method 1: Open the DirectX Diagnostic Tool With the Task Manager The Task Manager app on Windows 11 allows you to monitor and manage all running applications and processes.
 How to Update DirectX on Windows 11
DirectX is a component of the Windows OS that enables software, primarily games, to work seamlessly with your computer's hardware, and keeping it up-to-date ensures your system can handle the
How to Update DirectX on Windows 11
DirectX is a component of the Windows OS that enables software, primarily games, to work seamlessly with your computer's hardware, and keeping it up-to-date ensures your system can handle the
 7 Ways to Fix Windows 11 Updates Not Downloading or Installing
Fix 1: Run the Windows Update Troubleshooter Windows 11 includes a dedicated troubleshooter that can automatically scan, detect, and fix any issues with Windows Updates.
7 Ways to Fix Windows 11 Updates Not Downloading or Installing
Fix 1: Run the Windows Update Troubleshooter Windows 11 includes a dedicated troubleshooter that can automatically scan, detect, and fix any issues with Windows Updates.
 5 Ways to Fix Windows Keeps Installing the Same Update
Fix 1: Run the Windows Update Troubleshooter Whenever you encounter any issues with Windows Updates, you should first run the built-in troubleshooter.
5 Ways to Fix Windows Keeps Installing the Same Update
Fix 1: Run the Windows Update Troubleshooter Whenever you encounter any issues with Windows Updates, you should first run the built-in troubleshooter.
 3 Ways to Prevent Users From Installing New Software on Windows 11
Method 1: Turn Off Windows Installer via Group Policy The Group Policy Editor on Windows lets you make various administrative-level changes.
3 Ways to Prevent Users From Installing New Software on Windows 11
Method 1: Turn Off Windows Installer via Group Policy The Group Policy Editor on Windows lets you make various administrative-level changes.
 How to Fix Optional Features Missing or Not Installing on Windows 11
Fix 1: Disable Metered Connection Windows has a metered connection feature that reduces data consumption and helps save on internet bills.
How to Fix Optional Features Missing or Not Installing on Windows 11
Fix 1: Disable Metered Connection Windows has a metered connection feature that reduces data consumption and helps save on internet bills.
 Top 5 Fixes For ‘No Device Drivers Were Found’ While Installing Windows 11/10
Preliminary Fixes Check/Switch the USB Ports: One common cause of this error is the USB port being used.
Top 5 Fixes For ‘No Device Drivers Were Found’ While Installing Windows 11/10
Preliminary Fixes Check/Switch the USB Ports: One common cause of this error is the USB port being used.
The article above may contain affiliate links which help support Guiding Tech. The content remains unbiased and authentic and will never affect our editorial integrity.

Still experiencing the “An internal system error occured’ error, on a fresh Windows 11 Pro N build, very disappointing.
Using the offline installer helps with ‘internal system error’.