Fix 1: Run the Windows Update Troubleshooter
Whenever you encounter any issues with Windows Updates, you should first run the built-in troubleshooter. It scans your system for any issues that may have forced Windows to repeatedly install the same update and attempt to fix them. Here’s how to run it.
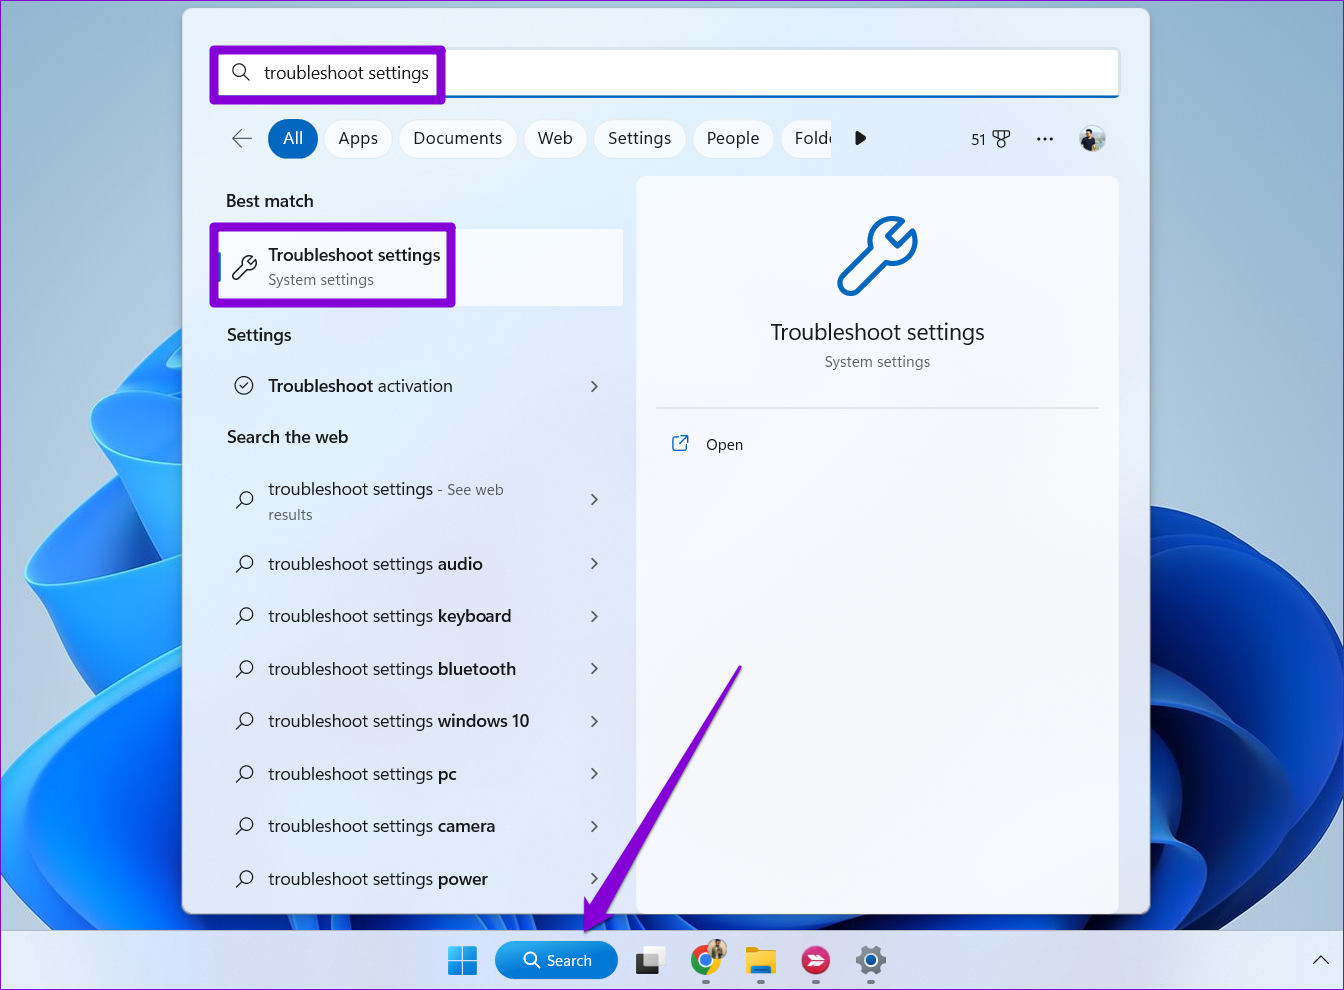
Step 1: Click the search icon on the taskbar, type troubleshoot settings, and press Enter.
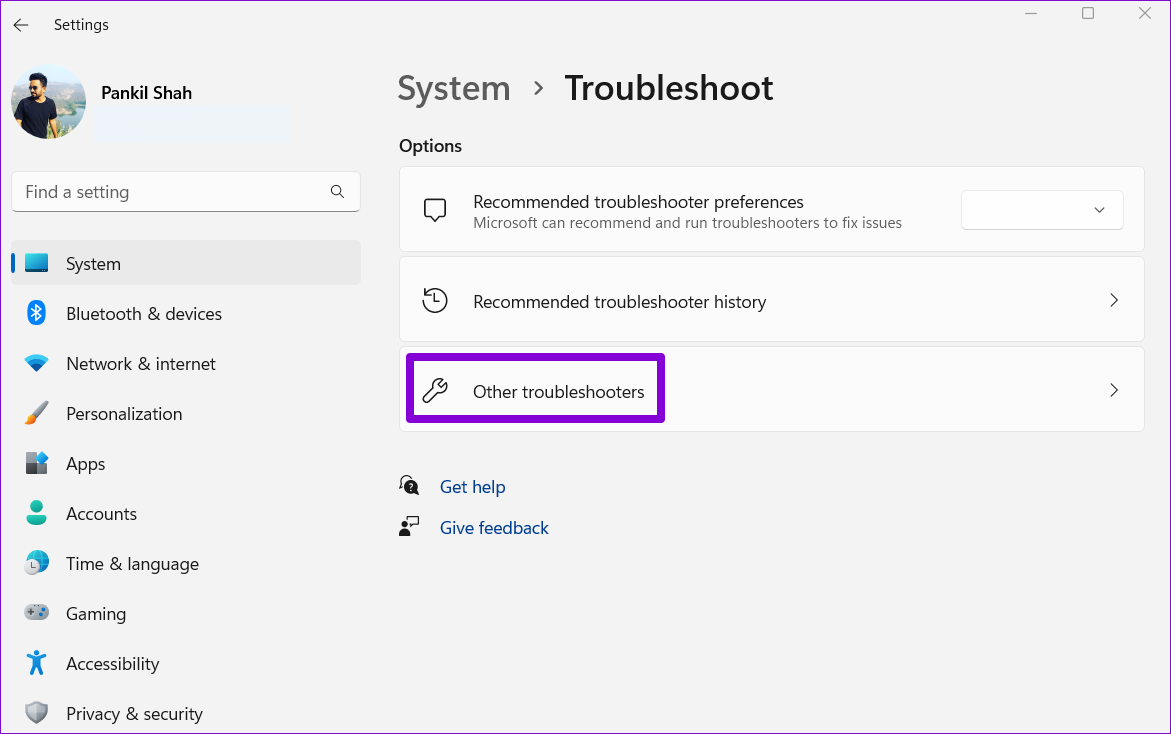
Step 2: Select Other troubleshooters.
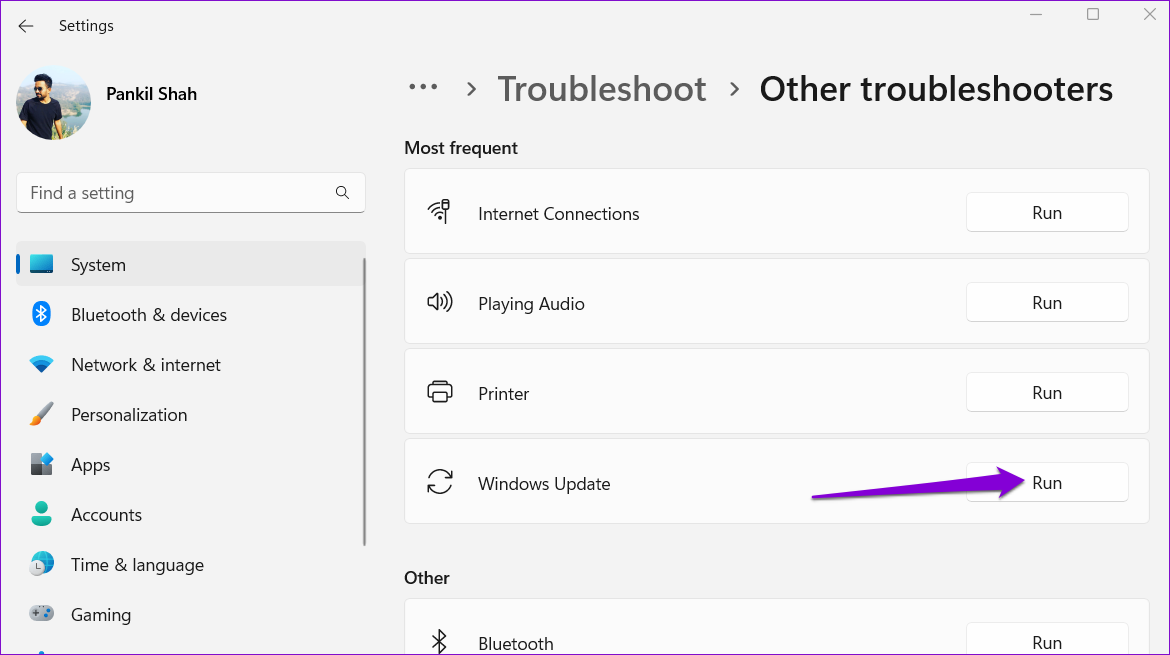
Step 3: Click the Run button next to Windows Update.
Fix 2: Check Update History
A common reason your Windows 10 or Windows 11 PC may keep installing the same update is if the previous installation failed to complete. To check for this possibility, review the update history of your Windows PC. Here’s how to do that.
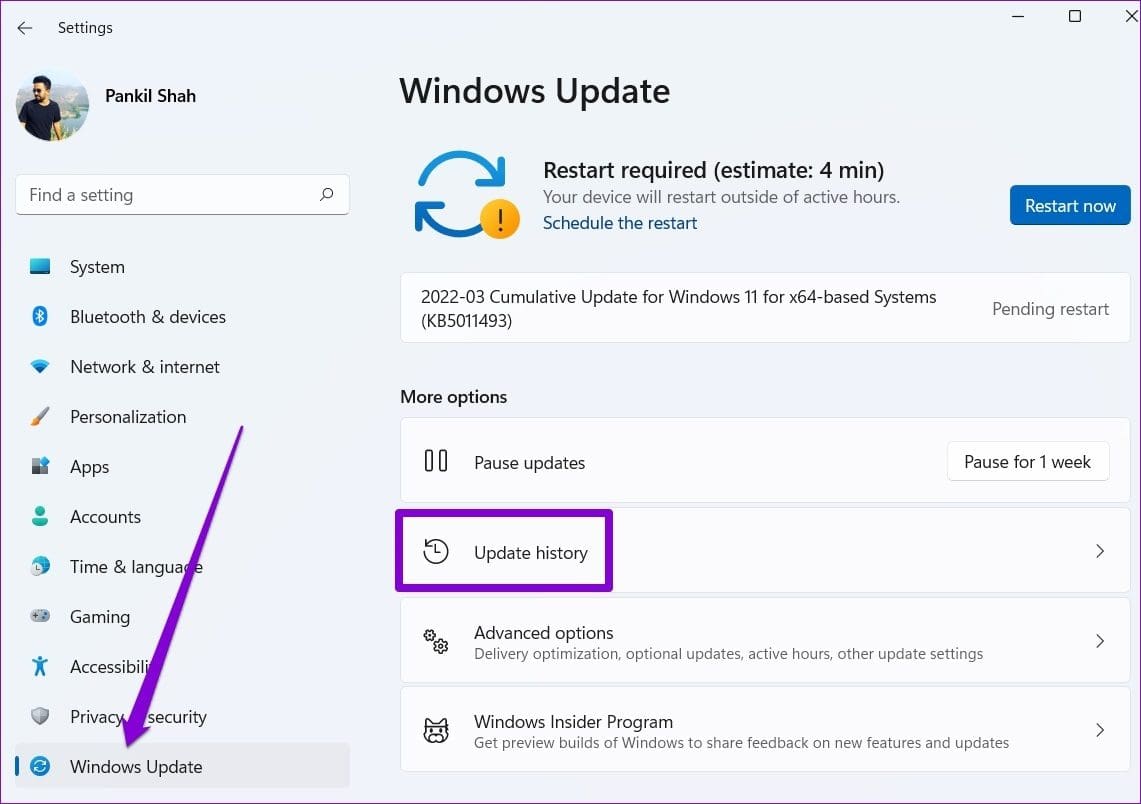
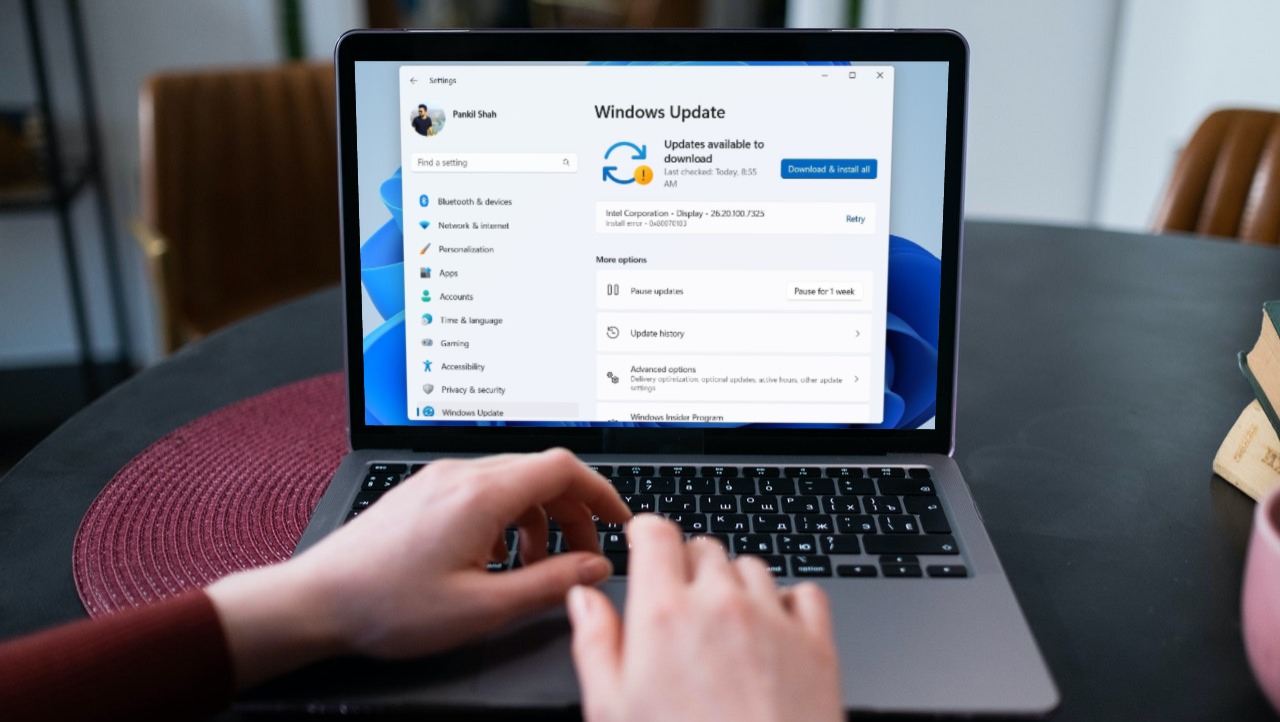
Step 1: Press the Windows + I keyboard shortcut to open the Settings app. Switch to the Windows Update tab and click on Update history.

Step 2: Scroll through the list and see if you find any failed updates.

If you encounter a failed update, some of the files associated with that update may have gotten corrupted. In that case, you must delete the existing update files from the SoftwareDistribution folder and download them again.
Fix 3: Uninstall and Reinstall the Problematic Update
Another way to stop Windows from installing the same update over and over is to uninstall the problematic update and reinstall it. Here’s how to go about it.
Step 1: Press the Windows + I keyboard shortcut to open the Settings app. Navigate to the Windows Update tab and click on Update history.
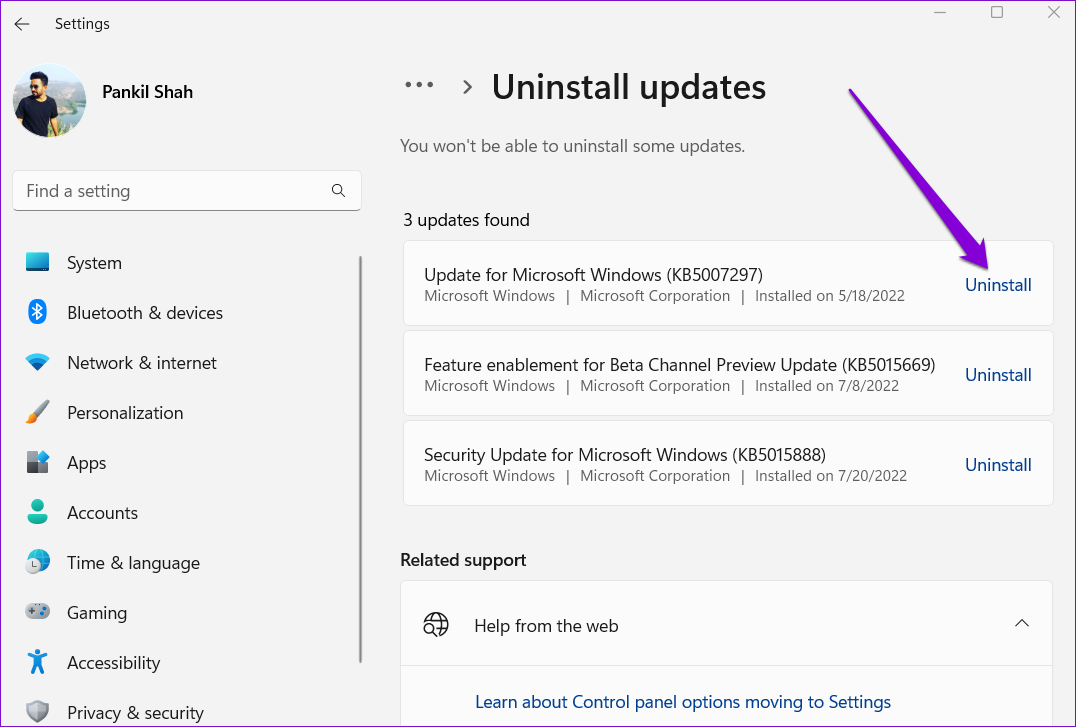
Step 2: Under Related settings, click on Uninstall updates.

Step 3: Locate the problematic update and click the Uninstall option next to it.
Step 5: After Windows removes the update, click the Windows Update tab in the left pane. Then, click the Check for updates button at the top right to download and install the update again.

Fix 4: Run SFC and DISM Scans
Windows updates may be repeating on your PC because of corrupted or missing system files. If that’s the case, running the SFC (System File Checker) and DISM (Deployment Image Servicing and Management) scans will help.
Step 1: Right-click on the Start icon and select Terminal (Admin) from the list.

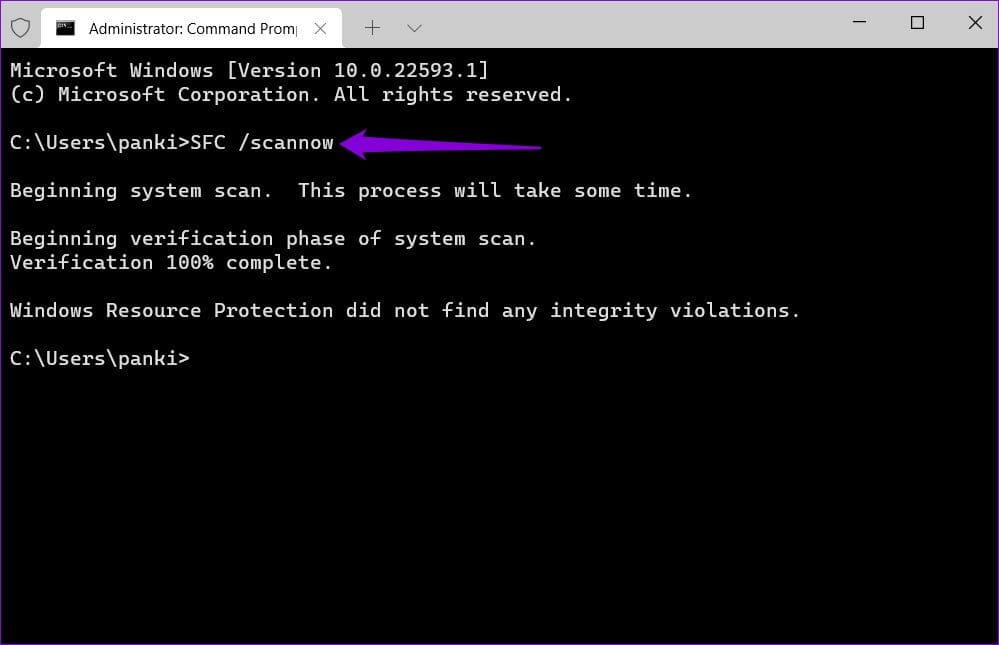
Step 2: In the console, type the following command and press Enter:
SFC /scannow
Step 3: Run the following commands individually and press Enter after each to run the DISM scan:
DISM /Online /Cleanup-Image /CheckHealth
DISM /Online /Cleanup-Image /ScanHealth
DISM /Online /Cleanup-Image /RestoreHealth

After the scan completes, restart your PC and check if the issue occurs again.
Fix 5: Reset Windows Update Components
Resetting the Windows Update components effectively fixes issues related to system updates. So, if all else fails, use the following steps to reset Windows Update components as a last resort.
Step 1: Click the search icon on the taskbar, type Windows powershell, and select Run as Administrator.

Step 2: In the console, run the following commands one by one, and press Enter after each command:
net stop wuauserv
net stop cryptSvc
net stop bits
net stop msiserver
ren C:\Windows\SoftwareDistribution SoftwareDistribution.old
ren C:\Windows\System32\catroot2 catroot2.old
net start wuauserv
net start cryptSvc
net start bits
net start msiserver

Restart your PC one more time after running the above commands. Following that, Windows should not ask you to install the same update.
Was this helpful?
Last updated on 03 September, 2024
Read Next
 How to Stop a Specific Windows Update From Installing
Method 1: Hide a Windows Update Using the Show or Hide Updates Troubleshooter Microsoft's "Show or hide updates" tool makes it simple to stop a specific Windows Update from installing
How to Stop a Specific Windows Update From Installing
Method 1: Hide a Windows Update Using the Show or Hide Updates Troubleshooter Microsoft's "Show or hide updates" tool makes it simple to stop a specific Windows Update from installing
 7 Ways to Fix Windows 11 Updates Not Downloading or Installing
Fix 1: Run the Windows Update Troubleshooter Windows 11 includes a dedicated troubleshooter that can automatically scan, detect, and fix any issues with Windows Updates.
7 Ways to Fix Windows 11 Updates Not Downloading or Installing
Fix 1: Run the Windows Update Troubleshooter Windows 11 includes a dedicated troubleshooter that can automatically scan, detect, and fix any issues with Windows Updates.
 3 Ways to Fix DirectX Not Installing Error on Windows 11
Basic Fixes Check the internet connection: The DirectX web installer requires internet connectivity to download files from the server.
3 Ways to Fix DirectX Not Installing Error on Windows 11
Basic Fixes Check the internet connection: The DirectX web installer requires internet connectivity to download files from the server.
 3 Ways to Prevent Users From Installing New Software on Windows 11
Method 1: Turn Off Windows Installer via Group Policy The Group Policy Editor on Windows lets you make various administrative-level changes.
3 Ways to Prevent Users From Installing New Software on Windows 11
Method 1: Turn Off Windows Installer via Group Policy The Group Policy Editor on Windows lets you make various administrative-level changes.
 How to Fix Optional Features Missing or Not Installing on Windows 11
Fix 1: Disable Metered Connection Windows has a metered connection feature that reduces data consumption and helps save on internet bills.
How to Fix Optional Features Missing or Not Installing on Windows 11
Fix 1: Disable Metered Connection Windows has a metered connection feature that reduces data consumption and helps save on internet bills.
 Top 5 Fixes For ‘No Device Drivers Were Found’ While Installing Windows 11/10
Preliminary Fixes Check/Switch the USB Ports: One common cause of this error is the USB port being used.
Top 5 Fixes For ‘No Device Drivers Were Found’ While Installing Windows 11/10
Preliminary Fixes Check/Switch the USB Ports: One common cause of this error is the USB port being used.
 3 Ways to Fix Fire TV Stick Not Installing Apps
Basic Fixes: Check your internet connection: When your Fire TV Stick is not installing an app, you should first ensure your internet connection is stable and has good speeds to
3 Ways to Fix Fire TV Stick Not Installing Apps
Basic Fixes: Check your internet connection: When your Fire TV Stick is not installing an app, you should first ensure your internet connection is stable and has good speeds to
 4 Ways to Fix Apps Not Installing on Android
Basic Fixes Restart device: Restart your Android device to fix temporary bugs and glitches.
4 Ways to Fix Apps Not Installing on Android
Basic Fixes Restart device: Restart your Android device to fix temporary bugs and glitches.
The article above may contain affiliate links which help support Guiding Tech. The content remains unbiased and authentic and will never affect our editorial integrity.