How to Turn On or Off Battery Saver Manually
Method 1. Using Quick Settings
Step 1: Click on the battery, Wi-Fi, or sound icon in the taskbar to open Quick Settings.

Step 2: Under Quick Settings, single-click on the Battery saver option (the background will be highlighted).

That’s it. You have successfully enabled battery saver on your Windows PC. If the battery icon missing from the taskbar or the Windows Quick Settings is not working, move to the next method.
Method 2. Using the Settings App
Step 1: Press the Windows key, type Settings, and click Open.
Step 2: Under System, go to Power & battery.

Step 3: Scroll down and under Battery, expand Battery saver.

Step 4: Finally, click on Turn on now to enable the battery saver.

With this, you have successfully, turned on the battery saver on Windows.
How to Turn Battery Saver on or off Automatically
Windows PC automatically turning on or off battery saver eases up the manual work. You don’t have to keep an eye on your PC’s battery level, Windows will do it for you.
Method 1. Using the Settings App
Step 1: Press the Windows key, type Settings, and click Open.
Step 2: Under System, go to Power & battery.
Step 3: Scroll down and under Battery, expand Battery saver.
Step 4: Click on the chevron (arrow) icon next to the Turn battery saver on automatically at option. Select the percentage as per your requirements.

Method 2. Using PowerShell
Step 1: Press the Windows key, type Windows PowerShell, and click Run as Administrator. In the prompt, select Yes.
Step 2: Type the below command and hit Enter.
Note: Replace <percentage> with a number from 1 to 100. You can set it to 0, which means never turning on the battery saver, or 100, which means always turning it on.
powercfg /setdcvalueindex SCHEME_CURRENT SUB_ENERGYSAVER ESBATTTHRESHOLD <percentage>

FAQs
Well, it depends on your usage and needs. Keeping battery saver mode on all the time can help conserve power and extend the battery life of your device. However, it limits the performance of certain features or apps, and notifications may be affected.
So, if you were to do only basic tasks such as browsing, email, etc., and not CPU-intensive tasks, you can keep battery saver mode on all the time.
The exact percentage at which you should turn on battery saver mode on Windows may vary depending on your device and usage. However, it’s typically recommended that you do so at 20%.
Was this helpful?
Last updated on 29 August, 2024
Read Next
 3 Fixes When the Windows 11 Screen Saver Settings Is Greyed Out
Fix 1: Delete the ScreenSaveActive Registry Key If screen saver options are greyed out in Windows, incorrect registry edits are likely causing the issue.
3 Fixes When the Windows 11 Screen Saver Settings Is Greyed Out
Fix 1: Delete the ScreenSaveActive Registry Key If screen saver options are greyed out in Windows, incorrect registry edits are likely causing the issue.
 3 Ways to Disable or Enable Search Highlights in Windows 10 and Windows 11
Method 1: Disable or Enable Search Highlights From the Settings App The Settings app on Windows allows you to control most things on your PC.
3 Ways to Disable or Enable Search Highlights in Windows 10 and Windows 11
Method 1: Disable or Enable Search Highlights From the Settings App The Settings app on Windows allows you to control most things on your PC.
 How to Enable or Disable Confirm on Delete Files Pop-up in Windows 10
Windows 10 packs multiple safety and security features to help you save your data from deleting due to accidental clicks and presses.
How to Enable or Disable Confirm on Delete Files Pop-up in Windows 10
Windows 10 packs multiple safety and security features to help you save your data from deleting due to accidental clicks and presses.
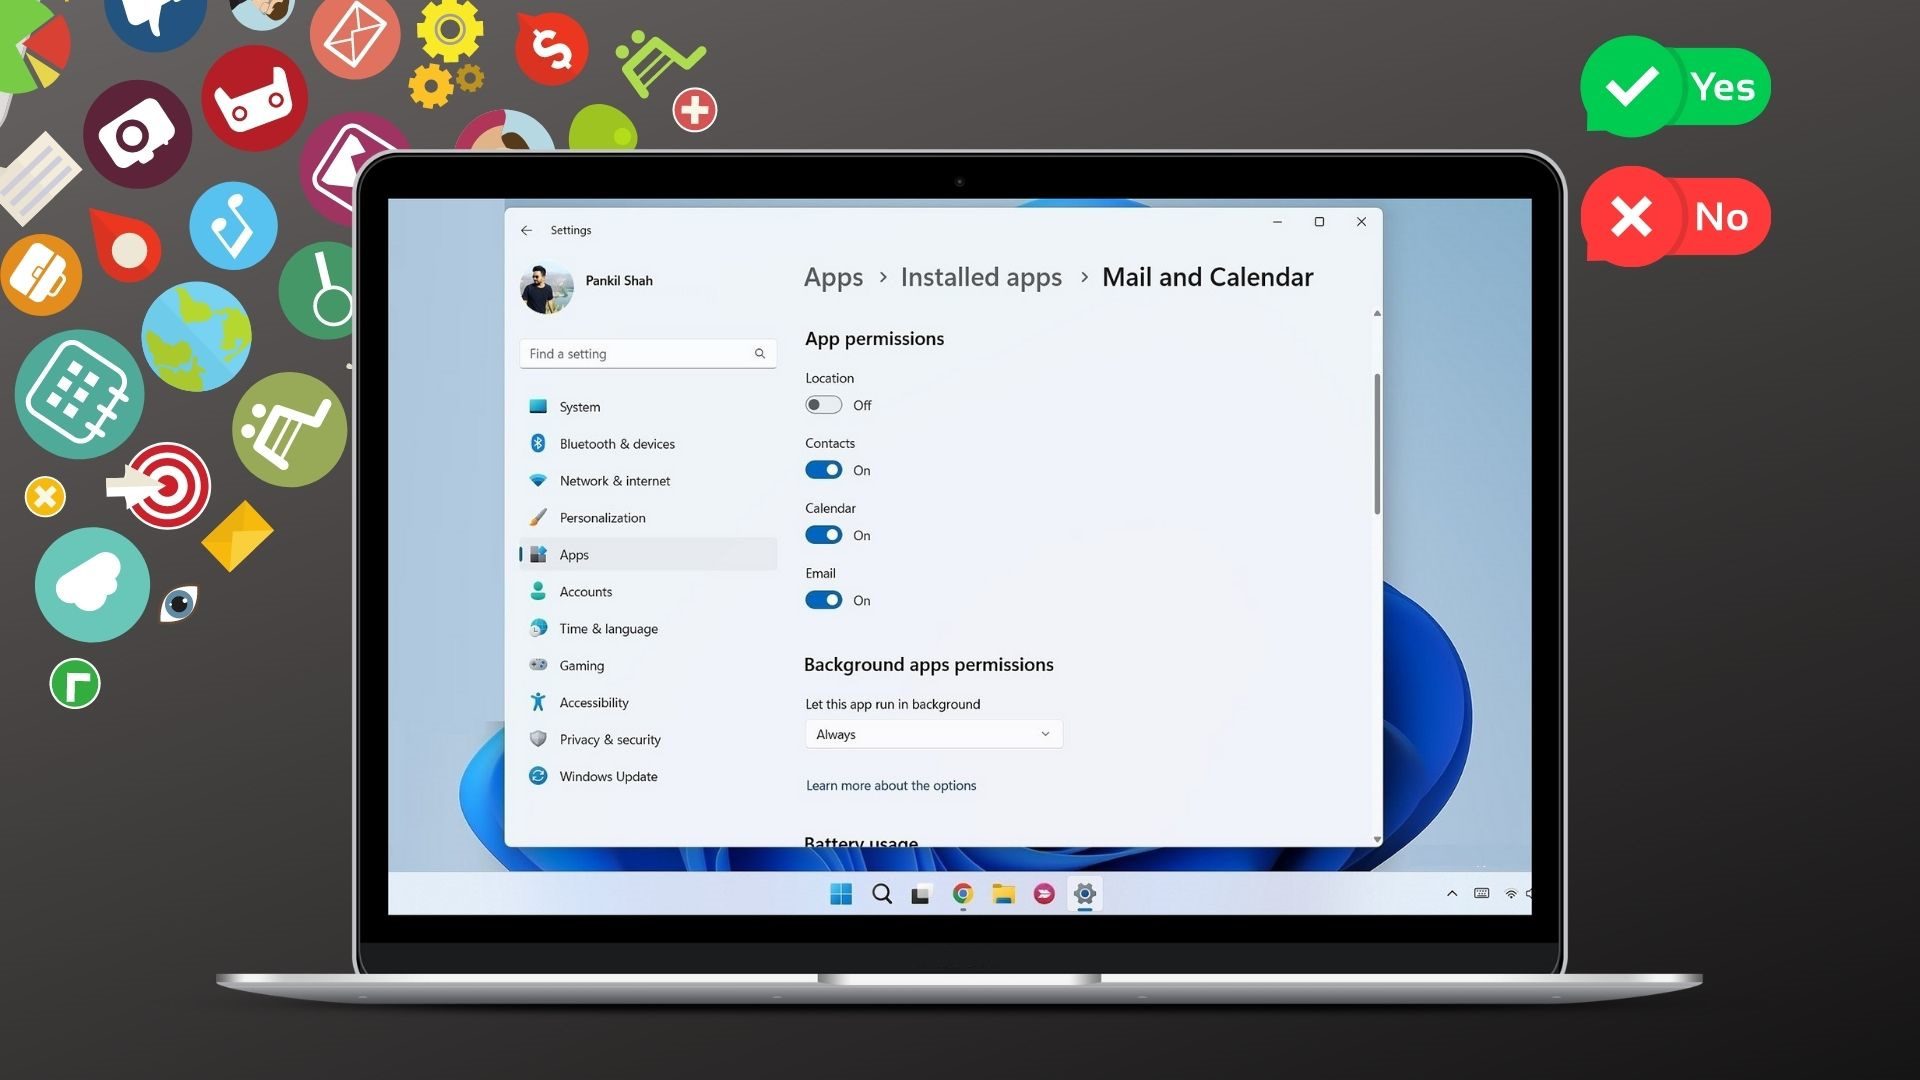 How to Enable, Disable, and Manage App Permissions on Windows 11
How to Enable or Disable Permissions for Individual Apps If you want to enable or disable permissions for a specific app, you must open its app settings on Windows.
How to Enable, Disable, and Manage App Permissions on Windows 11
How to Enable or Disable Permissions for Individual Apps If you want to enable or disable permissions for a specific app, you must open its app settings on Windows.
 3 Ways to Enable or Disable Sync Settings in Windows
Method 1: Turn Sync Settings On or Off Using the Settings App The Settings app gives you several options for managing your account preferences, including the ability to enable or
3 Ways to Enable or Disable Sync Settings in Windows
Method 1: Turn Sync Settings On or Off Using the Settings App The Settings app gives you several options for managing your account preferences, including the ability to enable or
 4 Ways to Enable or Disable Num Lock at Windows Startup
Method 1: Disable Fast Startup Step 1: Click the search icon on the taskbar, type control panel, and press Enter.
4 Ways to Enable or Disable Num Lock at Windows Startup
Method 1: Disable Fast Startup Step 1: Click the search icon on the taskbar, type control panel, and press Enter.
 How to Enable or Disable Mouse Click Sound on Windows 11
Enable the Mouse Click Sound on Windows 11 If you're tired of your default mouse or trackpad click sound, setting a custom sound will enhance your navigation experience.
How to Enable or Disable Mouse Click Sound on Windows 11
Enable the Mouse Click Sound on Windows 11 If you're tired of your default mouse or trackpad click sound, setting a custom sound will enhance your navigation experience.
 How to Enable or Disable Smart App Control in Windows 11
Have you ever downloaded an app that was more trouble than it's worth?
How to Enable or Disable Smart App Control in Windows 11
Have you ever downloaded an app that was more trouble than it's worth?
The article above may contain affiliate links which help support Guiding Tech. The content remains unbiased and authentic and will never affect our editorial integrity.