How to Change the Display Language in Windows 11
Windows 11 supports various languages. To change the display language on your PC, download the relevant language pack and apply the changes. Here’s how to do it.
Step 1: Press the Windows key + I to open the Settings app. Then, go to Time & language > Language & region.

Step 2: Click the Add a language button next to Preferred languages.

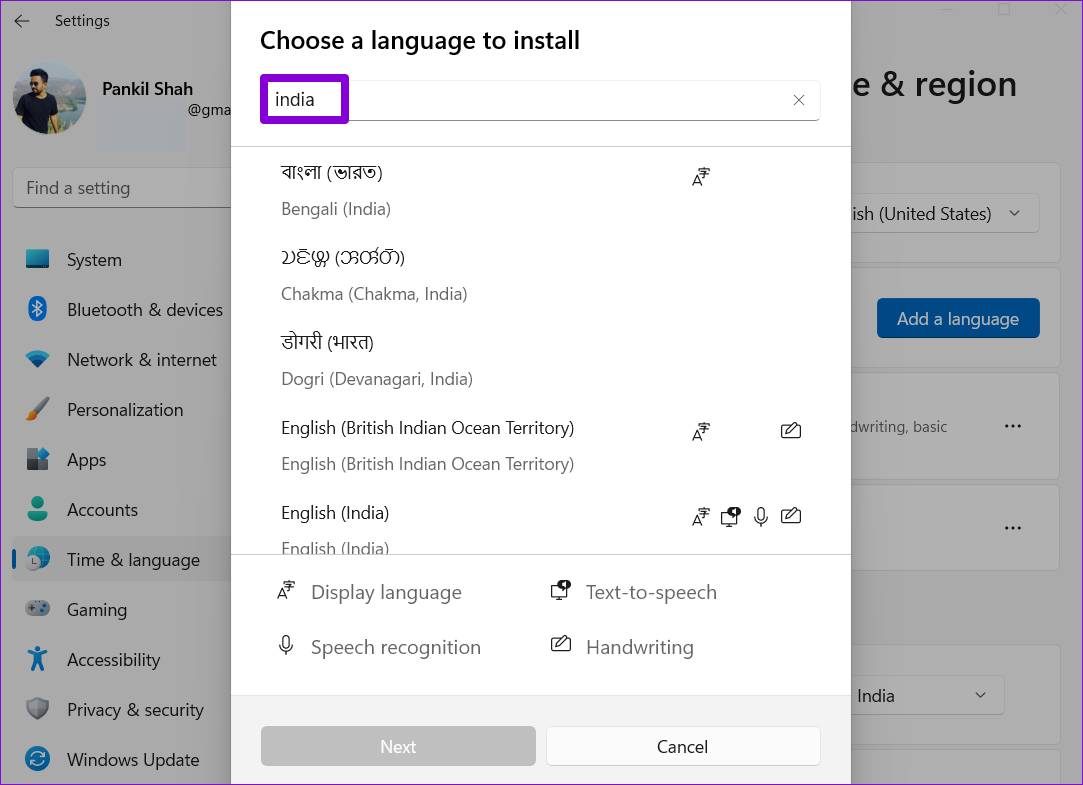
Step 3: In the “Choose a language to install” window, use the search bar at the top to type the name of the language you wish to download. Alternatively, search for available languages by typing the name of a country.
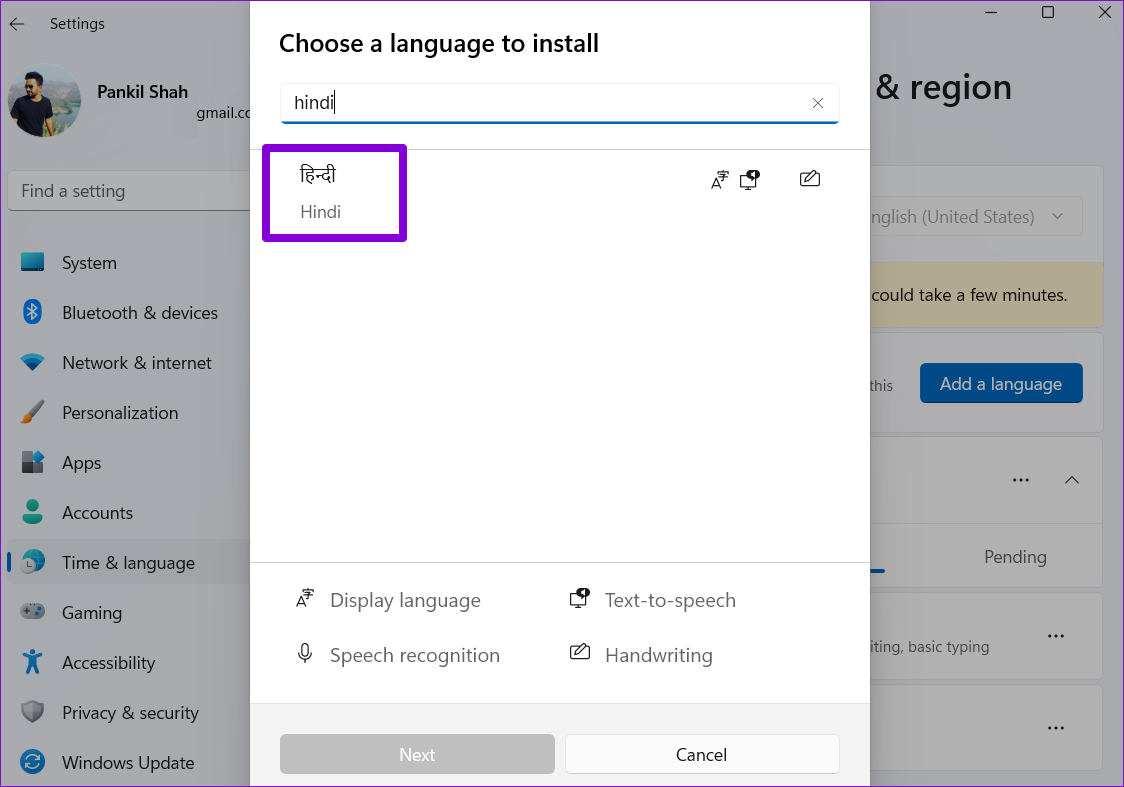
Step 4: Select the language you wish to use.
Step 5: Under Language preferences, tick the box for Set as my Windows display language and click Install.
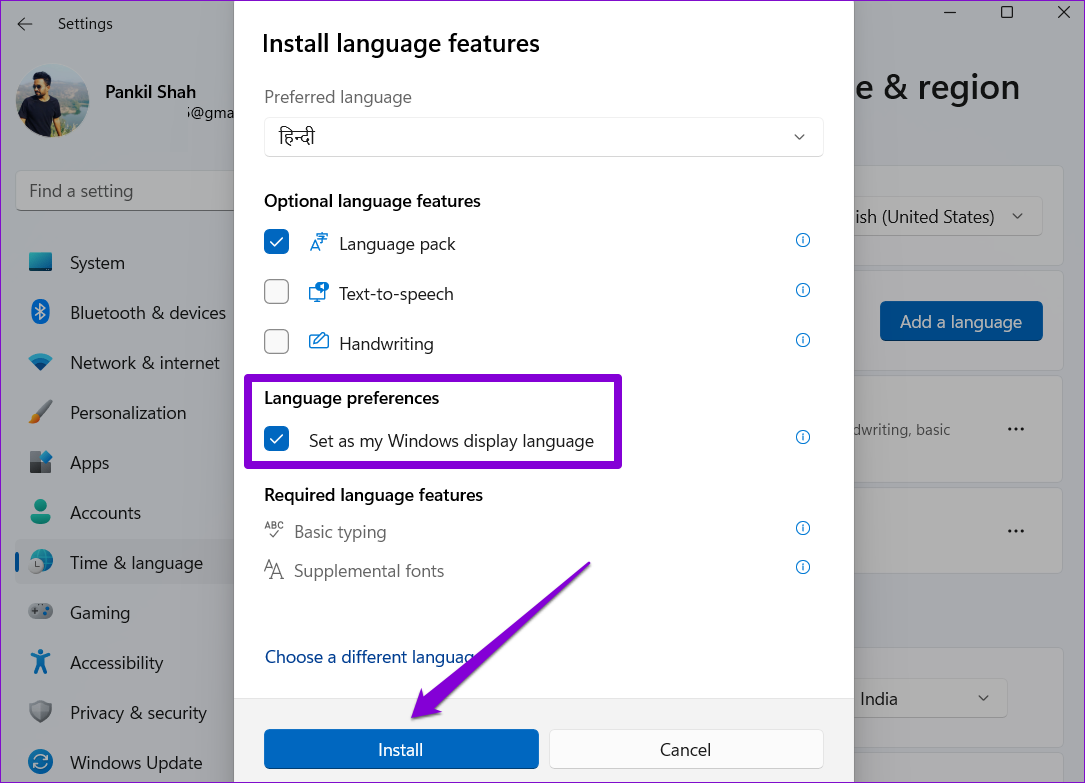
Windows will start downloading the language pack. Once downloaded, sign out and sign back in to apply the changes. Doing so will change the default language for apps, menus, and the keyboard.
Windows will sync these changes across devices connected using a Microsoft account. However, if you don’t want that, you can prevent Windows from syncing language preferences.
How to Change Language for Welcome Screen and New User Accounts in Windows 11
Although you can easily change the display language through the Settings app, that change only applies to the current user account. The change in the language will not reflect on the Windows 11 welcome screen, system accounts, and the new user accounts you create. For that, you must use the Control Panel on Windows.
Once you’ve changed the default language for your current user account, here’s how to apply the change to the rest of your user accounts.
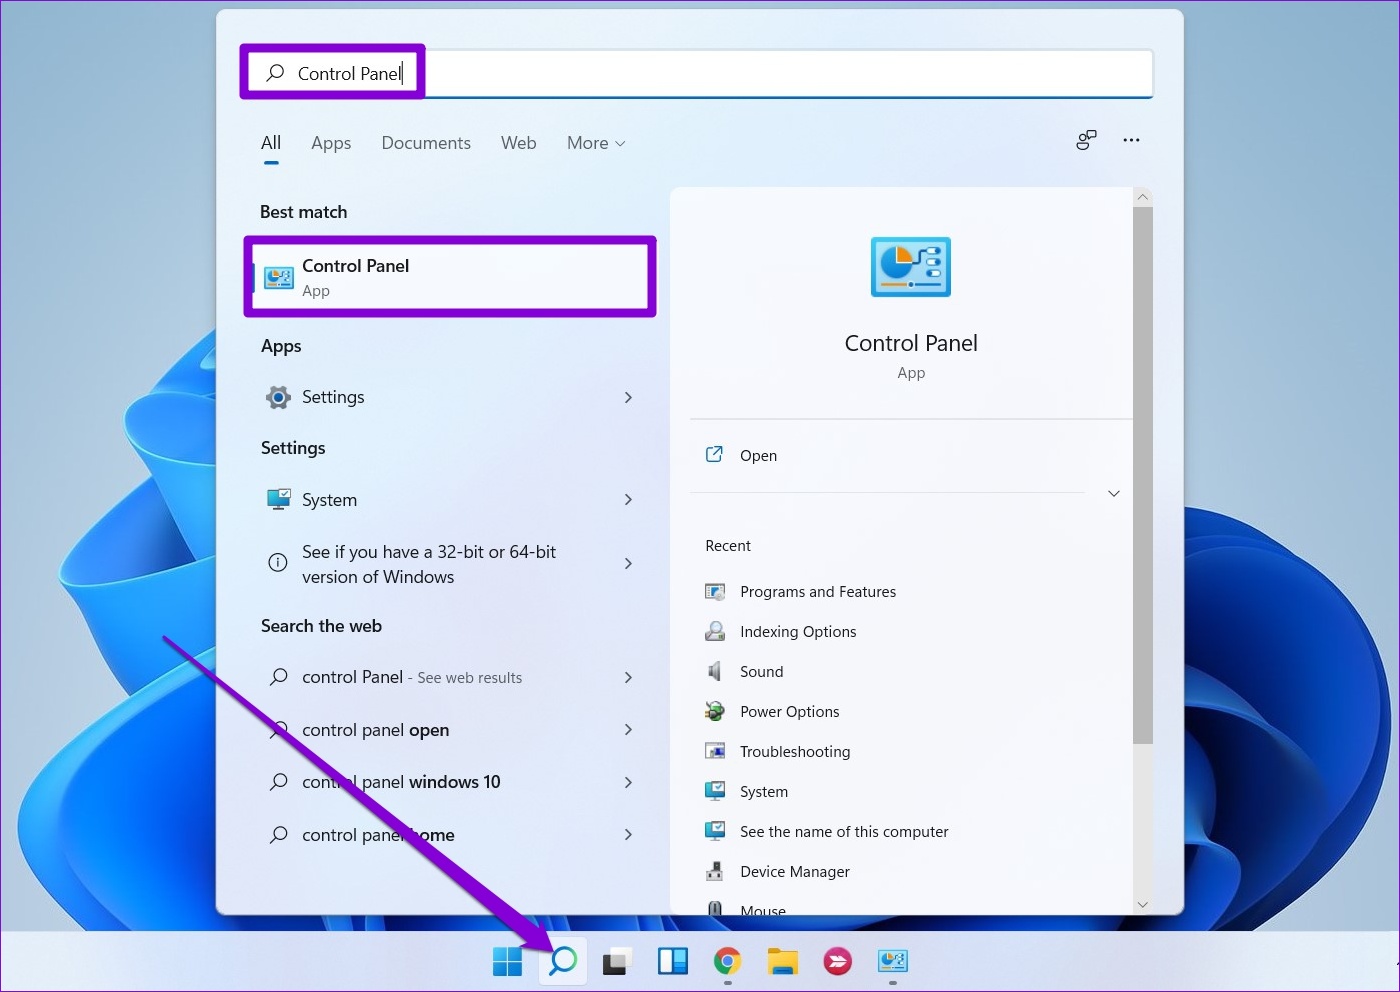
Step 1: Click the search icon on the taskbar. Type control panel and select the first result.
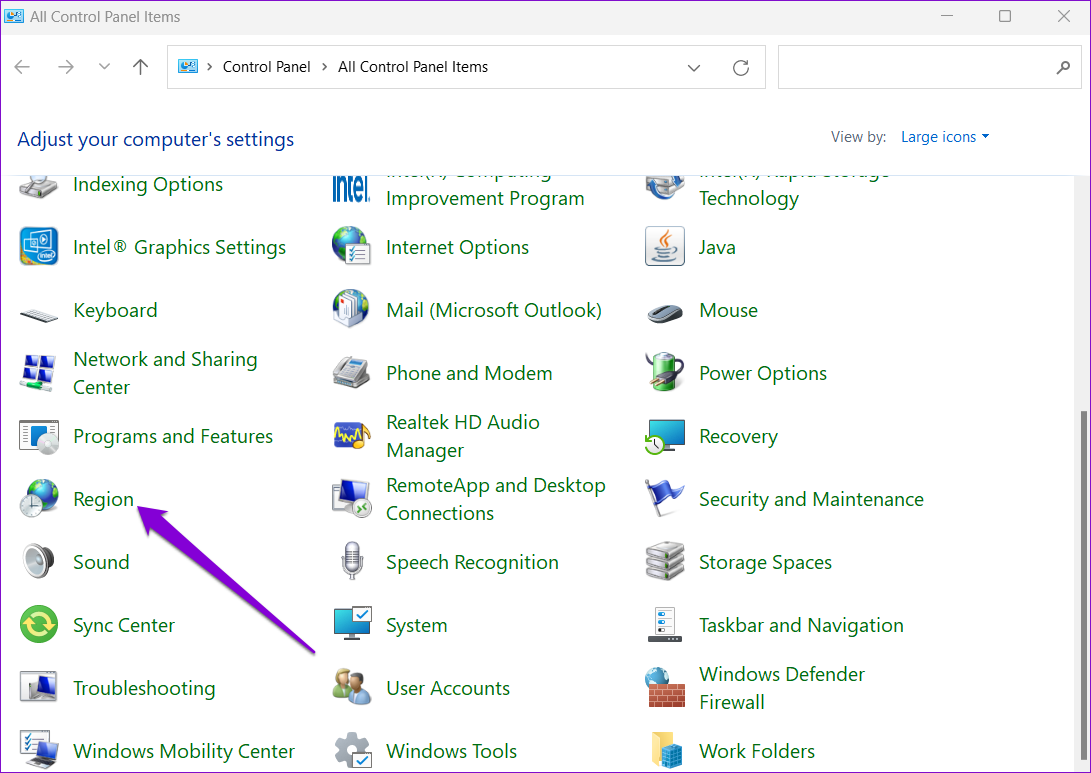
Step 2: Change the view type to small or large icons using the drop-down menu at the top right. Then, click on Region.
Step 3: Switch to the Administrative tab and click Copy settings.

Step 4: Mark the boxes for Welcome screen and system accounts and New user accounts and click OK.

Reboot your PC, and the new language will be applied everywhere, including the welcome screen.
How to Change the Keyboard Language in Windows 11
If you’re looking to type in a foreign language, Windows also lets you change the keyboard language without changing the display language on your PC.
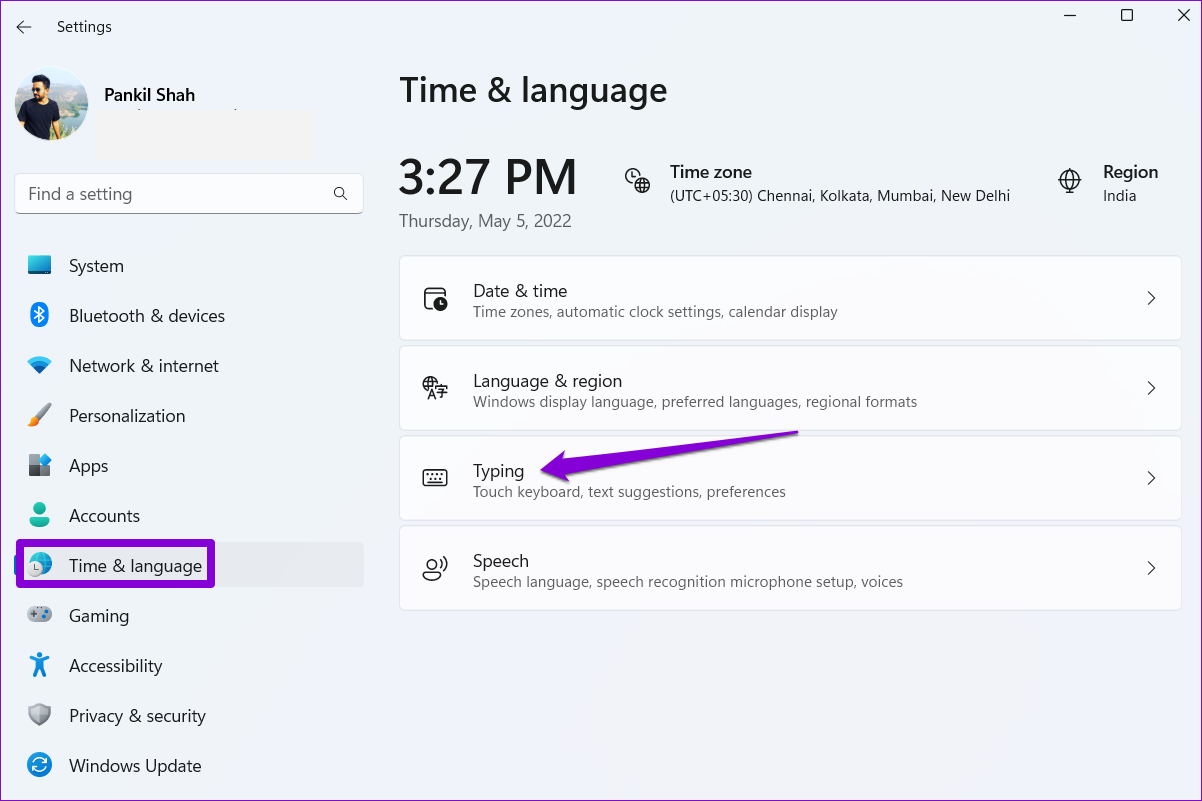
Step 1: Press the Windows key + I to open the Settings app and head to Time & language > Typing.
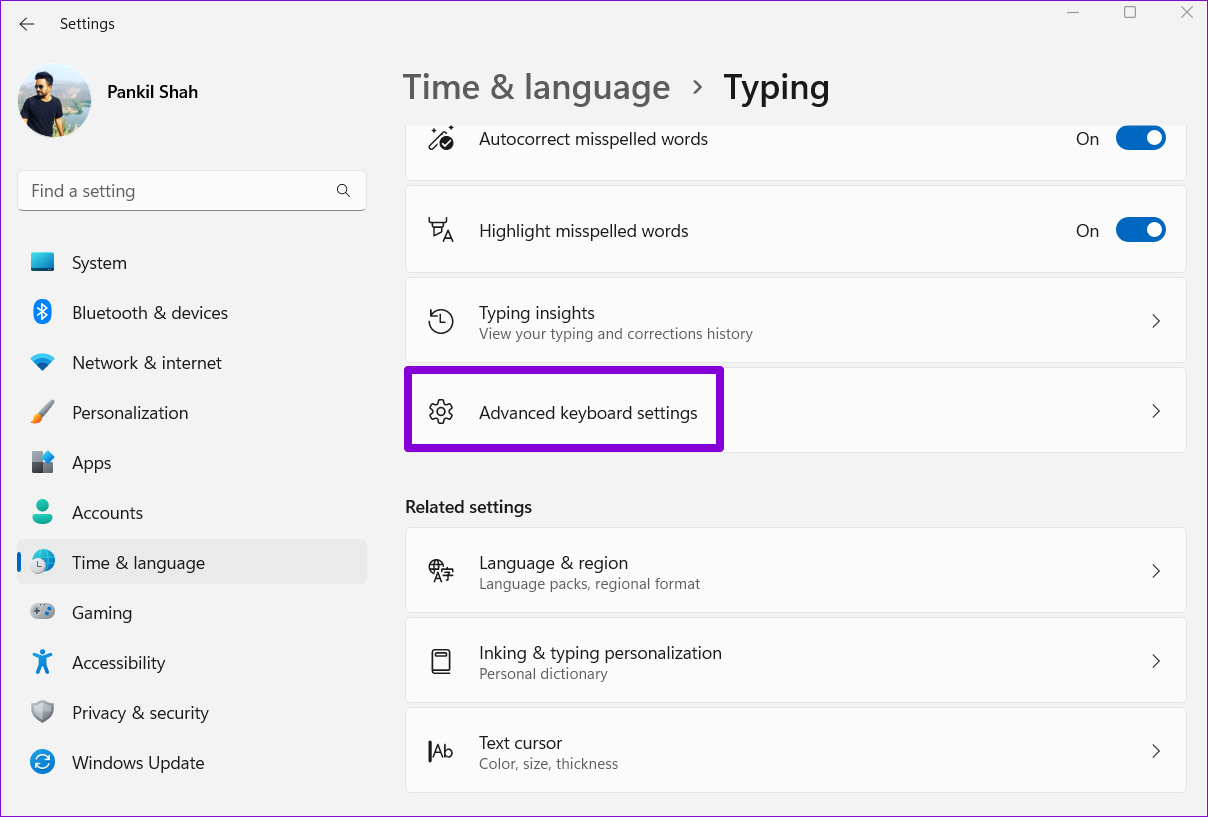
Step 2: Go to Advanced keyboard settings.
Step 3: Use the drop-down menu under Override for default input method and select a new language for the keyboard.

Optionally, you can uncheck Use the desktop language bar when it’s available. This will allow you to switch between keyboard languages directly from the taskbar.

Alternatively, you can also use the Windows key + Spacebar shortcut to switch between different keyboard languages. The changes will take effect instantly, and you should be able to type in another language.
Was this helpful?
Last updated on 02 September, 2024
Read Next
 How to Change the Default Language in Steam for Desktop and Mobile
How to Change the Language in Steam for Desktop Changing the default language in the Steam app is similar on both Windows and Mac, thanks to their comparable interfaces.
How to Change the Default Language in Steam for Desktop and Mobile
How to Change the Language in Steam for Desktop Changing the default language in the Steam app is similar on both Windows and Mac, thanks to their comparable interfaces.
 Top 9 Ways to Fix Unable to Change Default Programs in Windows 10
The apps offered by Microsoft are great.
Top 9 Ways to Fix Unable to Change Default Programs in Windows 10
The apps offered by Microsoft are great.
 How to Change Default Download Location on Windows 11
Change Default Download Location for Apps, Documents, and Media By default, Windows 11 stores all downloads—apps, documents, media, and other important files—on the primary drive.
How to Change Default Download Location on Windows 11
Change Default Download Location for Apps, Documents, and Media By default, Windows 11 stores all downloads—apps, documents, media, and other important files—on the primary drive.
 How to Change Default System Font on Windows 11
How to Change the Default Font on Windows 11 Windows 11 comes pre-installed with a wide range of fonts.
How to Change Default System Font on Windows 11
How to Change the Default Font on Windows 11 Windows 11 comes pre-installed with a wide range of fonts.
 3 Ways to Change the Default PDF Viewer on Windows 11
Method 1: Use Windows Settings to Change the Default PDF Viewer Windows 11 offers a dedicated menu in its Settings app to check your default programs.
3 Ways to Change the Default PDF Viewer on Windows 11
Method 1: Use Windows Settings to Change the Default PDF Viewer Windows 11 offers a dedicated menu in its Settings app to check your default programs.
 How to Change Language in WPS Office for Android and iOS
Microsoft does offer a free version of its Office suite for mobile devices.
How to Change Language in WPS Office for Android and iOS
Microsoft does offer a free version of its Office suite for mobile devices.
 How to Change YouTube Language (Web and Mobile App)
Recently, an update for Google Chrome changed the default language of the YouTube website for some weird reason.
How to Change YouTube Language (Web and Mobile App)
Recently, an update for Google Chrome changed the default language of the YouTube website for some weird reason.
 How to Change Typing Language in WhatsApp on Android and iPhone
On iPhone Method 1: On Apple Keyboard Follow these steps to type in another language in WhatsApp on iPhone using the Apple keyboard: Step 1: Open a WhatsApp chat so
How to Change Typing Language in WhatsApp on Android and iPhone
On iPhone Method 1: On Apple Keyboard Follow these steps to type in another language in WhatsApp on iPhone using the Apple keyboard: Step 1: Open a WhatsApp chat so
The article above may contain affiliate links which help support Guiding Tech. The content remains unbiased and authentic and will never affect our editorial integrity.