Method 1: Use Google Photos to Blur a Face In a Photo
The default gallery app on Android – Google Photos – is quite feature-rich, with ample image editing options. You can use the Blur tool to hide private information in a picture. The feature is a part of the Google One subscription, though. So, you need to pay for a Google One plan to unlock the function in Google Photos.
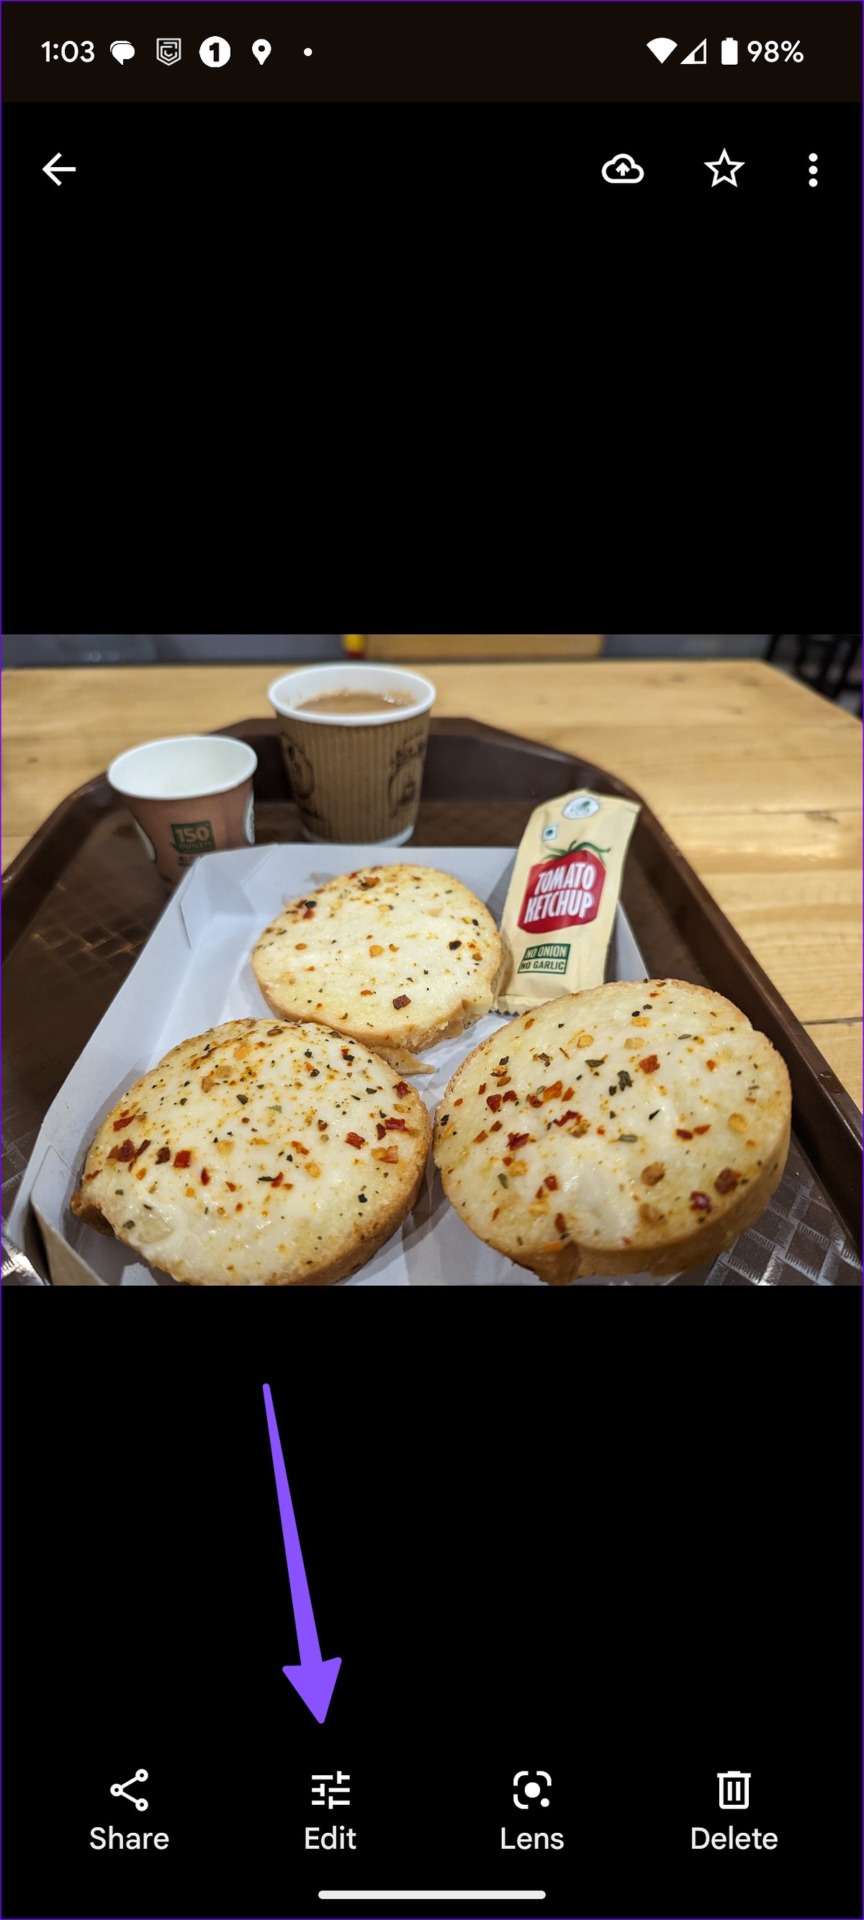
Step 1: Open the Google Photos app on your Android phone. Select a picture you want to edit and tap Edit at the bottom.
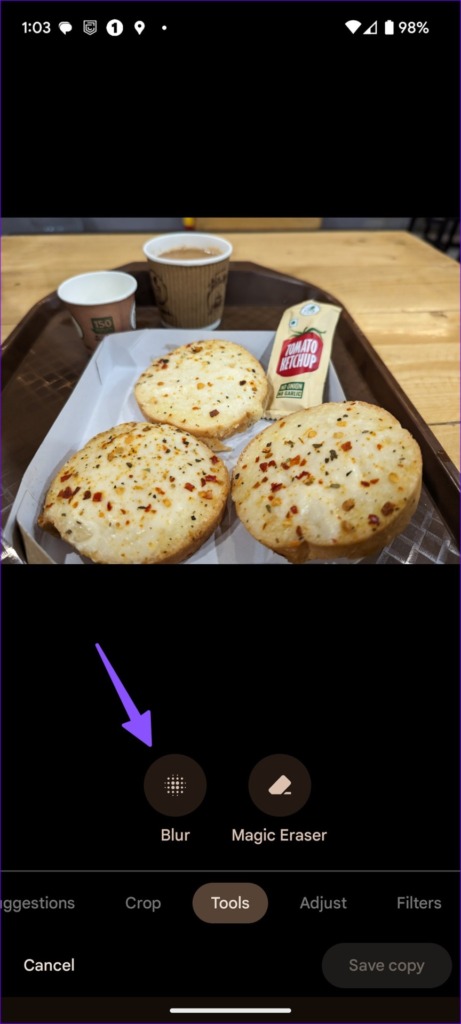
Step 2: Slide to the Tools menu. Select Blur.
Step 3: Move the circle to a part you don’t want to hide. You can use the slider at the bottom to increase or decrease the intensity of the blur effect.
Step 4: Select Depth and use the slider to increase or decrease the blur area.
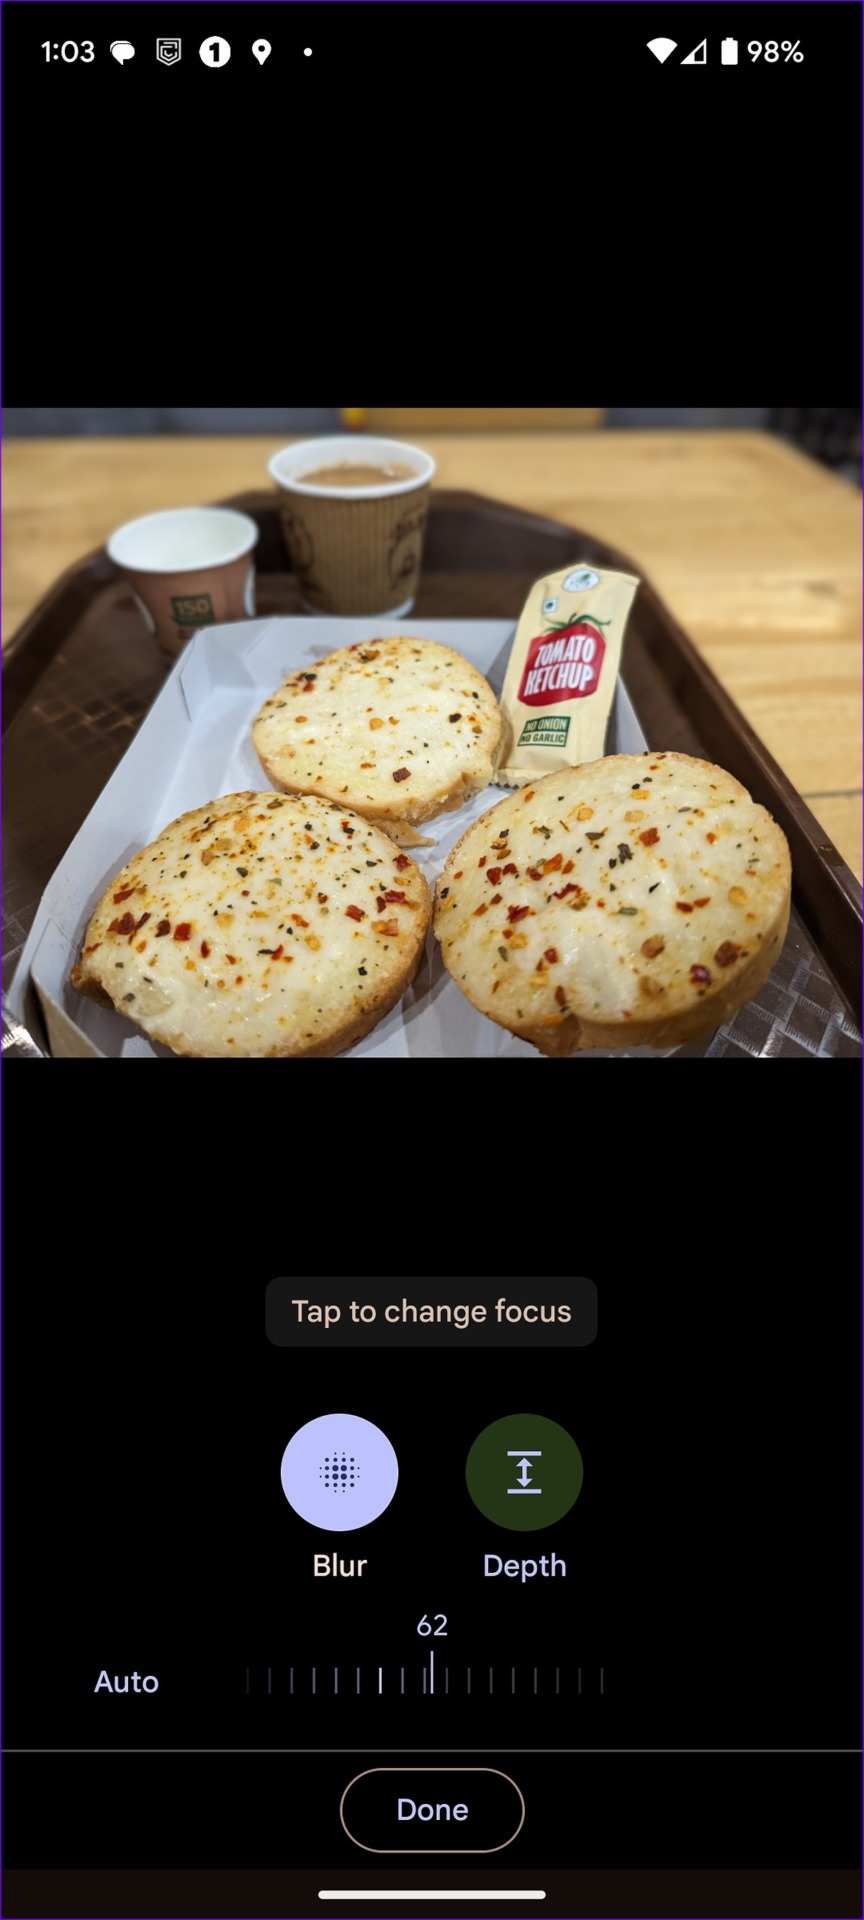

The Blur tool in Google Photos aims to add a portrait effect to your pictures. You can use it to hide confidential information too. However, as you can see from the screenshots above, it doesn’t give precise control to select a specific part of a picture.
Also Read: How to blur a part of a picture on Mac
Method 2: Samsung Gallery App
Samsung offers a capable default Gallery app on Galaxy smartphones. It lets you blur out a part of the picture precisely. You can add a pixelated effect too. Samsung offers all the required add-ons to blur photos on Galaxy Phones running Android. Let’s check it in action.
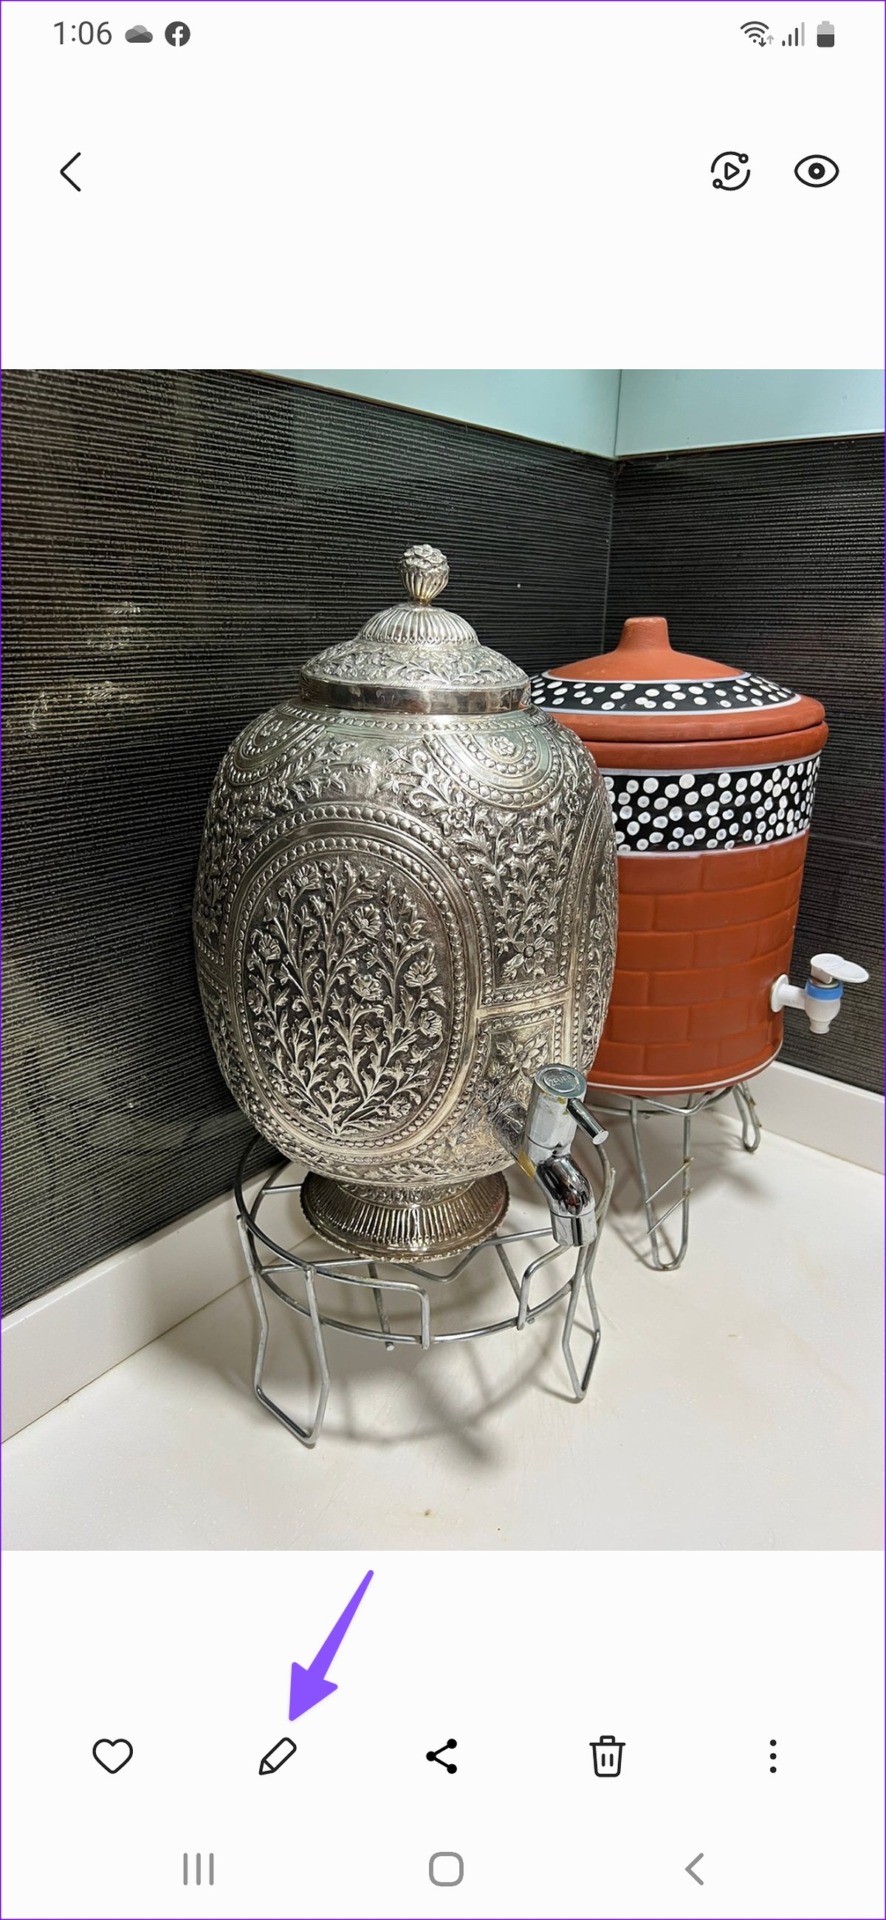
Step 1: Open the Gallery app on your Samsung phone. Select a photo you want to edit and tap the pencil icon at the bottom.
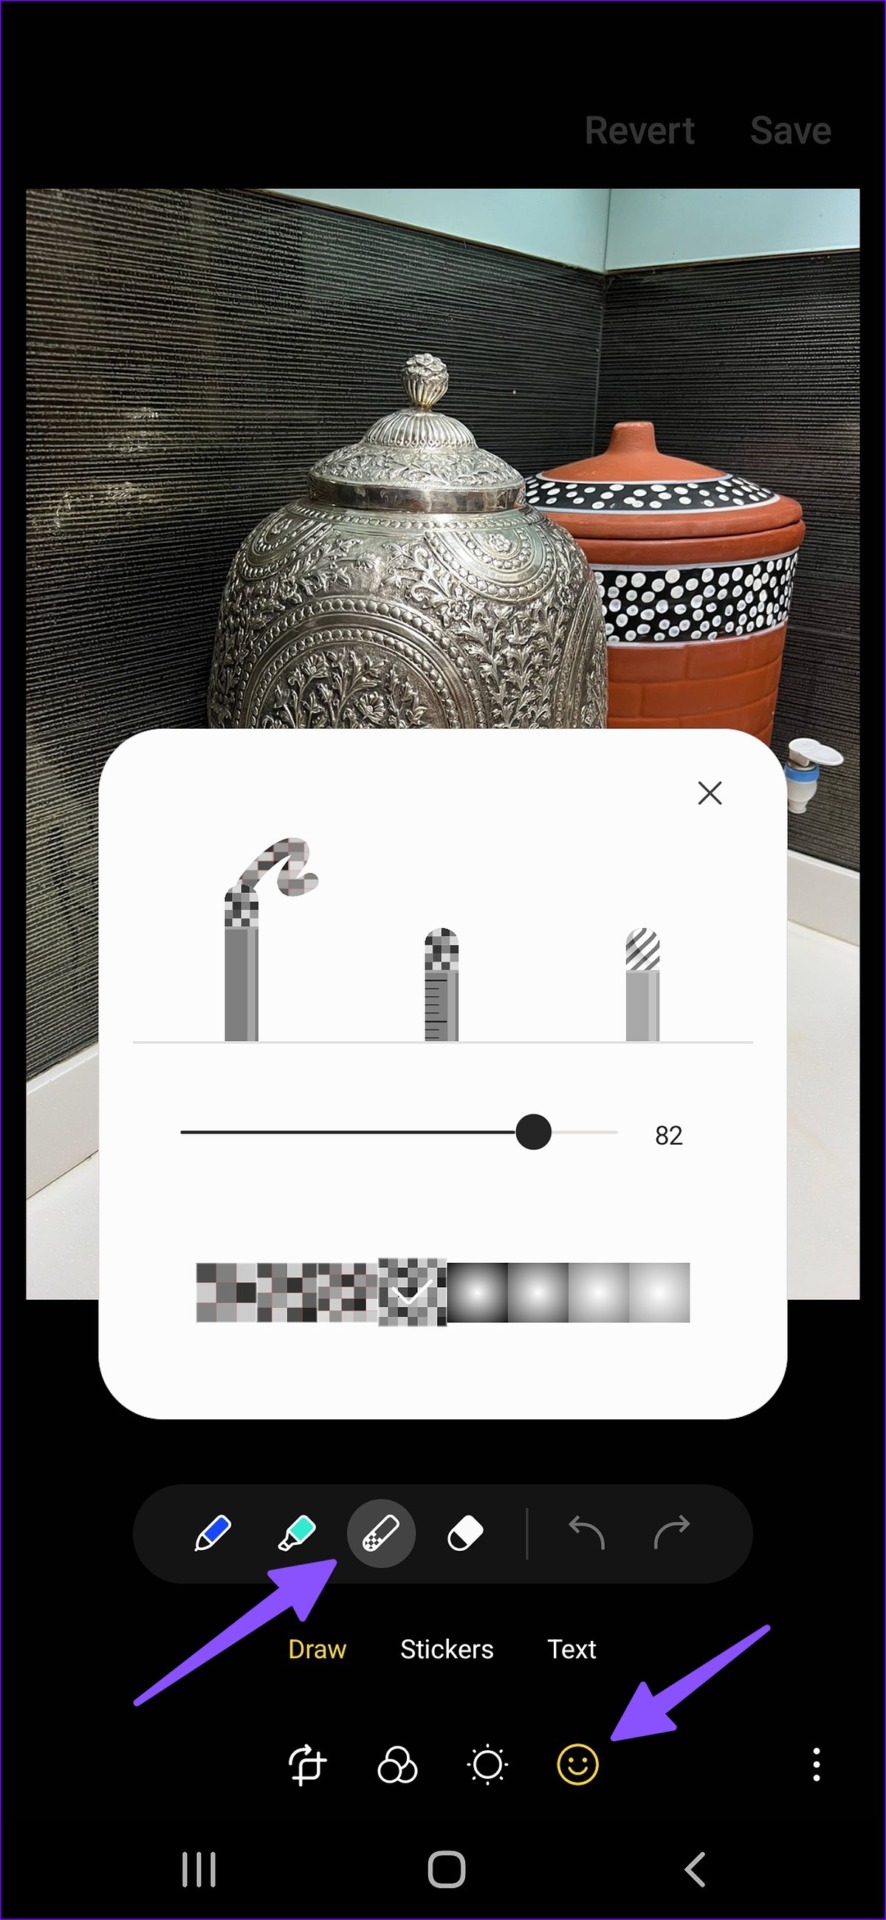
Step 2: Then, select the emoji icon. Tap Draw. Select the checkered icon. Tap the same icon again to check the customization options.
You can select the level of pixelating or blur effect. Then, adjust the intensity using the slider.
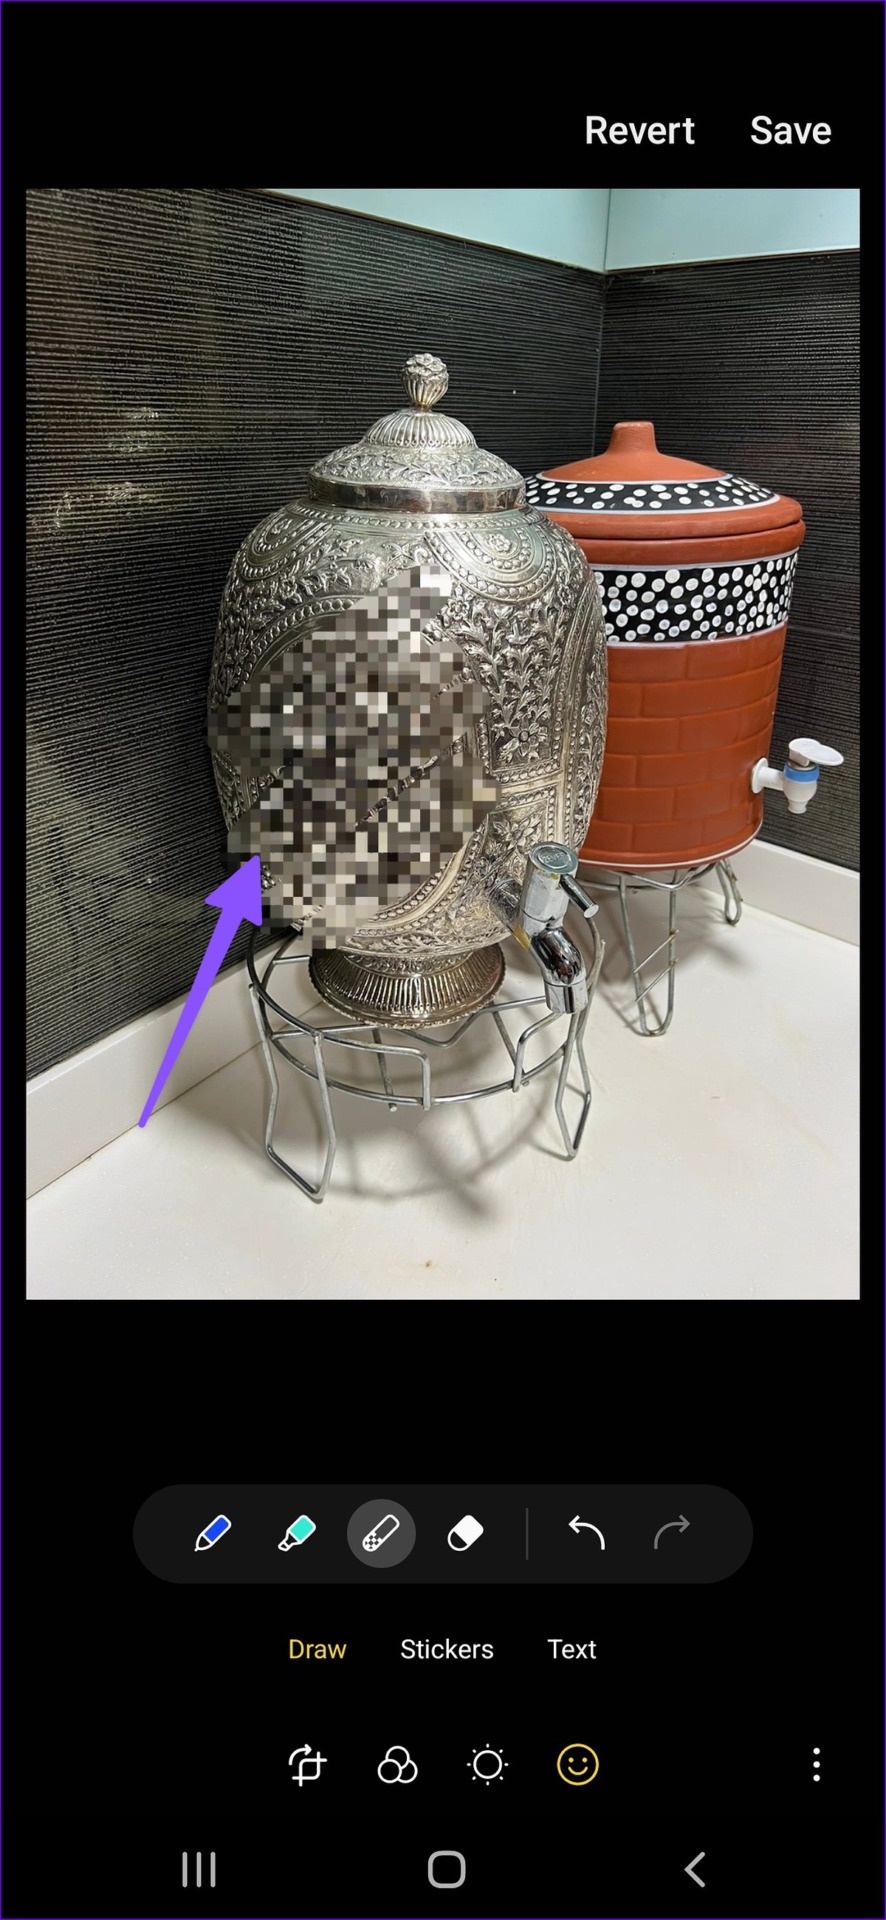
Step 3: Use your finger or S Pen (if you have a compatible Samsung phone) and blur your face or the intended region in a picture. Tap Save at the top-right corner.
Method 3: Use Third-Party Apps
There is no drought of third-party photo editing apps on the Google Play Store. While most apps work as expected, Point Blur’s easy-to-use UI and seamless functionality grabbed our attention. Let’s check it in action.
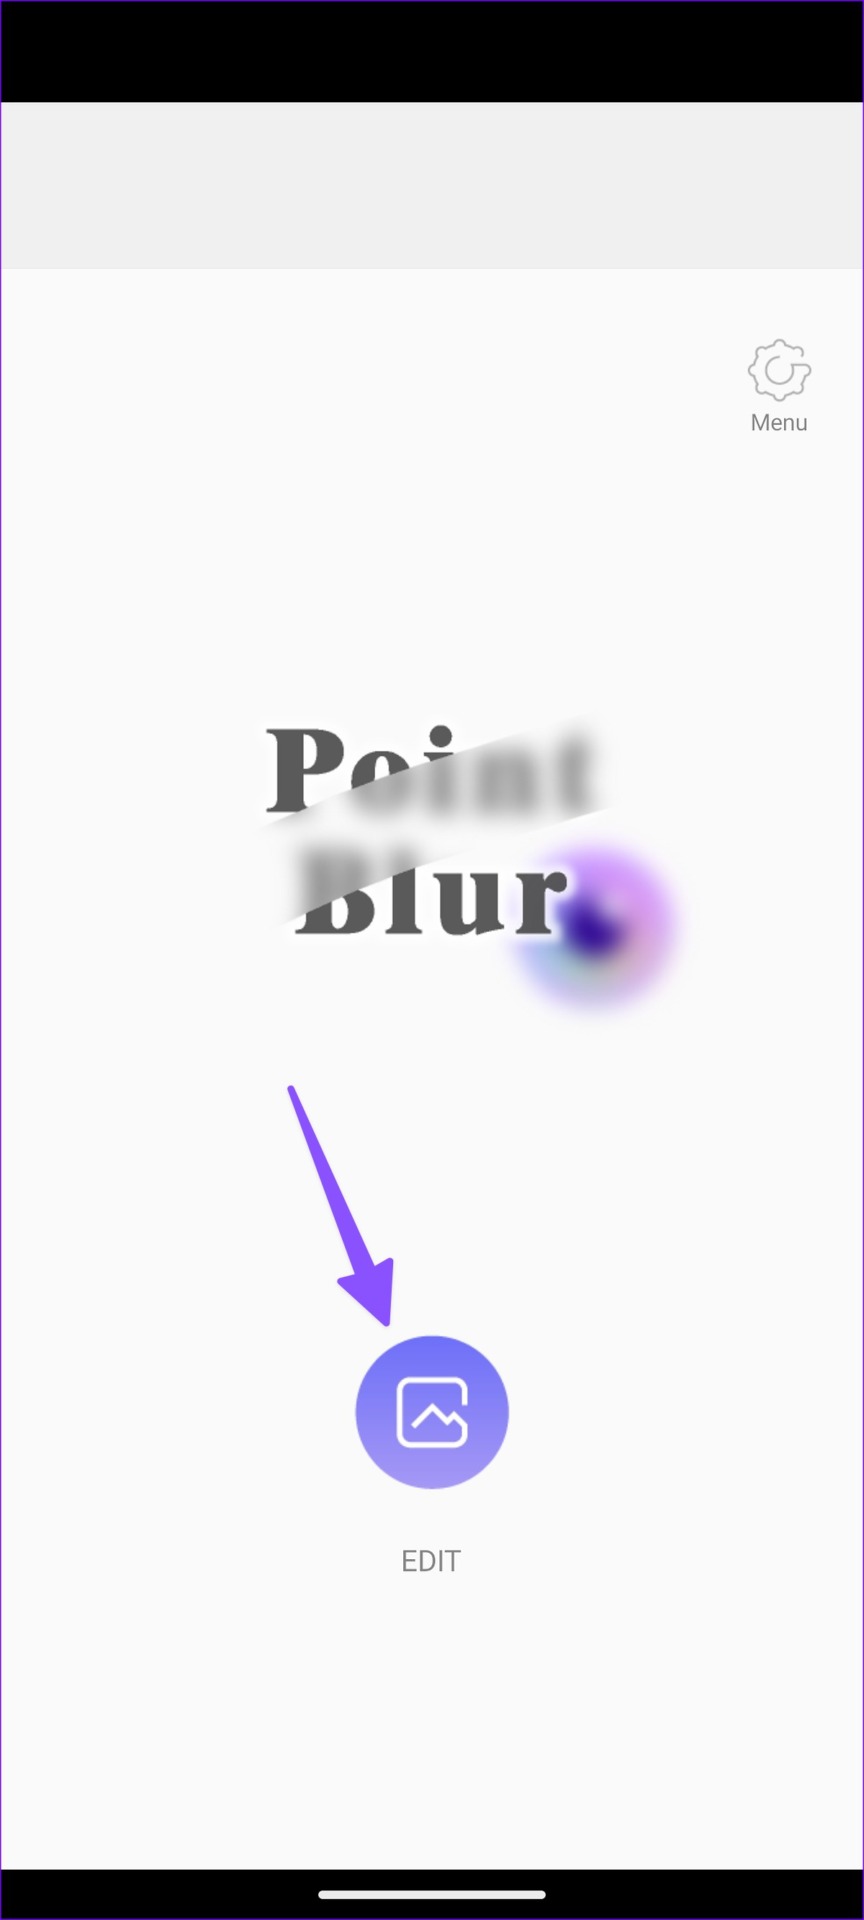
Step 1: Download and open the Point Blur app. Give it relevant permissions to access the device storage.
Step 2: Tap Edit. Select an image you want to edit. You can crop an image before starting the editing process. Tap Full or Crop as per your preference.

Step 3: You can change the blur level (intensity), use the slider to increase the blur area, and use your fingers to blur a part of a photo.
Step 4: The default setting is set to blur a photo. Tap on Type at the bottom-right corner. You can select from several options, such as Blur, Mosaic, Mosaic2, Triagle, and Honey.
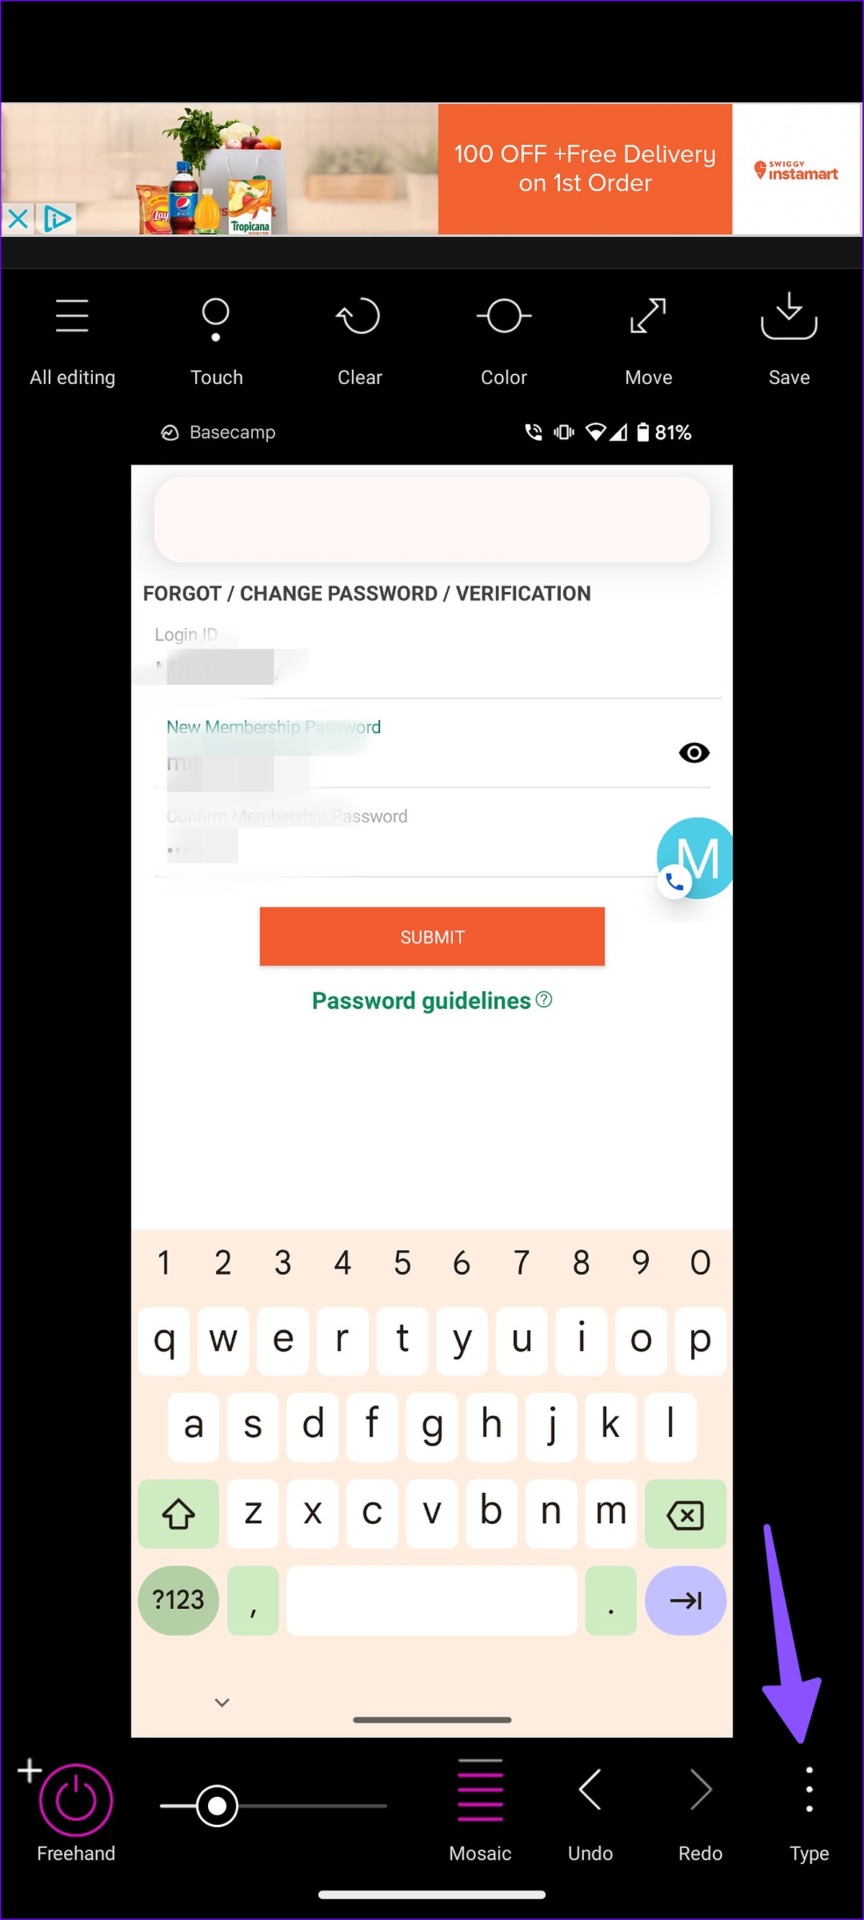
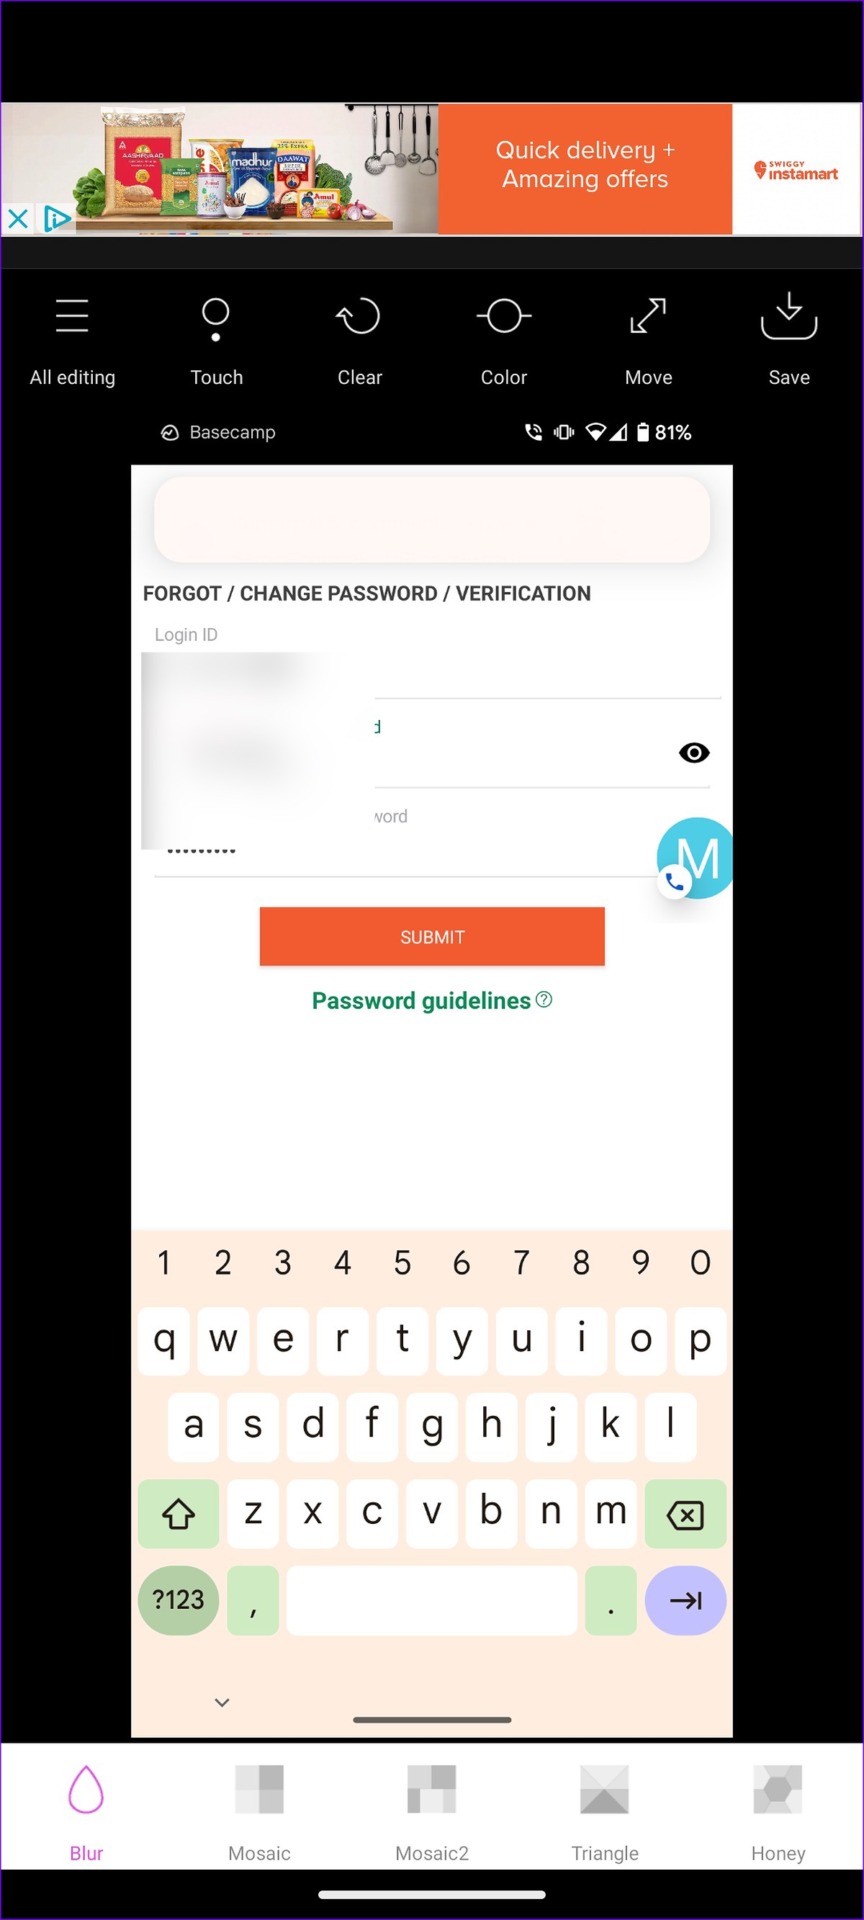
You can also check the toolbar above to tweak brightness, contrast, saturation, warmth, and hue. Hit the Save icon at the top-right corner to download the edited image to your phone storage.
You can also add emojis to your picture to hide a face in a photo or point out someone. It’s a much better option than blurring or adding a pixelated effect.
Was this helpful?
Last updated on 31 July, 2024
2 Comments
Leave a Reply
Read Next
 4 Ways to Blur Background or Part of a Picture on Samsung Galaxy Phones
https://youtu.be/ibIZ2QeeIgk Method 1: How to Blur Certain Parts of a Picture on Samsung Step 1: Launch the Samsung Gallery app on your phone.
4 Ways to Blur Background or Part of a Picture on Samsung Galaxy Phones
https://youtu.be/ibIZ2QeeIgk Method 1: How to Blur Certain Parts of a Picture on Samsung Step 1: Launch the Samsung Gallery app on your phone.
 4 Ways to Blur Out a Part of Picture on Mac
Method 1.
4 Ways to Blur Out a Part of Picture on Mac
Method 1.
 5 Ways to Blur a Part of Picture on iPhone and iPad
Method 1: Use Markup Tools in the Photos App While the default markup option in the Photos app doesn’t come with a blur tool, you can get creative and use
5 Ways to Blur a Part of Picture on iPhone and iPad
Method 1: Use Markup Tools in the Photos App While the default markup option in the Photos app doesn’t come with a blur tool, you can get creative and use
 How to Blur a Part of Picture in Paint 3D
At times, you would want to blur a portion of a photo to conceal details.
How to Blur a Part of Picture in Paint 3D
At times, you would want to blur a portion of a photo to conceal details.
 4 Ways to Fix Picture-In-Picture Mode Not Working on Android
Try Basic Fixes Update the problematic app: If the picture-in-picture mode is not working due to a buggy app build, you should be able to fix it by updating the
4 Ways to Fix Picture-In-Picture Mode Not Working on Android
Try Basic Fixes Update the problematic app: If the picture-in-picture mode is not working due to a buggy app build, you should be able to fix it by updating the
 3 Fixes for Netflix Picture-In-Picture Mode Not Working on Android
Fix 1: Upgrade Netflix Plan If you are from a country where Netflix offers an ad-supported version, you must upgrade to a premium plan.
3 Fixes for Netflix Picture-In-Picture Mode Not Working on Android
Fix 1: Upgrade Netflix Plan If you are from a country where Netflix offers an ad-supported version, you must upgrade to a premium plan.
 4 Ways to Fix WhatsApp Picture-In-Picture Not Working
Basic Fixes Update WhatsApp: Open the Google Play Store or Apple App Store, search WhatsApp, and tap Update (if available).
4 Ways to Fix WhatsApp Picture-In-Picture Not Working
Basic Fixes Update WhatsApp: Open the Google Play Store or Apple App Store, search WhatsApp, and tap Update (if available).
 3 Ways to Fix Prime Video Picture-in-Picture Not Working on Android and iPhone
Basic Fixes Restart Prime Video: Restart the Prime Video app and your smartphone to eliminate bugs and glitches.
3 Ways to Fix Prime Video Picture-in-Picture Not Working on Android and iPhone
Basic Fixes Restart Prime Video: Restart the Prime Video app and your smartphone to eliminate bugs and glitches.
The article above may contain affiliate links which help support Guiding Tech. The content remains unbiased and authentic and will never affect our editorial integrity.


This is outdated for Google photos. At least in Pixel 6 that blur menu does not exist as shown in your picture and what is there instead only allows background blurring.
Sorry. You can disregard my last comment. I was using an imported photo. When I use a photo I’ve taken with my Pixel it works as you’ve shown here.