Method 1: Add Borders Using Shapes for Borders
This method involves using the shapes within Microsoft Paint to draw borders around the image. Follow the steps below.
Step 1: Launch the Paint app.
Step 2: Press Ctrl + O to open a new file.
Step 3: Browse the image you want to import and double-click it to open it.
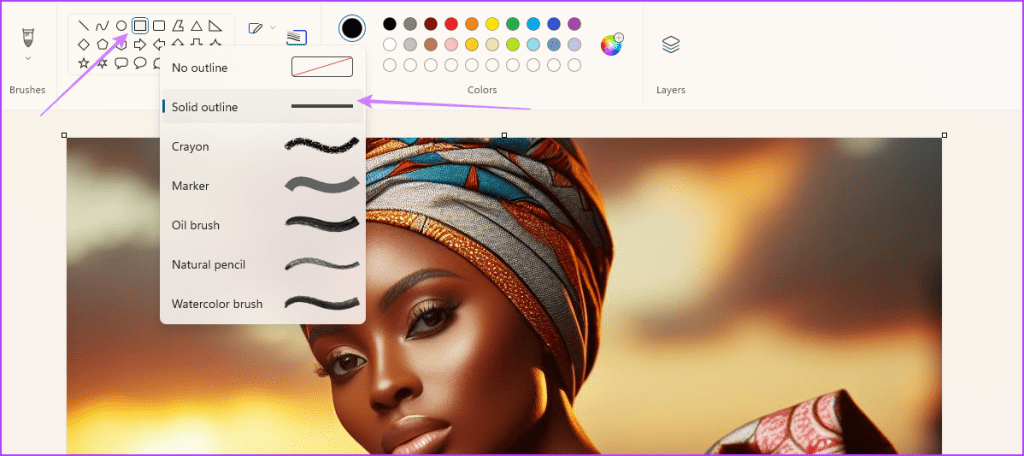
Step 4: After importing the image, select the Rectangle on the Shapes tab; then, to the right of the Shapes tab, click on the Outline tab and select Solid Outline.
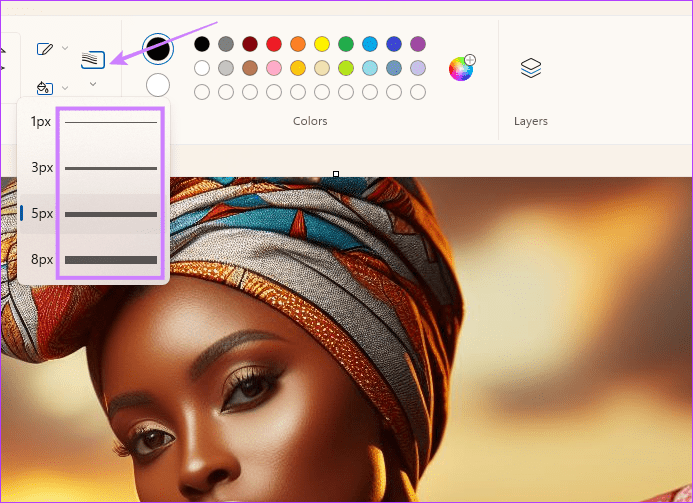
Step 5: By the right of the Outline tab, click on the Size tab to choose a preferred thickness for your Rectangle.
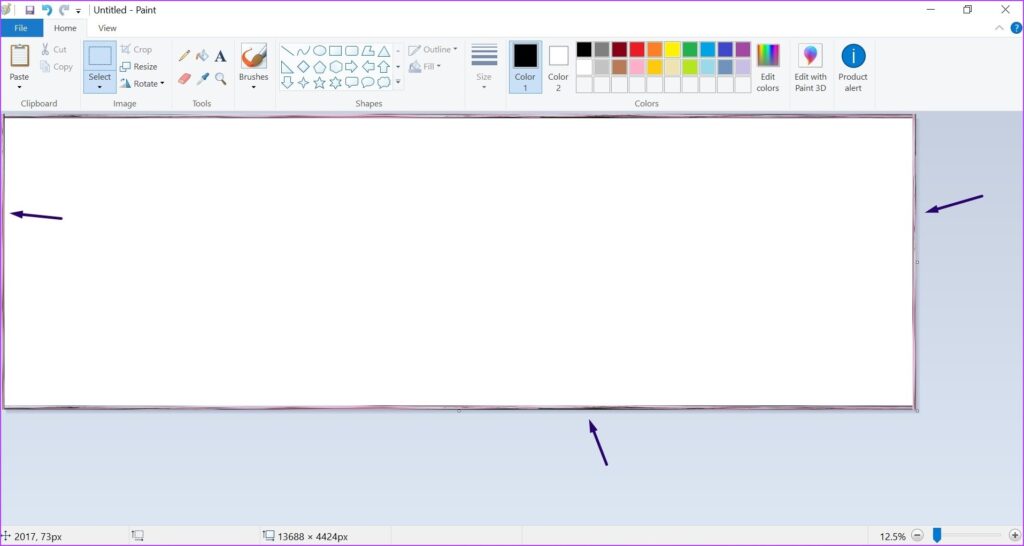
Step 6: Place the mouse cursor at the top left of the imported image and draw a rectangle filling all edges of the image. You should now have a border.
Note: If you want a different border color for your image, you can choose a color after selecting a shape. You can use any of the preset colors or search for additional colors using the Color Picker.
Method 2: Use an Image for Borders
If solid colors do not work for your borders, you can also use images to provide texture or patterns to your borders. However, you must note that if you have updated to the latest Paint edition, this option will not work.
This process almost feels like tiling and image. Here’s how it works:
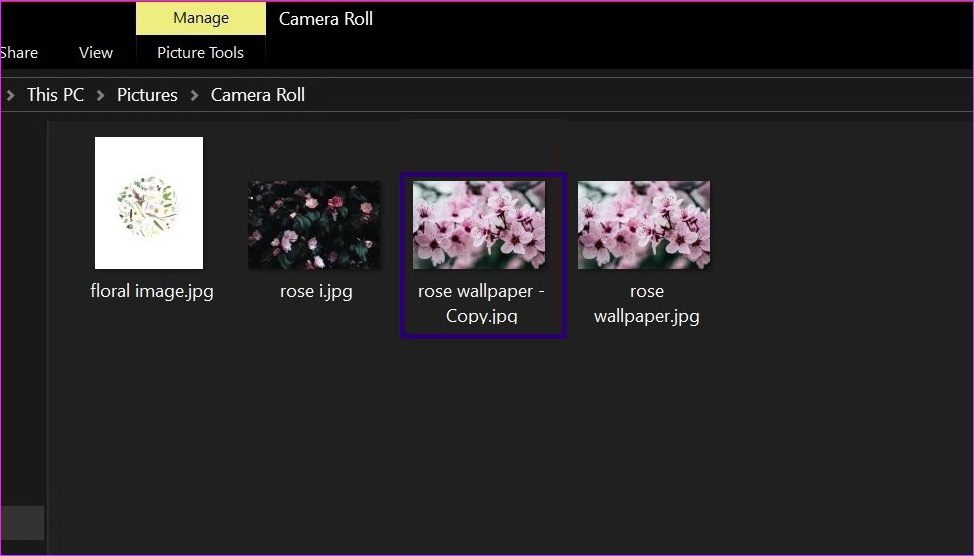
Step 1: Create a copy of the image to be used as a border and paste it with a new name to make it identifiable as a copy. This prevents ruining the original image.
Step 2: Launch Paint.
Step 3: Stretch out the Paint canvas to ensure it is large enough.
Step 4: Click on the arrow beneath Paste and select Paste From.
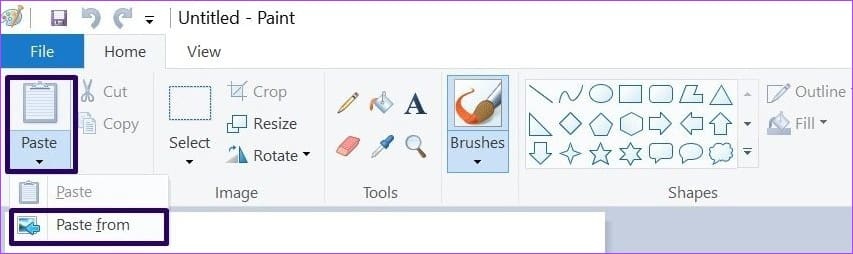
Step 5: Select the image to be pasted and double-click it.
Step 6: Once you import the image into Paint, it should have dotted lines around it. Place the mouse cursor on the dotted line at the edge to get a resize arrow.
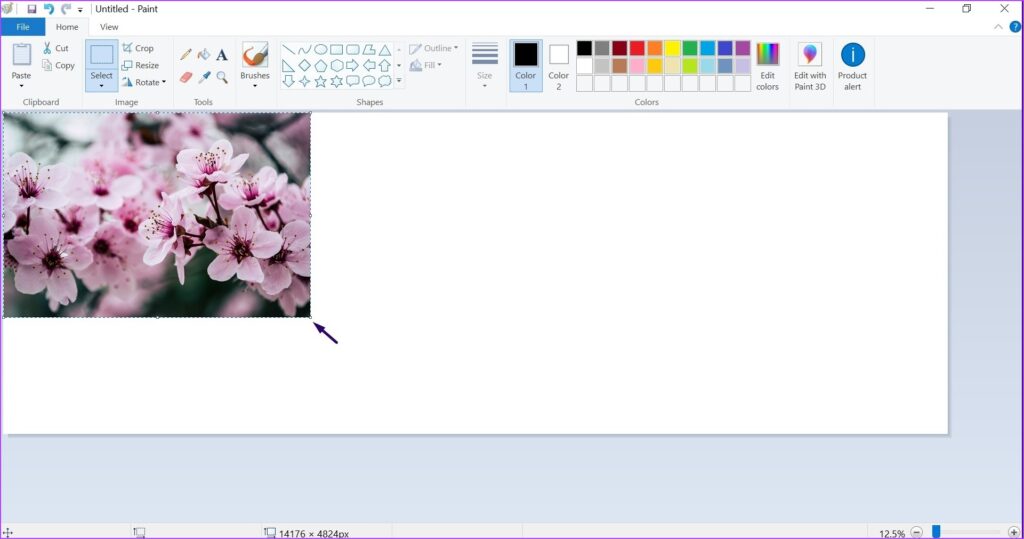
Step 7: Drag the image to cover the top of the Paint canvas. The size should be similar to that of a typical border.
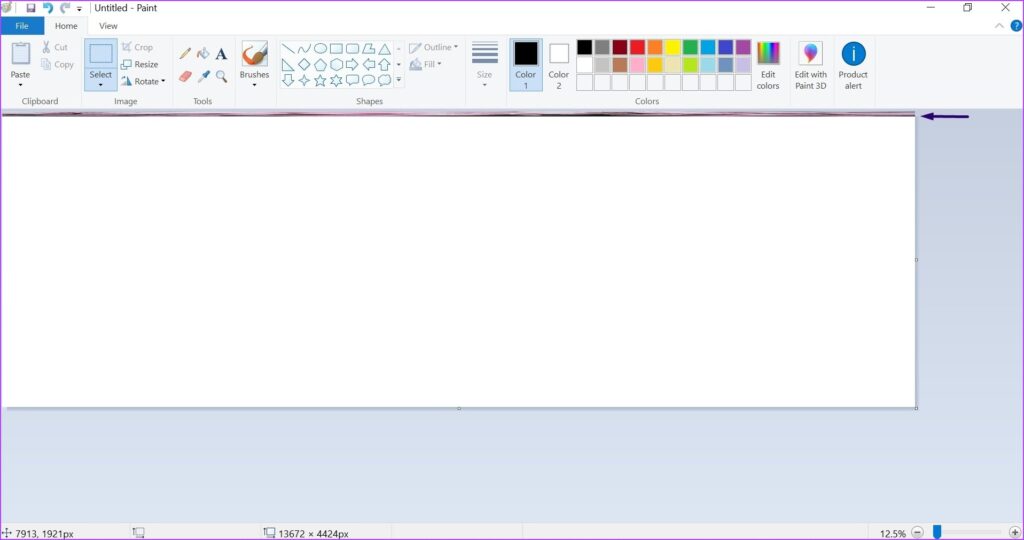
Step 8: Repeat Steps 4 to 7 again, but this time, place the image border on the left, right, and bottom of the canvas. You should have a complete border.
Was this helpful?
Last updated on 02 May, 2024
Read Next
 How to Put Transparent Image Over Another in Paint and Paint 3D
There is a learning curve involved if you want to perform any simple task on powerful photo-editing tools such as Photoshop, GIMP, etc.
How to Put Transparent Image Over Another in Paint and Paint 3D
There is a learning curve involved if you want to perform any simple task on powerful photo-editing tools such as Photoshop, GIMP, etc.
 Mouse Without Borders Not Working? 8 Ways to Solve It
The seamless flow between multiple computers with Mouse Without Borders is a productivity dream.
Mouse Without Borders Not Working? 8 Ways to Solve It
The seamless flow between multiple computers with Mouse Without Borders is a productivity dream.
 How to Crop an Image in Circle Shape in Paint 3D
Cropping an image is one of the basic needs while editing a picture.
How to Crop an Image in Circle Shape in Paint 3D
Cropping an image is one of the basic needs while editing a picture.
 How to Save Image from Magic Select Tool in Paint 3D
The Magic Select tool is an interesting addition to Paint 3D, which is an upgraded version of the traditional MS Paint.
How to Save Image from Magic Select Tool in Paint 3D
The Magic Select tool is an interesting addition to Paint 3D, which is an upgraded version of the traditional MS Paint.
 28 Microsoft Paint 3D Keyboard Shortcuts That You Should Use
Basic Editing Shortcuts ShortcutFunctionCtrl + CUse it to copy both 2D and 3D elements on your imageCtrl + XDelete or move an element using this shortcutCtrl + VPaste the copied
28 Microsoft Paint 3D Keyboard Shortcuts That You Should Use
Basic Editing Shortcuts ShortcutFunctionCtrl + CUse it to copy both 2D and 3D elements on your imageCtrl + XDelete or move an element using this shortcutCtrl + VPaste the copied
 13 Ways to Fix MS Paint Not Working on Windows 10 Error
Microsoft Paint is an iconic Windows app even though it pales in comparison to the likes of CorelDRAW, Adobe Photoshop, and other advanced image editing apps.
13 Ways to Fix MS Paint Not Working on Windows 10 Error
Microsoft Paint is an iconic Windows app even though it pales in comparison to the likes of CorelDRAW, Adobe Photoshop, and other advanced image editing apps.
The article above may contain affiliate links which help support Guiding Tech. The content remains unbiased and authentic and will never affect our editorial integrity.