Fix 1: Turn on the Camera
Some webcams, including those on laptops, may have a dedicated switch that allows users to disconnect the camera from the primary device. While this is better than using the shutters, one can forget about it. So, ensure to turn it on.
Fix 2: Reconnect the Camera
If you use external cameras, reconnecting your camera can be a good check. Loose connections and dirty or faulty ports can cause this error.
You can also try connecting the external camera to a different device to confirm that the camera cable works properly. Once you have a proper connection, the problem should be resolved.
Fix 3: Update or Reinstall Camera Drivers
Camera drivers help the camera and the operating system communicate effectively. You may have issues using the camera when the driver is outdated or corrupted.
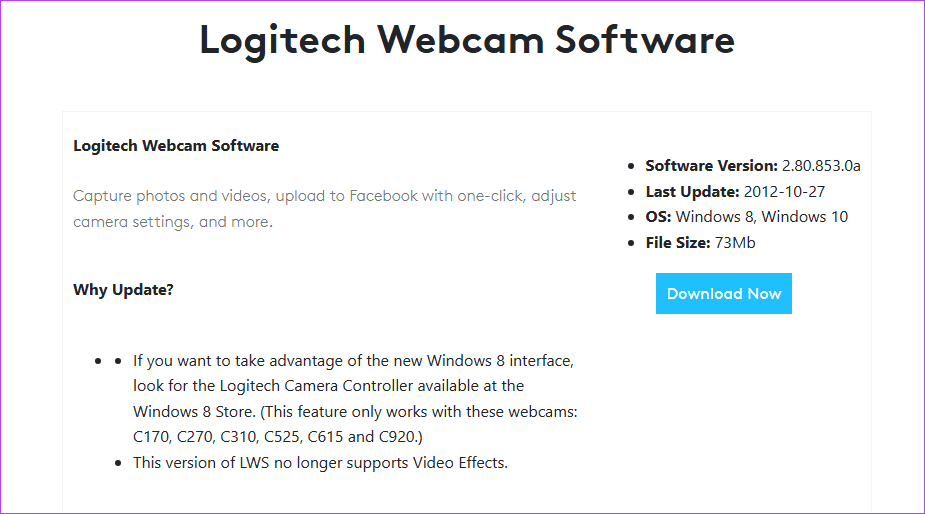
Ensure that you uninstall the driver first, then reinstall the latest version. The best way to install it is by downloading it from the OEM website. The only thing you need to ensure is that the OS version matches.
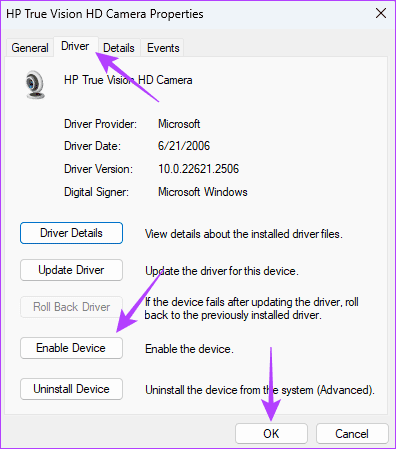
Fix 4: Enable the Camera From Device Manager
If you encounter the “we can’t find your camera” error, it may be due to disabled camera drivers. When camera drivers are disabled, programs that require the camera service cannot access it.
Step 1: Right-click on the Start menu and click Device Manager.
Step 2: Expand the Cameras category and double-click on your camera to open its properties.

Step 3: Switch to the Driver tab, click the Enable Device button, and click OK.
Fix 5: Run the Camera Troubleshooter
Windows GetHelp App allows you to run the camera troubleshooter. When you run this tool, it asks questions, checks all possible causes of the camera problem, fixes them, or recommends the best options to correct the error.
Step 1: Open the GetHelp app from the Start menu.
Step 2: Type Run camera troubleshooter > press Enter.
Step 3: Follow the troubleshooting wizard, which will ask you questions and offer solutions to fix the issue.

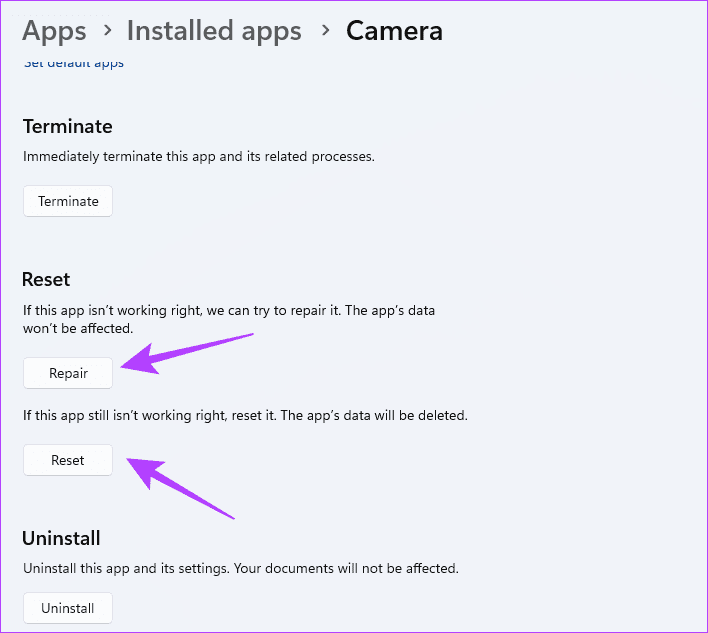
Fix 6: Reset or Repair the Camera App
Lastly, the Camera app may have gone bad or corrupted. In such cases, you must reset and repair it. Windows 11 offers a built-in solution for every app that can repair and reset apps to fix situations like these.
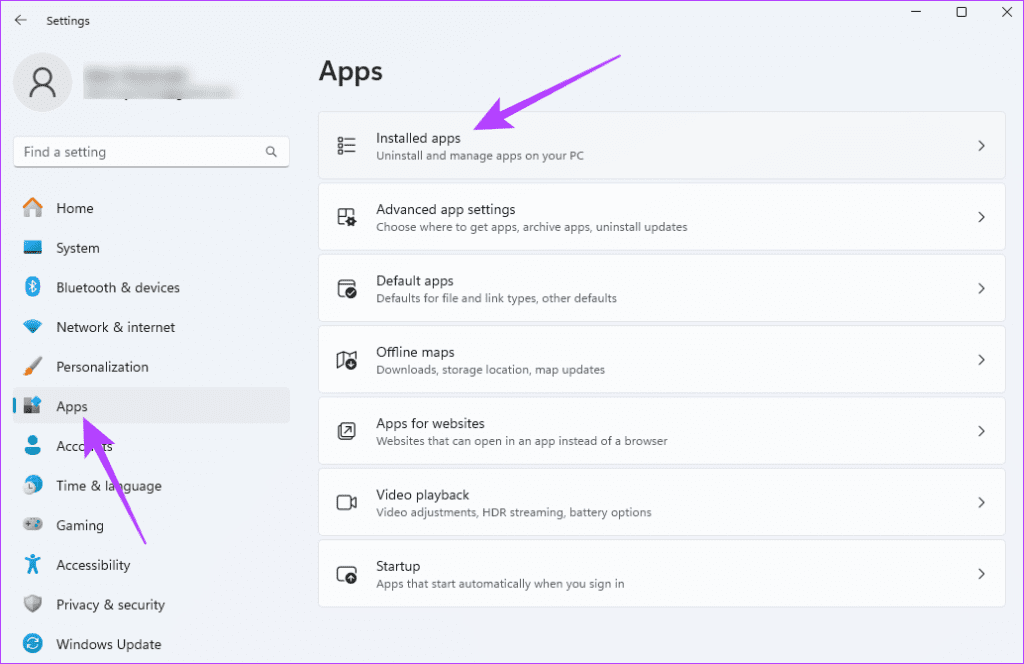
Step 1: Press Windows + I to open the Settings app.
Step 2: Click Apps on the left pane > click Installed apps on the right.
Step 3: Click the Camera app ellipses > select Advanced options.
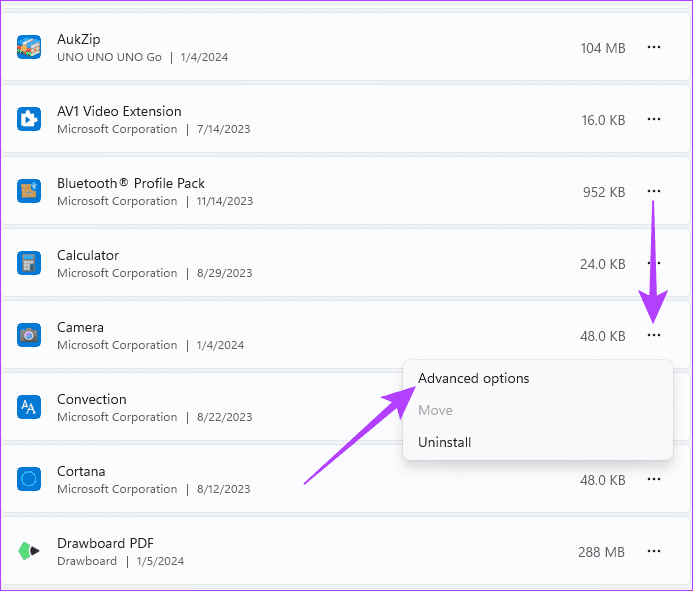
Step 4: Scroll to the Reset section > click the Repair button > click the Reset button.
Was this helpful?
Last updated on 20 April, 2024
Read Next
 5 Fixes for “Word Experienced an Error Trying to Open the File” Error in Windows
Fix 1: Unblock Your Word File Microsoft Word may fail to open a document if it has been altered by third-party software.
5 Fixes for “Word Experienced an Error Trying to Open the File” Error in Windows
Fix 1: Unblock Your Word File Microsoft Word may fail to open a document if it has been altered by third-party software.
 7 Best Fixes for Skype Camera Not Working on Windows 10
Be it for individual, professional, or business use, Skype is one of the best software for visual communication on mobile and PC.
7 Best Fixes for Skype Camera Not Working on Windows 10
Be it for individual, professional, or business use, Skype is one of the best software for visual communication on mobile and PC.
 7 Best Fixes for Windows Update Error 0x800f081f in Windows 11
Microsoft regularly releases Windows updates to introduce new features and fix known issues.
7 Best Fixes for Windows Update Error 0x800f081f in Windows 11
Microsoft regularly releases Windows updates to introduce new features and fix known issues.
 Your iPhone Can Now Take Pictures Like a $10,000 Camera — Thanks to Leica’s New Camera App
Over the years, phones have become synonymous with pocket cameras.
Your iPhone Can Now Take Pictures Like a $10,000 Camera — Thanks to Leica’s New Camera App
Over the years, phones have become synonymous with pocket cameras.
 5 Fixes for “User Profile Service Failed the Sign-In” Error in Windows 11
Fix 1: Configure the User Profile Service If the User Profile Service on your PC is not set to run automatically, you could encounter the "User Profile Service failed the
5 Fixes for “User Profile Service Failed the Sign-In” Error in Windows 11
Fix 1: Configure the User Profile Service If the User Profile Service on your PC is not set to run automatically, you could encounter the "User Profile Service failed the
 5 Fixes for Microsoft Outlook Out of Memory or System Resources Error on Windows
Fix 1: Run the Inbox Repair Tool Damaged or corrupted PST or OST files can cause Outlook to run out of memory on your Windows computer.
5 Fixes for Microsoft Outlook Out of Memory or System Resources Error on Windows
Fix 1: Run the Inbox Repair Tool Damaged or corrupted PST or OST files can cause Outlook to run out of memory on your Windows computer.
 5 Fixes for “DLL Is Not Designed to Run on Windows” Error
Try Basic Fixes Update or reinstall the problematic software: Compatibility issues with your app or program can trigger the "DLL is not designed to run on Windows" error on your
5 Fixes for “DLL Is Not Designed to Run on Windows” Error
Try Basic Fixes Update or reinstall the problematic software: Compatibility issues with your app or program can trigger the "DLL is not designed to run on Windows" error on your
 4 Fixes for Bad Module Info Has Stopped Working Error on Windows
Fix 1: Turn off Fullscreen Optimizations Full-screen optimizations in Windows can enhance the performance of your games and programs while they're in full-screen mode.
4 Fixes for Bad Module Info Has Stopped Working Error on Windows
Fix 1: Turn off Fullscreen Optimizations Full-screen optimizations in Windows can enhance the performance of your games and programs while they're in full-screen mode.
The article above may contain affiliate links which help support Guiding Tech. The content remains unbiased and authentic and will never affect our editorial integrity.

