Widgets on Android are a great way for you to access key app features right on your home screen. But a lot of developers, including Google, don’t ship widgets with their apps. What if I told you that you could create custom widgets? Yep, that’s right. With KWGT you can do exactly that.
KWGT is an app that helps you to create stunning widgets for your home screen, and it’s quite popular among Android customization enthusiasts. However, the app’s interface can be a bit overwhelming for new users. But don’t you worry. Read on and I’m sure you’ll be making some cool widgets in no time.
To begin with, download KWGT from the Play Store. The app has an ad-supported free version with a few missing features, but it’s enough to get you started. Once you get the hang of it, you can purchase the pro key, which removes all ads and unlocks a couple of additional features.
Customize Pre-made Widgets Using KWGT
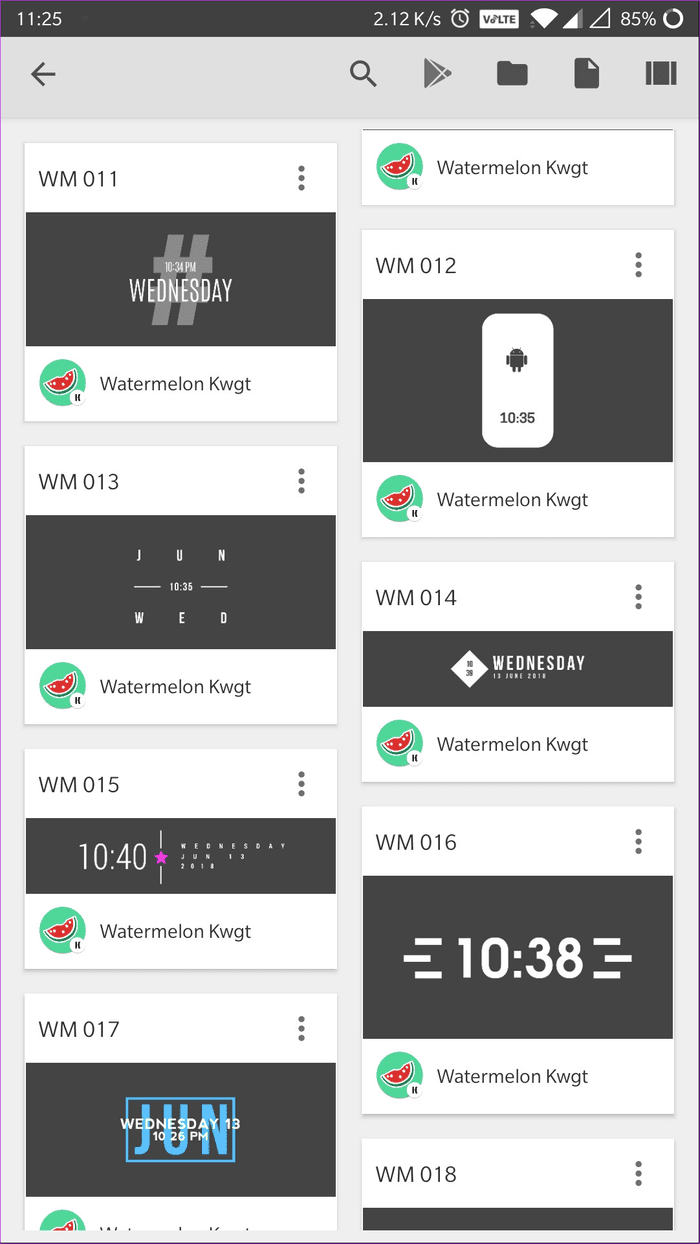
If you haven’t used KWGT before, you should first try your hand at customizing pre-made widgets. You can get some great widget packs on the Play Store and customize them to suit your setup. For this post, I’ll be using Watermelon KWGT, a colorful widget pack with a minimal aesthetic.
Note:After downloading KWGT and installing a widget pack, follow the steps below to set up and customize widgets.
Add a KWGT Widget to the Home Screen
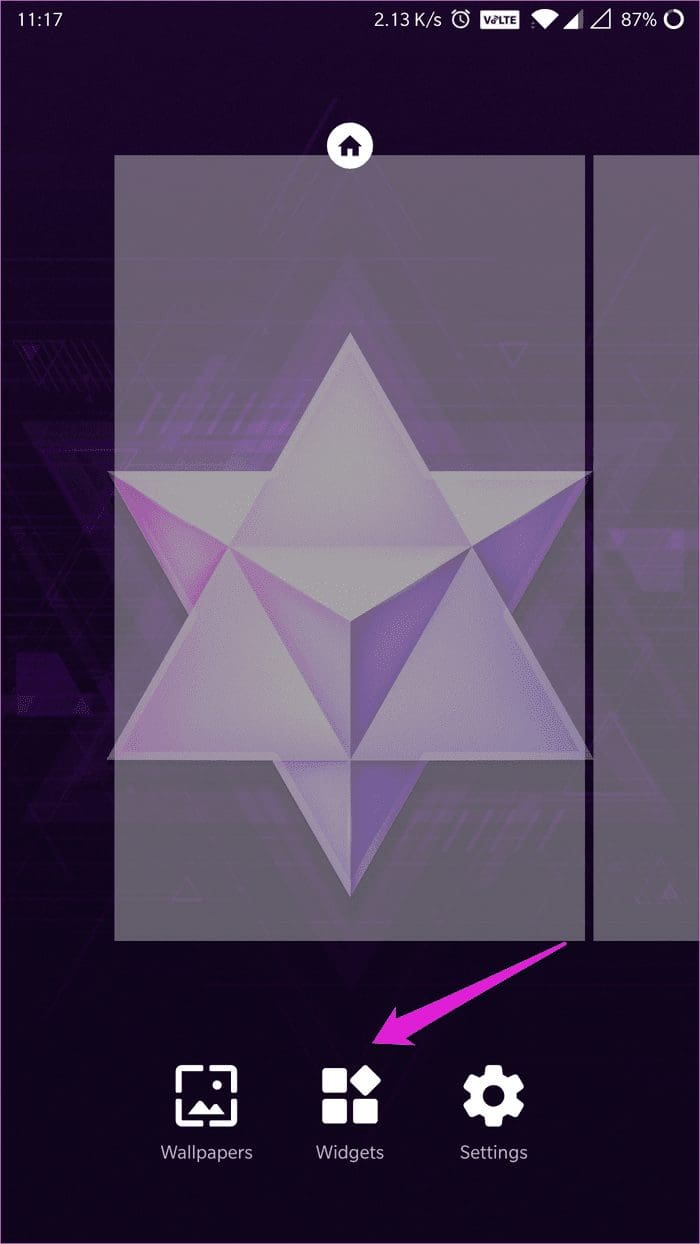
Step 1: Long press on the home screen and select the Widgets prompt.
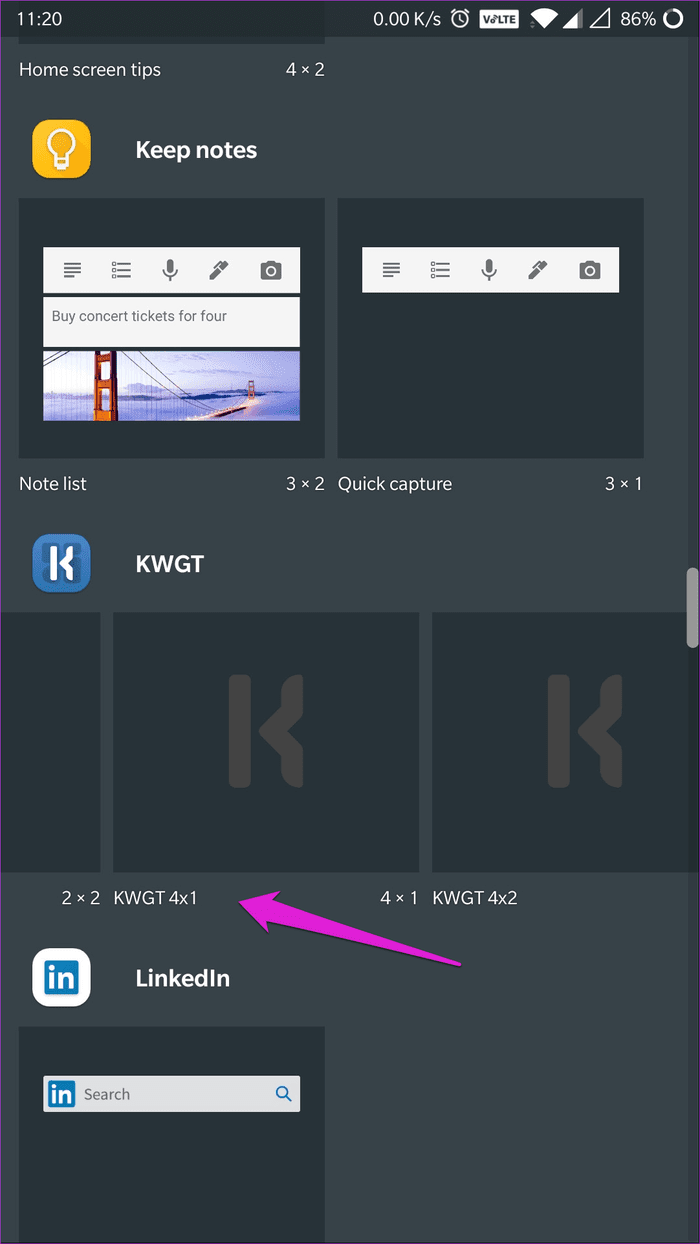
Step 2: In the widget menu, scroll down to locate the KWGT widgets, select the widget size of your choice, and drag it to your home screen.
Step 3: Tap on the empty widget to open up the widget selection page.

Step 4: Here, select a widget of your choice. I’ve picked a minimal clock widget from the Watermelon KWGT pack.
Let the Customization Begin
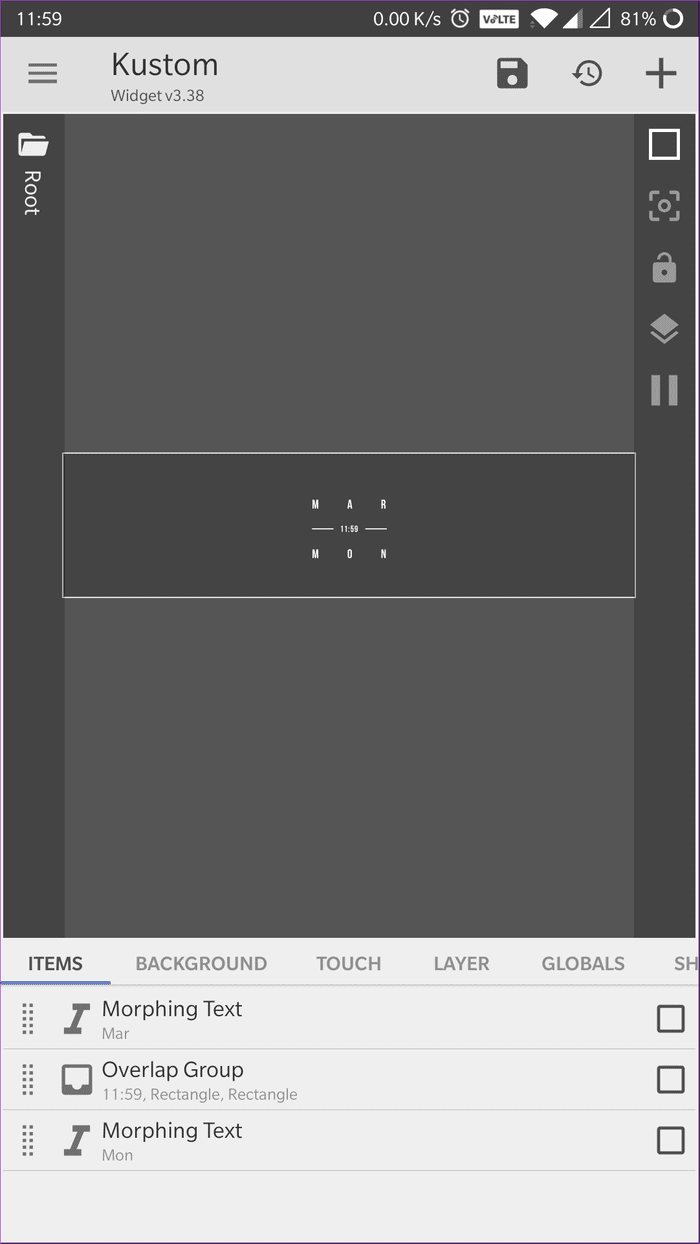
Once you’ve selected a widget, you’ll be redirected to a widget editor. The widget editor is divided into six tabs – Items, Background, Touch, Layer, Globals and Shortcuts. Each tab will allow you to tinker with a different aspect of the widget.
The clock widget that I’ve chosen is barely visible, so for this example, I’ll be changing the font size to make it more visible. I’ll also be changing the position of each item, so none of them overlap. Along with that, I’ll add a background to keep the clock visible even with light wallpapers. And finally, I’ll add a shortcut to the widget which will open up the Clock app when I tap on it. Just follow these steps to do the same:
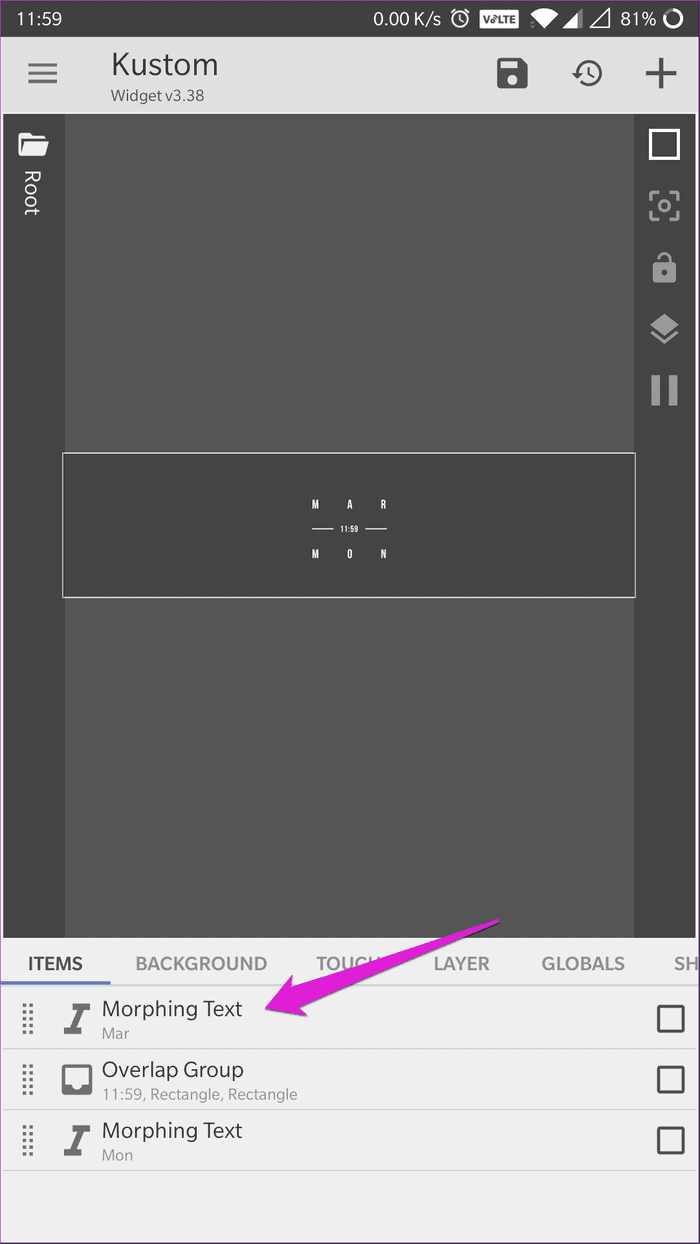
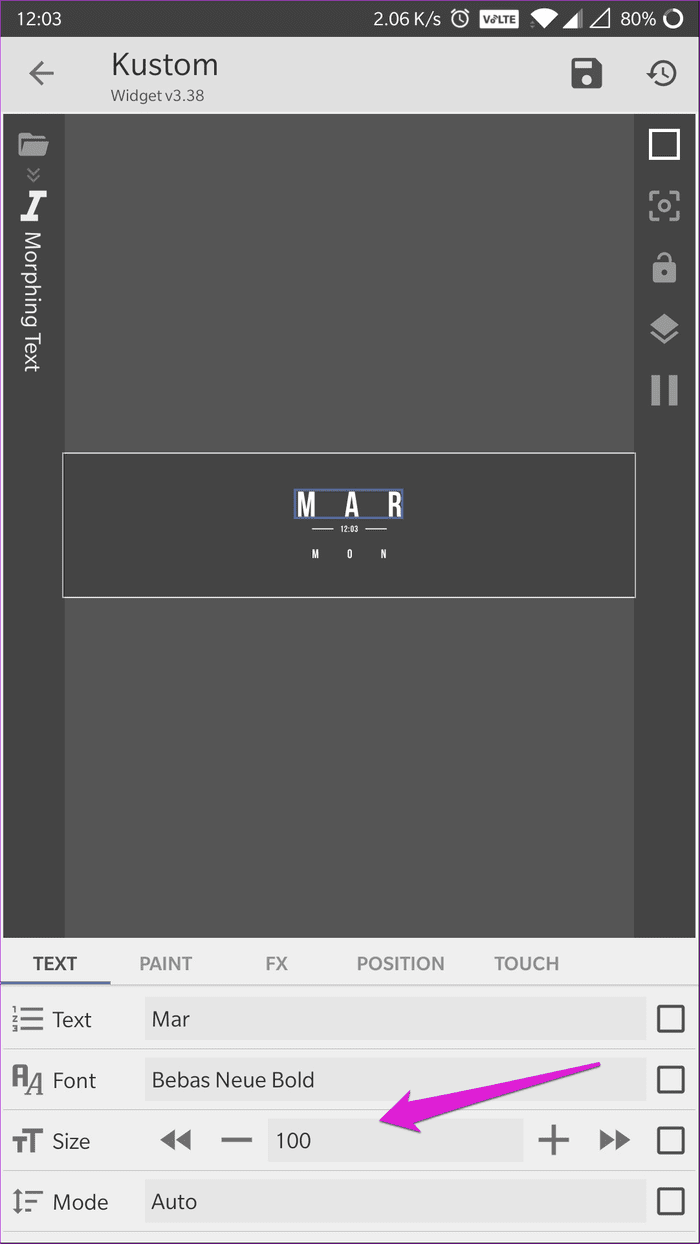
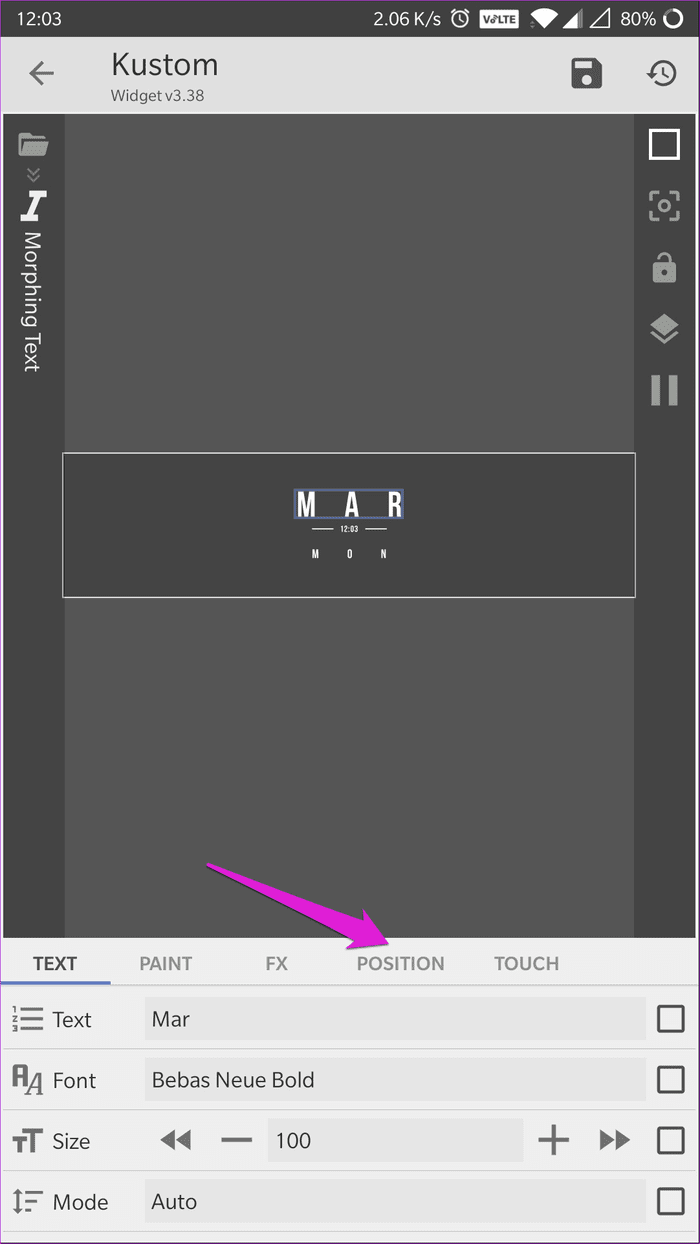
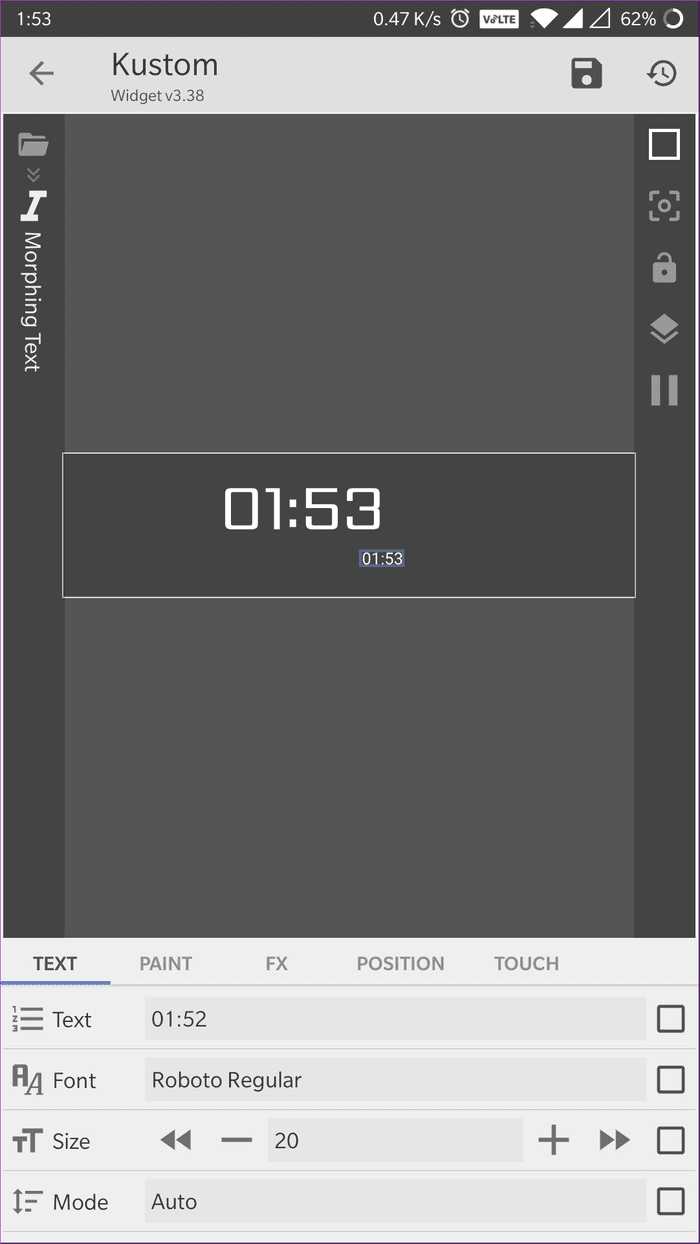
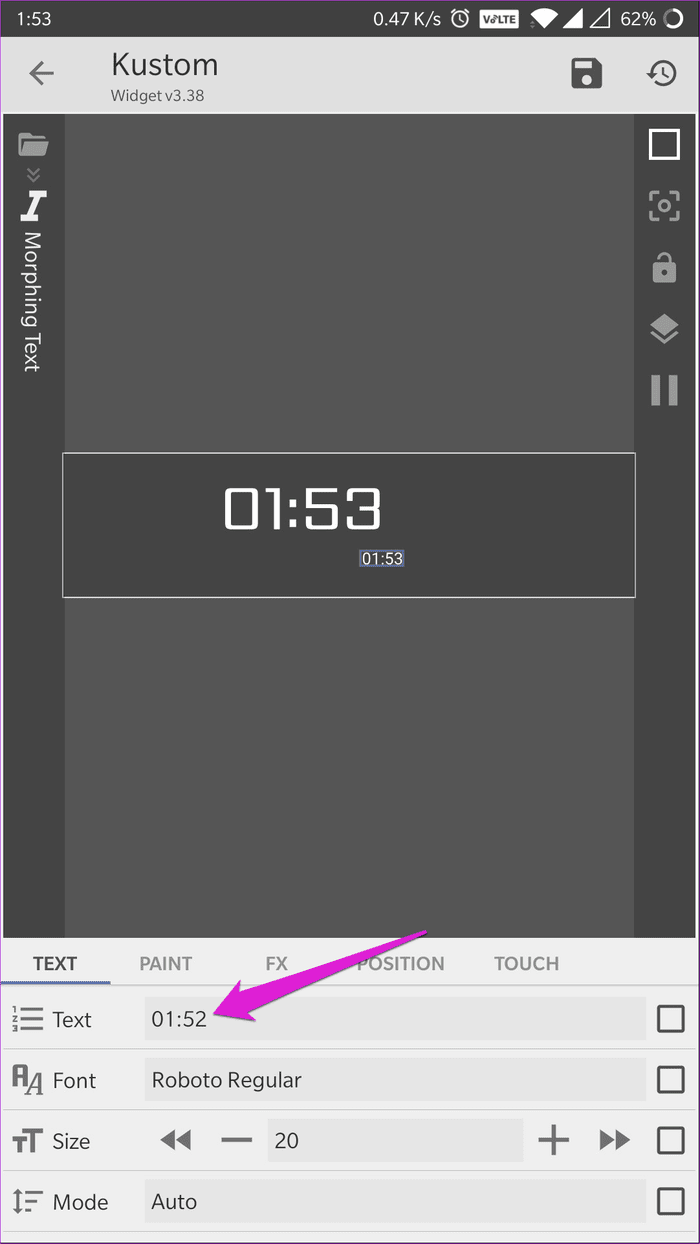
Step 1: Tap on the Morphing Text item in the Items tab and then tap on the + icon next to the Size option to increase the size. Tapping on the forward/backward arrows increases/decreases the font size in increments of 10. Repeat this step for all items in the widget.
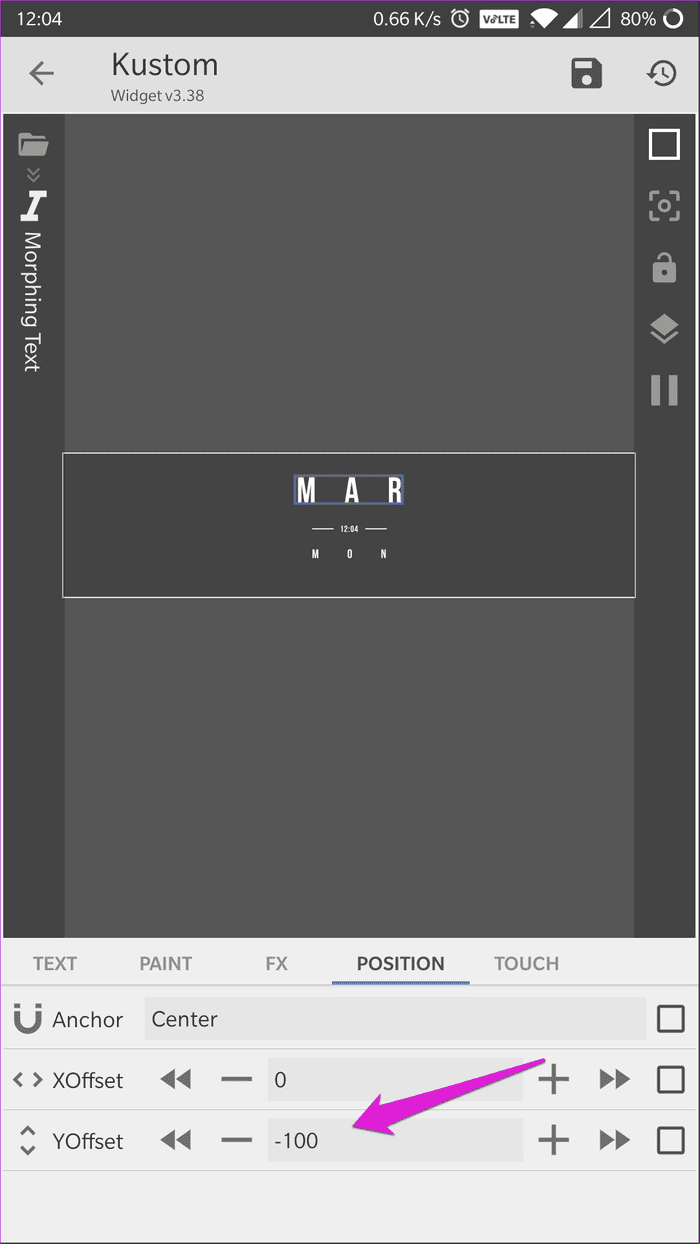
Step 2: Switch to the position tab and tap on the +/- icon next to the XOffset to move the item along the X-axis. Do the same on the YOffset to move it along the Y-axis.
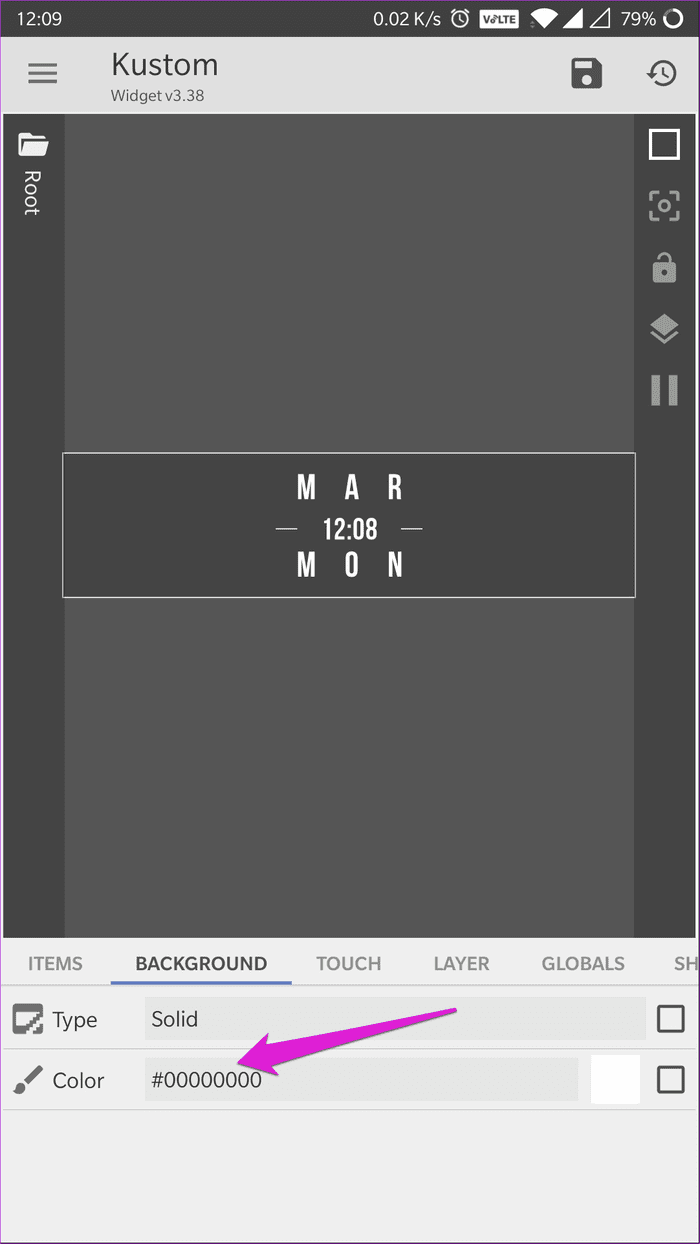
Step 3: In the background tab, tap on the bar next to the Color option to open the color picker. Here, you can select the background color of your choice. You can also adjust the opacity of the background layer if you want.

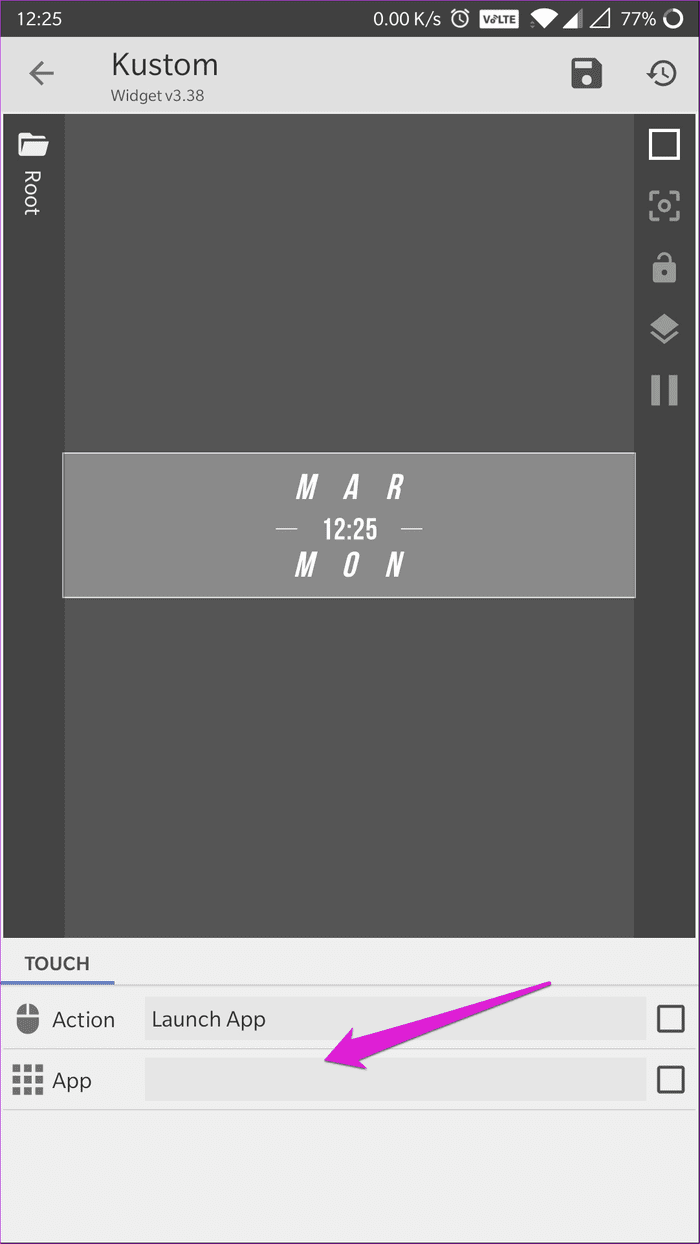
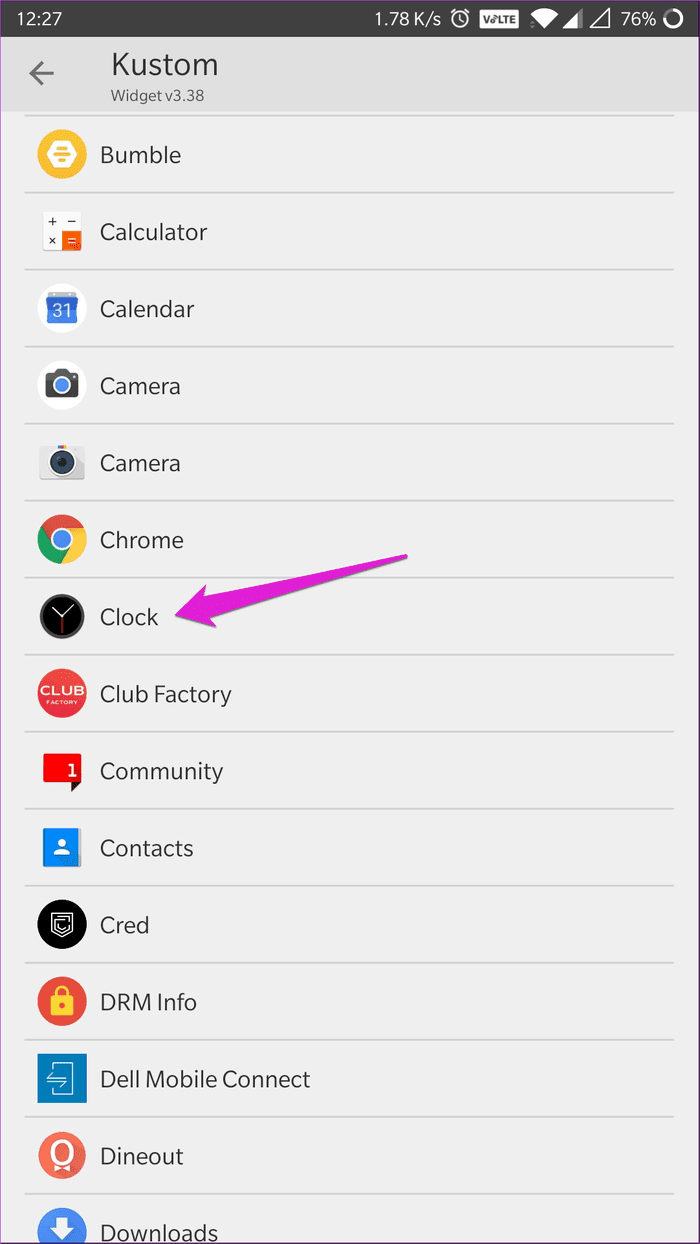
Step 4: To add a shortcut, switch to the Touch tab and tap on the bar next to the Action option. Then select the Launch App option from the pop-up menu. Now, you can choose the app of your choice by tapping on the bar next to the App option.
After making all these changes, this is the widget I ended up with:
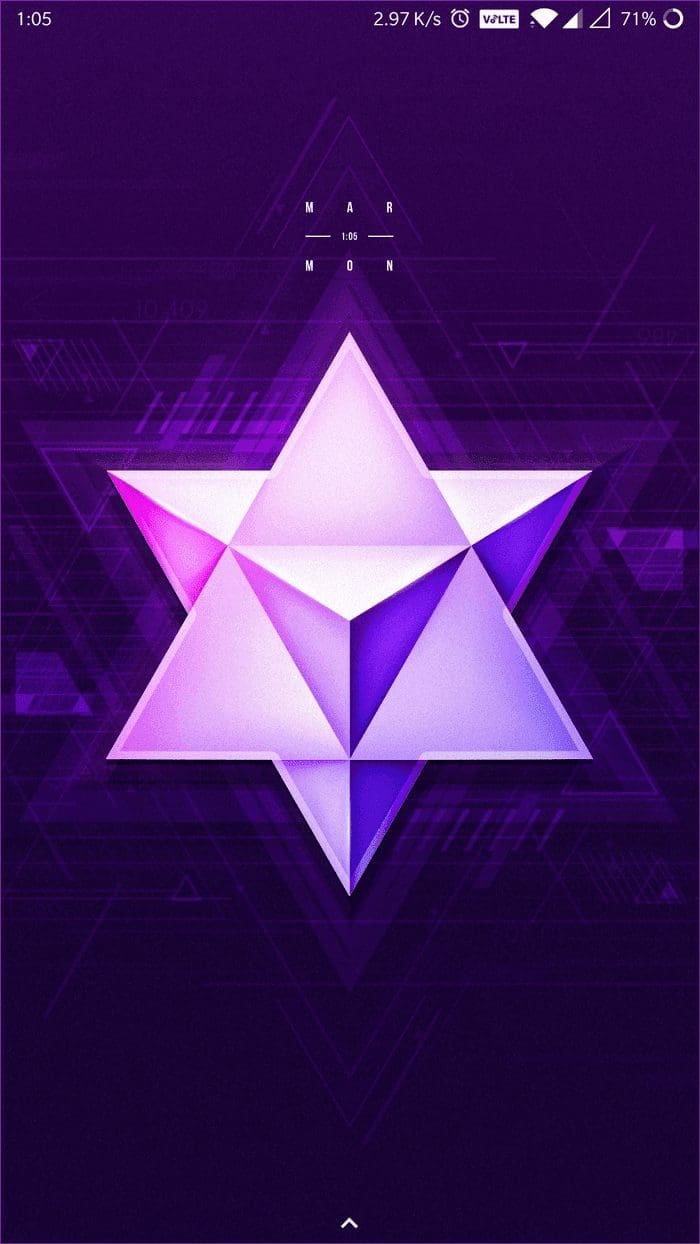
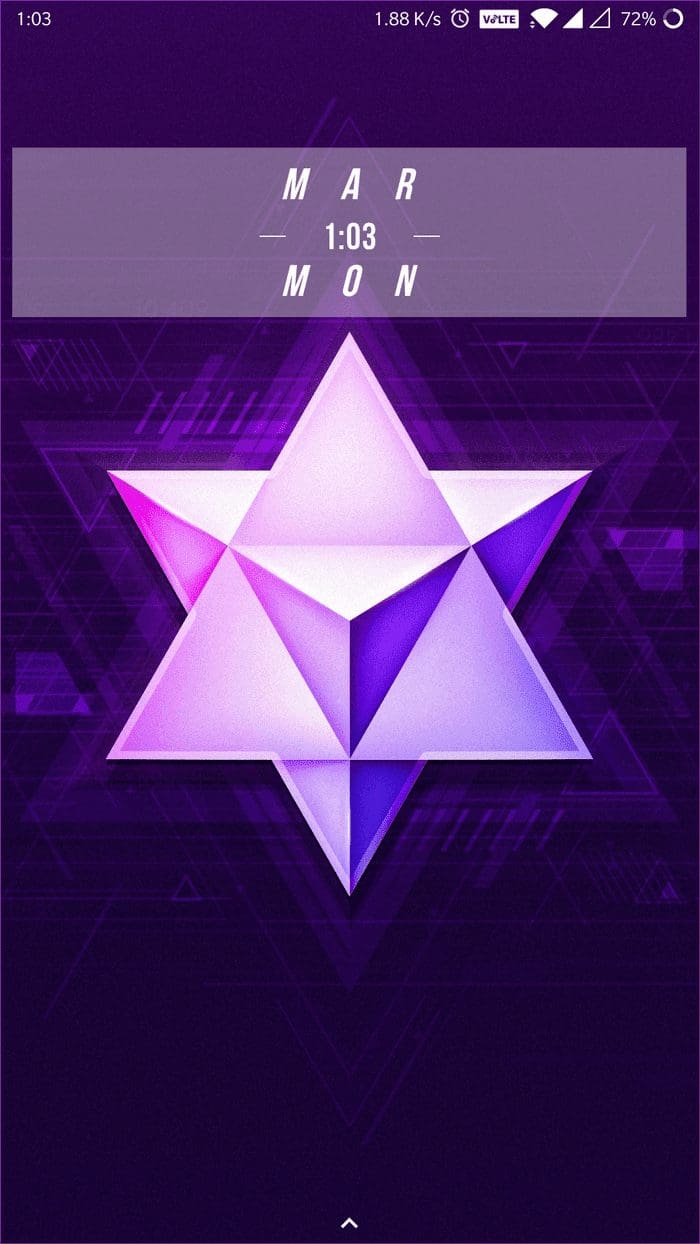
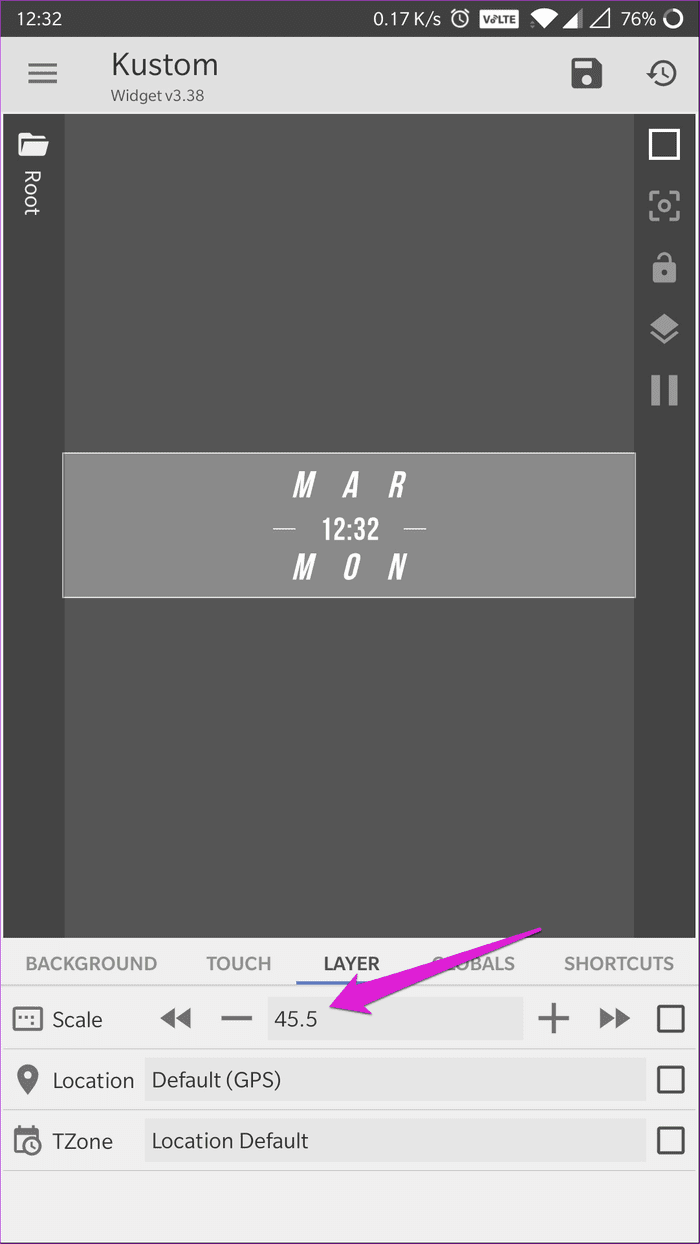
Looks much better, right? Since we didn’t explore all the options in this example. I’ll give you a brief rundown of what you can do with them. The Layer option allows you to scale up/down the widget as a whole. In effect, you can skip the resizing method that I used in my example and just scale the widget in the Layer tab.

In the Globals tab, you can create dynamic preferences which will allow you to change settings for more than one item, all at once. You can add a Global by tapping on the + icon on the top right corner of the widget editor. Finally, the Shortcut tab allows you to add a shortcut to the widget. That works quite like the Touch tab and enables you to have two separate shortcuts on a single widget.

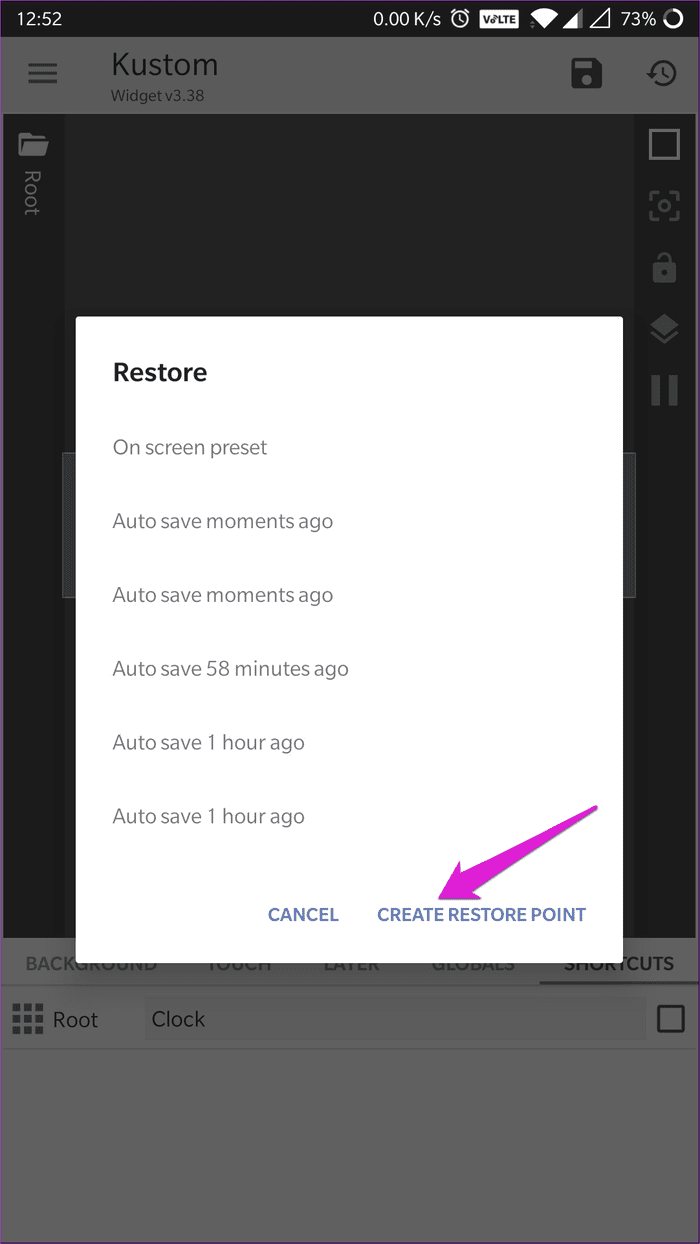
While it may seem like a lot of work, using KWGT to customize widgets isn’t all that difficult. On top of that, the app keeps saving your progress regularly and allows you to easily go back to a restore point by clicking on the Restore button placed in the top right corner next to the save button.
Once you’re satisfied with the results, you can just tap on the save button and exit the widget editor. Your customized widget will automatically appear on the home screen.
Create a Custom Widget Using KWGT
Now that you know how to customize pre-made widgets, let’s dive into creating custom widgets. Creating custom widgets using KWGT is no easy feat. Sure, you can make a half decent widget in no time, but for a great widget, you’ll have to put in some time and effort.
To keep things simple, I’ll be creating a clock widget in this article. Follow the first few steps mentioned earlier to create a KWGT widget on your home screen and head to the widget selection page. Now, follow these steps to create your own widget:
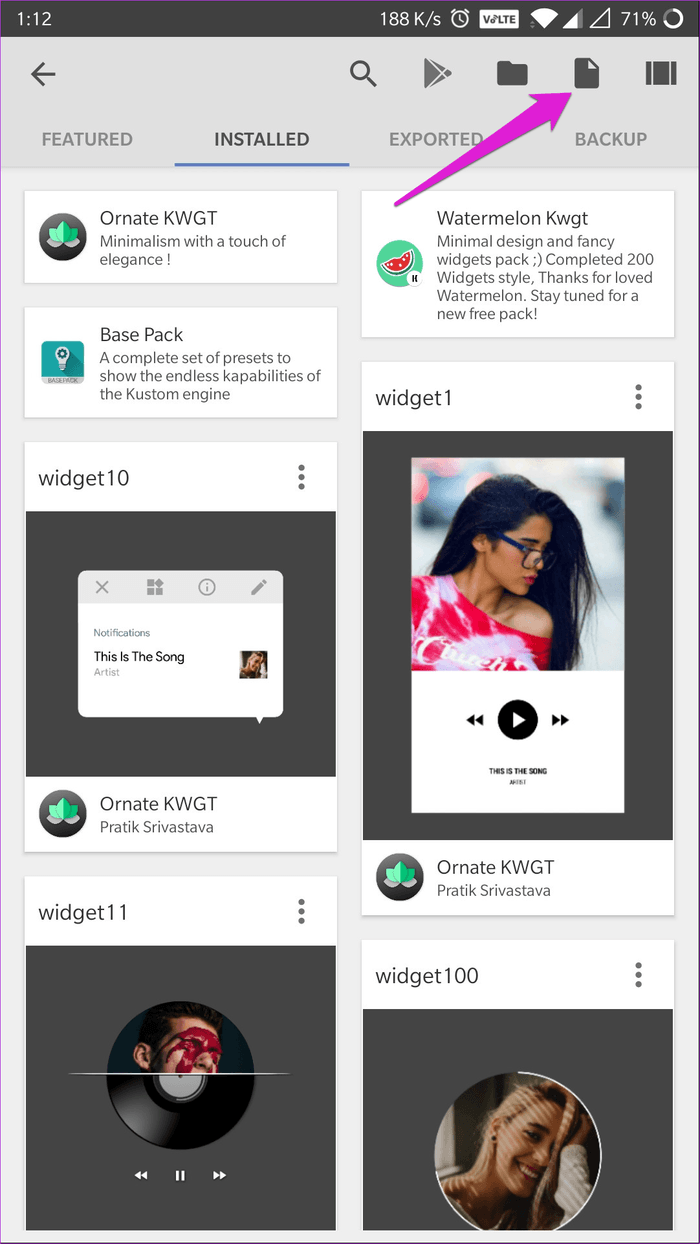
Step 1: Tap on the new widget icon in the top right corner to start a new project. That opens up an empty widget editor.
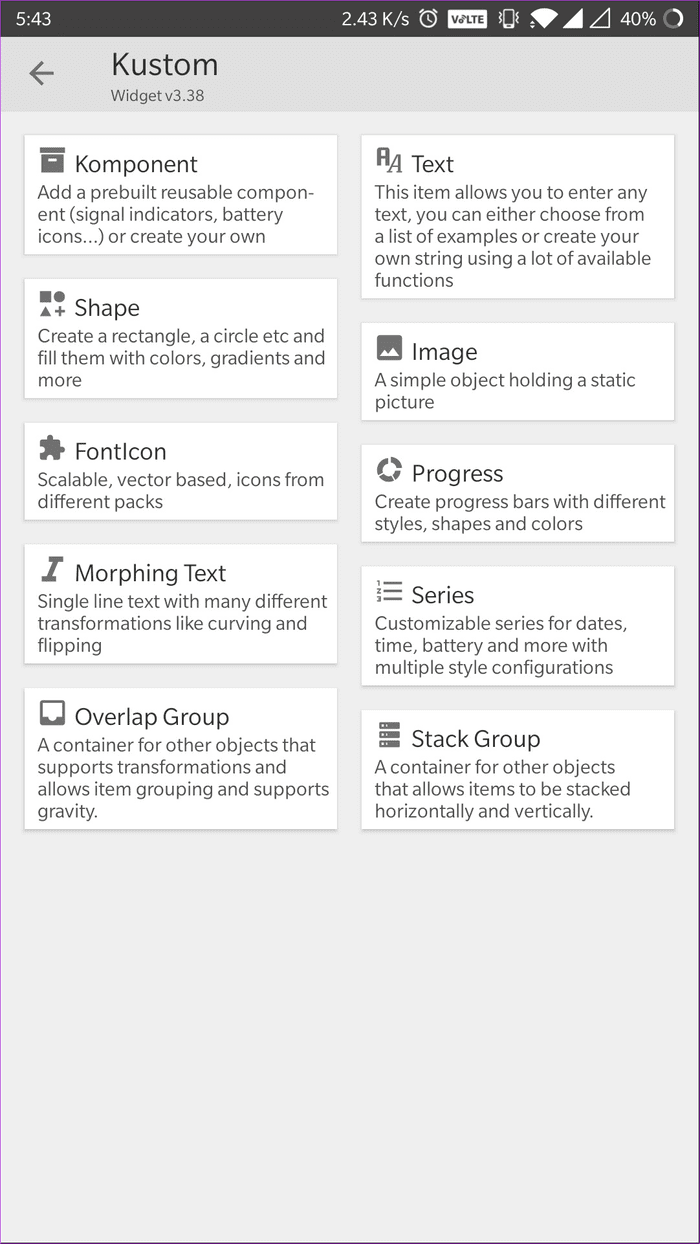
Step 2: To add elements to the widget, tap on the + icon in the top right corner of the widget editor and select an item of your choice from the menu. I’ve chosen the Morphing Text option to create my clock widget.
Step 3: Customize the Morphing Text item as mentioned earlier. For this widget, I’ve changed the font style, increased the size and moved it a bit to the left.
Step 4: Tap on the + icon again to add another Morphing Text item for the date and tap on the bar next to the Text option to change the time to date.
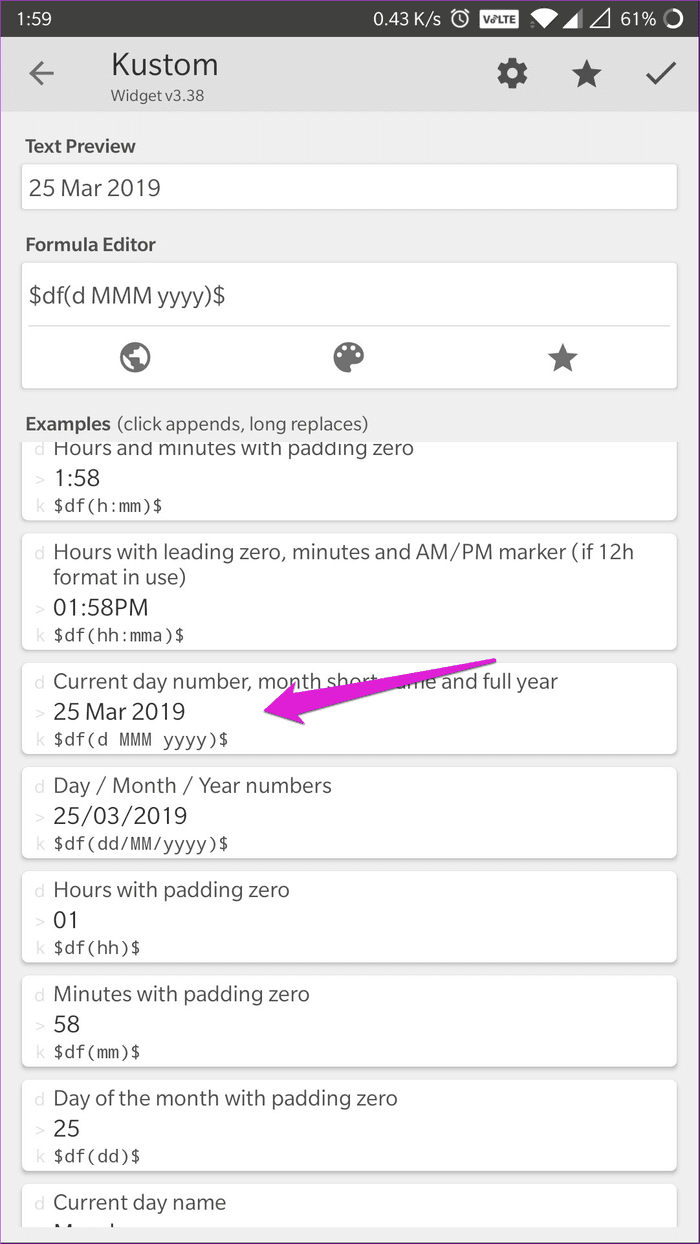
Step 5: In the formula editor, select the ‘df’ option to format a date into text.

Step 6: Choose a date style from the list of examples. Enter the formula in the Formula Editor option and tap on the check mark in the top right corner to save changes.
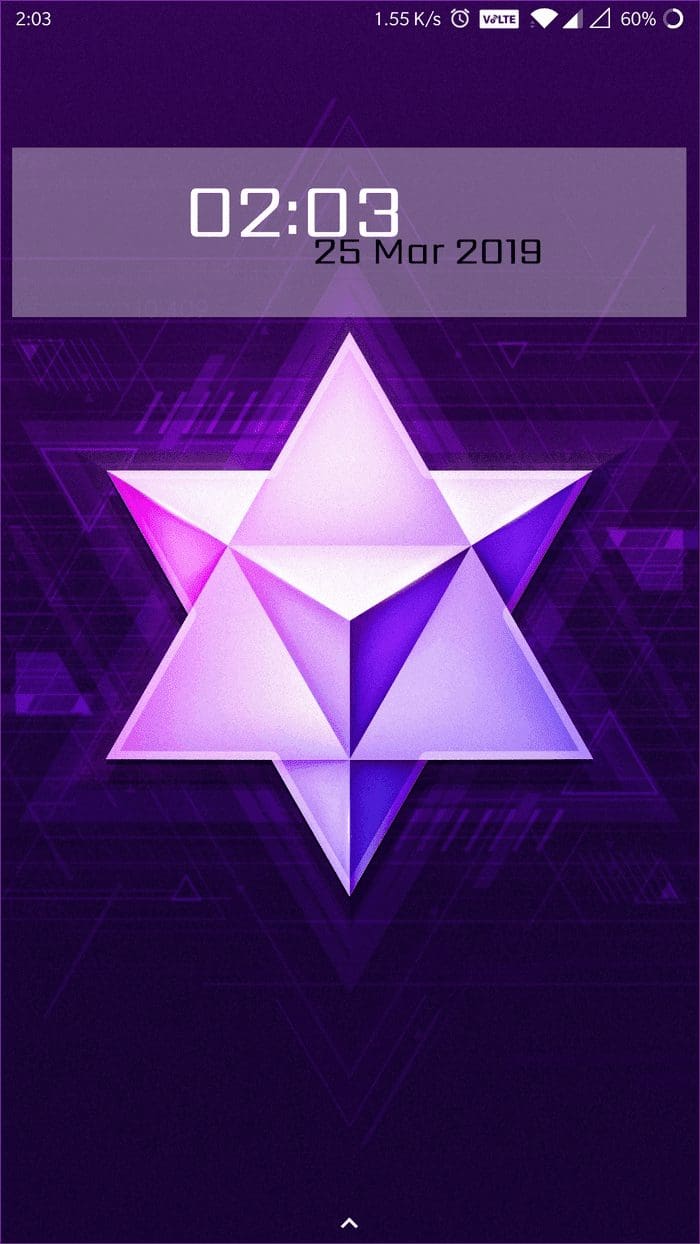
Customize the Morphing Text item for the date as mentioned earlier. Here, I’ve changed the style, size and color of the font, and moved the text to align it with the time. I’ve also added a background to improve visibility. If you followed all these steps to the T, you’d now have a widget that looks something like this:
Yeah, I know it isn’t much, but now you know how to make it better. You can add many different items to your widget from the component menu, all of which serve a different purpose. The Komponent option lets you add a prebuilt component, while the Progress option lets you add a neat progress bar to your widget.
The Overlap Group and Stack Group options let you group items in your widget, whereas the Series option lets you make custom series for dates, time, battery, etc. The rest of the options are pretty self-explanatory.
Publish Your Custom Widget Packs
Once you get the hang of the process, I’m sure you’ll be able to make much more complex widgets than the one I’ve made here. You can even publish your widgets to the Play Store using the KAPK Kustom Skin Pack Maker. Head over to the Kustom subreddit for some inspiration and try to recreate the widgets you see there for some practice. Make sure to drop links to your custom widgets in the comments below, and I’ll check them out.
Next up: Want to take your home screen customization to the next level? Use a third-party launcher. But choosing one could be confusing. Check out our top picks to make the task slightly easier.
Was this helpful?
Last updated on 03 February, 2022
Read Next
 17 Incredible and Stunning HD Nature Wallpapers
The month of June saw two important events — WWDC 2017 and the World Environment day.
17 Incredible and Stunning HD Nature Wallpapers
The month of June saw two important events — WWDC 2017 and the World Environment day.
 2 Fixes for iPhone Lock Screen Widgets Not Showing Up
Basic Fixes Restart iPhone: Restart your iPhone to fix any temporary bugs and glitches.
2 Fixes for iPhone Lock Screen Widgets Not Showing Up
Basic Fixes Restart iPhone: Restart your iPhone to fix any temporary bugs and glitches.
 How to Remove Widgets From iPhone Lock Screen
Your lock screen widgets help you see all the latest app information at a glance and add extra functionality to your iPhone.
How to Remove Widgets From iPhone Lock Screen
Your lock screen widgets help you see all the latest app information at a glance and add extra functionality to your iPhone.
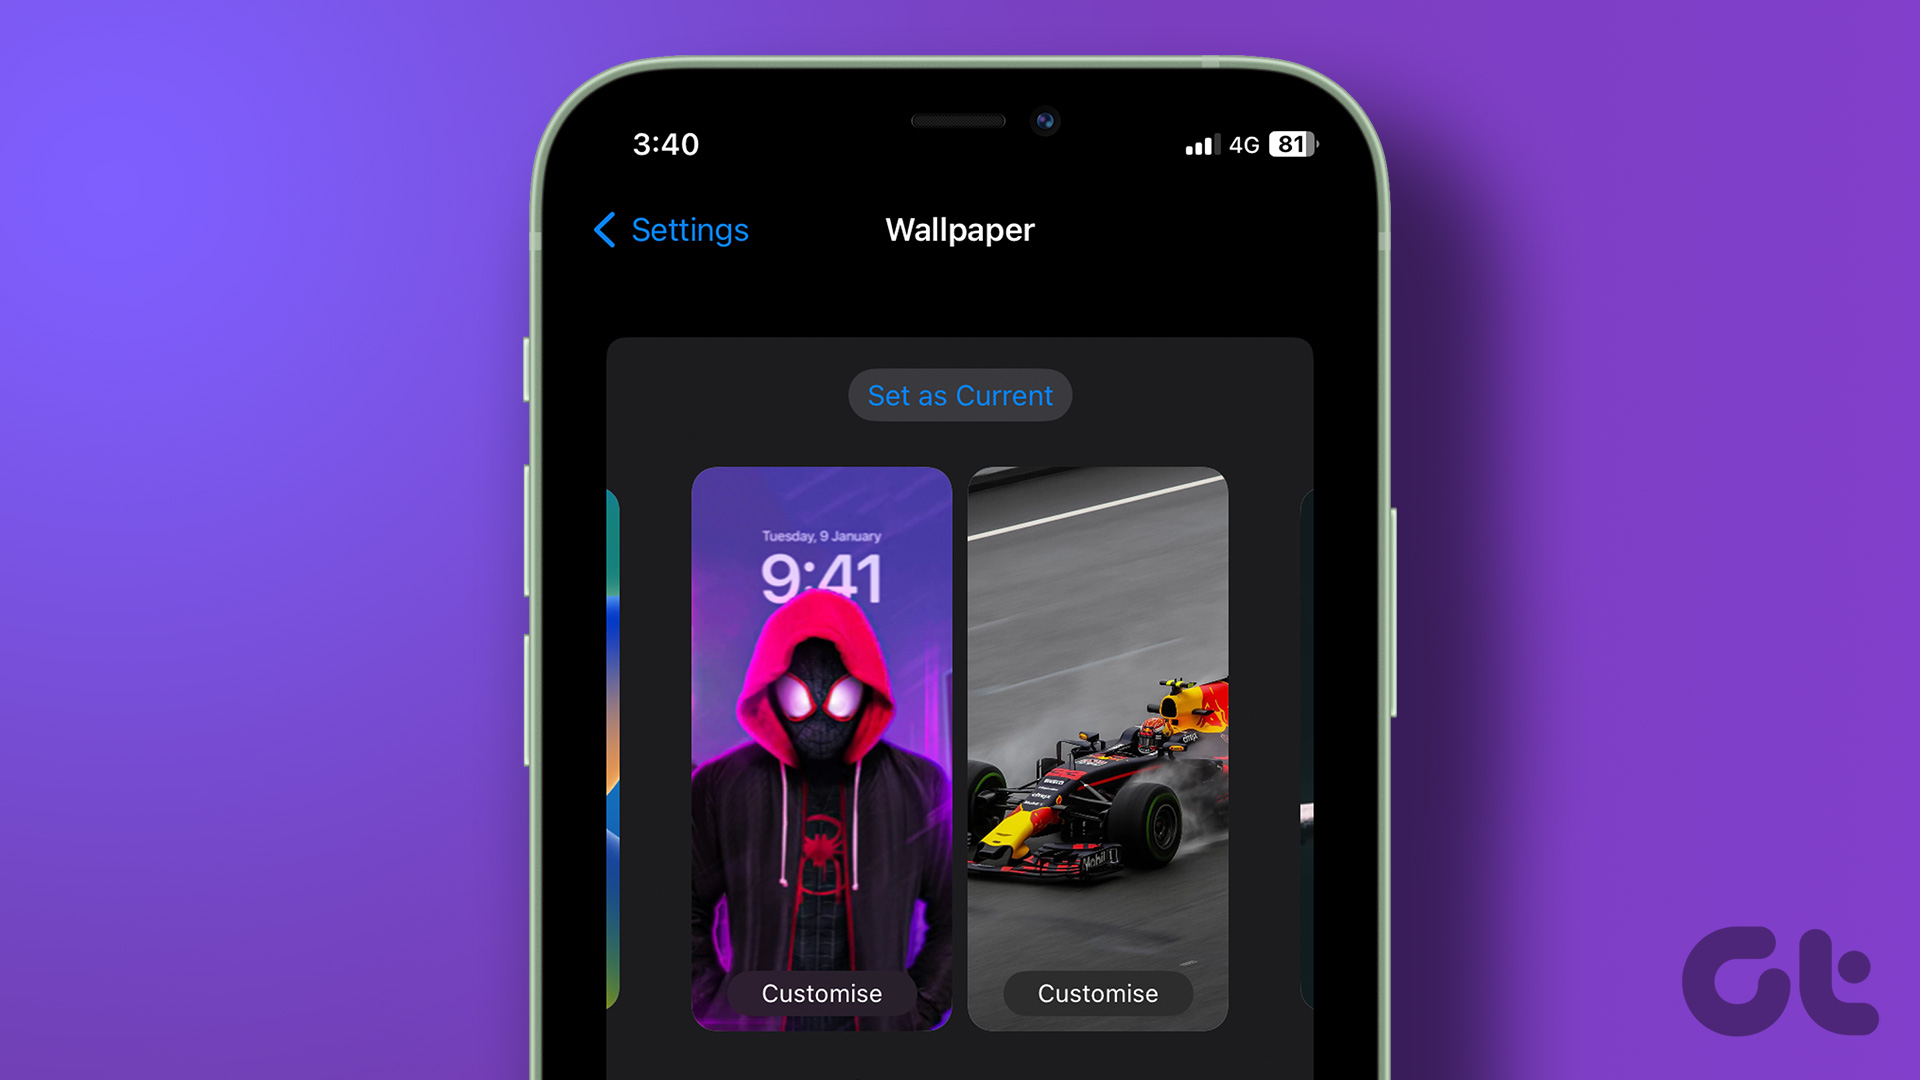 How to Set Different Lock Screen and Home Screen Wallpaper on iPhone
How to Add Different Wallpapers on iPhone Home Screen and Lock Screen Step 1: Open the Settings app > select Wallpaper.
How to Set Different Lock Screen and Home Screen Wallpaper on iPhone
How to Add Different Wallpapers on iPhone Home Screen and Lock Screen Step 1: Open the Settings app > select Wallpaper.
 4 Ways to Fix Widgets Not Updating on Android
Fix 1: Re-Add the Widget Removing and re-adding the widget on Android has seemed to work well while fixing widget-related issues.
4 Ways to Fix Widgets Not Updating on Android
Fix 1: Re-Add the Widget Removing and re-adding the widget on Android has seemed to work well while fixing widget-related issues.
 8 Ways to Add an App Back to Home Screen on iPhone and Android
Method 1: Look for the App Inside the Folders If an app has gone missing from your iPhone or Android phone, start by looking in the folders on your phone’s
8 Ways to Add an App Back to Home Screen on iPhone and Android
Method 1: Look for the App Inside the Folders If an app has gone missing from your iPhone or Android phone, start by looking in the folders on your phone’s
 How to Add Google Search Bar to Home Screen on Android and iPhone
On Android Step 1: Tap and hold a space on your home screen, and tap on Widgets.
How to Add Google Search Bar to Home Screen on Android and iPhone
On Android Step 1: Tap and hold a space on your home screen, and tap on Widgets.
The article above may contain affiliate links which help support Guiding Tech. The content remains unbiased and authentic and will never affect our editorial integrity.