There are three services you can use to perform the transfer based on your preferences. Pick the one that you think is most relevant based on your requirement.
Method 1: Soundiiz – Best to Transfer a Single Playlist
Soundiiz is an online service that allows you to import playlists from YouTube Music to Apple Music. However, the catch is that it will enable you to transfer merely one playlist at a time. So, if you have a single playlist with up to 200 tracks or 2-3 small playlists, use Soundiiz by following the steps below.
Syncing Your Accounts
Step 1: On Soundiiz, tap on the ‘Get Started Now‘ button in the top right corner. On the sign-in page, click on the ‘Sign in with Google’ option.

Enter your Google details to sign into Soundiiz. You can also choose other methods to log in, but Google is the simplest.
You will now be asked to connect the services of your choice. Since we want to transfer from YouTube Music to Apple Music, we’ll select those two services.
Step 2: On the Soundiiz page, select YouTube Music from the left panel. Select Connect in the pop-up. Now, log in with your Gmail account. Ensure this is the same account connected to the YouTube Music playlist you wish to import.

Step 3: Tap on the Allow option to complete the sign-in process. You’ve now linked YouTube Music to Soundiiz.
Repeat the same login process for Apple Music. Select the service from the left pane and follow the process.

Now with both accounts synced, let’s transfer the playlists.
Transferring Playlists
Step 5: On the Soundiiz main screen, select the Transfer option under Tools. Click on the Source section. This is where you need to select the source account.


Step 6: Click on YouTube Music. Similarly, select Apple Music as the destination account. Once done, hit the Start button to begin the transfer.


Step 7: On the following screen, click on Playlists. Then, choose the ‘Confirm my selection‘ button. Enter the title and other details of the playlist. Once done, hit Save configuration.


Step 8: You will then be asked to select the songs in the playlist you want to transfer. Select all the songs of your choice and click on Confirm. Finally, select ‘Begin the Transfer’.


Your playlist will now be transferred from YouTube Music to Apple Music. If you have multiple playlists, repeat the steps to transfer each.
Method 2: TuneMyMusic – Simplest Way to Transfer Playlists
In our experience, TuneMyMusic offered a no-frills experience when transferring playlists from YouTube Music to Apple Music. Here’s how to use the service.
Step 1: Head to the TuneMyMusic website and tap on the Let’s Start option.
Step 2: You will now see the Select Source page. Opt for the YouTube Music option. Then, tap on ‘Load from YouTube account’.

Step 3: Now, log in with your Gmail account. This is the account connected to the YouTube Music playlist you wish to import.

After adding your Gmail credentials, tap Allow on Google’s pop-up. You’re now logged into TuneMyMusic. You should see a screen with all your YouTube Music playlists.
Step 4: Select the playlist you wish to transfer from your YouTube Music account to your Apple Music account. Then, opt for the Choose Destination option. Now, click on Apple Music as the destination.


Step 5: You will now see a pop-up. Inside it, tap on Connect.
Repeat the login process for Apple Music as well. You will have to add your Apple Music credentials. On the access request page, tap on the Allow option.

Step 6: Now, hit Start Transfer to commence the transfer. Wait for a while for the transfer to complete.
Method 3: FreeYourMusic – Transfer Playlists From the YouTube App
While the two services mentioned above can help you transfer playlists from YouTube Music, FreeYourMusic lets you do so from the YouTube app. So, if you didn’t have a YouTube Music subscription and instead created a playlist of your favorite tracks on YouTube, you can migrate them to Apple Music using the FreeYourMusic app. Here’s how:
Step 1: Head over to FreeYourMusic and click on the ‘Transfer your music now’ button in the top right corner of the window. This will download the FreeYourMusic app on your Mac or PC. Open the application once installed.
Step 2: You’ll now be greeted with a welcome pop-up. Select Let’s Go. Now, select your source as YouTube. Sign into your Google account connected to the YouTube Music playlist you wish to import.

Then, choose the source where you wish to transfer your music. Here, opt for Apple Music.

Step 3: Choose ‘Login to Apple Music’ in the pop-up window. Enter your credentials and sign into your Apple account. Proceed by choosing Continue.

Tick the playlist you wish to transfer from YouTube Music to Apple Music and hit Begin Transfer.

The only drawback with FreeYourMusic is that you need to download the app. We wish there were a web version.
Was this helpful?
Last updated on 04 September, 2024
1 Comment
Leave a Reply
Read Next
 Fix: Apple Music Playlists Not Syncing Between Mac and iPhone
Basic Fixes Use the same Apple account: Once you do that, all your devices will have all your Apple Music data synced.
Fix: Apple Music Playlists Not Syncing Between Mac and iPhone
Basic Fixes Use the same Apple account: Once you do that, all your devices will have all your Apple Music data synced.
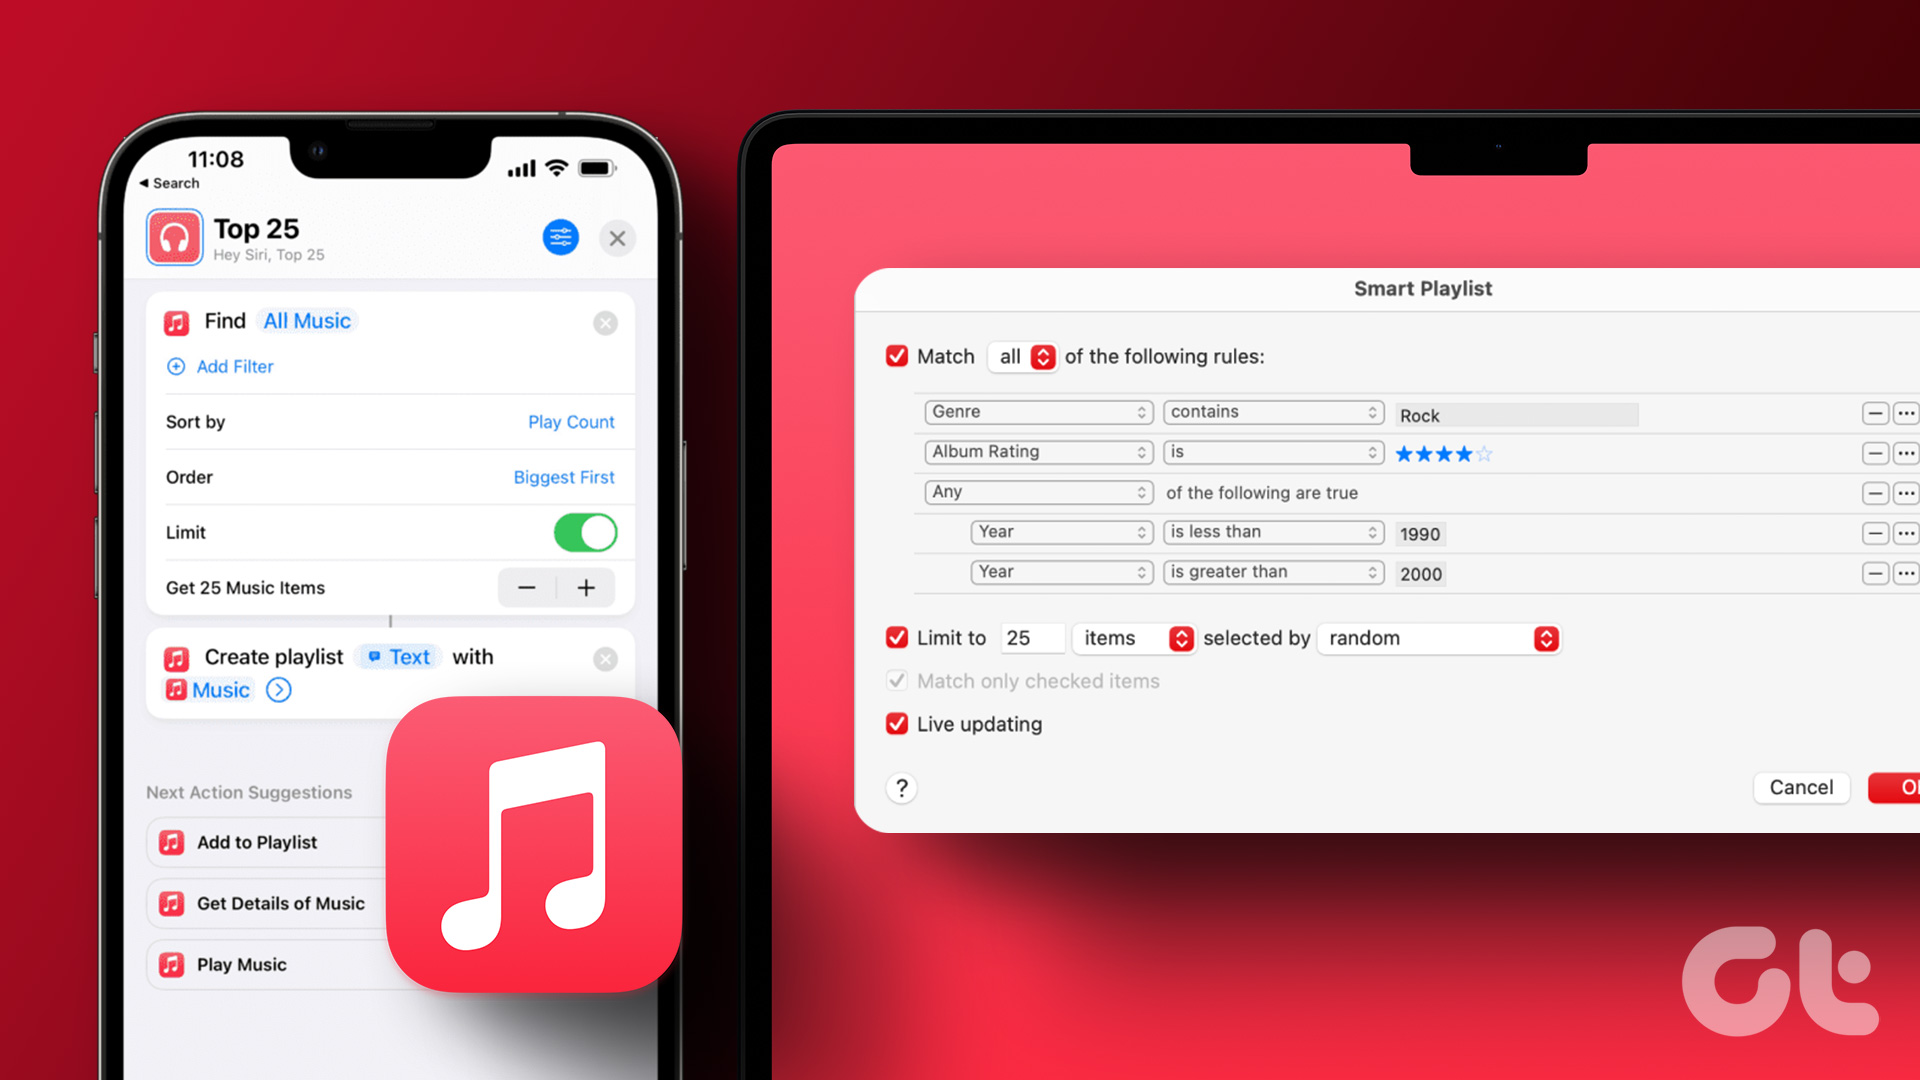 How to Create Smart Playlists in Apple Music (iPhone and Mac)
Create a Smart Playlist on iPhone and iPad You can share playlists on Apple Music on your iPhone and iPad.
How to Create Smart Playlists in Apple Music (iPhone and Mac)
Create a Smart Playlist on iPhone and iPad You can share playlists on Apple Music on your iPhone and iPad.
 6 Ways Fix YouTube Music Not Working on Apple CarPlay
Whether you're team Android Auto or Apple CarPlay, we're all in for a long drive with blasting music.
6 Ways Fix YouTube Music Not Working on Apple CarPlay
Whether you're team Android Auto or Apple CarPlay, we're all in for a long drive with blasting music.
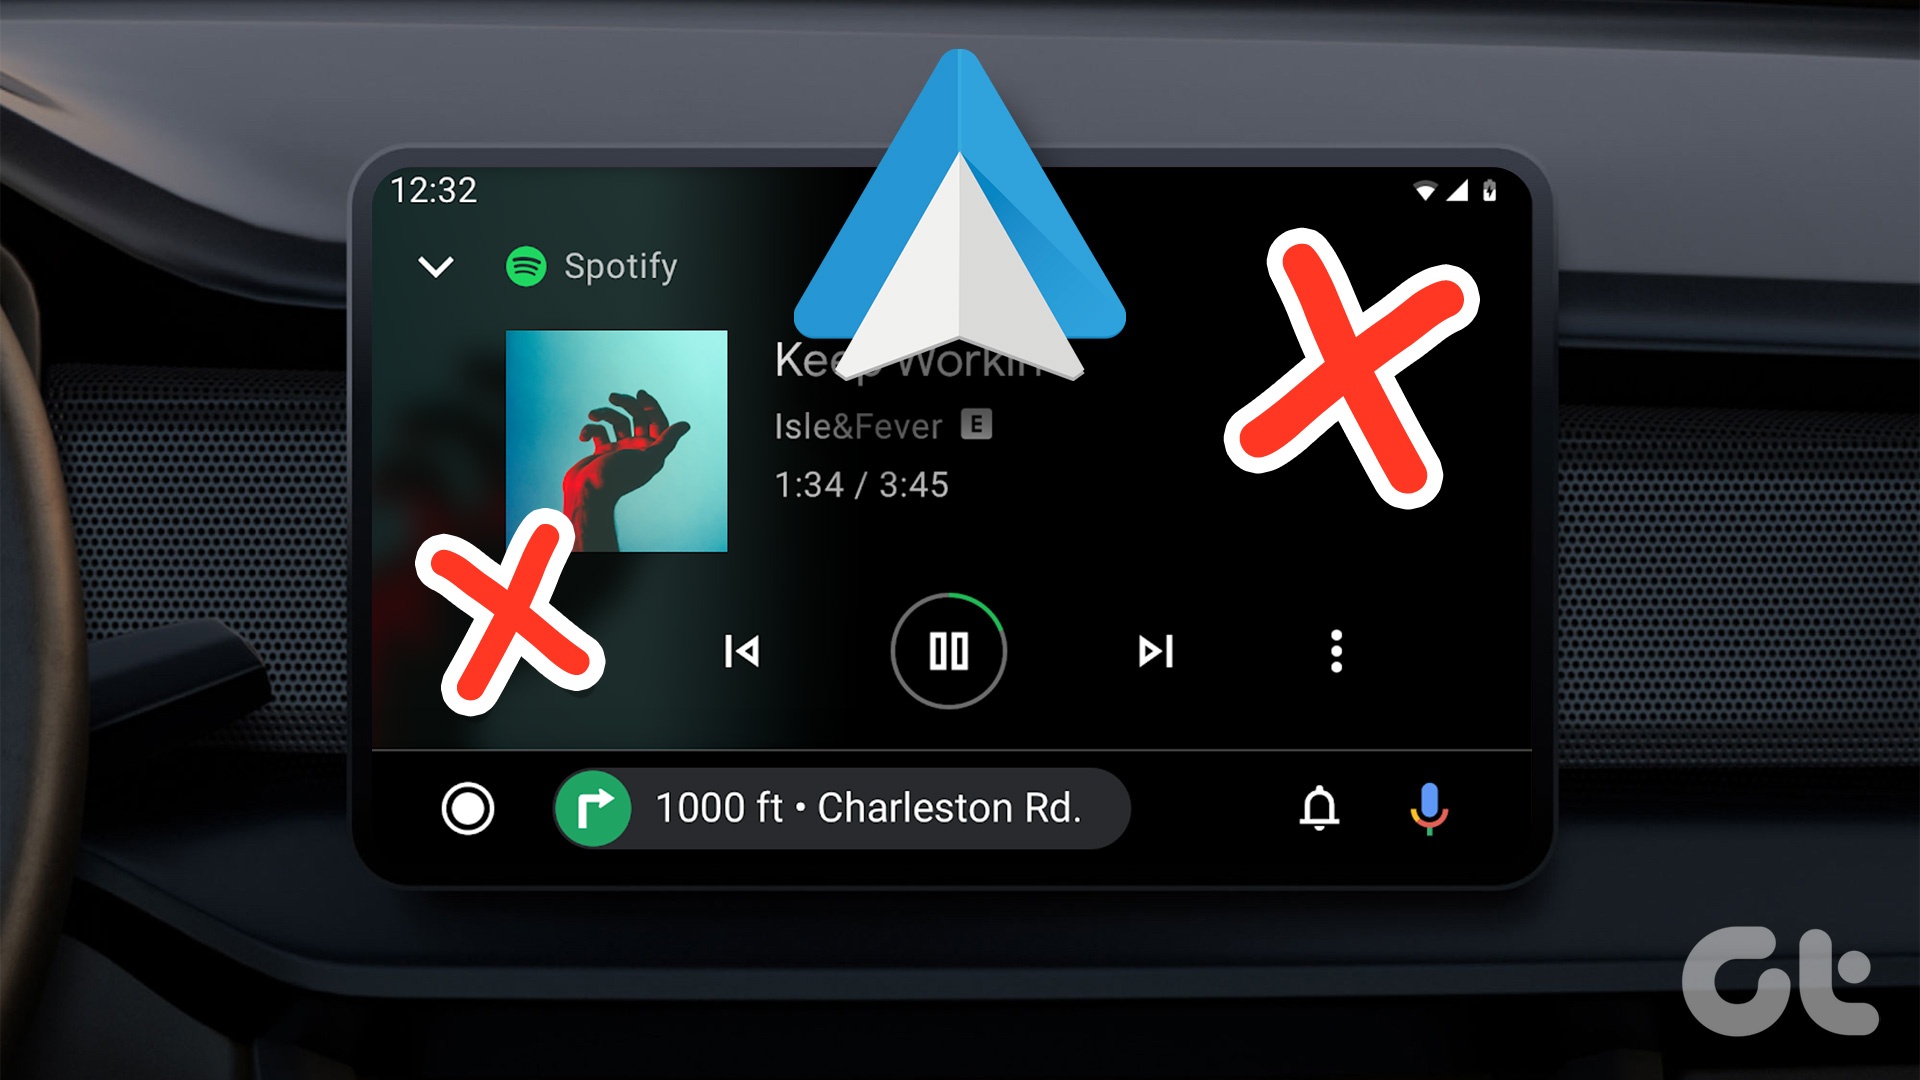 4 Fixes for Android Auto Not Playing Music From Spotify or YouTube Music
Fix 1: Change the Default Music Streaming Service Say you have a Spotify subscription.
4 Fixes for Android Auto Not Playing Music From Spotify or YouTube Music
Fix 1: Change the Default Music Streaming Service Say you have a Spotify subscription.
 Top 7 Ways to Fix Siri Not Playing Music from Apple Music
Siri not recognizing your voice and not playing music from Apple Music can lead to an undesirable experience.
Top 7 Ways to Fix Siri Not Playing Music from Apple Music
Siri not recognizing your voice and not playing music from Apple Music can lead to an undesirable experience.
 Transfer Music From PC to iPhone (With or Without iTunes)
How to Transfer Music From iTunes to iPhone While Mac has moved on to Finder, iTunes is still the bridge between iPhone and PC.
Transfer Music From PC to iPhone (With or Without iTunes)
How to Transfer Music From iTunes to iPhone While Mac has moved on to Finder, iTunes is still the bridge between iPhone and PC.
The article above may contain affiliate links which help support Guiding Tech. The content remains unbiased and authentic and will never affect our editorial integrity.

You can also use MuzConvtool to do this.