Fix 1: Calibrate Display Colors
Step 1: Press the Windows key, type calibrate display color, and hit Enter.
Step 2: Click on Next.
Step 3: Follow on-screen instructions and use the slider to adjust gamma.
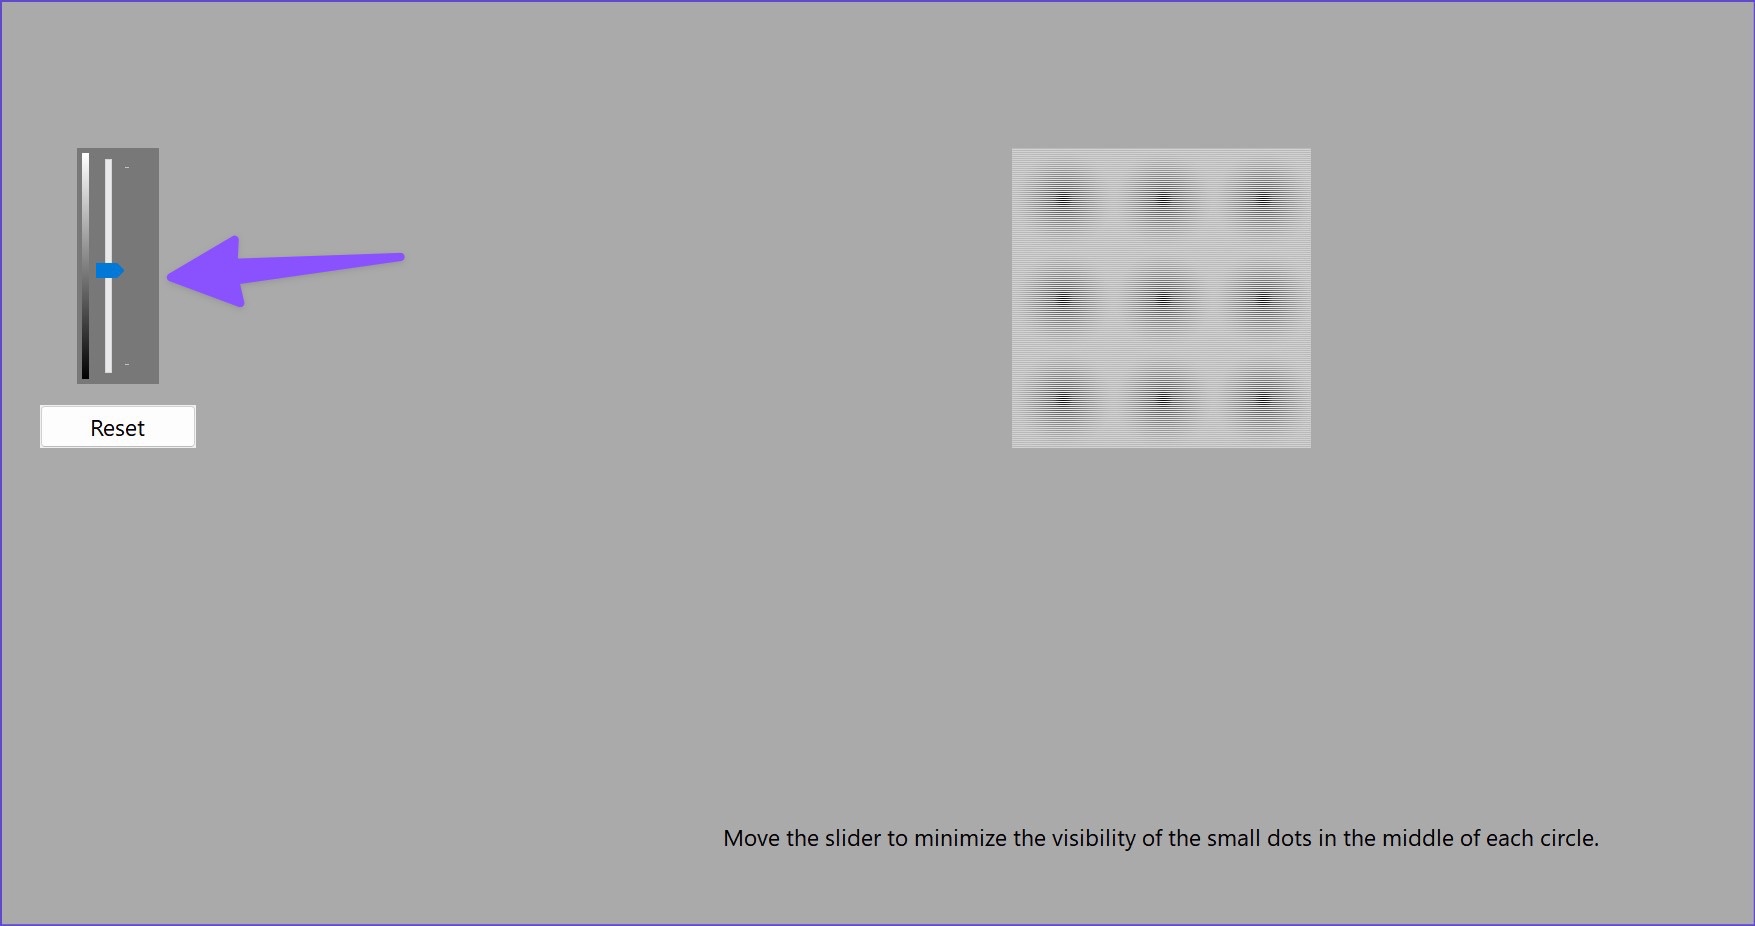
Step 4: Adjust brightness and contrast and complete the process.

Windows will revert to the previous calibration when you reboot the PC. You must make your calibrated display the default.
Step 1: Press the Windows key, type color management, and hit Enter.
Step 2: Select your calibrated display profile and click on Set as Default Profile at the bottom-right corner.

Fix 2: Disable Color Filters in Accessibility Settings
Step 1: Launch Windows Settings by pressing the Windows + I keys. Then, navigate to Accessibility.
Step 2: Under Vision, click on Color filters.

Step 3: Toggle off Color filters.

Fix 3: Reset Color Settings in Intel Graphics Control Panel
Note: Not all versions of the Intel Graphics Command Center have a color profile reset option.
Step 1: Search for Intel Graphics Command Center and launch the application.
Step 2: Go to the Display tab.

Now, look for any options related to color settings or profiles, and click on reset.
Once done, restart your computer for the changes to take effect.
Fix 4: Update or Reinstall Display Adapter Drivers
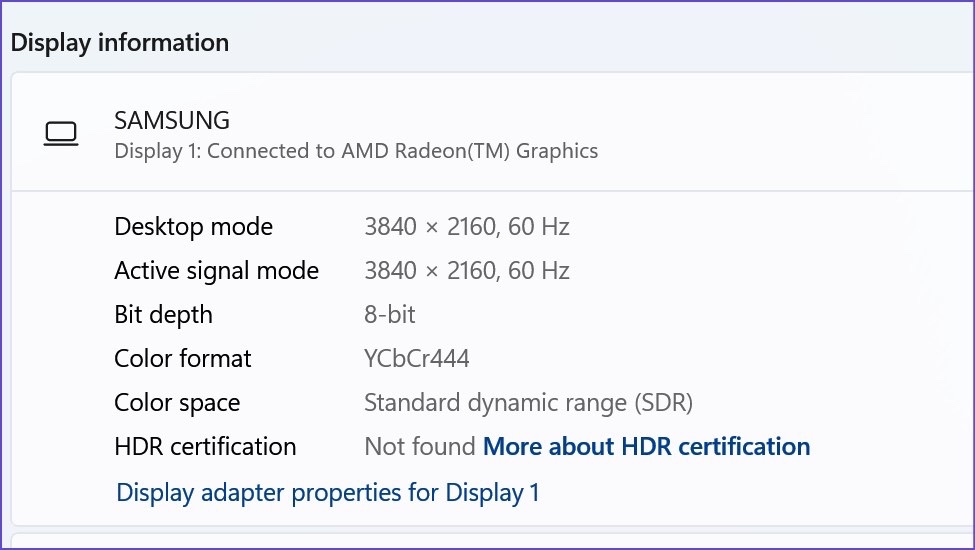
Step 1: Open Windows Settings > navigate to System > click on Display on the right side.
Step 2: Next, open the Advanced display menu.
Step 3: Note the details of the display adapters from the following menu.
For the computers with AMD graphics inside, head to the AMD drivers and support website and download the latest drivers for your compatible model. You can also download and install NVIDIA Geforce graphics drivers without the GeForce Experience.

You can also make Windows 11 fetch and update the best graphics driver for your computer. Continue with the below steps.
Step 1: Right-click on the Windows key and open Device Manager.
Step 2: Expand Display adapters.
Step 3: Right-click on display graphics and select Update driver from the context menu.
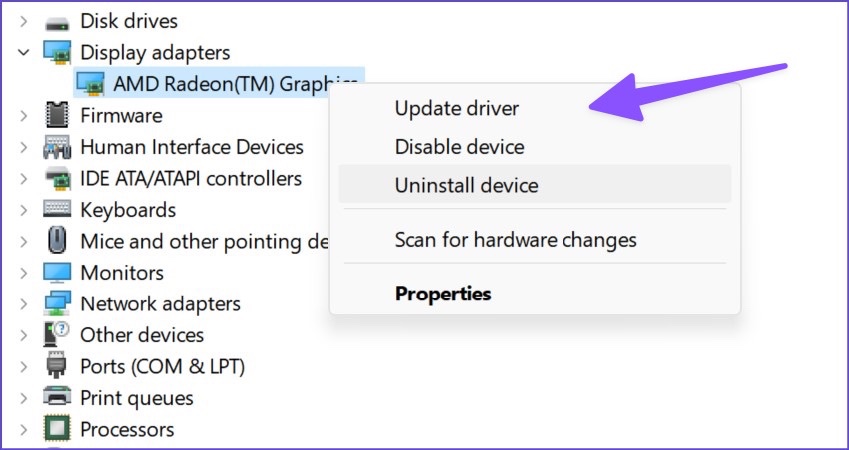
Step 4: Select Search automatically for drivers.
Windows will search your computer for the best available driver and install it on your device.

Restart your PC and check if the colors look natural or washed out. AMD also offers dedicated software to auto-detect and install driver updates for AMD Radeon and Ryzen series CPUs.
Was this helpful?
Last updated on 10 June, 2024
3 Comments
Leave a Reply
Read Next
 Top 9 Ways to Fix Inverted Colors Issue on Windows 10
Long before there was the dark mode, a feature allowed users to invert colors on their screen.
Top 9 Ways to Fix Inverted Colors Issue on Windows 10
Long before there was the dark mode, a feature allowed users to invert colors on their screen.
 7 Ways to Fix iPhone Screen Colors Messed Up or Distorted Issue
The ability to show vibrant colors and crystal-clear pictures is probably one of the biggest reasons consumers buy the iPhone.
7 Ways to Fix iPhone Screen Colors Messed Up or Distorted Issue
The ability to show vibrant colors and crystal-clear pictures is probably one of the biggest reasons consumers buy the iPhone.
 9 Ways to Invert Screen or Picture Colors on iPhone
Method 1: Using Classic Invert If everything on your iPhone is showing different colors, follow these steps to turn off inverted colors on your iPhone: Step 1: Open Settings >
9 Ways to Invert Screen or Picture Colors on iPhone
Method 1: Using Classic Invert If everything on your iPhone is showing different colors, follow these steps to turn off inverted colors on your iPhone: Step 1: Open Settings >
 3 Ways to Change Colors on Google Calendar
Method 1: Change the Color of Individual Calendars On PC Step 1: Open the Google Calendar website in a browser, hover your mouse over the calendar whose color you want
3 Ways to Change Colors on Google Calendar
Method 1: Change the Color of Individual Calendars On PC Step 1: Open the Google Calendar website in a browser, hover your mouse over the calendar whose color you want
 3 Ways to Delete Old Windows Update Files From Windows 10 and 11
Method 1: Delete Old Windows Update Files via Settings The Storage section of the Settings app provides a detailed breakdown of all temporary files on your PC, including old Windows
3 Ways to Delete Old Windows Update Files From Windows 10 and 11
Method 1: Delete Old Windows Update Files via Settings The Storage section of the Settings app provides a detailed breakdown of all temporary files on your PC, including old Windows
 5 Best Ways To View Windows Update History In Windows 11
By constantly updating your Windows 11 operating system, you get access to new or improved features to deliver a better user experience.
5 Best Ways To View Windows Update History In Windows 11
By constantly updating your Windows 11 operating system, you get access to new or improved features to deliver a better user experience.
 5 Ways to Fix Intel Graphics Control Panel Not Showing After Windows 11 Update
Common Fixes Check the Windows 11 context menu: Right-click the blank space on your desktop and select Show more options.
5 Ways to Fix Intel Graphics Control Panel Not Showing After Windows 11 Update
Common Fixes Check the Windows 11 context menu: Right-click the blank space on your desktop and select Show more options.
 Top 8 Ways to Fix Windows 11 Lag After an Update
While Windows 11 is a welcome change with the start menu, taskbar, and other design improvements, the upgrade didn’t go well with some users.
Top 8 Ways to Fix Windows 11 Lag After an Update
While Windows 11 is a welcome change with the start menu, taskbar, and other design improvements, the upgrade didn’t go well with some users.
The article above may contain affiliate links which help support Guiding Tech. The content remains unbiased and authentic and will never affect our editorial integrity.

A Windows 11 update can turn on the color blindness filters in the accessibility settings. I kept wondering why red was pink for about a day before I found it.
Yeah check your color blindness filters.
To find this setting go to settings, Accessibility (lower left side), Color Filters (6th from top), and make sure that your color filters are off, had mine on the blue one and it was driving me crazy.
Hopes this helps
Adam
OMG – I tried almost everything bar heading to the local IT guy before reading your suggestion of turning off the Colour filters… and vwala it worked. It is almost always the most simplest steps to fix things eh. THANK YOU both!