Fix 1: Restart Windows Search
Step 1: Press the Windows key and search for Services. Hit the Enter key.
Step 2: Scroll down to Windows Search.
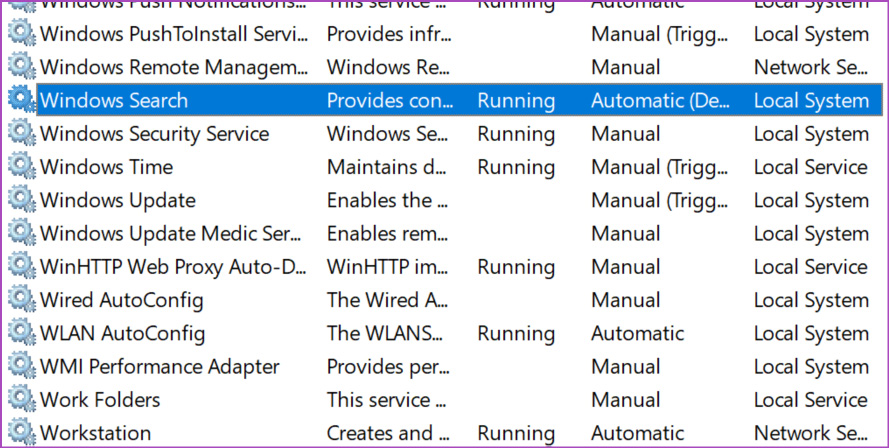
Step 3: Right-click on it and select Restart.

Fix 2: Run Search and Indexing Troubleshooter
Microsoft offers a built-in Windows search troubleshooter tool to find and fix problems. Here’s how you can use it.
Step 1: Launch Windows Settings and go to the System menu. Select Troubleshoot.

Step 2: Open Other troubleshooters from the following menu.

Step 3: Scroll down and select Run beside Search and Indexing.

Windows runs the troubleshooter and helps you fix search issues on your computer.
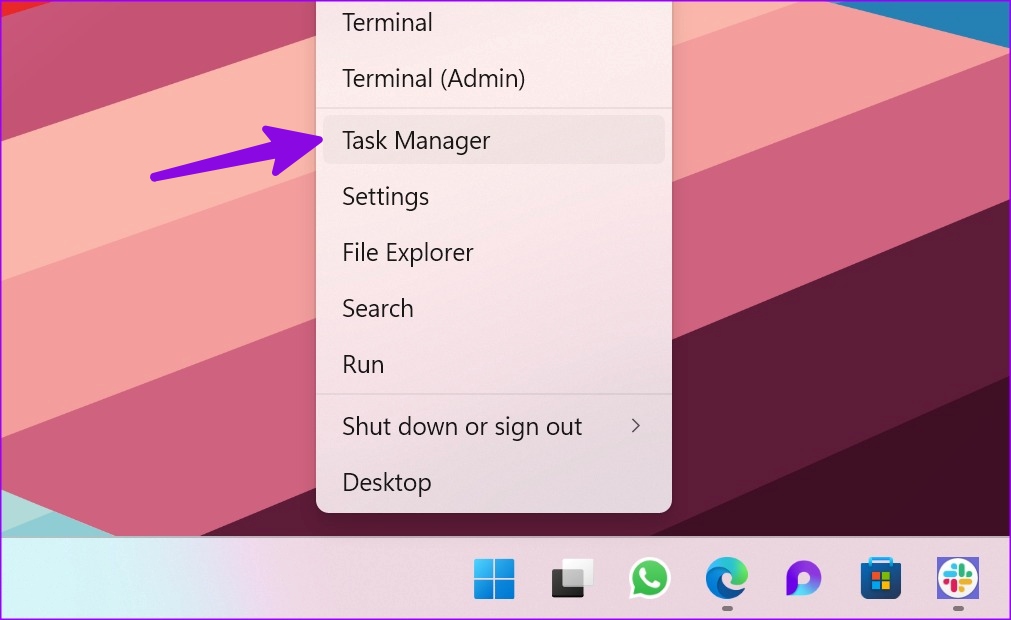
Fix 3: Restart SearchHost Services
Step 1: Right-click on the Windows key on the taskbar and select Task Manager.
Step 2: Move to the Details tab.

Step 3: Scroll to the SearchHost.exe process.
Step 4: Right-click on it and select End task.
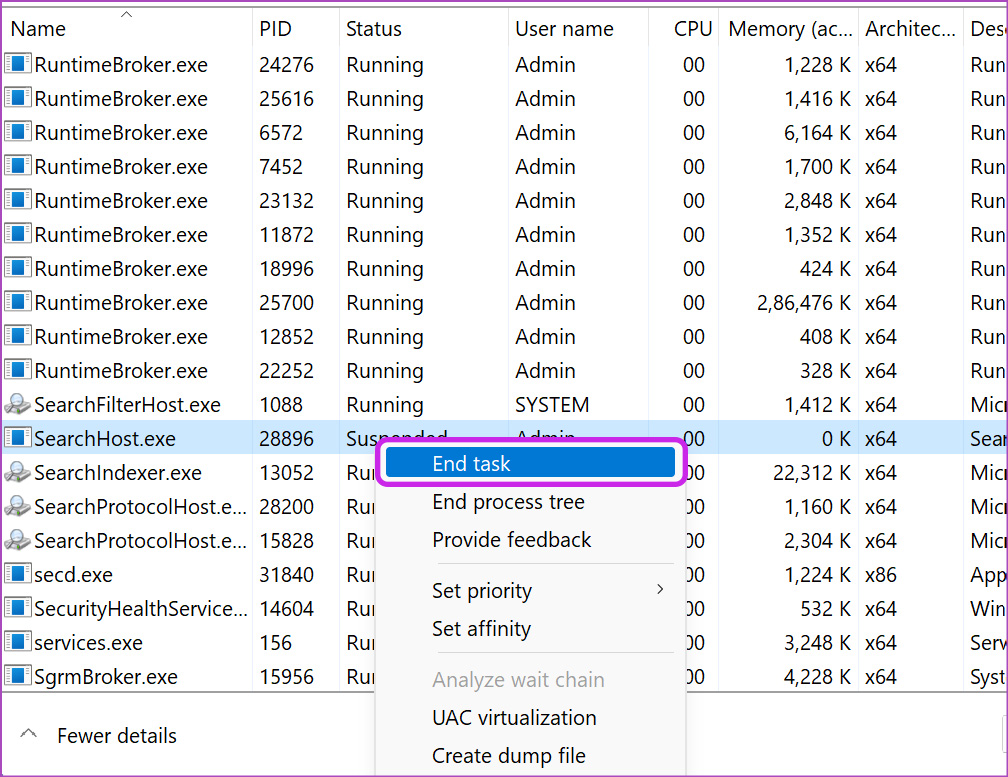
Try searching for something on your computer, and Windows should resume the search services.
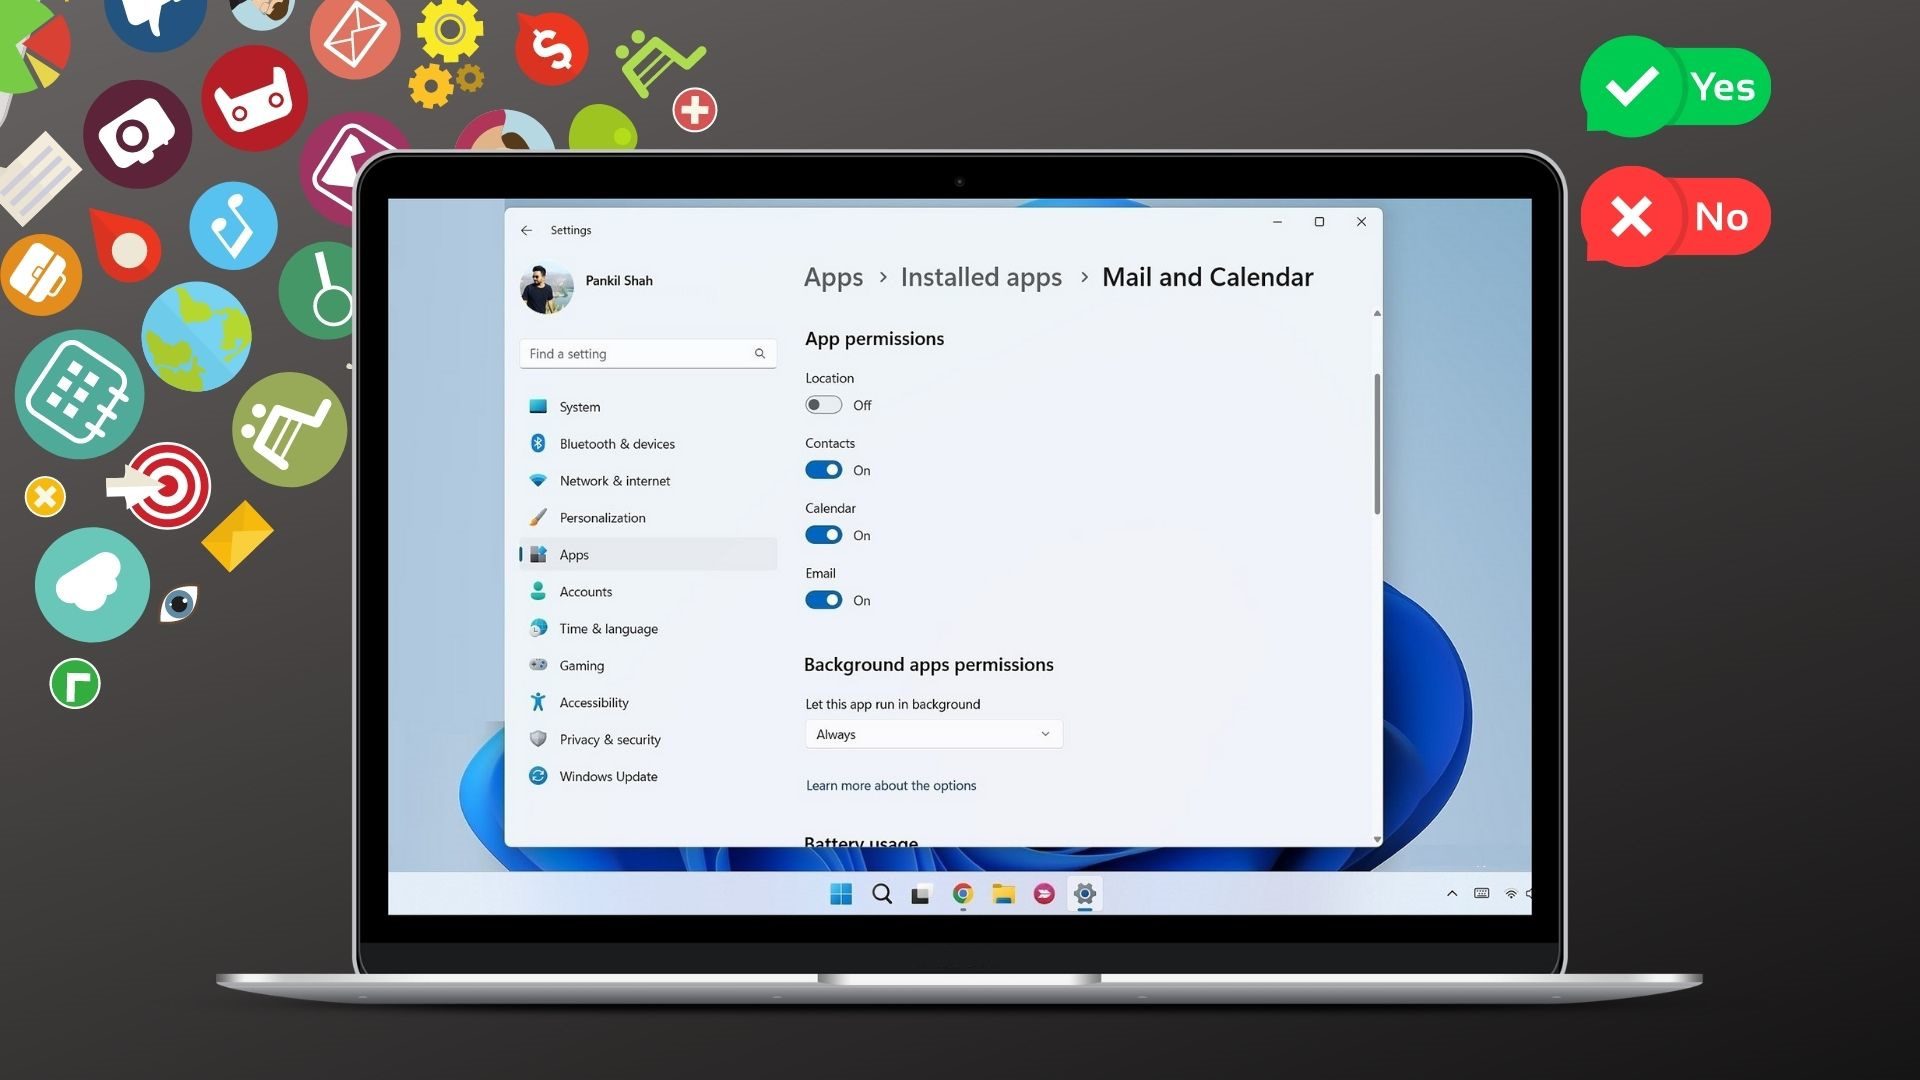
Fix 4: Enhance Search Indexing
Are you having issues finding files within folders? Windows might use the classic indexing that only searches through Documents, Pictures, and Music folders. You need to make a tweak to the settings.
Step 1: Open the Windows Settings menu and select Privacy & Security from the sidebar.
Step 2: Select Searching Windows under the Windows permissions menu.

Step 3: Select the radio button beside Enhanced and close the menu.

From now on, Windows will search your entire PC. This might result in high CPU consumption and affect battery life.
Fix 5: Check Excluded Folders
The data won’t appear in search results if you have asked Windows not to search through specific folders. You can check the excluded folders and remove them if you want.
Step 1: Launch the Windows Settings menu and select Privacy & Security from the sidebar.
Step 2: Click on Searching Windows.
Step 3: Check excluded folders from search results. Select a three-dot menu beside a relevant folder and select Remove.
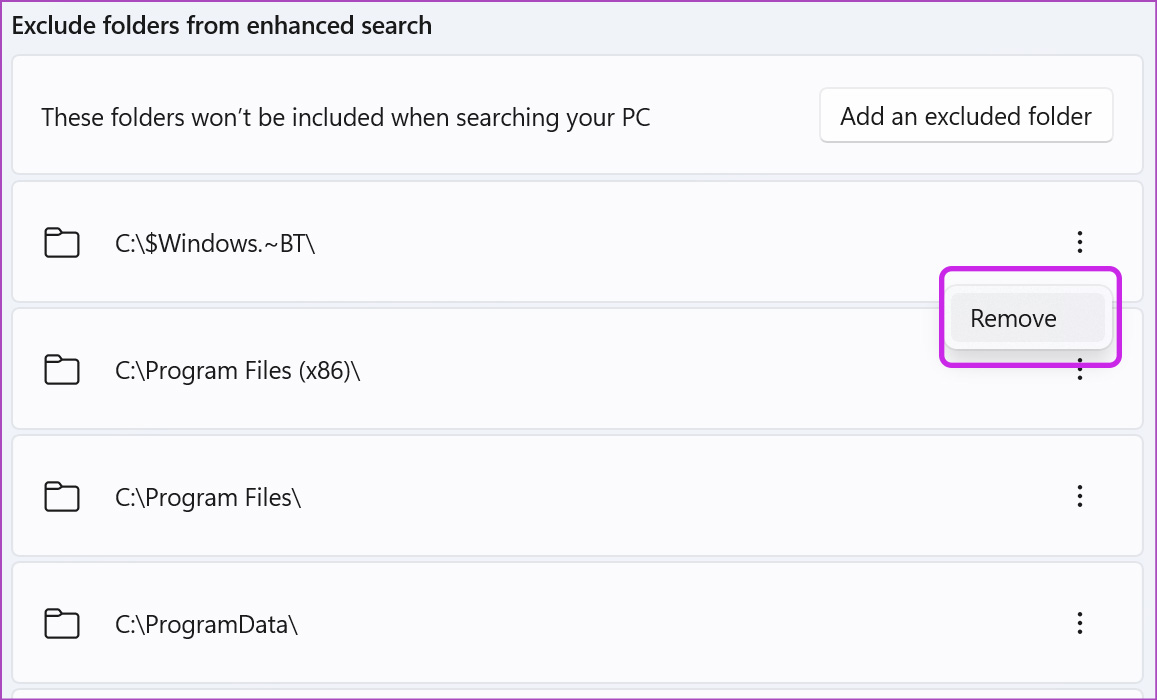
Windows can now search through all the removed folders on the computer.
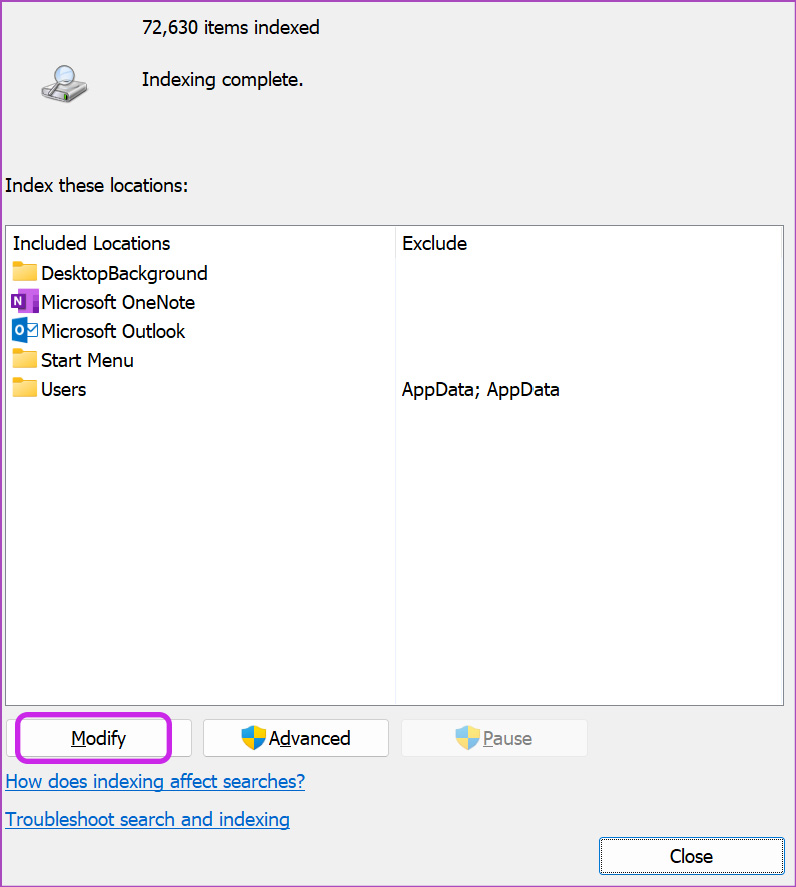
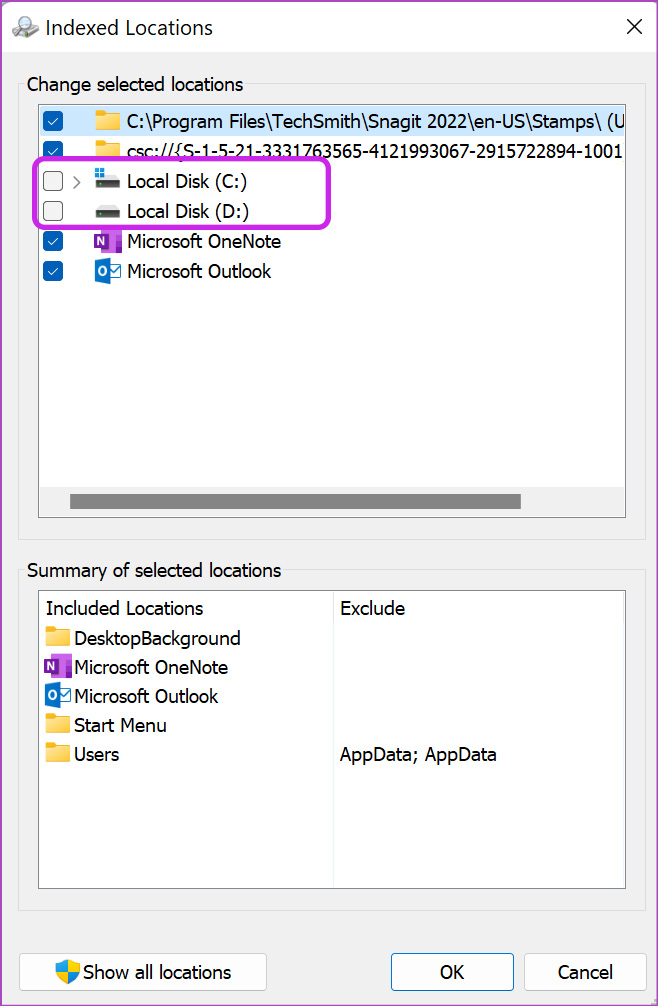
Fix 6: Check Indexed Locations
When you have important files stored in C: drive or D: drive, you need to make sure Windows search can index through it.
Step 1: Press the Windows key and search for Indexing Options.

Step 2: Click on Modify.
Step 3: Enable the Local Disk drive and hit OK.
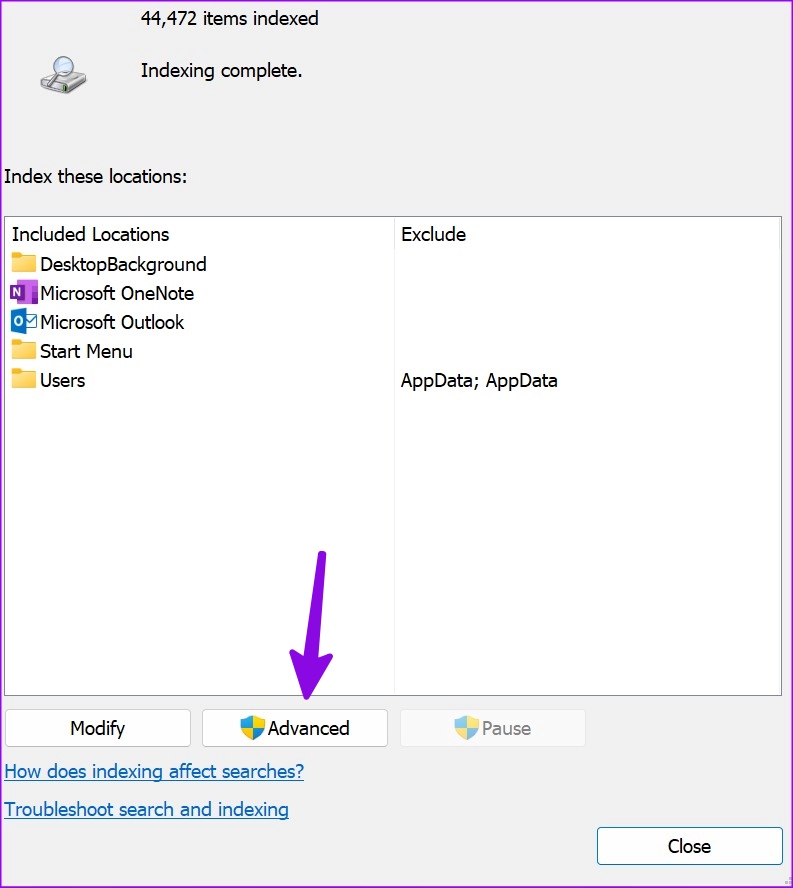
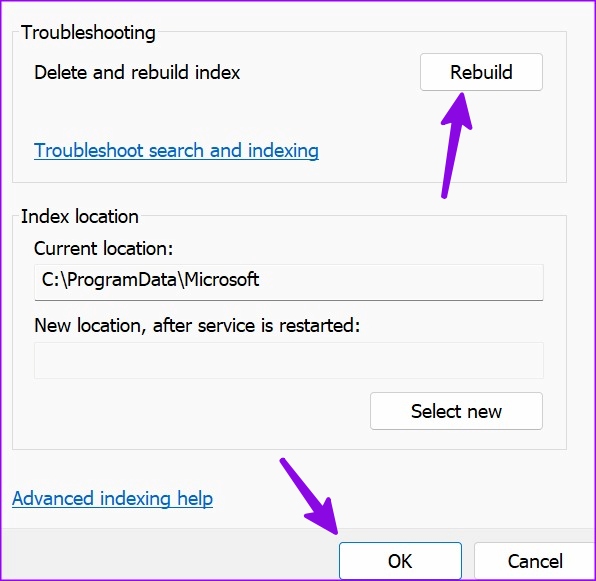
Fix 7: Rebuild Search Index
If none of the tricks work, try rebuilding the search index to fix the problem. It deletes and rebuilds the search index on your PC.
Step 1: Open Privacy & security in Windows Settings.
Step 2: Select Searching Windows.

Step 3: Click Advanced indexing options.

Step 4: Select Advanced.
Step 5: Click Rebuild and select OK.
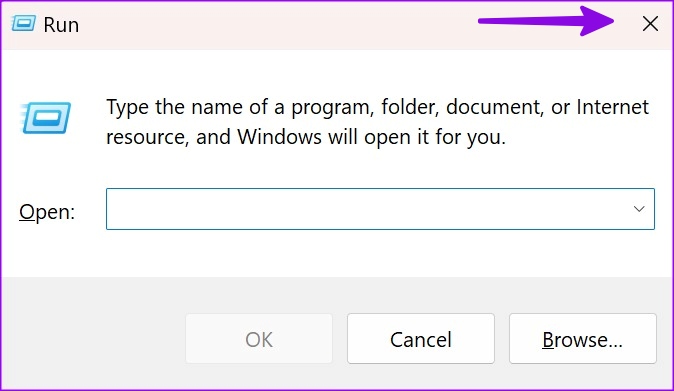
Fix 8: Restart Run Menu
Rebooting the Run menu has worked for many to fix the search not working in Windows 11. It’s worth a try.
Step 1: Press the Windows + R keys to open the Run menu.
Step 2: Close it and hit the Windows key to start searching for files and apps.
FAQ on Search Not Working in Windows
Windows search option is backed right into the Start menu. You can press the Windows key and search for apps, files, settings, and documents.
You don’t need to remember the file location or make the taskbar crowded with dozens of apps and games. Use Windows search and access those apps and documents in no time.
Was this helpful?
Last updated on 23 July, 2024
2 Comments
Leave a Reply
Read Next
 5 Ways to Fix File Explorer Search Not Working on Windows 11
Basic Fixes Perform a clean boot: An installed PC software may conflict with the File Explorer app, causing the search issue.
5 Ways to Fix File Explorer Search Not Working on Windows 11
Basic Fixes Perform a clean boot: An installed PC software may conflict with the File Explorer app, causing the search issue.
 Top 9 Ways to Fix Windows 10 Search Not Working
While Windows updates bring new features, at times, they also mess up other things.
Top 9 Ways to Fix Windows 10 Search Not Working
While Windows updates bring new features, at times, they also mess up other things.
 6 Ways to Fix Outlook Search Not Working on Windows 11
Fix 1: Run the Office Repair Tool Microsoft offers a handy repair tool that can automatically detect and fix problems with all Office apps, including Outlook.
6 Ways to Fix Outlook Search Not Working on Windows 11
Fix 1: Run the Office Repair Tool Microsoft offers a handy repair tool that can automatically detect and fix problems with all Office apps, including Outlook.
 8 Ways to Fix File Explorer Search Not Working on Windows 11
Before you begin, try restarting the File Explorer app and fixing corrupted files using an SFC scan.
8 Ways to Fix File Explorer Search Not Working on Windows 11
Before you begin, try restarting the File Explorer app and fixing corrupted files using an SFC scan.
 A Guide to Using the Search Bar and Search Operators in Microsoft Outlook
How to Use the Microsoft Outlook Search Bar There are two ways to use the Microsoft Outlook Search bar.
A Guide to Using the Search Bar and Search Operators in Microsoft Outlook
How to Use the Microsoft Outlook Search Bar There are two ways to use the Microsoft Outlook Search bar.
 3 Ways to Disable or Enable Search Highlights in Windows 10 and Windows 11
Method 1: Disable or Enable Search Highlights From the Settings App The Settings app on Windows allows you to control most things on your PC.
3 Ways to Disable or Enable Search Highlights in Windows 10 and Windows 11
Method 1: Disable or Enable Search Highlights From the Settings App The Settings app on Windows allows you to control most things on your PC.
 8 Ways to Fix Windows Search Bar Is Missing Issue
Windows 10 came with a lot of tweaks under the hood.
8 Ways to Fix Windows Search Bar Is Missing Issue
Windows 10 came with a lot of tweaks under the hood.
 6 Ways to Fix Slow Search on Windows 11
Fix 1: Restart the Windows Search Service The Windows Search service is a small program that provides search results for files, mail, and other important content.
6 Ways to Fix Slow Search on Windows 11
Fix 1: Restart the Windows Search Service The Windows Search service is a small program that provides search results for files, mail, and other important content.
The article above may contain affiliate links which help support Guiding Tech. The content remains unbiased and authentic and will never affect our editorial integrity.

Nice! No.3 worked with me. Thank you!!!!
imagine find a way to fix search bar then the first step is to use search bar