Headers and footers are the bread and butter of professional-looking documents. However, sometimes, you need to customize them beyond the standard repetition. Whether you’re managing page numbers in a complex report or creating a title page without headers, it’s time to break free from the one-size-fits-all headers and footers. This guide will show you how to put different headers and footers on different pages in Word.
Ever found yourself frustrated by a header or footer that won’t behave across different pages of your Word document? You may want a title page without any headers or change the page numbering style midway through your report. Let’s check how to do so.
How to Add a Basic Header or Footer
Before creating different headers or footers for sections of your document, it’s better to know how to add them in the first place. Follow the instructions below to add a basic header or footer to your Word document:
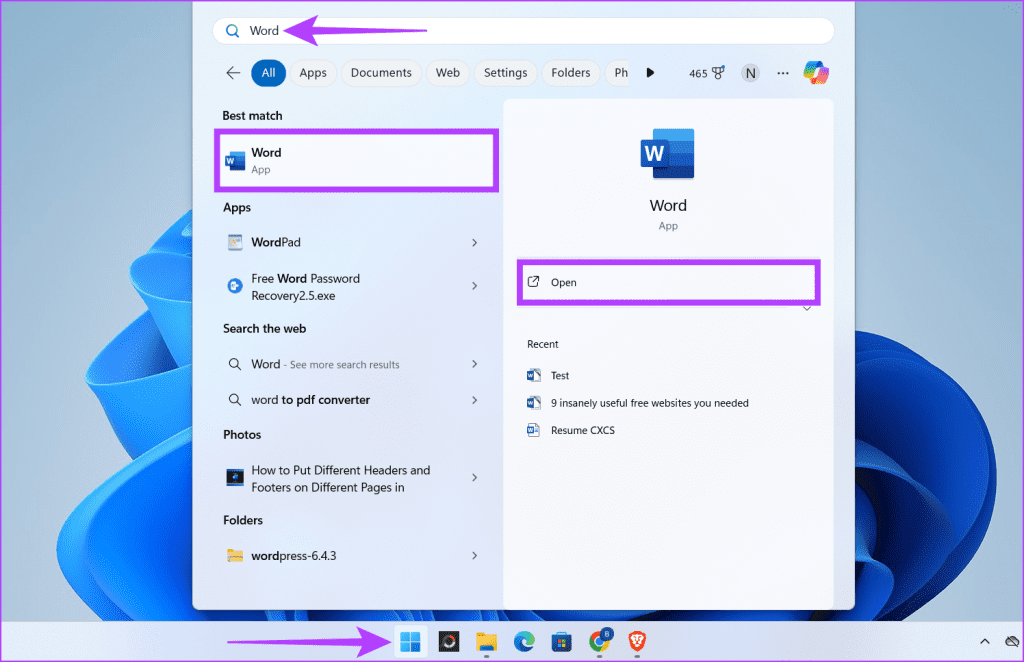
Step 1: Click the Windows icon, type Word, and click Open.
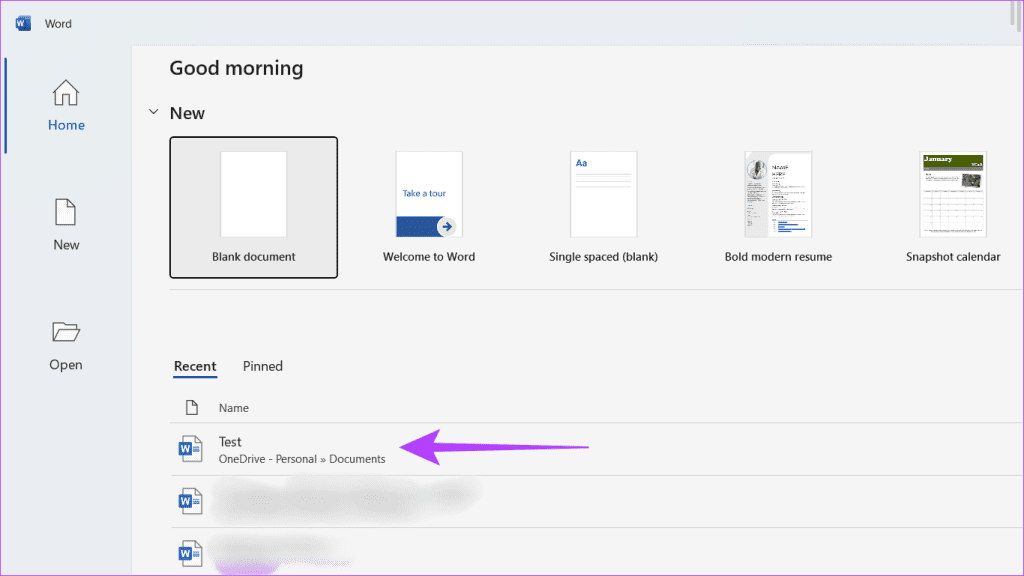
Step 2: Locate the Word document to edit and open it.
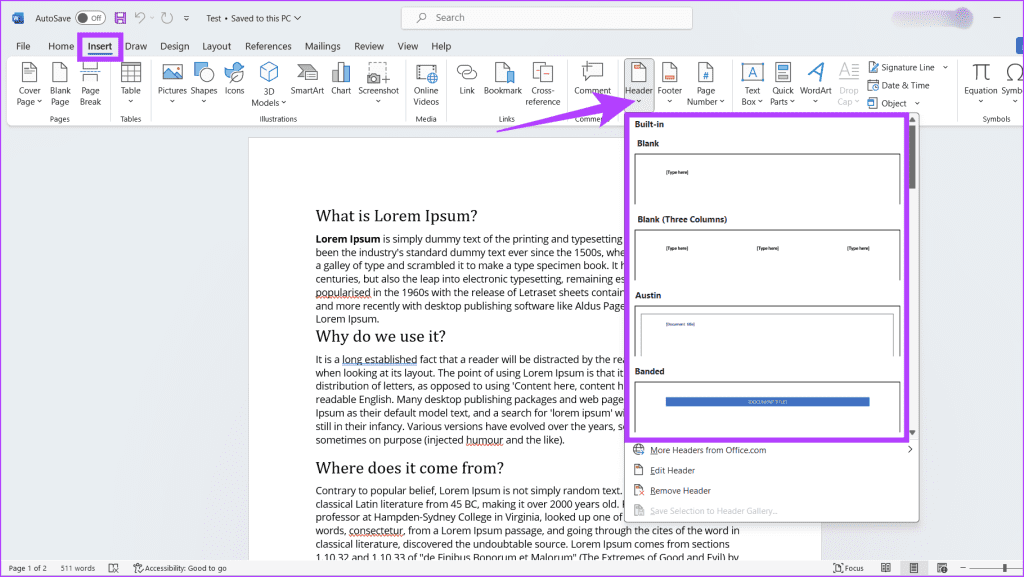
Step 3: Head to the Insert tab. Locate the Header & Footer section and press the drop-down button beneath the Header or Footer.
Step 4: Choose a predefined header or footer template or select Blank.
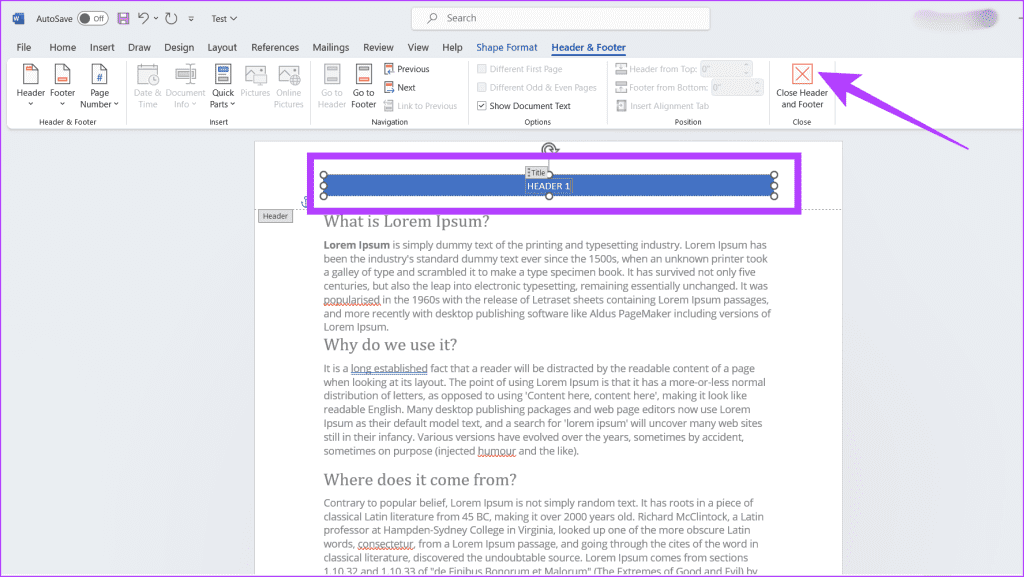
Step 5: Edit the header and footer section.
Step 6: Finally, click the ‘Close Header and Footer’ button on the Design tab to return to the main document.
Note: You can double-click on the document’s main body to exit the header or footer.
Also Read: How to fix Microsoft Word not responding on Windows
Prerequisites to Create Different Headers and Footers on Specific Pages
Creating different headers and footers on specific pages is easy, but before that, you’ll need to break your document into sections and unlink the header and footer from the previous page. Adhere to the steps below:
1. Inserting a Section Break
A section break is an invisible marker in your Word document that allows you to divide your content into separate sections. Here’s how you can break the section in your Word file:
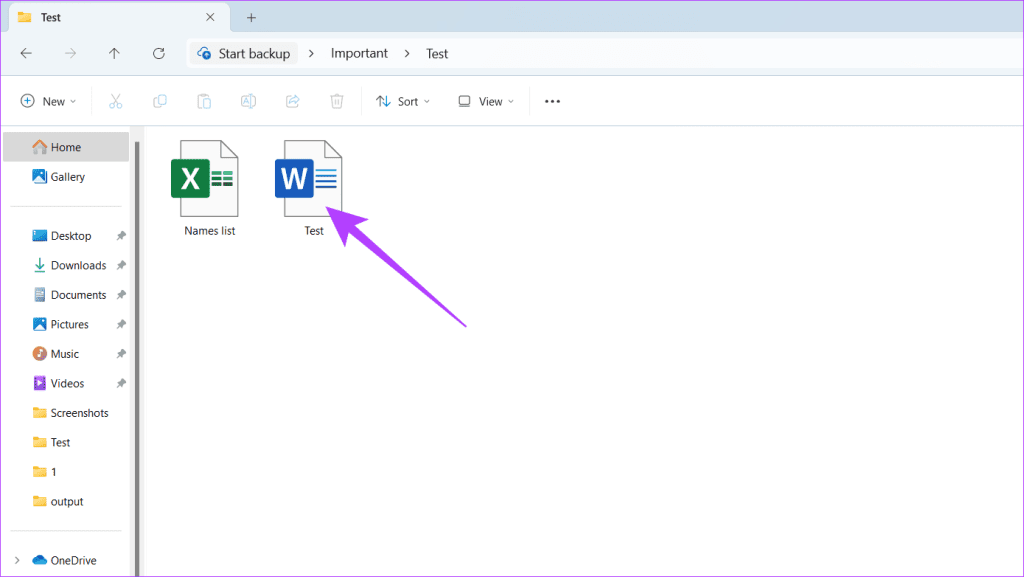
Step 1: Navigate to the Word file to which you want to add a header and footer and double-click on it to open the file.
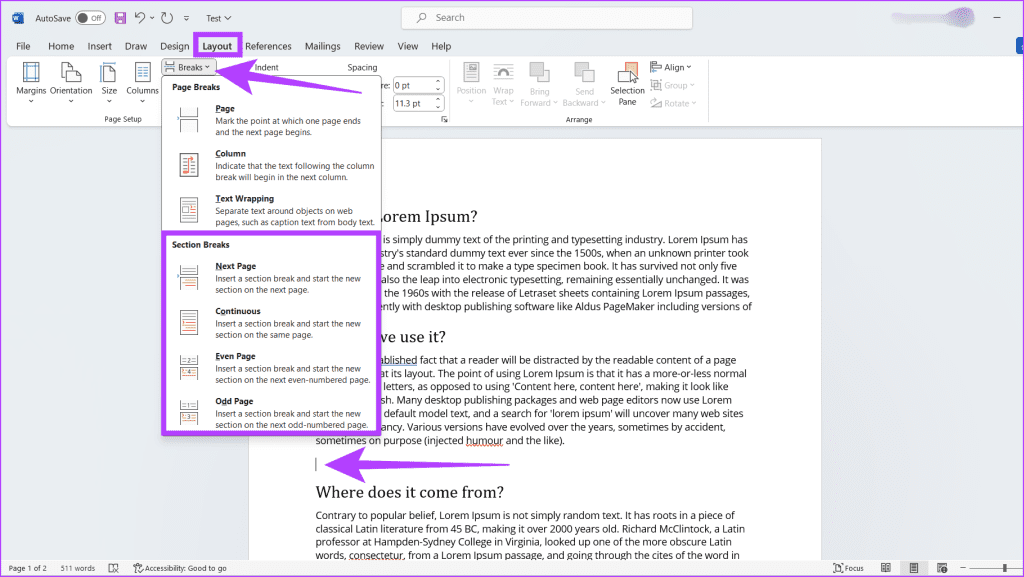
Step 2: Place your cursor at the point in your document where you’d like the new section to begin.
Step 3: Head to the Layout tab in the ribbon and click the downward arrow next to the Breaks button.
Step 4: Choose one of the below-mentioned breaks:
- Next Page: Initiates a new section on the next page. Use this to divide major portions of your document (e.g., chapters, significant topic shifts).
- Continuous: Starts a new section on the same page. This helps change page formatting elements (e.g., column layouts or page orientation).
- Even Page: It starts a new section on the next even-numbered page. Use this when formatting for printing or book-style layouts.
- Odd Page: This starts a new section on the next odd-numbered page. It is used similarly to the even page break.
2. Unlinking Headers and Footers From the Previous Section
Once you’ve inserted a section break in the Word document, you can follow the steps below to unlink the header and footer from the previous section:
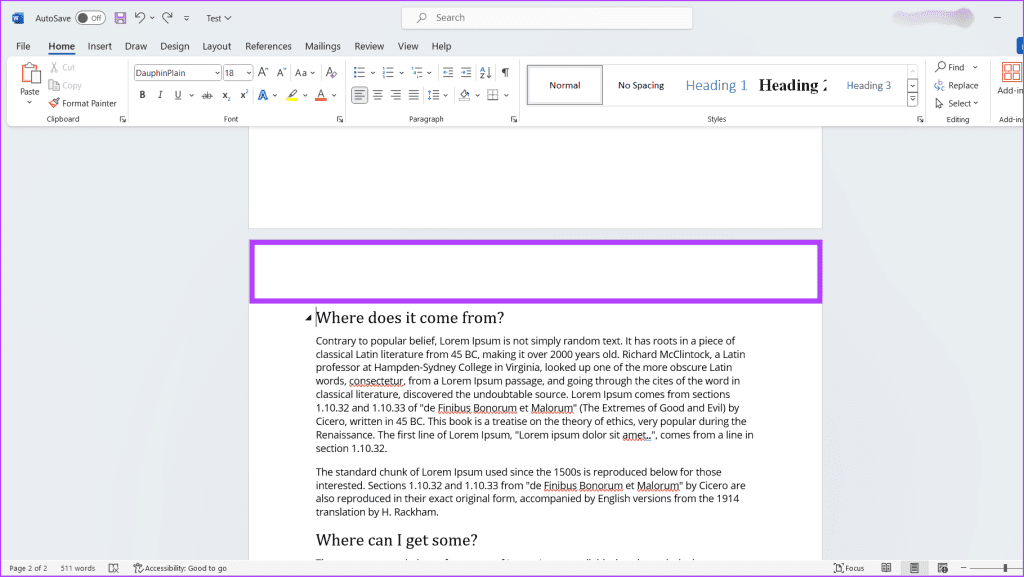
Step 1: Double-click the header or footer area in the new section you created.
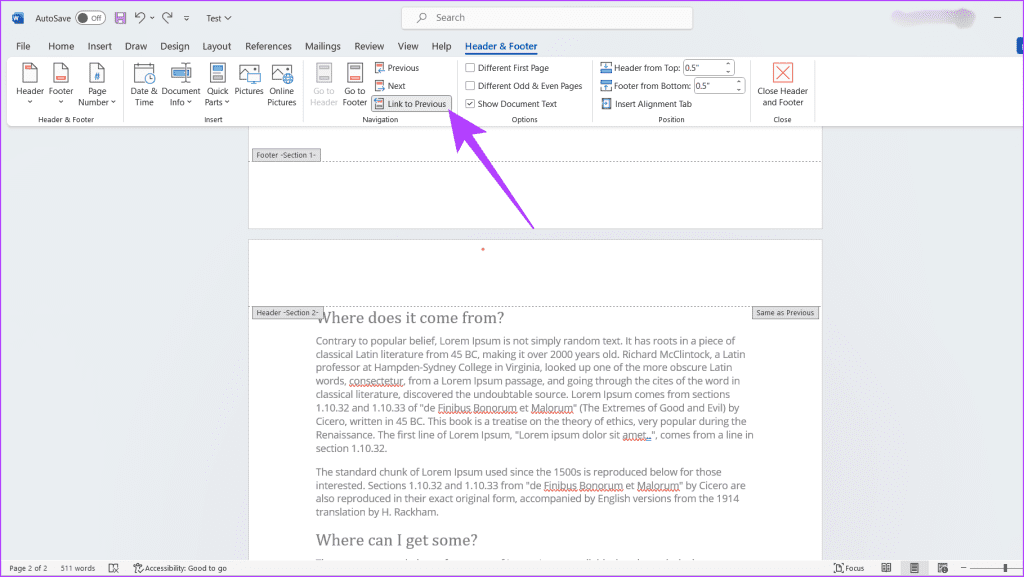
Step 2: Locate the Navigation section and click the Link to Previous button.
Note: Ensure that Link to Previous button is not grayed out.
Also Read: Best Microsoft Word tips and tricks to improve productivity
How to Create Different Headers and Footers on Specific Pages
Now that you’ve inserted section breaks and unlinked your sections, you’re ready to customize. Here’s how to change header and footer on specific pages you want:
Step 1: Press your keyboard’s Windows + S keys, type Word, and click Open.

Step 2: Launch the Word file you wish to edit.

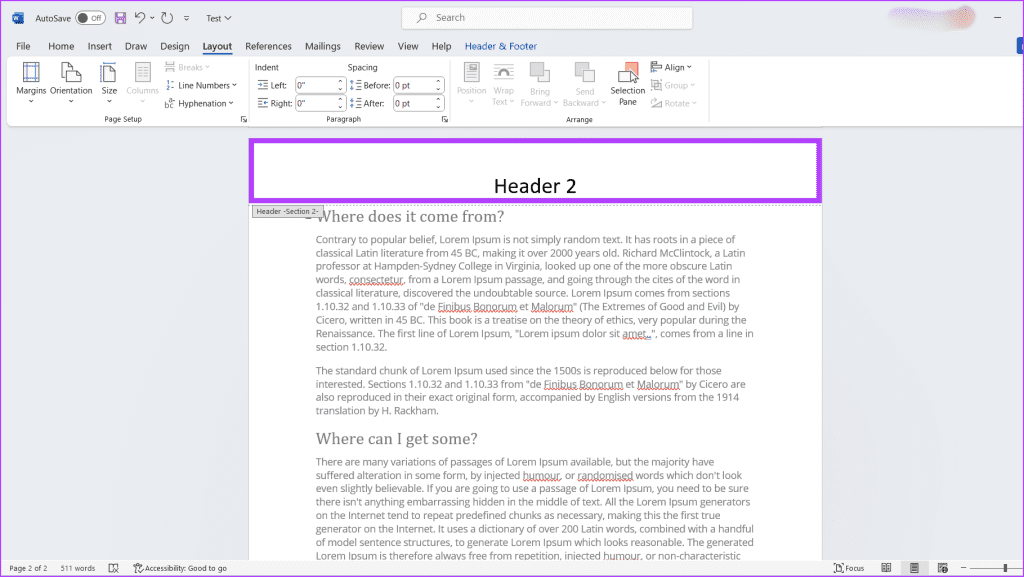
Step 3: Double-click on the header or footers section to select it.

Step 4: Write the details you want to enter in the header or footer section.
How to Have a Different Header on Odd and Even Pages in Word
Step 1: Find the Word file you want to edit and double-click to open it.

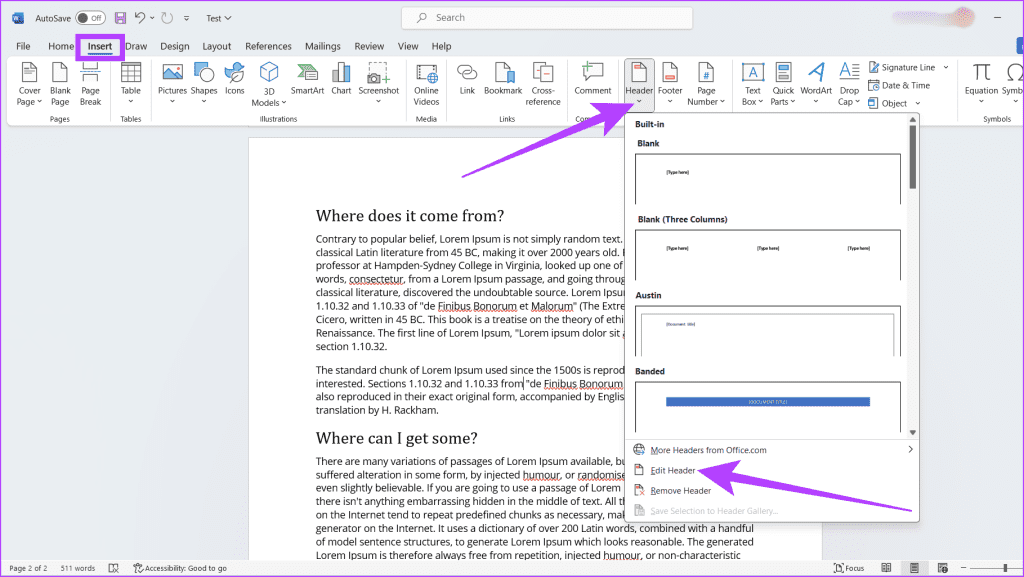
Step 2: Click on Insert in the top menu and press the drop-down button under Header or Footer.
Step 3: Choose Edit Header or Edit Footer, depending on what you want to modify.
Step 4: Check the box next to ‘Different Odd & Even Pages’.
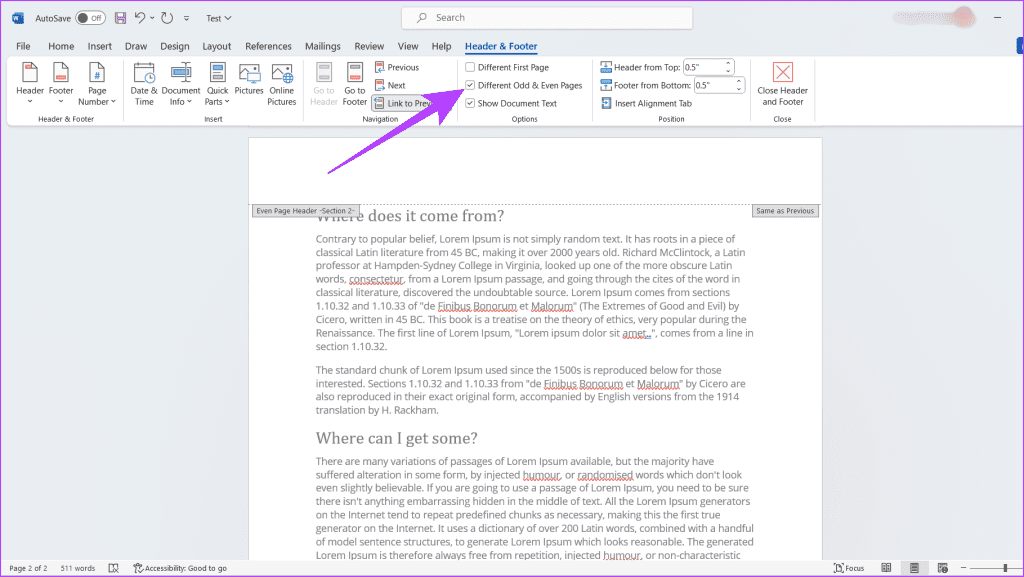
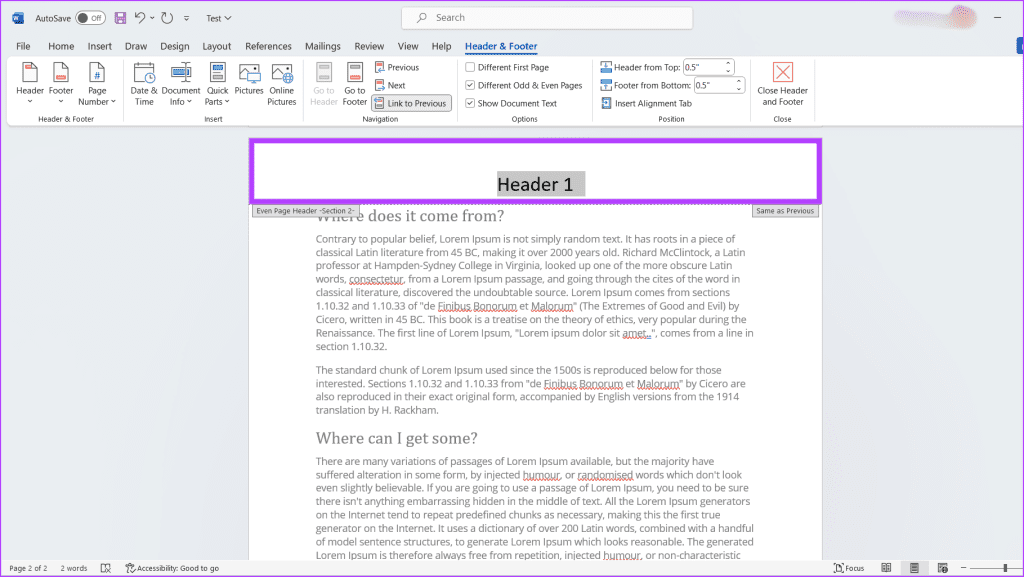
Step 5: Edit the header or footer for odd and even pages.
Step 6: Once done, press Ctrl + S to save your changes to the document.
Also Read: How to duplicate a Word document on any device
How to Add a Header or Footer on the First Page
When working on documents with distinct title pages or transitioning between different sections, adhere to the steps below to add a header or footer on the first page:
Step 1: Press Windows + S, type Word, and click Open.

Step 2: Launch the Word document you wish to edit.

Step 3: Navigate to the Insert tab and click on the drop-down icon under Header or Footer.
Step 4: Choose Edit Header or Edit Footer, respectively.

Step 5: Check the box next to the Different First Page.
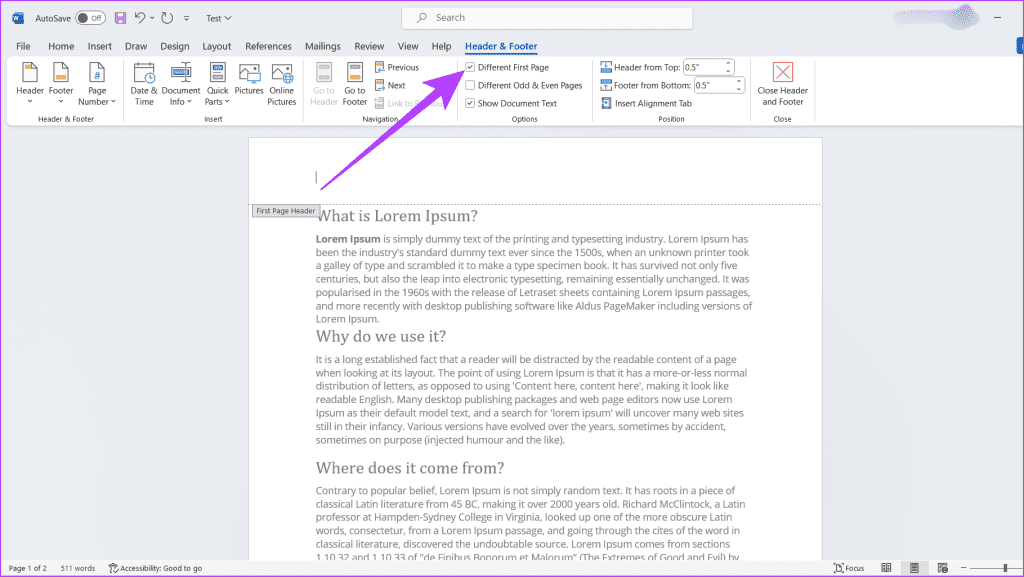
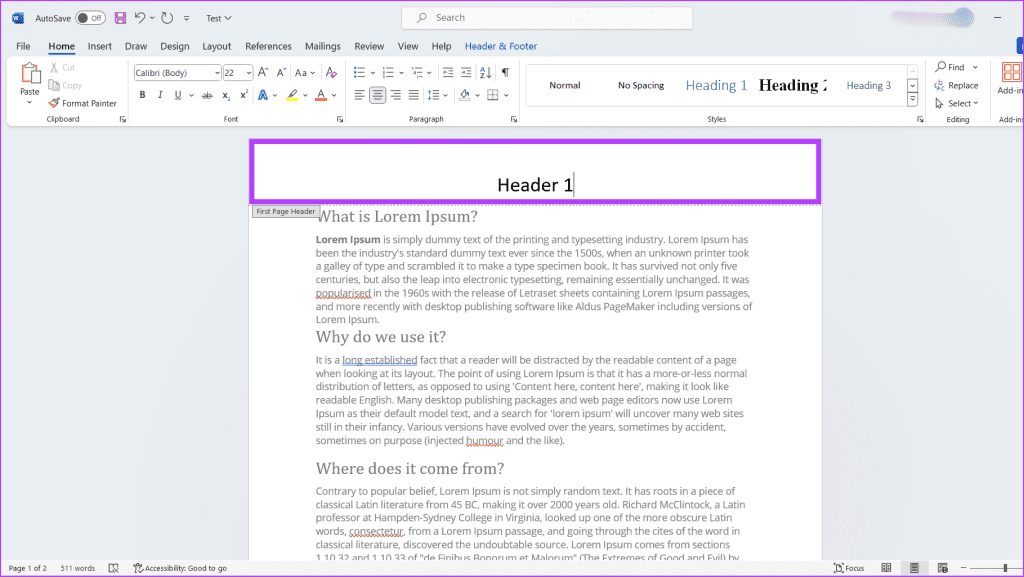
Step 6: Now, type your first-page header or footer and other headers and footers on the rest of the pages.
Step 7: Finally, press Ctrl + S to save the changes to your document.
Also Read: How to make all pictures of same size in Microsoft Word
FAQs on Header and Footer
No, you can’t have different headers and footers within a single section in a Word document. Headers and footers are tied to sections, so you must divide your document into multiple sections.
No, changing the headers and footers on your Word document doesn’t affect its alignment, as they reside in separate margins from the main body of your document.
Header and Footer Added
That’s how you get different headers and footers on separate pages in the Word document. Also, if you want to keep a complete list of the changes you make to your document, remember to turn on the track changes feature in Word.
Was this helpful?
Last updated on 16 March, 2024
The article above may contain affiliate links which help support Guiding Tech. The content remains unbiased and authentic and will never affect our editorial integrity.


