Microsoft Word doesn’t have the best reputation when it comes to moving images around on a document. A small shift can set the whole document into chaos. But things don’t stop there; the same formatting problems can extend to other inserted objects like tables, too. If you’re struggling with this, we’re here to show you what to do when a Microsoft Word Table goes off page.
Microsoft Word Table Goes Off Page – Fixes to Try
There are a few ways to wrangle a stray table in Word back under control. Depending on how yours is misbehaving, some of the fixes below might be more appropriate than others.
The Manual Approach
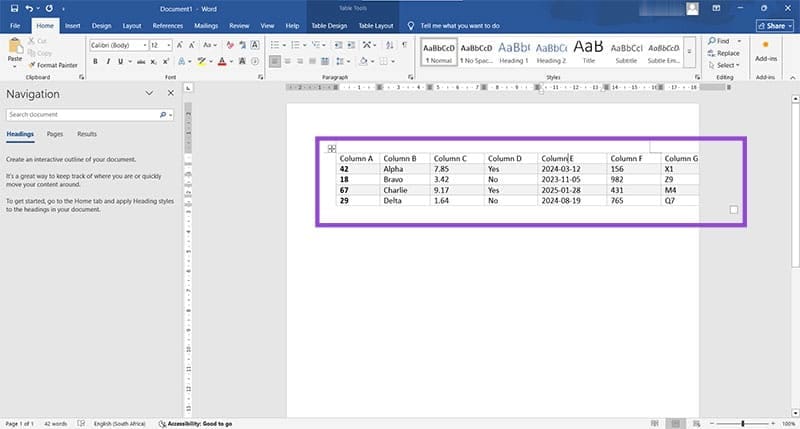
Let’s start simple. If your table goes off page in Microsoft Word, you can always try the straightforward, but possibly time-consuming approach of manually resizing the table:
Step 1. Depending on the size and orientation of your table, hover your mouse over row and column borders and click and drag to resize them.
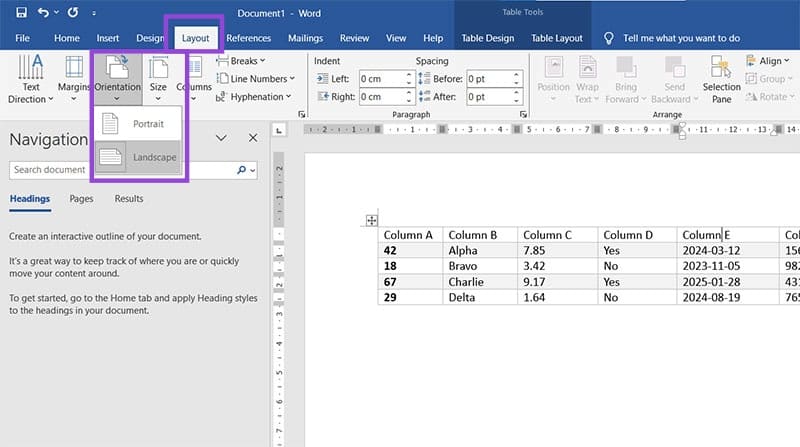
Step 2. Alternatively, you can try to go with the flow and change the page orientation. Simply click on the “Layout” tab and choose “Portrait” or “Landscape” depending on your needs.
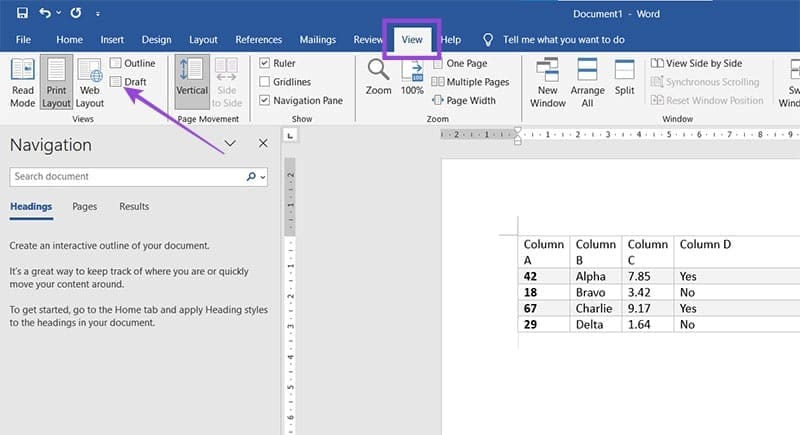
If the table has gone too far offscreen to be adjusted back onto the page, you can enter the Draft View to edit things.
Step 1. Click the “View” tab, then “Draft” to change the view.
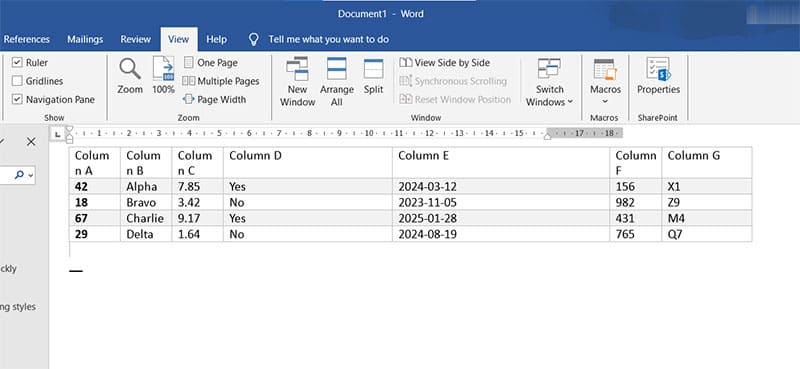
Step 2. Your whole table should now be visible on screen, allowing you to resize the rows and columns manually.
AutoFit Your Table
Microsoft Word, even if it muddies up inserted objects at times, still has very powerful tools to get things back under control. AutoFit is one such tool. Here’s how to use it:
Step 1. Click on your table to select it, then choose the “Table Layout” tab.
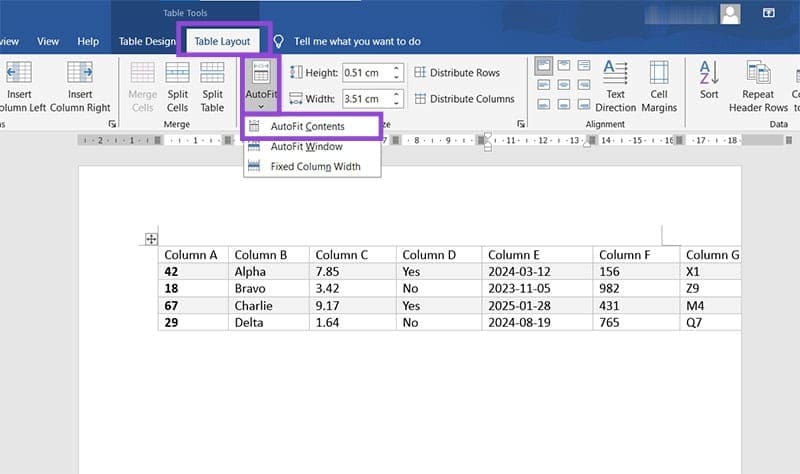
Step 2. Select the “AutoFit” option and select “AutoFit Contents.”
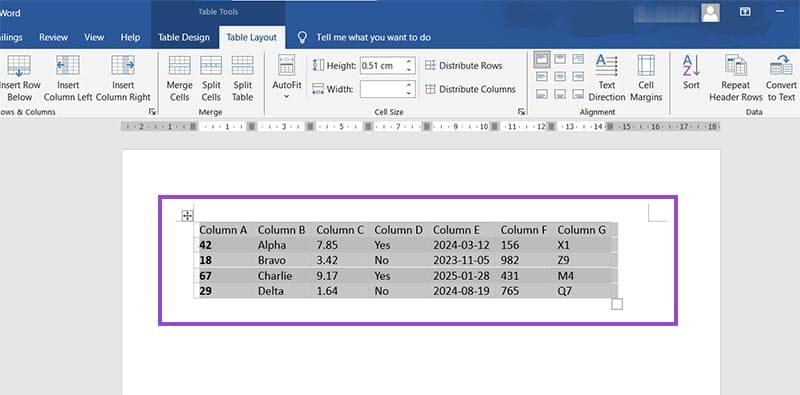
Step 3. The table should now fit neatly within the page and its margins.
Preventing a Table From Splitting
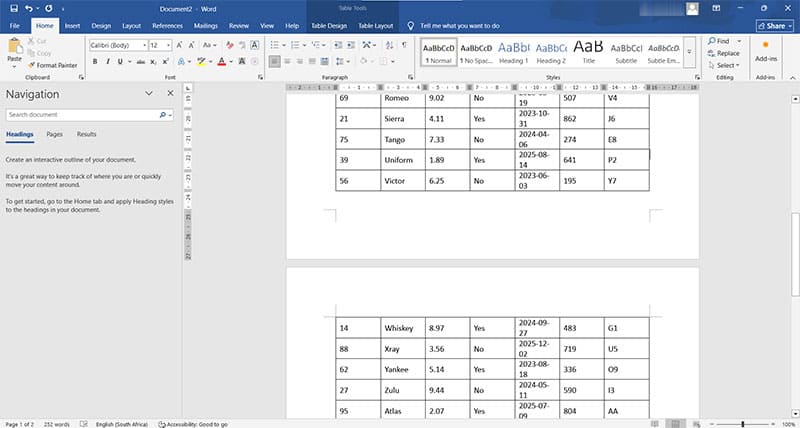
In some cases, “going off the page” might mean that your Word table is split across pages. Preventing this is quite simple. Here’s what to do:
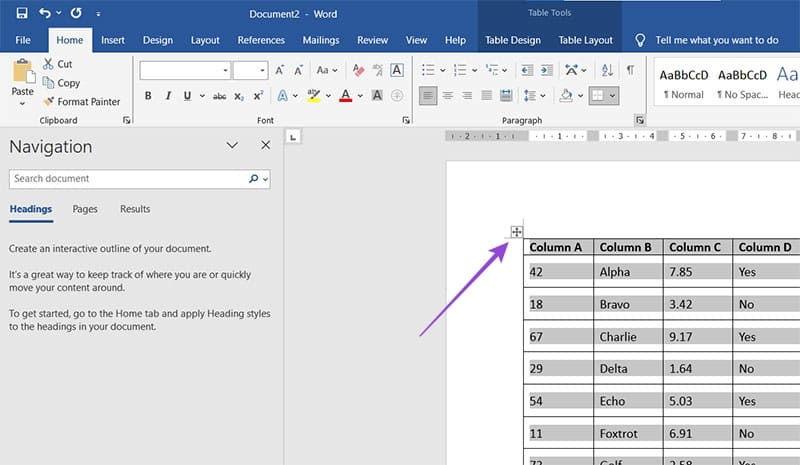
Step 1. Select the table by the top-left corner icon (four arrows).
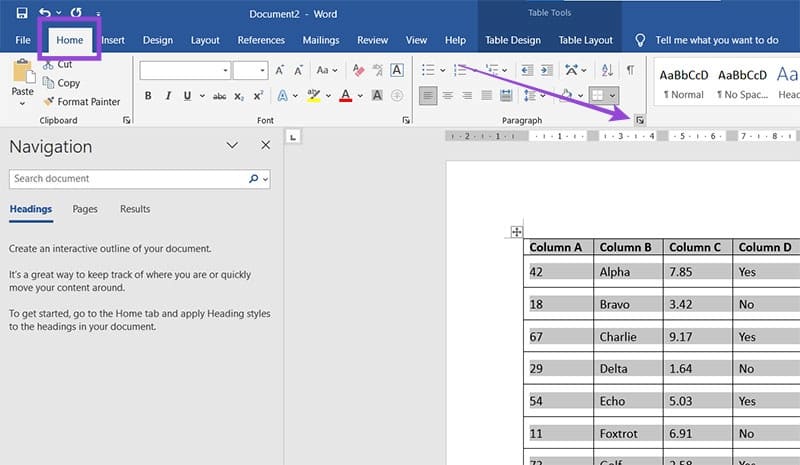
Step 2. Under the “Home” tab, click the “Paragraph” settings icon (the arrow at the bottom-right of the paragraph subsection).
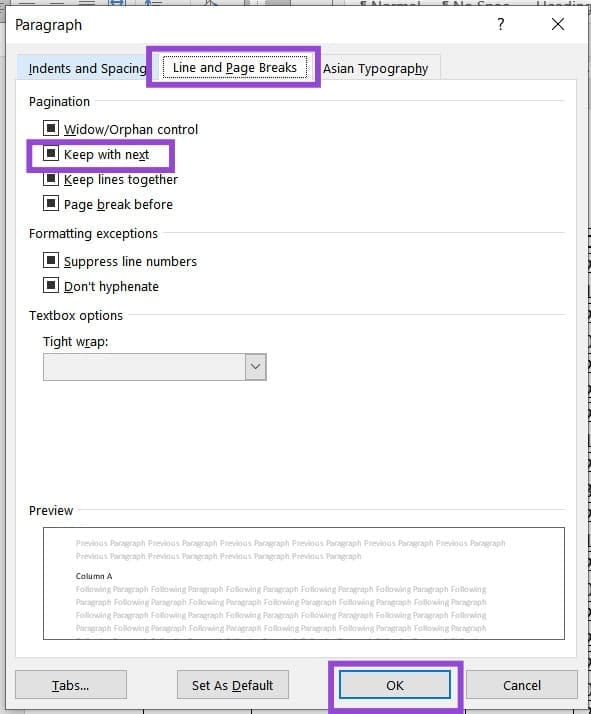
Step 3. In the “Line and Page Breaks” tab, ensure the “Keep with next” option is checked and click “OK.”
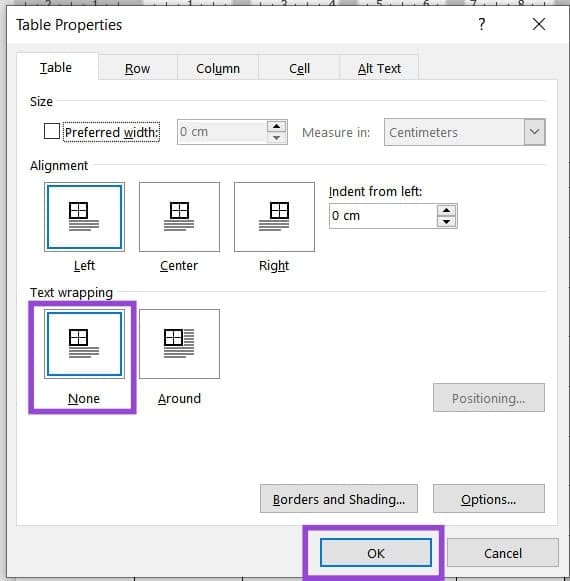
Step 4. If the issue still isn’t resolved, right-click the top-left icon of the table and select “Table Properties” from the dropdown menu.
Step 5. In the window that pops up, ensure that “Text Wrapping” is set to “None” and click “OK.”
Keep Your Table Fixed
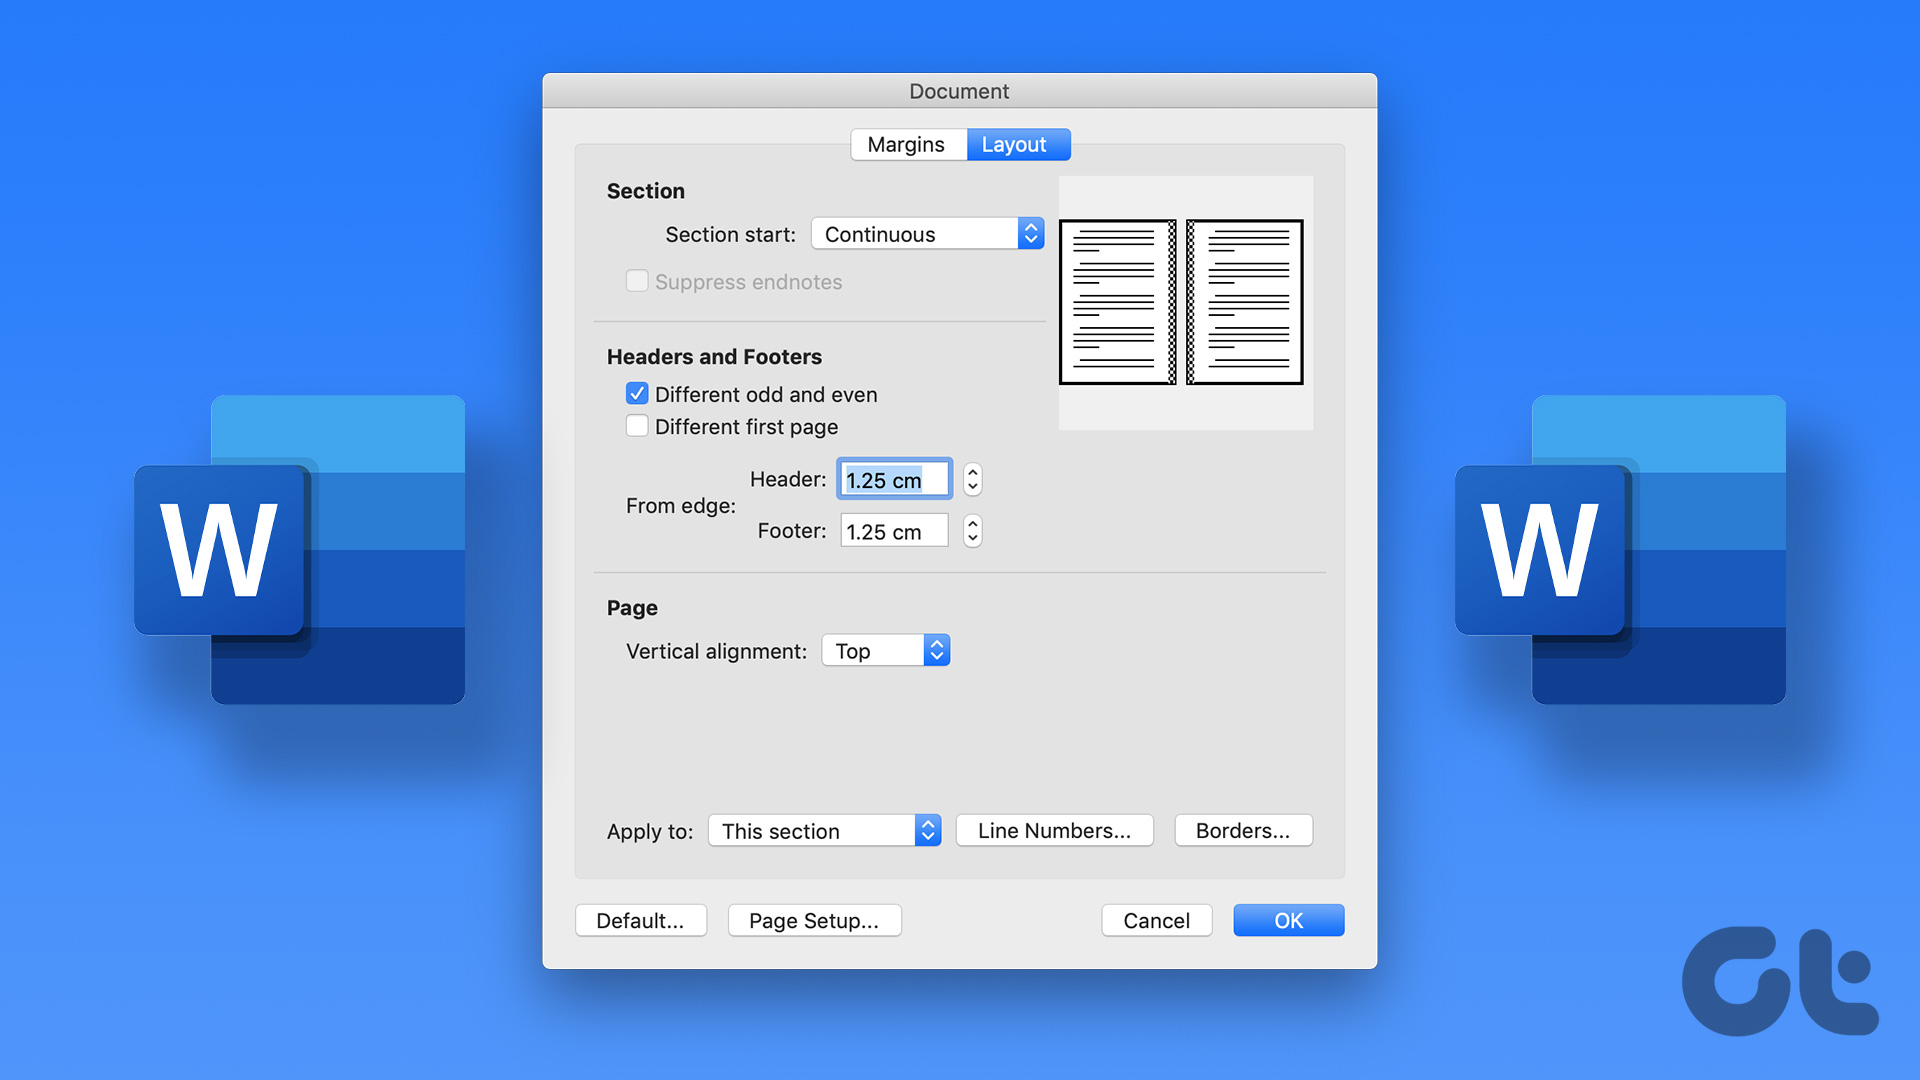
Finally, if you want your table to stay in place, no matter the text around it, you can set it to a fixed position, much like the “Tight” layout option for pictures in Word. Here’s what to do:
Step 1. Right-click on the icon at the top-left corner of the table and select “Table Properties.”
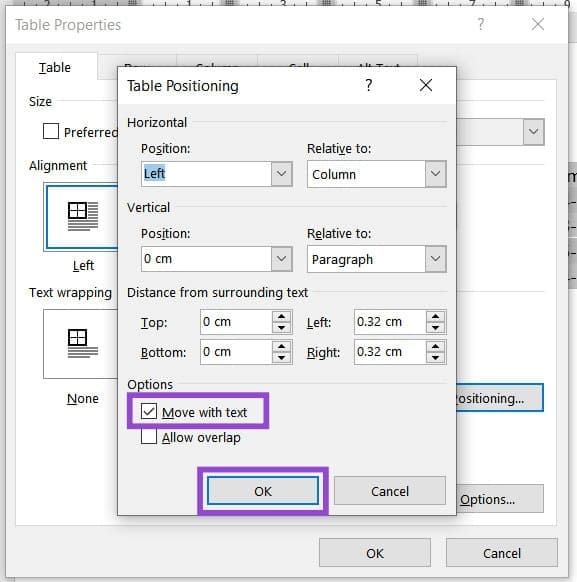
Step 2. Under “Text Wrapping,” select “Around.” After that, click the “Positioning” button.

Step 3. Uncheck “Move with text” in the next window and click “OK” to confirm.
Step 4. The table should now stay fixed on the page wherever you move it.
Was this helpful?
Last updated on 22 January, 2026
Read Next
 How to Insert a Table of Contents in Microsoft Word
 (Windows and Mac) As a part of the Office redesign, Microsoft revamped the Word app on the desktop.
How to Insert a Table of Contents in Microsoft Word
How to Insert a Table of Contents in Microsoft Word (Windows and Mac) As a part of the Office redesign, Microsoft revamped the Word app on the desktop.
 How to Create and Use Custom Table Templates in Microsoft Word
How to Create a Custom Table Template in Microsoft Word On Microsoft Word, there is a feature called Quick Tables.
How to Create and Use Custom Table Templates in Microsoft Word
How to Create a Custom Table Template in Microsoft Word On Microsoft Word, there is a feature called Quick Tables.
 5 Steps to Convert a Word Table to Microsoft Excel
Although Microsoft Word has definitely improved its functionality for dealing with numbers and tables over the years, there are times when you need the advanced functionality of Microsoft Excel.
5 Steps to Convert a Word Table to Microsoft Excel
Although Microsoft Word has definitely improved its functionality for dealing with numbers and tables over the years, there are times when you need the advanced functionality of Microsoft Excel.
 7 Best Ways to Fix Hibernate Goes to Lock Screen Error on Windows 10
The Hibernate mode, not to be confused with the Sleep feature, on Windows OS saves battery, but the best part is, you can close your lid to activate it.
7 Best Ways to Fix Hibernate Goes to Lock Screen Error on Windows 10
The Hibernate mode, not to be confused with the Sleep feature, on Windows OS saves battery, but the best part is, you can close your lid to activate it.
 3 Ways to Fix Monitor Goes Black While Watching Netflix
Basic Fixes Disable G-SYNC in NVIDIA Control Panel: If your monitor is flickering or the screen goes black, disable G-SYNC in NVIDIA Control Panel.
3 Ways to Fix Monitor Goes Black While Watching Netflix
Basic Fixes Disable G-SYNC in NVIDIA Control Panel: If your monitor is flickering or the screen goes black, disable G-SYNC in NVIDIA Control Panel.
 7 Ways to Fix Volume Level Automatically Goes Up or Down in Windows 11
Fix 1: Run the Audio Troubleshooter Microsoft offers several troubleshooters to help you identify and resolve common system-related issues on Windows.
7 Ways to Fix Volume Level Automatically Goes Up or Down in Windows 11
Fix 1: Run the Audio Troubleshooter Microsoft offers several troubleshooters to help you identify and resolve common system-related issues on Windows.
 5 Ways to Fix Monitor Goes Black Randomly on Windows 11
Basic Fixes Check the monitor connection: Ensure the monitor cable isn't loose.
5 Ways to Fix Monitor Goes Black Randomly on Windows 11
Basic Fixes Check the monitor connection: Ensure the monitor cable isn't loose.
 5 Ways to Change the Default Page Layout in Microsoft Word
Method 1: Change Page Size Microsoft Word uses the document size and layout as A4 by default.
5 Ways to Change the Default Page Layout in Microsoft Word
Method 1: Change Page Size Microsoft Word uses the document size and layout as A4 by default.
The article above may contain affiliate links which help support Guiding Tech. The content remains unbiased and authentic and will never affect our editorial integrity.