How to Install Chrome Extensions on Kiwi
Installing extensions on the Kiwi browser is straightforward.
Step 1: Open the extension download page from Chrome Webstore.
You can search for the extension on Google or open the Chrome Webstore and search for the extension you want to download.
Step 2: Tap on Add to Chrome, and the extension will be installed on Kiwi.

Step 3: Then, tap on the three-dots menu icon at the top right, select Extensions, and you can view, and modify the installed extensions.


Also Read: Best Chrome extensions to save open tabs.
Other Useful Kiwi Browser Features
Besides the extension support, Kiwi packs a slew of features to improve your web browsing experience.
1. Block Ads
If you find advertisements annoying on a website, tap on the three-dot menu button at the top right and tap on Block Ads.


2. Quickly Clear Data
Web browsers can accumulate cache and junk files to fill up your storage space. Thankfully, Kiwi lets you quickly clear the browser data.
Step 1: Tap on the three-dot menu icon at the top right and select Clear Data.
Step 2: Select the types of data you want to delete for the time range, and you’re good to go.


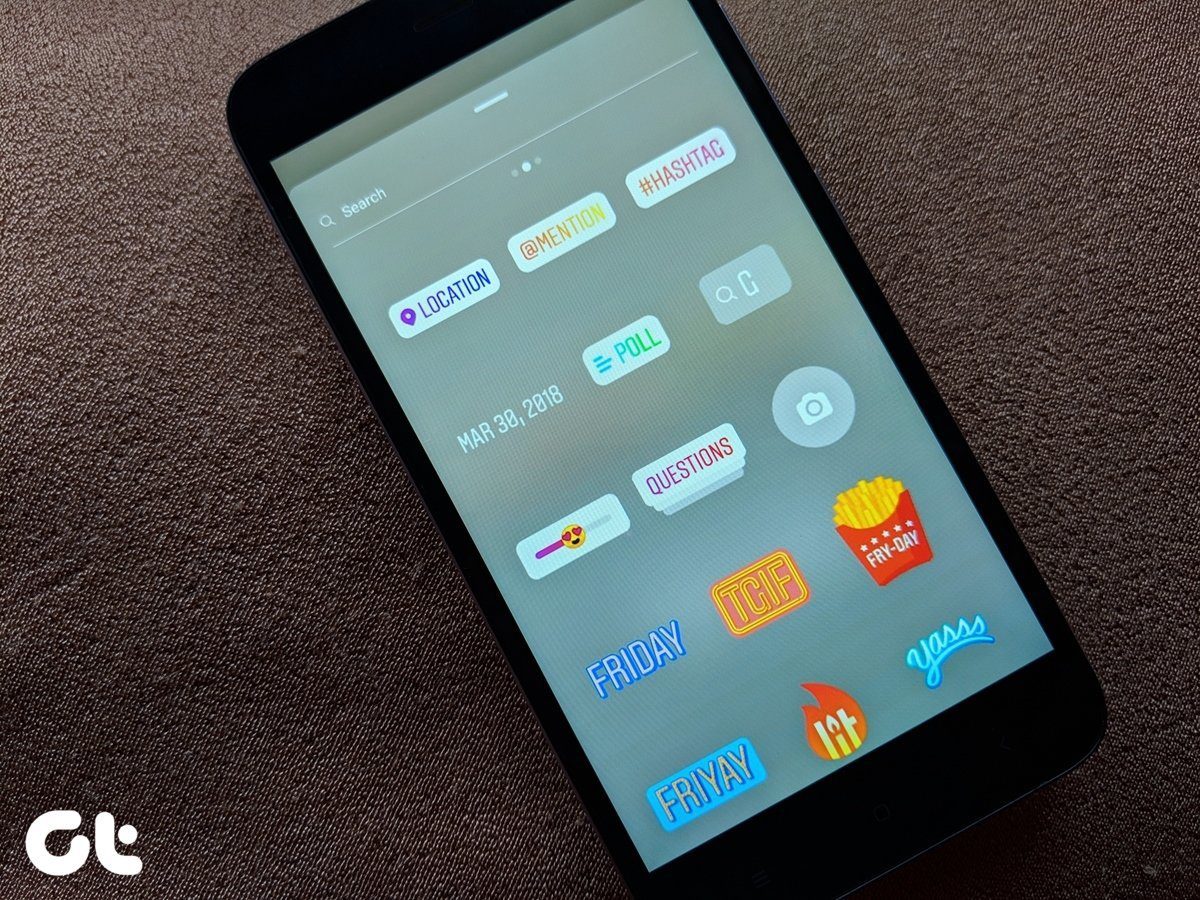
3. Create Quick Toolbar Shortcut
Kiwi features a shortcut on the toolbar (as annotated in the first image below), and the default one is set to open a new tab for you. However, you can customize this button to perform another action.
Step 1: Tap on the three-dot menu icon at the top right, select Settings, and select Toolbar shortcut.
Step 2: Select a new shortcut from the list, or create a new action for the same.


4. Change Toolbar Settings
The toolbar is probably the most used area on a web browser – you use it to open a new website, access your favorites, go to the home page, and access the quick settings. On Kiwi browser, you can modify the options the toolbar contains.
Go to Settings > Toolbar and enable or disable the buttons you want to access on the toolbar.
Our favorite setting is the Bottom Toolbar – where the toolbar moves to the bottom, which makes it easy to access it with one hand.


5. Change the Tab Switcher Layout
If you constantly switch tabs on your web browser – you can change the layout of the Tab Switcher on the Kiwi browser. Go to Settings > Tab Switcher and pick a layout you are comfortable with.


Also Read: Kiwi Browser vs. Google Chrome: Which Android browser should you use?
Was this helpful?
Last updated on 20 May, 2024
Read Next
 Kiwi Browser vs Google Chrome: Which Android Browser Should You Use
The Google Play store is chock-full of browser apps, all of which boast of a single stand out feature that differentiates them from the rest.
Kiwi Browser vs Google Chrome: Which Android Browser Should You Use
The Google Play store is chock-full of browser apps, all of which boast of a single stand out feature that differentiates them from the rest.
 How to Install Chrome Extensions in Microsoft Edge
Method 1: Getting Extensions Straight From the Chrome Store You may install extensions straight from the Chrome Store after installing Microsoft Edge on your computer.
How to Install Chrome Extensions in Microsoft Edge
Method 1: Getting Extensions Straight From the Chrome Store You may install extensions straight from the Chrome Store after installing Microsoft Edge on your computer.
 13 Cool MX Player Tips and Tricks You Must Check Out
When it comes to playing videos on your smartphone, no other player plays it better than the much popular MX Player.
13 Cool MX Player Tips and Tricks You Must Check Out
When it comes to playing videos on your smartphone, no other player plays it better than the much popular MX Player.
 How to Unhide Notes in MIUI Devices and Other Cool Tips
How to Unhide Notes in MIUI (Redmi, Poco, and Xiaomi Devices) Step 1: Open the Notes app, swipe down, hold your screen, and release it to reveal the hidden notes.
How to Unhide Notes in MIUI Devices and Other Cool Tips
How to Unhide Notes in MIUI (Redmi, Poco, and Xiaomi Devices) Step 1: Open the Notes app, swipe down, hold your screen, and release it to reveal the hidden notes.
 How to Clear Song History on Amazon Prime Music
While Amazon Music allows you to remove music from recently played history, they are still considered from recommendations.
How to Clear Song History on Amazon Prime Music
While Amazon Music allows you to remove music from recently played history, they are still considered from recommendations.
 9 Cool Tips and Tricks for Dual Monitor Setups on Windows 10
Not too long ago, having a dual monitor setup was considered to be a huge deal.
9 Cool Tips and Tricks for Dual Monitor Setups on Windows 10
Not too long ago, having a dual monitor setup was considered to be a huge deal.
 The Best Windows Calculator Alternatives, Tips and Extensions
Not a fan of the built in Windows 10 calculator?If the flat UI design of Windows 10 apps isn't your preference, or you're after a little extra functionality, there's replacement
The Best Windows Calculator Alternatives, Tips and Extensions
Not a fan of the built in Windows 10 calculator?If the flat UI design of Windows 10 apps isn't your preference, or you're after a little extra functionality, there's replacement
 Mi Browser vs Google Chrome: Which One Should You Use
Google Chrome leads the mobile web browser race by a larger market share.
Mi Browser vs Google Chrome: Which One Should You Use
Google Chrome leads the mobile web browser race by a larger market share.
The article above may contain affiliate links which help support Guiding Tech. The content remains unbiased and authentic and will never affect our editorial integrity.