If you want to hide something in a photo, you would preferably try to blur it. However, you can also add emojis to a picture spanning from a heart to shocking emoji and beyond. Let’s check how to put an emoji on a picture on iPhone.
Unfortunately, iPhone doesn’t provide a straightforward way of adding emojis to pictures. Fortunately, though, there are workarounds that can help us get the same results. We can use the Markup tool, some social media apps, and even third-party photo-editing apps. Let’s get started.
1. Use the Markup Tool to Add Emojis
The iPhone’s Markup editor offers an easy way to put emojis over a face in a picture on iPhone using the Text tool. We have divided the steps into two sections.
Add Text Tool Using Markup Editor
First, you will need to add text to your photo as shown below:
Step 1: Launch the Apple Photos app on your iPhone.
Step 2: Open the picture in which you want to add an emoji.
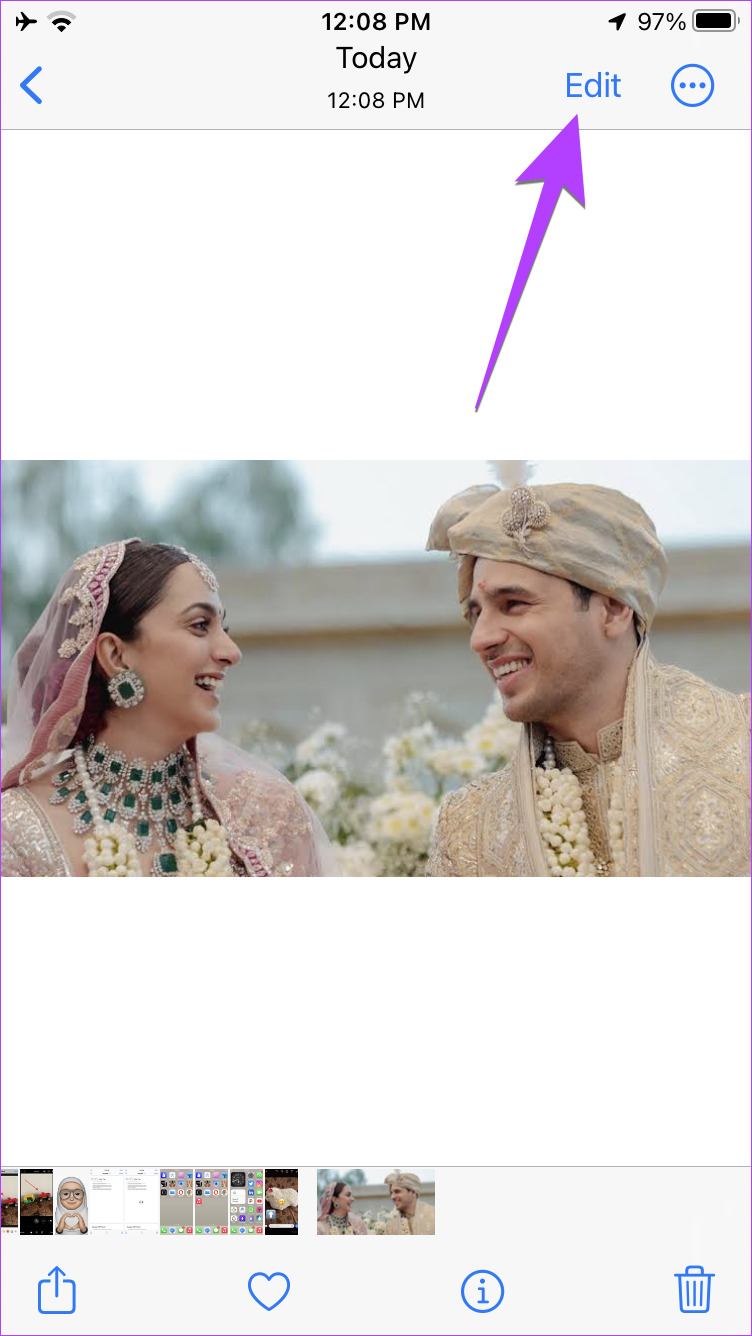
Step 3: Tap on the Edit button at the top and select the Pen (Markup) icon.

Step 4: The Markup editor will open. Tap on the (+) icon and select Text from the menu.

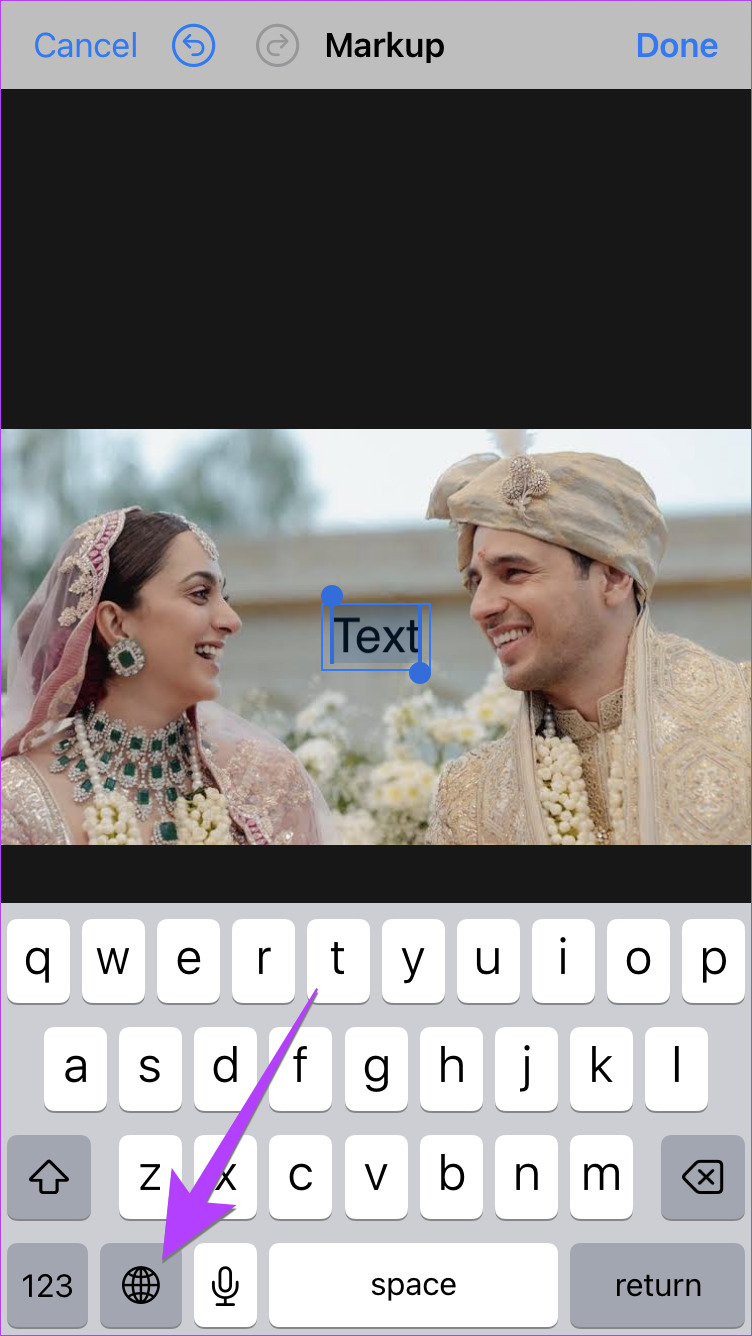
Step 5: The Text word will appear on your image. Double-tap on it to edit the text.

Add Emoji to Picture
Now, you need to switch to the Emoji keyboard and add the preferred emoji as shown below:
Step 1: Long-press the Globe icon on the keyboard and select Emoji from the menu, provided you are using the Apple Keyboard.
Note: If you are using Gboard or any other keyboard, simply tap on the Emoji icon in the keyboard to open the Emoji panel.

Note: If you don’t see the Emoji keyboard, you must add it first. Go to iPhone Settings > General > Keyboard > Keyboards. Tap Add New Keyboard and select Emoji.
Step 2: Select the emoji that you want to add to the iPhone picture.

Step 3: The emoji will show up on the picture. Touch and hold the emoji and drag it to wherever you want to put it. It can be the face that you want to cover.
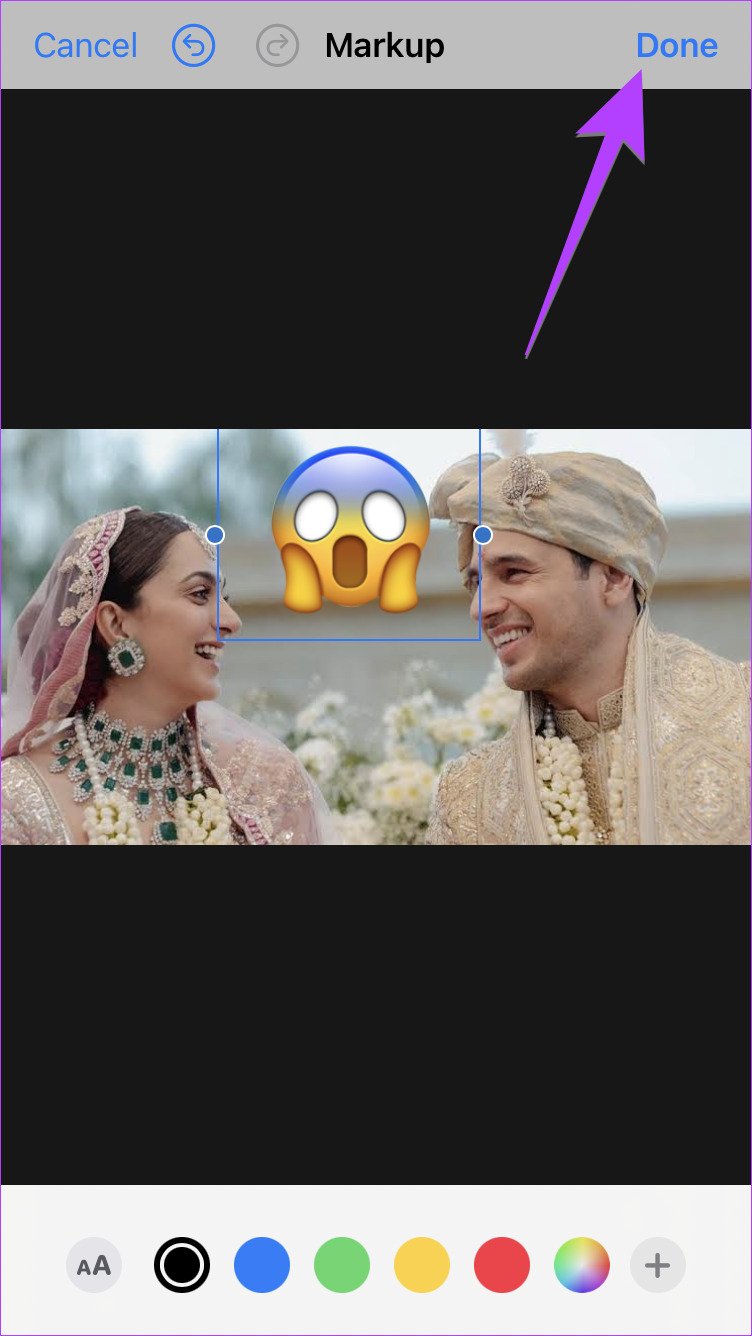
Step 4: Select the emoji by tapping on it. Tap on the aA icon at the bottom, and change the size of the emoji using the slider. Make sure to increase the size of the text box using the blue dots if half of the emoji seems to be cut.

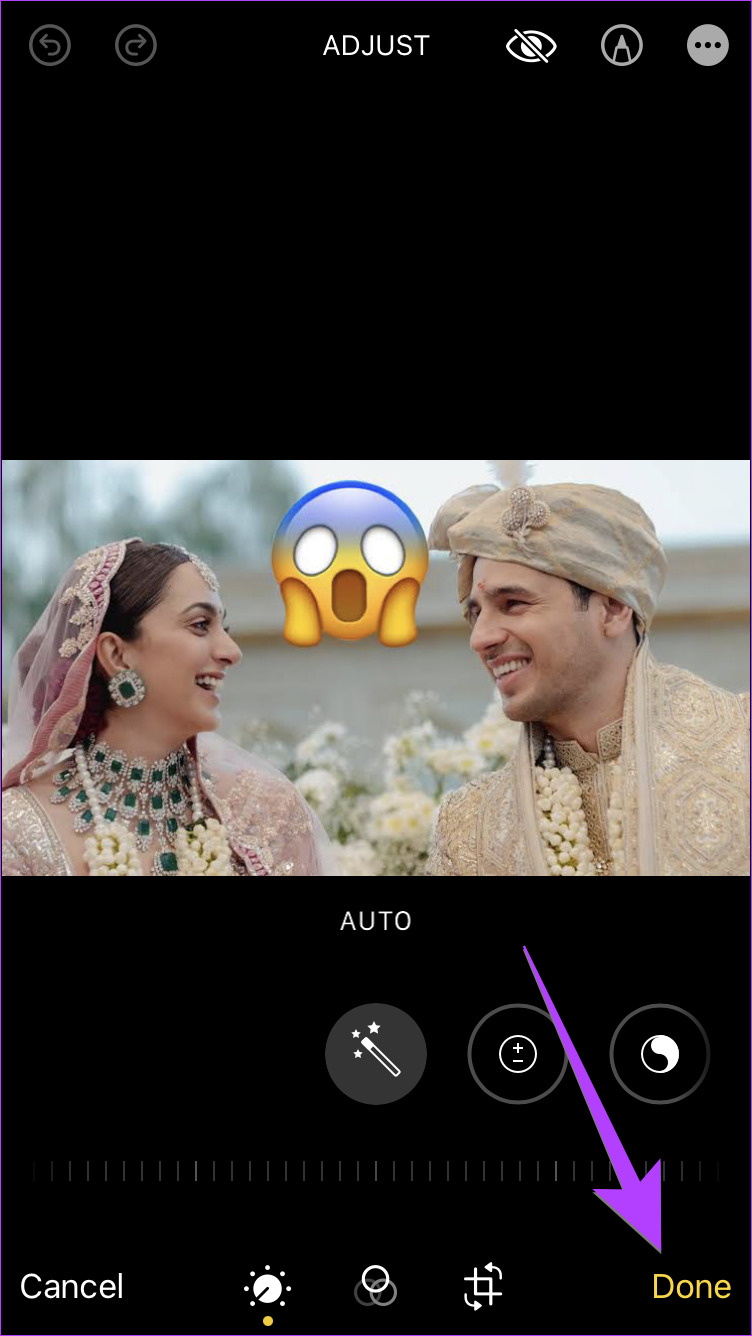
Step 5: Tap on Done followed by Done to save the picture with the emoji on it.
Pro Tip: Check out the best tips to use the iPhone Photos apps.
2. Use Instagram to Insert Emoji
If you have the Instagram app installed on your iPhone, you can use it to add emojis to your pictures. After adding the emoji, you can easily save the picture to your iPhone without uploading it to Instagram.
Follow these steps to put emojis on pictures on iPhone using the Instagram app:
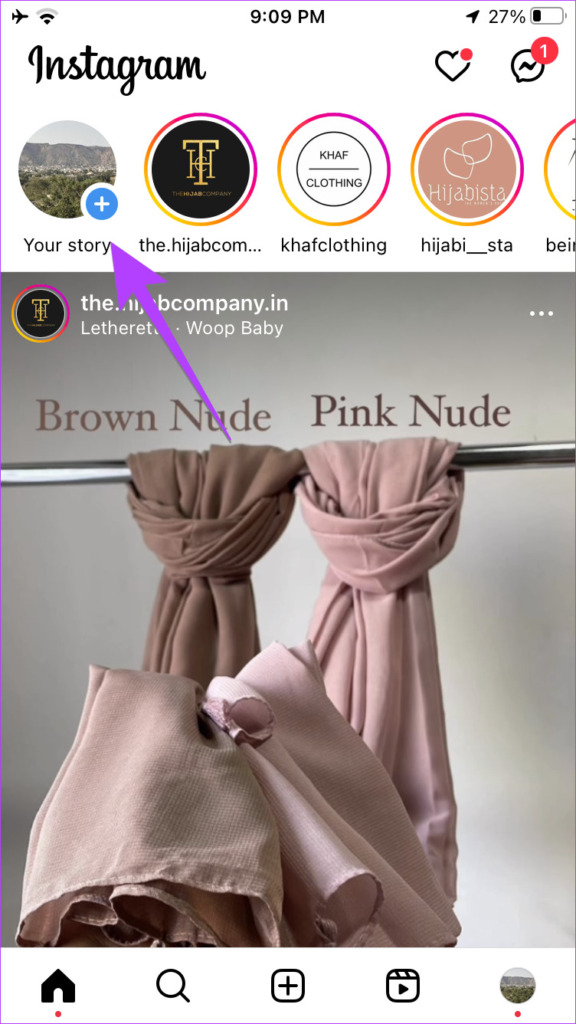
Step 1: Open the Instagram app on your iPhone.
Step 2: Create a new story and select the picture on which you want to add an emoji.
Step 3: Tap on the Sticker icon at the top.
Step 4: Press the Search bar and enter the words describing the emoji. The matching emojis will show up in the search results. Tap on the emoji to add it to your picture.


Pro Tip: Learn the meaning of various Instagram stickers.
Step 5: Use the pinch-in and out gesture to change the size of the emoji. Or, drag it to a new position.
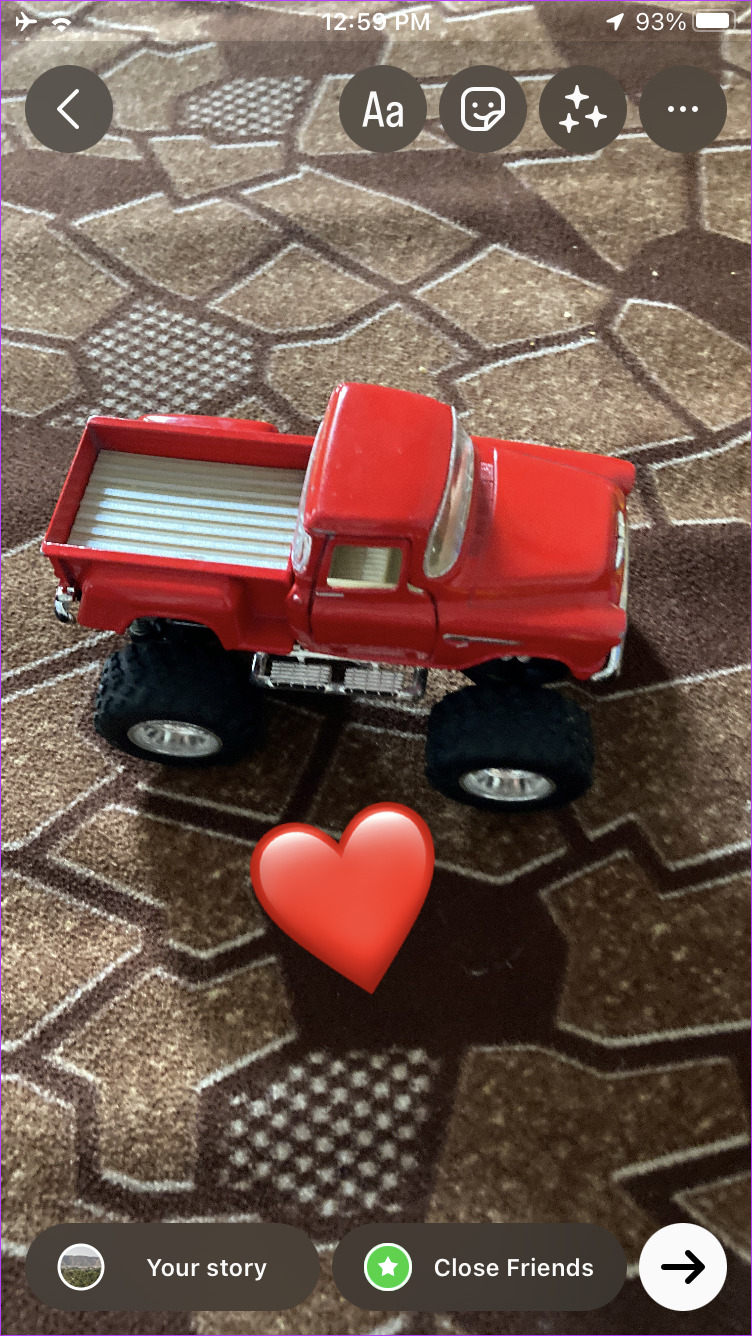
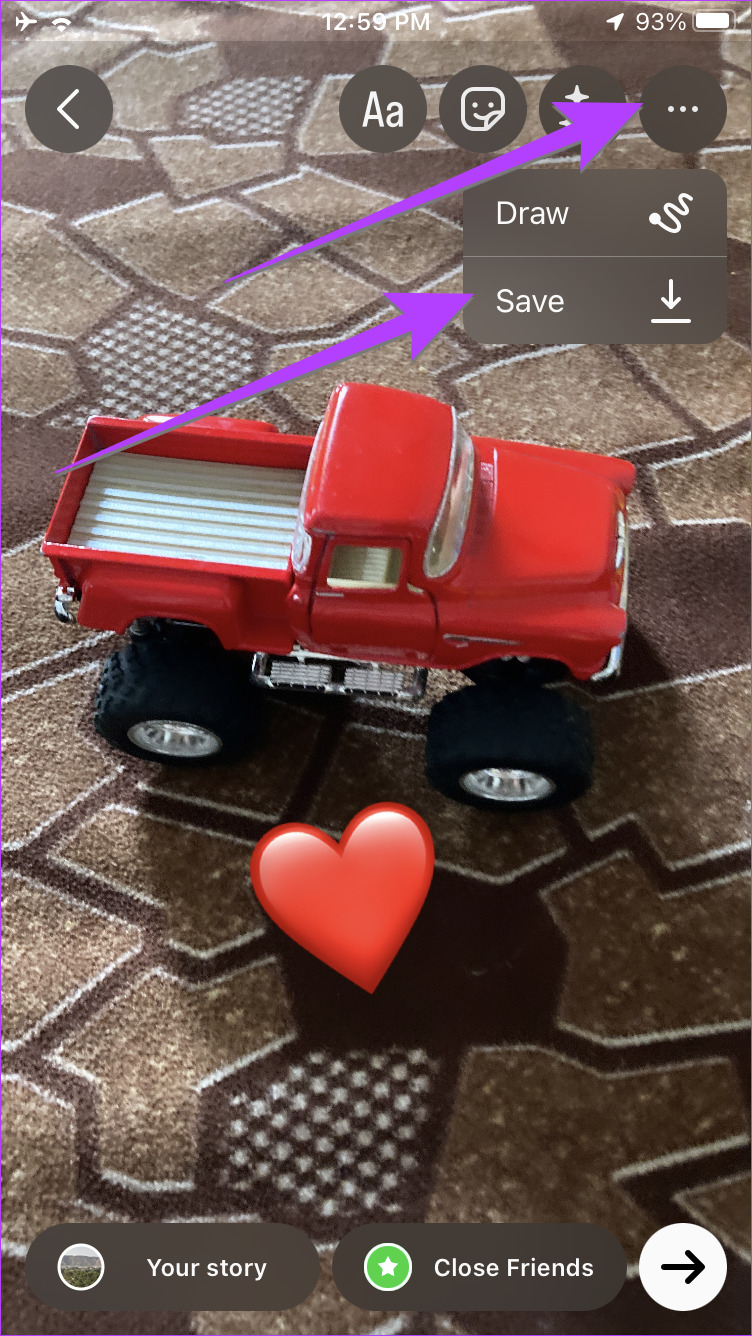
Step 7: Tap on the three-dot icon at the top of the story and select Save to download the picture with emoji to your iPhone.
Pro Tip: Check out the best tips to use Instagram stickers.
3. Use Third-Party Apps
If you don’t like the above two methods, you can use third-party apps to put emojis on pictures on your iPhone.
Step 1: Install the free InShot photo and video editor app from App Store.
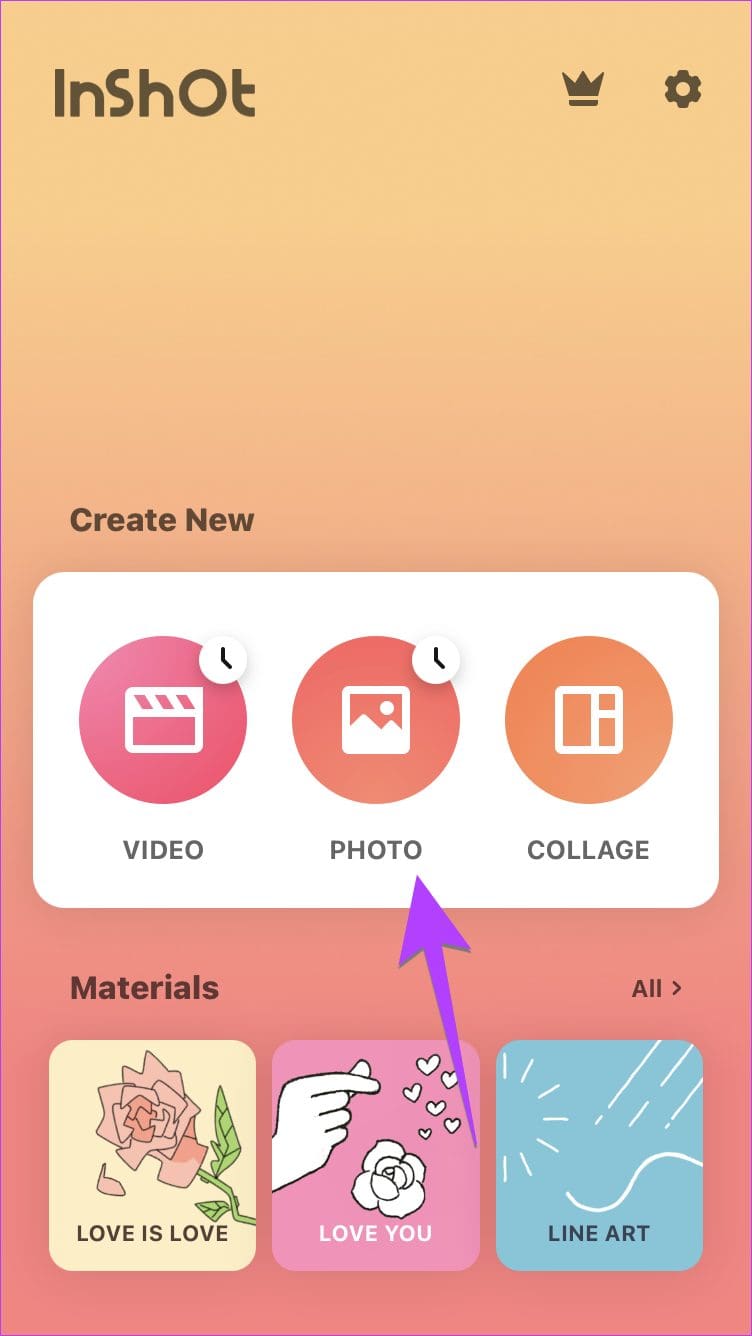
Step 2: Open the app and tap on Photo.
Step 3: Tap on New and select the picture to which you have to add an emoji.

Step 4: Tap on the Stickers button at the bottom.
Step 5: Press the Emoji icon and select the emoji to add to your photo.


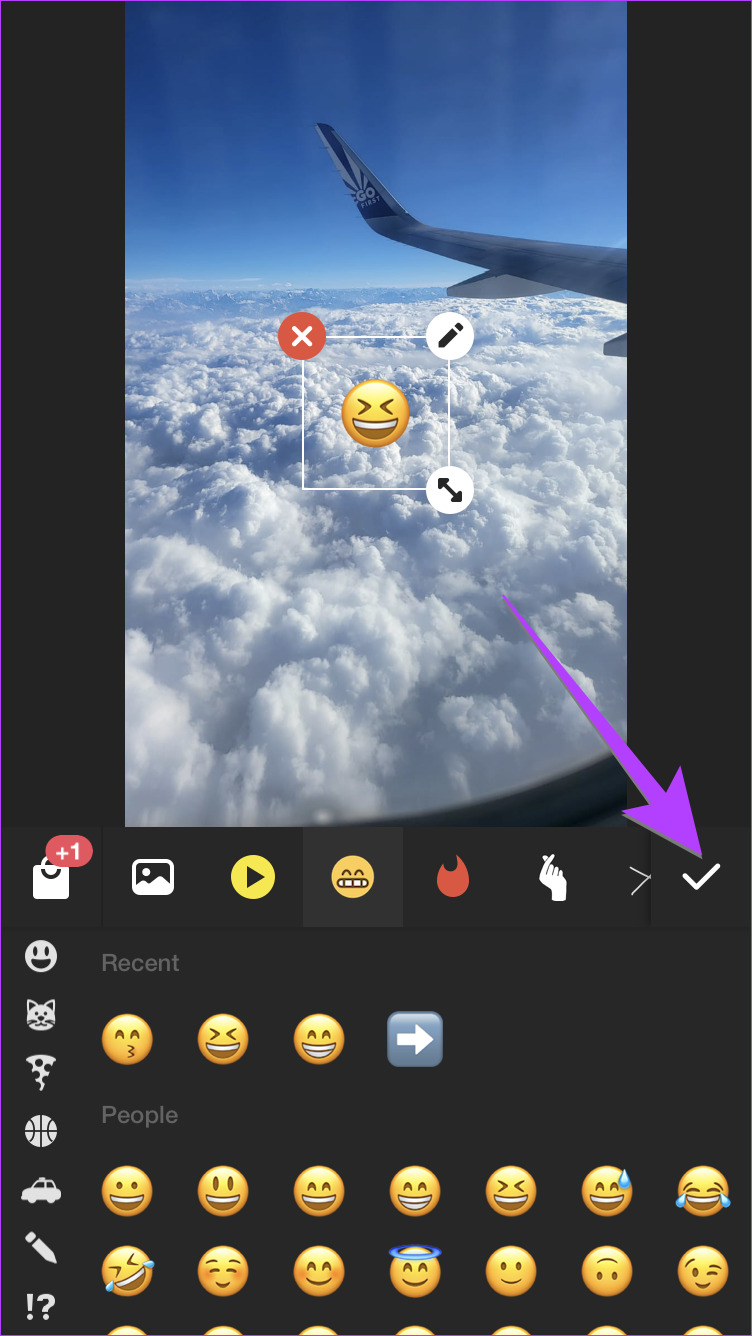
Step 6: Use the double-sided arrow to change the size of the emoji. Hold and move to change the emoji’s position. Or, tap on the Edit (pencil) icon to change the transparency of the emoji.
Step 7: Press the checkmark icon to add the emoji.
Step 8: Tap on the Share icon at the top to save the picture with emoji on it to your iPhone.

4. Use WhatsApp to Add Emojis to iPhone Photo
If you want to hide something on a photo that you want to send through WhatsApp, you can directly add emojis to the picture in WhatsApp. This is possible using the WhatsApp photo editor. Follow these steps to add an emoji to a picture in WhatsApp.
Step 1: Open WhatsApp on your iPhone.
Step 2: Go to the chat where you want to send the picture with an emoji over it.
Step 3: Tap on the Camera icon and select a photo or capture a new picture.
Step 4: Tap on the Emoji icon at the top and select the Emoji tab. Tap the emoji that you want to add to your picture.
Note: Alternatively, you can use the search at the top to find the emoji.


Step 5: The emoji will show up on your picture. Touch and hold it to move it to the desired place. You can also:
- Use the pinch-in and out gesture to increase its size.
- Hold the emoji with one finger and rotate it clockwise or counterclockwise with the other.

Step 6: Tap on the Send button to share the image in a WhatsApp chat.

Pro Tip: Learn how to create your own WhatsApp stickers and add them to pictures.
FAQs About Adding Emojis to Pictures
First, save the Memoji to your iPhone. For that, create a new note and add Memoji to it. Tap on the Memoji to open it in full-screen view. Press the Share icon and select Save image. Then, use a photo editor app like InShot to add the Memoji on top of your picture.
No. Once you save and send the picture with an emoji on it, others cannot remove the emoji.
Have Fun with Emojis
That’s how easy it is to add emojis to pictures on your iPhone. Similarly, learn how to send Memoji stickers on WhatsApp, and also know how to create an emoji of yourself from a picture.
Was this helpful?
Last updated on 30 January, 2024
Read Next
 4 Ways to Fix WhatsApp Picture-In-Picture Not Working
Basic Fixes Update WhatsApp: Open the Google Play Store or Apple App Store, search WhatsApp, and tap Update (if available).
4 Ways to Fix WhatsApp Picture-In-Picture Not Working
Basic Fixes Update WhatsApp: Open the Google Play Store or Apple App Store, search WhatsApp, and tap Update (if available).
 How to Enable or Disable Picture-in-Picture Mode on iPhone and iPad
Enable Automatic Picture-in-Picture Mode on iPhone and iPad If your iPhone or iPad doesn't automatically open videos in Picture-in-Picture mode when quitting to the Home screen, it's likely that your
How to Enable or Disable Picture-in-Picture Mode on iPhone and iPad
Enable Automatic Picture-in-Picture Mode on iPhone and iPad If your iPhone or iPad doesn't automatically open videos in Picture-in-Picture mode when quitting to the Home screen, it's likely that your
 Top 6 Fixes for Facetime Picture-in-Picture Not Working on iPhone & iPad
With the Picture-in-Picture (PiP) mode, multitasking is easy on iPhone and iPad.
Top 6 Fixes for Facetime Picture-in-Picture Not Working on iPhone & iPad
With the Picture-in-Picture (PiP) mode, multitasking is easy on iPhone and iPad.
 4 Ways to Fix the iPhone Picture-in-Picture Not Working
Before you begin, try restarting your iPhone, and update the app you are trying to use picture-in-picture with, to the latest version.
3 Ways to Fix Prime Video Picture-in-Picture Not Working on Android and iPhone
Basic Fixes Restart Prime Video: Restart the Prime Video app and your smartphone to eliminate bugs and glitches.
4 Ways to Fix the iPhone Picture-in-Picture Not Working
Before you begin, try restarting your iPhone, and update the app you are trying to use picture-in-picture with, to the latest version.
3 Ways to Fix Prime Video Picture-in-Picture Not Working on Android and iPhone
Basic Fixes Restart Prime Video: Restart the Prime Video app and your smartphone to eliminate bugs and glitches.
 4 Ways to Fix Picture-In-Picture Mode Not Working on Android
Try Basic Fixes Update the problematic app: If the picture-in-picture mode is not working due to a buggy app build, you should be able to fix it by updating the
4 Ways to Fix Picture-In-Picture Mode Not Working on Android
Try Basic Fixes Update the problematic app: If the picture-in-picture mode is not working due to a buggy app build, you should be able to fix it by updating the
 3 Ways to Fix Picture-In-Picture Not Working in Facebook Messenger
Common Fixes Restart device - Long-press the physical Power button and tap Reboot to restart Android.
3 Ways to Fix Picture-In-Picture Not Working in Facebook Messenger
Common Fixes Restart device - Long-press the physical Power button and tap Reboot to restart Android.
 3 Fixes for Picture-in-Picture Not Working in Telegram
Basic Fixes Force quit and relaunch Telegram: This will give the app a fresh start on your iPhone or Android phone.
3 Fixes for Picture-in-Picture Not Working in Telegram
Basic Fixes Force quit and relaunch Telegram: This will give the app a fresh start on your iPhone or Android phone.
The article above may contain affiliate links which help support Guiding Tech. The content remains unbiased and authentic and will never affect our editorial integrity.