Method 1: Disable Option to Wakeup From Power Management
We can use the Windows Device Manager to prevent the keyboard, mouse, and touchpad from waking up your laptop or PC. The steps are the same for all three devices.
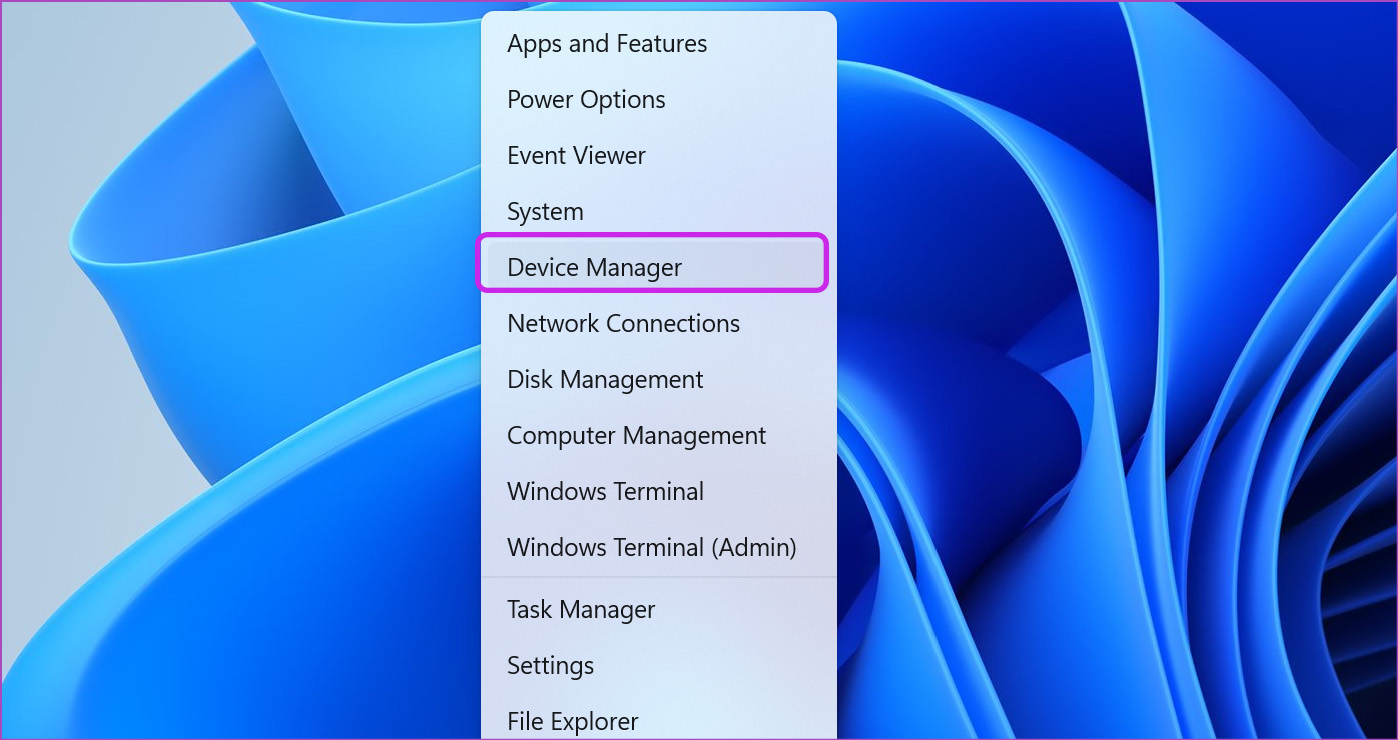
Step 1: Right-click on Start and select Device Manager.
Step 2: Go to the Keyboards section and click on the arrow next to it, to expand it.
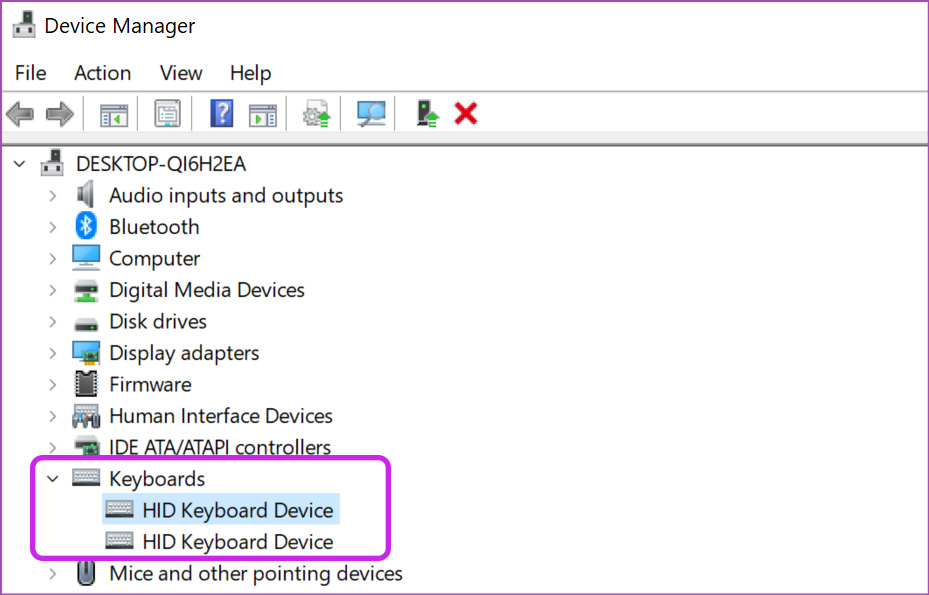
Step 3: Select the default or connected keyboard and right-click on it. Then, select Properties from the context menu.

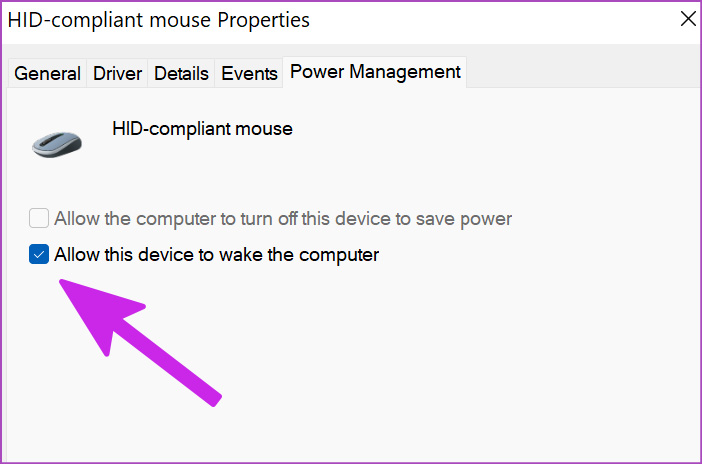
Step 4: Switch to the Power Management tab and uncheck the box for Allow this device to wake up the computer. Apply the changes and close Device Manager.

To disable the mouse’s wake-the-computer feature, follow the same steps, but instead, expand the Mice and other pointing devices section and disable the Allow this device to wake the computer option for HID-compliant mice.
If you are using a laptop, do the same for Topuchpad. It will be listed under Mice and other pointing devices, and you need to disable the option that can wake up the PC.

Also Read: How to fix Windows PC randomly waking up from sleep
Method 2: Disable Power Management for Keyboard and Mouse Using PowerCFG Command
If you are comfortable using the command line, quickly disable any device that can wake up your PC.
Step 1: Press Win + X to open the Power Menu and select Terminal (Admin).
Step 2: Type the below-mentioned command and press Enter to find out which devices can wake the PC from sleep.
powercfg /devicequery wake_armed
Step 3: Taking the device name from the Device Manager step, if you want to disable the HID-compliant mouse, execute the following command:
powercfg /devicedisablewake "HID-compliant mouse"
Step 4: Restart your PC; once it sleeps, try to wake it up with a mouse or key press; it should not work.
Method 3: Disable Modern Standby and Enable S3 Mode
Some users have reported that even when the Power Management is disabled, the devices can still wake up the PC, and the reason behind it is the Modern Standby.
To fix the problem, disable the S0 state and enable the S3 state. Remember, you still need to configure the power management. Before that, check if your PC has the S0 state enabled. To do so, execute powercfg /a on an elevated Windows Terminal.

If you see Standby (S0 Low Power Idle) Network Connected, the state is enabled. You can only disable it by making changes in the registry. We recommend creating a system restore point before you do so.
Step 1: Open the Run prompt (Win + R), type regedit, and press Enter to open the Registry Editor.
Step 2: Navigate to the following path, right-click the Power key, and select New > DWORD (32-bit) Value.
HKEY_LOCAL_MACHINE\SYSTEM\CurrentControlSet\Control\Power

Step 3: Name the key as PlatformAoAcOverride and double-click to edit. Set the value as 0.

Close the registry and restart the PC. Windows should change the default state to S3 automatically.
Method 4: Disable Presence Sensing Settings in Windows
Some modern PCs include Presence Sensing, which wakes up whenever someone is in front of the PC. While it sounds exciting, you might be causally sitting around the PC with no plans to use it, and the screen comes alive.
According to Microsoft, you can disable it.
The settings are available under the System > Power & battery section > Screen and sleep. They offer the option of automatically turning off my screen when I leave and automatically waking up my device when I approach.
You can also configure the distance and other options further.
FAQs
How to Check Which Devices Can Wake Up Your Windows PC?
Execute the command—powercfg -devicequery wake_armed—on an elevated Command Prompt or Terminal, and you can see which devices can wake up your Windows PC.
Do I Need to Disable the Wake-On-Lan to Prevent PC From Waking up From Sleep?
Disabling WoL prevents your PC from being turned on remotely, ensuring it stays in sleep mode until you manually wake it up. So yes, it’s a good idea to disable if you use WoL often.
Was this helpful?
Last updated on 03 June, 2024
4 Comments
Leave a Reply
Read Next
 5 Ways to Fix Windows PC Randomly Waking Up From Sleep
Basic Fixes Disable Awake From Powertoys: Open Powertoys and disable the Awake option.
5 Ways to Fix Windows PC Randomly Waking Up From Sleep
Basic Fixes Disable Awake From Powertoys: Open Powertoys and disable the Awake option.
 3 Ways to Fix Mouse and Keyboard Not Working in Windows
Basic Fixes Restart PC: A simple restart can refresh the system memory, clear temporary glitches, and reload device drivers, fixing issues caused by outdated or corrupted files.
3 Ways to Fix Mouse and Keyboard Not Working in Windows
Basic Fixes Restart PC: A simple restart can refresh the system memory, clear temporary glitches, and reload device drivers, fixing issues caused by outdated or corrupted files.
 Top 3 Touch Mouse Alternatives to Apple’s Magic Mouse
The Magic Mouse is useful for plenty of people, but some can get annoyed by its poor ergonomics.
Top 3 Touch Mouse Alternatives to Apple’s Magic Mouse
The Magic Mouse is useful for plenty of people, but some can get annoyed by its poor ergonomics.
 4 Ways to Fix Mac Display Not Working After Waking From Sleep
Basic Fixes Check screen brightness levels using the keyboard: If your Mac's display doesn't work properly after going into sleep mode, start pressing the Function keys on your Mac to
4 Ways to Fix Mac Display Not Working After Waking From Sleep
Basic Fixes Check screen brightness levels using the keyboard: If your Mac's display doesn't work properly after going into sleep mode, start pressing the Function keys on your Mac to
 4 Ways to Fix MacBook Not Waking Up From Sleep
Preliminary Fixes Press the power button: Sometimes, a simple press of the power button can help resolve the issue.
4 Ways to Fix MacBook Not Waking Up From Sleep
Preliminary Fixes Press the power button: Sometimes, a simple press of the power button can help resolve the issue.
 How to Disable Mouse Acceleration in Windows
What Is Mouse Acceleration?
How to Disable Mouse Acceleration in Windows
What Is Mouse Acceleration?
 How to Enable or Disable Mouse Click Sound on Windows 11
Enable the Mouse Click Sound on Windows 11 If you're tired of your default mouse or trackpad click sound, setting a custom sound will enhance your navigation experience.
How to Enable or Disable Mouse Click Sound on Windows 11
Enable the Mouse Click Sound on Windows 11 If you're tired of your default mouse or trackpad click sound, setting a custom sound will enhance your navigation experience.
 3 Ways to Fix Mouse Keeps Scrolling Automatically Windows 10 and Windows 11
https://youtu.be/1UZ3PWNr-lE Try Basic Fixes Disconnect and reconnect the mouse: Unplug your mouse cable or wireless adapter from your computer and reconnect it to a different port.
3 Ways to Fix Mouse Keeps Scrolling Automatically Windows 10 and Windows 11
https://youtu.be/1UZ3PWNr-lE Try Basic Fixes Disconnect and reconnect the mouse: Unplug your mouse cable or wireless adapter from your computer and reconnect it to a different port.
The article above may contain affiliate links which help support Guiding Tech. The content remains unbiased and authentic and will never affect our editorial integrity.


powercfg -devicequery wake_armed
NONE
but my laptop still wake up with mouse and keyboard
why??!!
I did this:
powercfg -devicequery wake_armed
–> NONE !
Because I unchecked every device possible.
STUPID WIN 11 STILL WAKES UP WITH ANY AND EVERY DEVICE !!! WTF?
MUST BE A NEW ADDED BUG THANKS TO mICRUS0FT DUMB@$$ES UPDATES…
FIX THIS NOW !
And you thought it would be simple: Even https://www.thewindowsclub.com/allow-computer-turn-device-save-power finds failures.
In my case, under W.11 ver. 22H2, and after AMD chipset software updates, the computer wakes up a few minutes after being put to sleep, with “powercfg -devicequery wake_armed” listing the hid keyboard and mouse as the culprits – though they were turned of and even unplugged the moment enter Sleep began, and with “Allow this device to wake up the computer” being deselected! This happens separately for either as well.
“Allow the computer to turn off this device to save power” is greyed for both the keyboard and mouse, even though PnPCapabilities was already present in HKEY_LOCAL_MACHINE\SYSTEM\CurrentControlSet\Control\Class\ with the value set at 0 under my mouse driver key, and is was by default when adding that to the keyboard key.
Since the computer was sleeping well before the AMD chipset and AMD software update then I surmise that one of these is the problem.
However, why devices that are not even plugged are listed as being the cause of waking – even when “Allow this device to wake up the computer” is deselected is a mystery.
If you tried everything out there and your mouse or keyboard is still waking up your PC, than check if some of them (mouse/keyboard) is connected to a 3.0 USB port. If so, try to connect to a regular USB port, instead.