Microsoft Word is so versatile that you can use it for official documentation and creating invoices. Apart from details, you can also add your signature to the document to make it appear e-signed and verified.

By inserting a signature into a Word document, you can authorize its content or show ownership to the document. To insert your signature in a Word document, here’s what you should do:
Create a Handwritten Signature
The first step in inserting a signature in Microsoft Word is to create a handwritten signature. This requires having a scanner, whether a physical scanner or one on your mobile device. Here’s what you need to do:
Step 1: Get a piece of paper and scribble your signature on it.

Step 2: Scan the signature page. You can use a physical scanner or take help of several scanning apps like the Microsoft Lens app.
Step 3: Save the scanned image in any of the common file formats (JPG, PNG, or BMP).
Step 4: Go to the file location where you’ve saved the image and double-click on it to open.
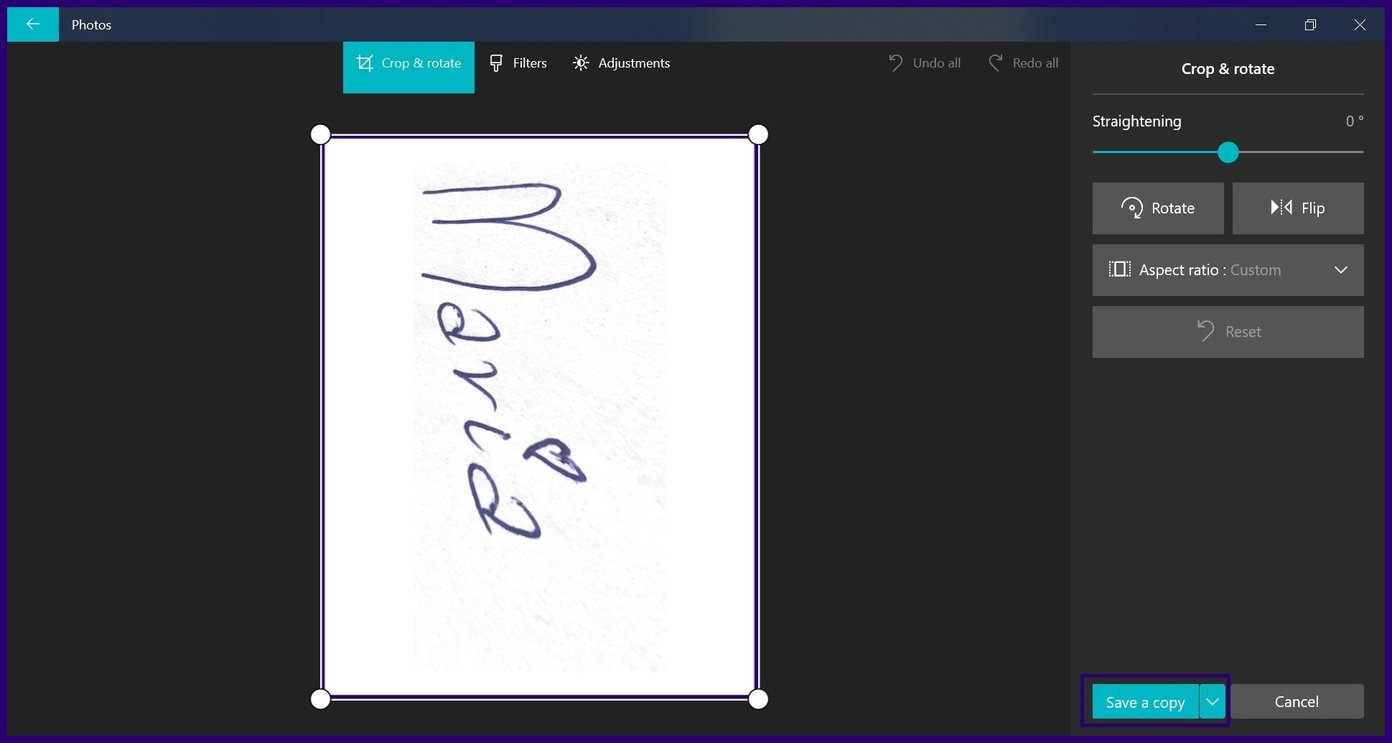
Step 5: You can crop the image to your preference by selecting Crop in the picture app.

Step 6: Save the cropped image as a new file by either clicking Save As or Save a Copy from your picture app.
Insert a Signature Line
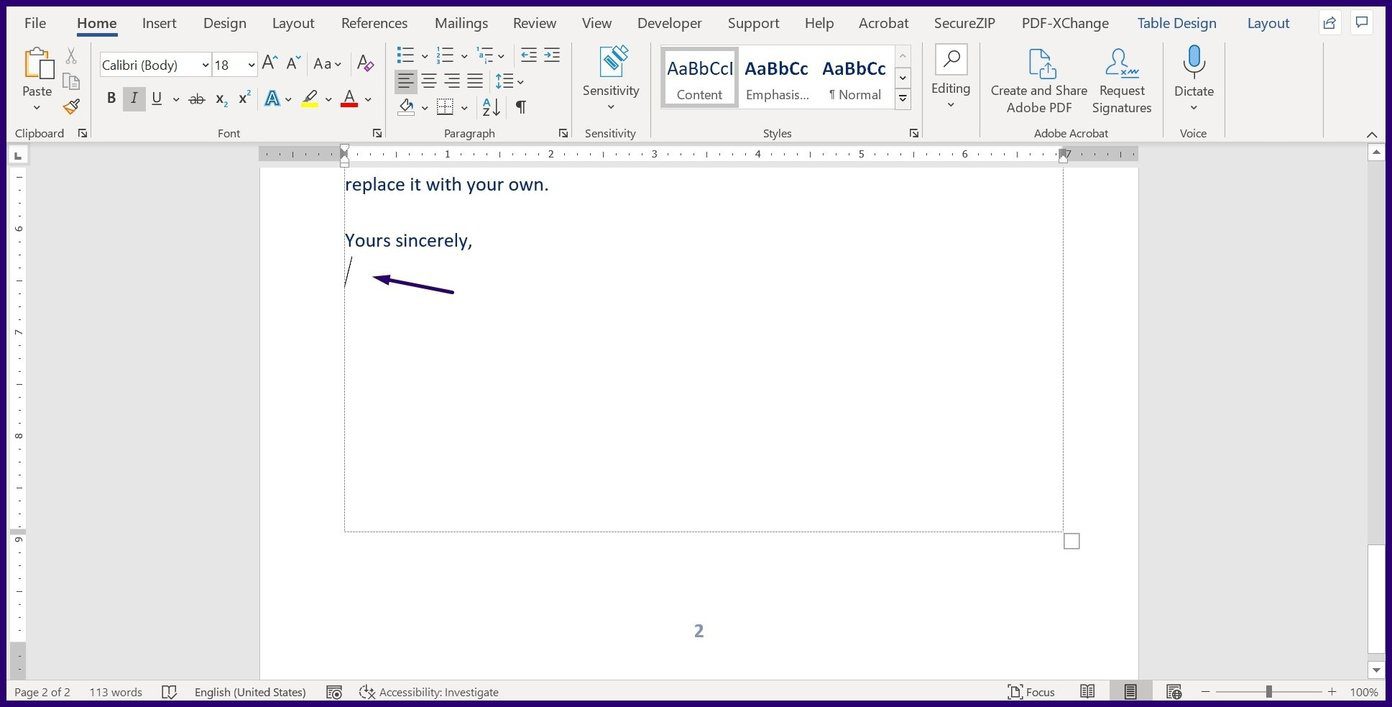
After creating a signature, you need to indicate a space where you’ll place the signature with the help of a signature line. This line helps the creator of the document and other individuals that may need to sign the documents. Here’s how to insert a signature line into a Word document:
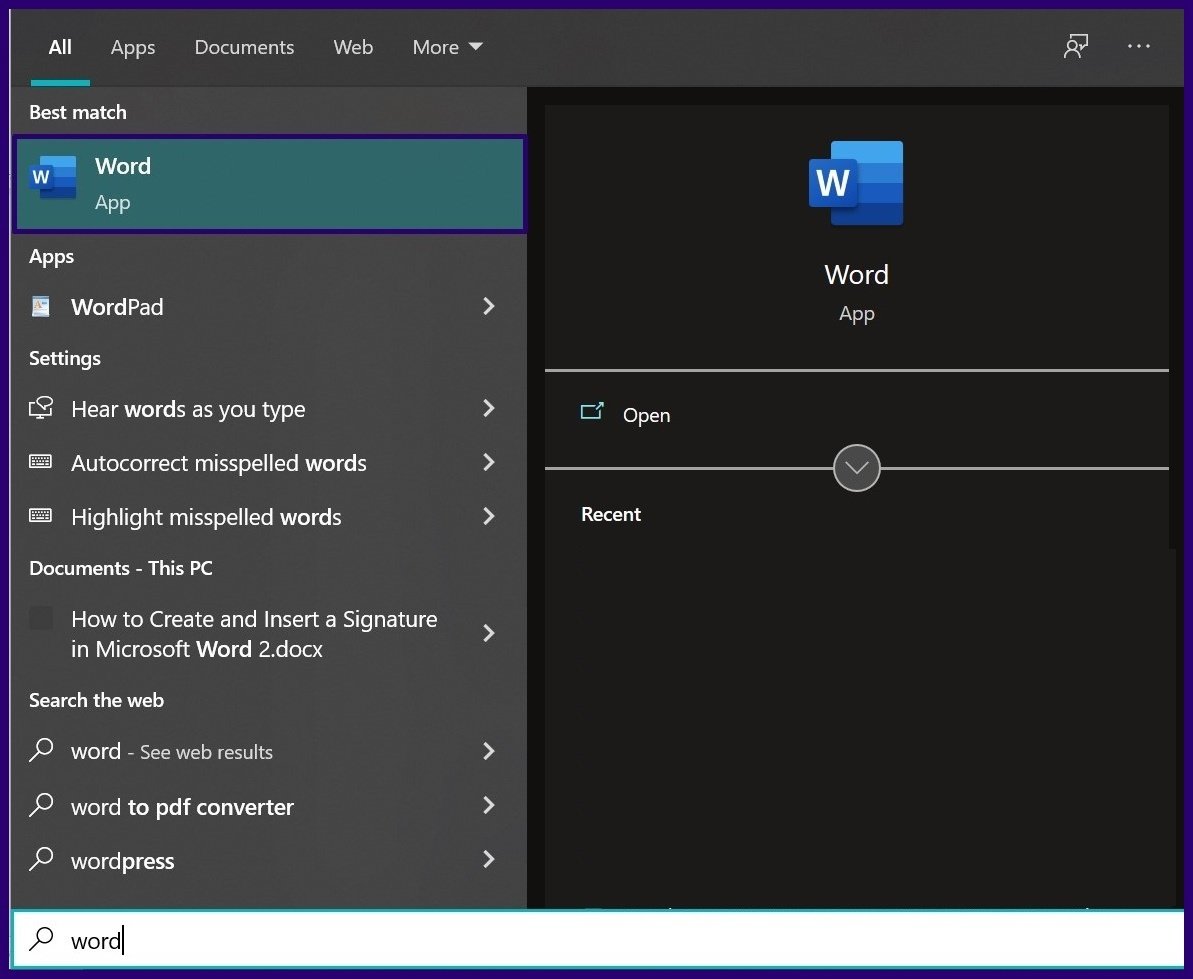
Step 1: Launch Microsoft Word on your computer.

Step 2: Click on the part of the document where you need to insert the signature line.

Step 3: On the file Ribbon, click on Insert.

Step 4: Select Signature Line from the options.

Step 5: Within the Text group, click on Add a Signature Line.
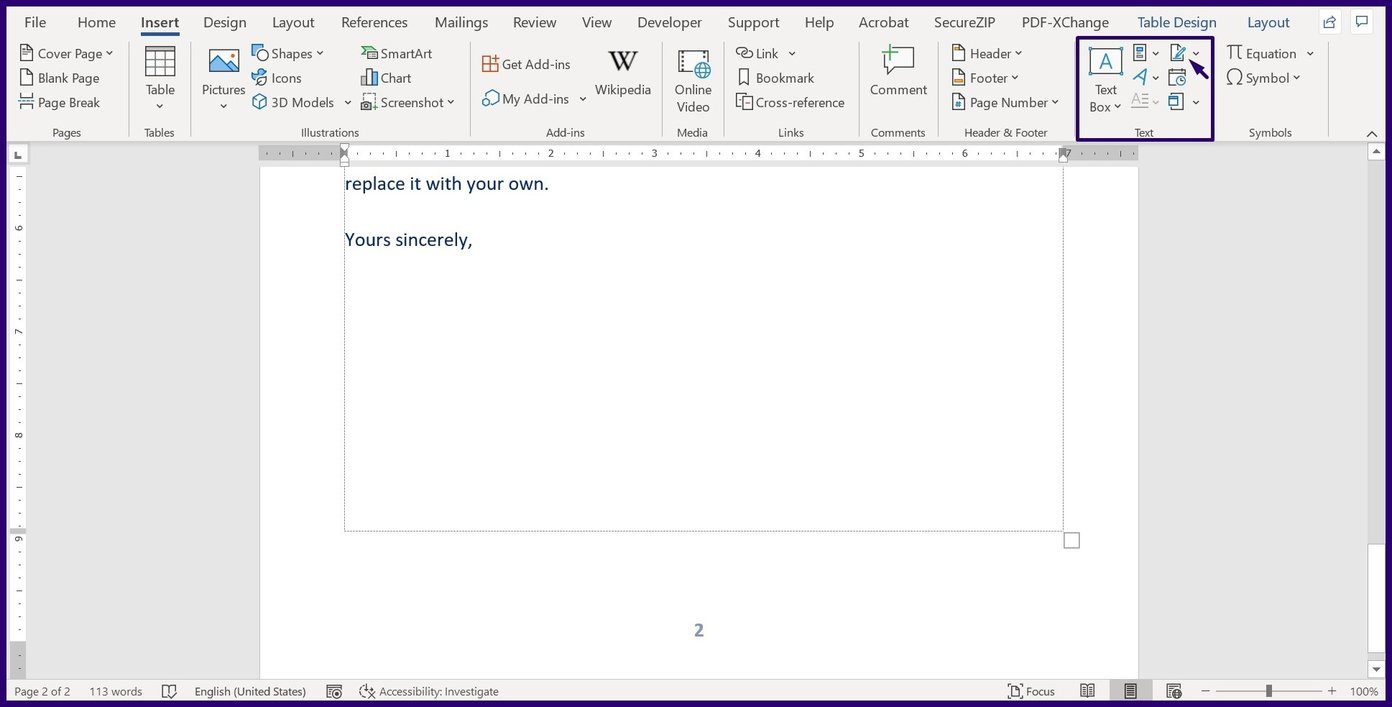
Step 6: Select Microsoft Office Signature Line.

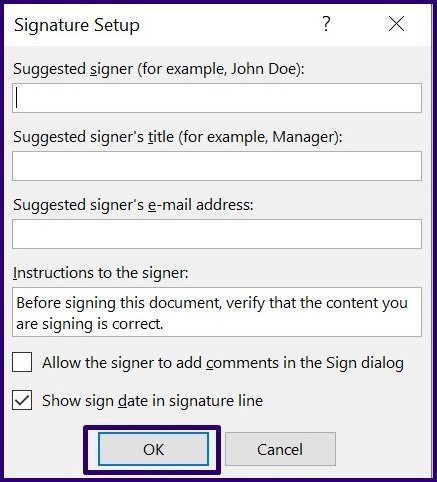
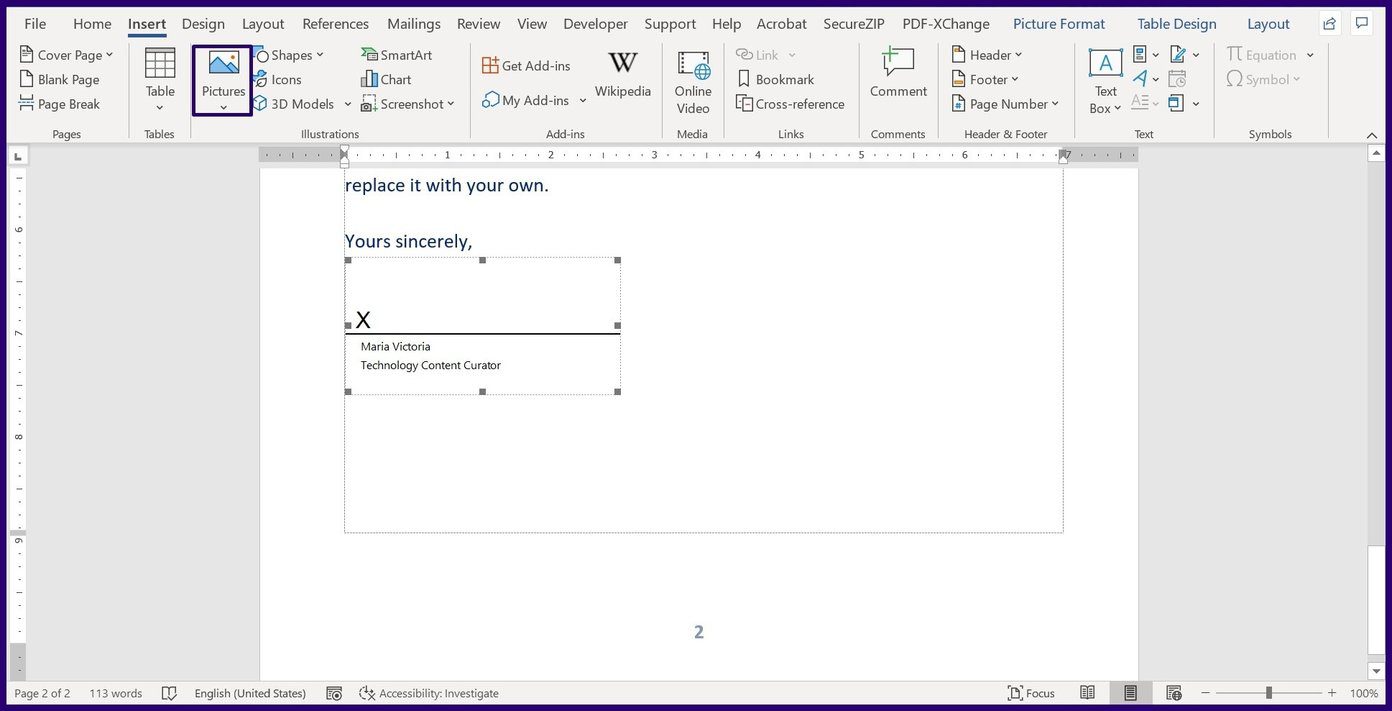
Step 7: Go to the Signature Setup box and add the person’s name who should sign the document in the Suggested signer box. Also, you can include the signer’s title in the Suggested signer’s title box.

Step 8: Click on OK, and Word should insert the signature line in your document.
Step 9: Save the Word document.
Insert a Handwritten Signature
After creating the signature line, the final step is inserting a handwritten signature that you previously created into the Microsoft Word document. Here are the steps to follow:
Step 1: Launch the Microsoft Word document.

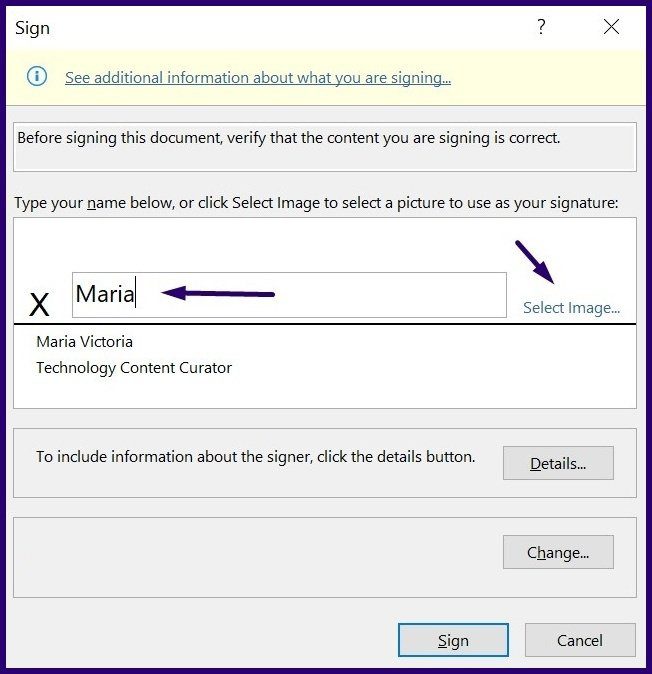
Step 2: Place your mouse cursor on the signature line and double-click to launch a Sign dialog box.
Step 3: On the box, click on Select Image.
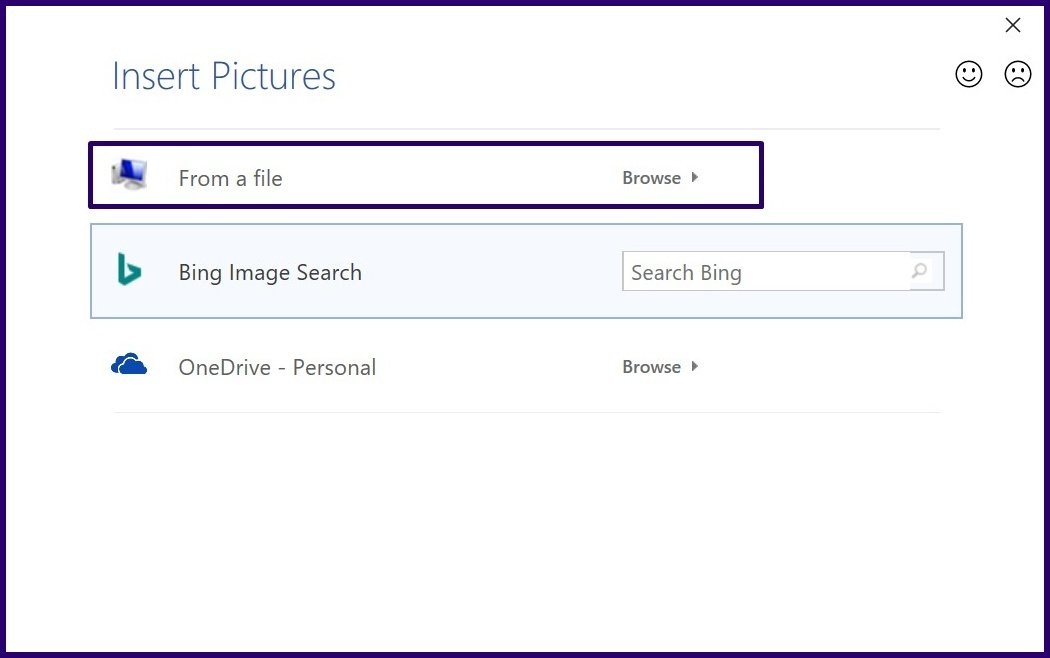
Step 4: Select Insert Picture from a File.
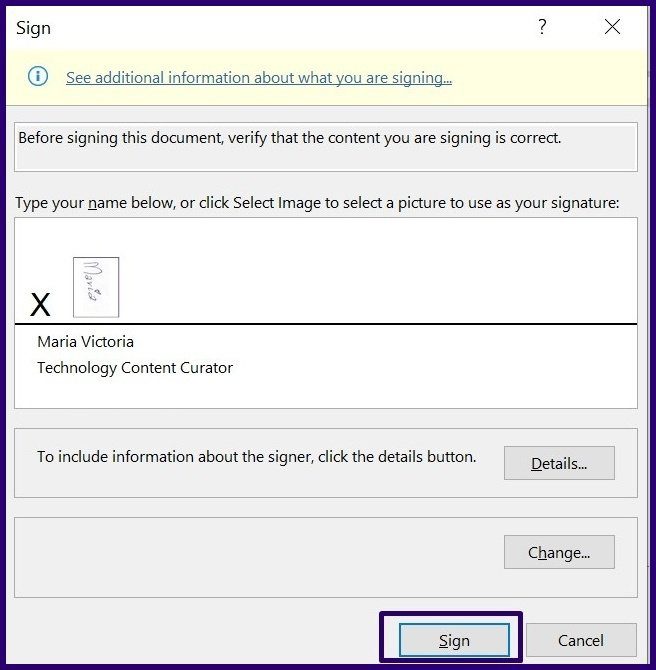
Step 5: Navigate to the location with your saved handwritten signature and select Insert.
Step 6: Select Sign and Microsoft Word should insert your signature into the document.
Include Typewritten Text with Your Reusable Signature
If you would like to add other details like your job title, contact details, etc. to the signature, you can use Quick Parts for this. Here’s how it works:
Step 1: Launch the Microsoft Word document.
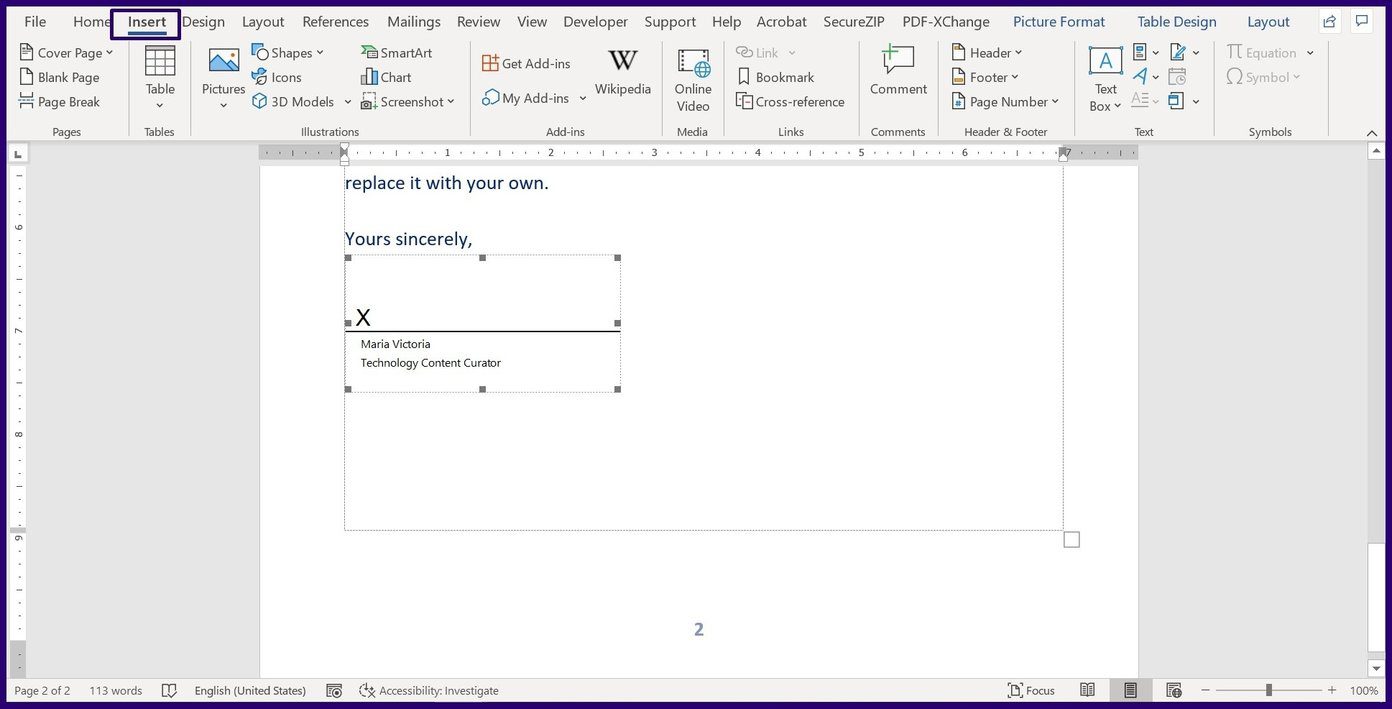
Step 2: Place your mouse cursor on where you want the Signature and click on Insert from the Ribbon.
Step 3: Select Insert Picture from a File.
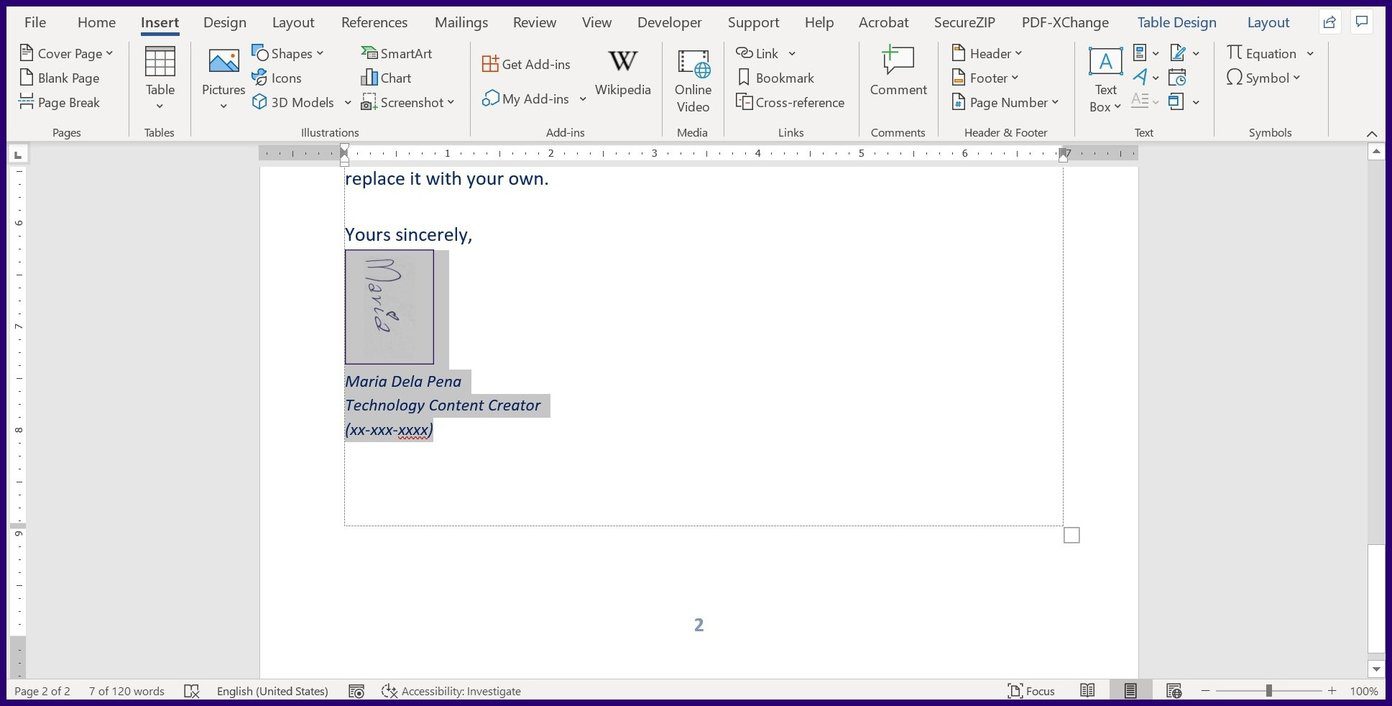
Step 4: Type the text you want included with the Picture.
Step 5: Select the signature image along with the text.
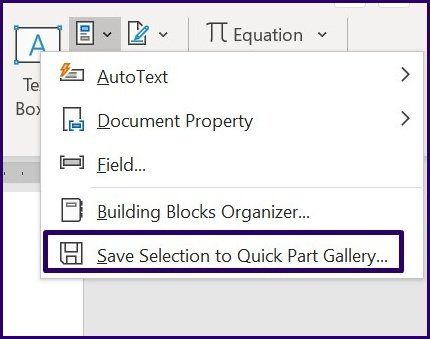
Step 6: Click on Insert then select Quick Parts.
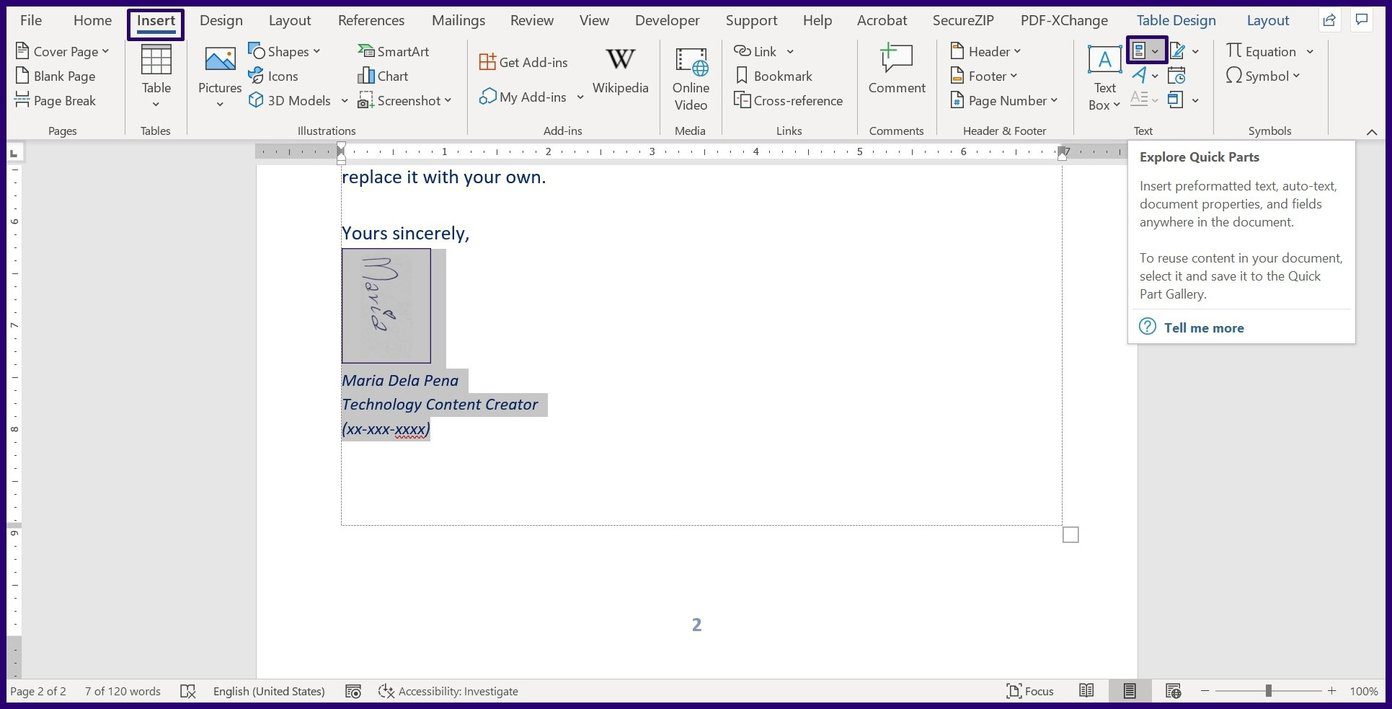
Step 7: Click on Save Selection to Quick Part Gallery to launch a dialog box.
Step 8: Provide a name for the signature block and click on OK.

Step 9: Select Quick Parts and click on the newly created Signature to insert it in the document.

Other Uses of Quick Parts
You can either choose to create a signature on Microsoft Word using the Signature Line feature or Quick Parts. You can use Quick Parts create templates that you can use as Word documents or instead into mails.
Was this helpful?
Last updated on 07 February, 2022
Read Next
 How to Insert a Table of Contents in Microsoft Word
 (Windows and Mac) As a part of the Office redesign, Microsoft revamped the Word app on the desktop.
How to Insert a Table of Contents in Microsoft Word
How to Insert a Table of Contents in Microsoft Word (Windows and Mac) As a part of the Office redesign, Microsoft revamped the Word app on the desktop.
 How to Insert Audio Files into Microsoft Word
Method 1: Using a Simple Drag and Drop The easiest way to insert audio in Microsoft Word is to use a simple drag-and-drop method.
How to Insert Audio Files into Microsoft Word
Method 1: Using a Simple Drag and Drop The easiest way to insert audio in Microsoft Word is to use a simple drag-and-drop method.
 How to Insert Videos in a Microsoft Word Document
How to Insert an Online Video in Microsoft Word Microsoft Word for desktop allows you to insert videos from Vimeo, YouTube, and SlideShare.
How to Insert Videos in a Microsoft Word Document
How to Insert an Online Video in Microsoft Word Microsoft Word for desktop allows you to insert videos from Vimeo, YouTube, and SlideShare.
 How to Insert and Edit a Page Border in Microsoft Word
How to Insert a Page Border in Microsoft Word There are different border settings and styles in Microsoft Word.
How to Insert and Edit a Page Border in Microsoft Word
How to Insert a Page Border in Microsoft Word There are different border settings and styles in Microsoft Word.
 5 Ways to Insert Tick Symbol in Word and Other Office Apps
Method 1: Using Emoji Panel Windows and Mac provide an emoji panel to access multiple emojis and symbols.
5 Ways to Insert Tick Symbol in Word and Other Office Apps
Method 1: Using Emoji Panel Windows and Mac provide an emoji panel to access multiple emojis and symbols.
 How to Create and Use Custom Table Templates in Microsoft Word
How to Create a Custom Table Template in Microsoft Word On Microsoft Word, there is a feature called Quick Tables.
How to Create and Use Custom Table Templates in Microsoft Word
How to Create a Custom Table Template in Microsoft Word On Microsoft Word, there is a feature called Quick Tables.
 How to Create a Custom Dictionary in Microsoft Word
Have you ever typed a certain word in Microsoft Word only to get the red zig-zag line underneath?
How to Create a Custom Dictionary in Microsoft Word
Have you ever typed a certain word in Microsoft Word only to get the red zig-zag line underneath?
The article above may contain affiliate links which help support Guiding Tech. The content remains unbiased and authentic and will never affect our editorial integrity.