How to Make a Copy of Your Files or Folder
Google Drive has a Make a Copy feature that duplicates your document or files. It allows you to rename them and save them in any location. You may follow the steps below to duplicate the file or folder on mobile and web. Note that to make a copy of an entire folder, you must make copies of all its files individually.
Mobile
Step 1: Launch the Mobile app on your phone.
Step 2: Navigate to the file you want to copy.
Step 3: Tap the more options icon, the three dots, then select Make a Copy.


Now, you may search for the newly created file and move it into any folder you choose. We show you how to do this in a later section.
Web
Step 1: Visit Google Drive on the web.
Step 2: Navigate to the file you need to duplicate, right-click it, and select Make a Copy.

You may search for the newly created file and move it into any folder you choose. However, on the web, if you have already opened the document you need to copy, you may make a copy by following the steps below. This option allows you to rename it and change its location instantly.
Step 1: Click the File menu.
Step 2: Click Make a Copy.

Step 3: Now you may name it, click the Folder button to change its location, then click the Make a copy button.

How to Move Files to Another Folder
Unlike the Copy option, you may move entire Folders to new locations without first moving their individual files. The process to move a file and folder on Google Drive is similar. We will show you how it works on the app and web versions.
Mobile
Step 1: Launch the Mobile app on your phone.
Step 2: Navigate to the file or folder you want to move.
Step 3: Tap the three-dot more options and select Move.


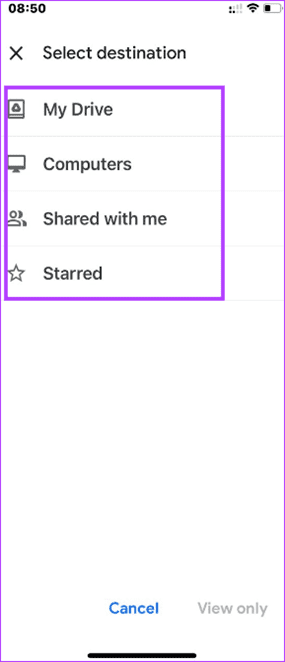
Step 4: Choose a location, then click Move here.

Web
Step 1: Open Google Drive on your browser.
Step 2: Navigate to the file or folder you want to move.
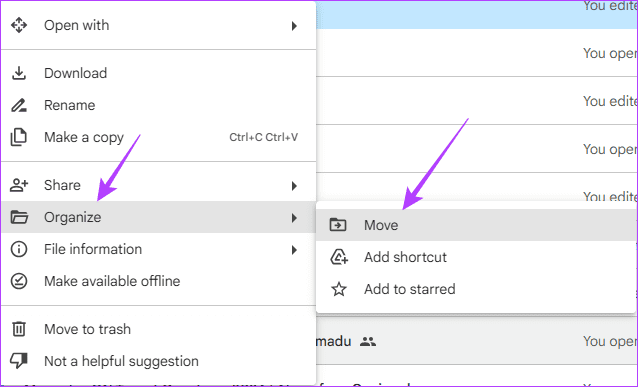
Step 3: Right-click the file or folder, select Organize, then Move.
Step 4: Select a new location and click Move.

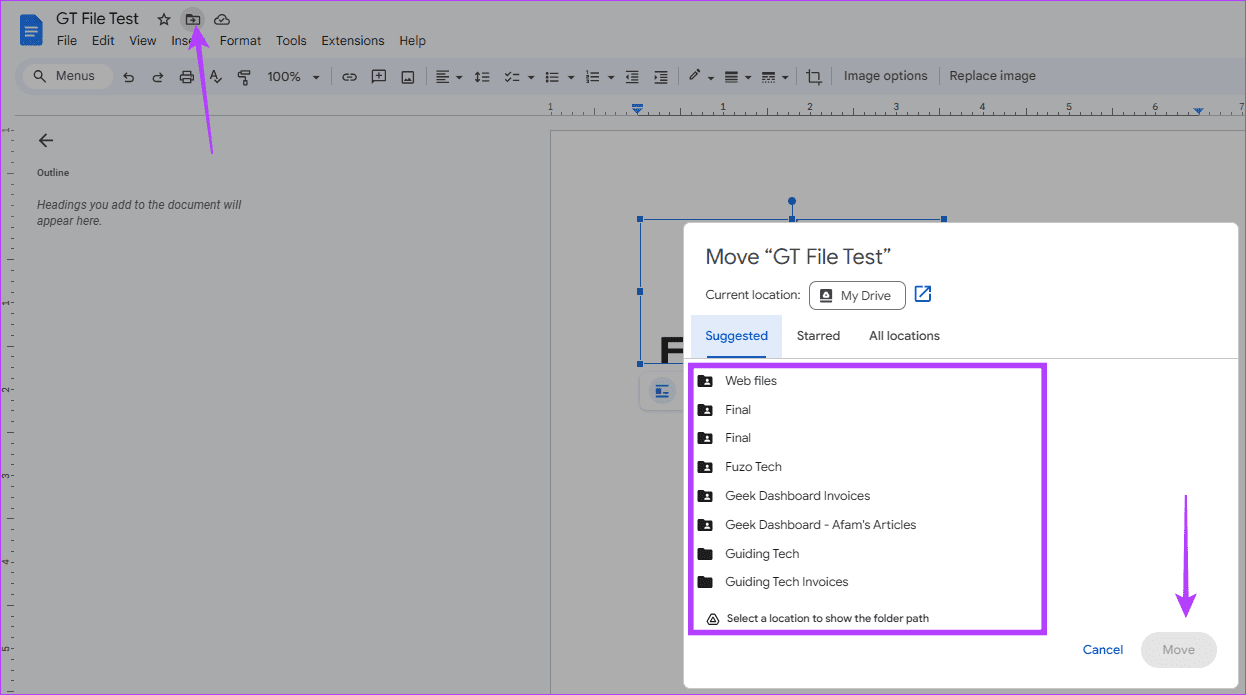
If the file is already open, you may click the Move icon beside the file name, then select a new location and click Move
Note: You may set up Google Drive for desktop to easily view and navigate to your files.
Was this helpful?
Last updated on 29 July, 2024
Read Next
 How to Create Folders and Move Emails in Outlook on Mac and Windows
Microsoft Outlook app for Mac and Windows lets you manage email conversations and calendar events.
How to Create Folders and Move Emails in Outlook on Mac and Windows
Microsoft Outlook app for Mac and Windows lets you manage email conversations and calendar events.
 How to Control Integrity Level of Windows 10 Files, Folders
Ever had the problem of ‘Access is Denied’ while browsing through your own computer?
How to Control Integrity Level of Windows 10 Files, Folders
Ever had the problem of ‘Access is Denied’ while browsing through your own computer?
 How to Manage Files and Folders Efficiently on Windows 10
Files and folders tend to accumulate over time on our Windows computers.
How to Manage Files and Folders Efficiently on Windows 10
Files and folders tend to accumulate over time on our Windows computers.
 3 Ways to Fix USB Drive Not Showing Files and Folders on Windows 11
Try These Basic Fixes Configure File Explorer to show hidden items: If some of your files and folders are missing from the USB drive but the storage space is still
3 Ways to Fix USB Drive Not Showing Files and Folders on Windows 11
Try These Basic Fixes Configure File Explorer to show hidden items: If some of your files and folders are missing from the USB drive but the storage space is still
 5 Fixes for “Unspecified Error” When Copying Files or Folders in Windows
Fix 1: Check the Destination Drive Format Are you attempting to copy a file to an external drive that uses a non-NTFS format?
5 Fixes for “Unspecified Error” When Copying Files or Folders in Windows
Fix 1: Check the Destination Drive Format Are you attempting to copy a file to an external drive that uses a non-NTFS format?
 4 Best Ways to Compare Files in Two Folders on Windows 11
Method 1: Use the Properties Menu You can launch the File Explorer and right-click on a folder to open Properties.
4 Best Ways to Compare Files in Two Folders on Windows 11
Method 1: Use the Properties Menu You can launch the File Explorer and right-click on a folder to open Properties.
 5 Fixes for OneDrive Creating Duplicate Files and Folders on Windows
Fix 1: Remove OneDrive Cached Credentials A common reason why OneDrive may keep creating duplicate files with the computer name added to the filename is due to its cached credentials.
5 Fixes for OneDrive Creating Duplicate Files and Folders on Windows
Fix 1: Remove OneDrive Cached Credentials A common reason why OneDrive may keep creating duplicate files with the computer name added to the filename is due to its cached credentials.
 How to Show Hidden Files and Folders in Windows 11
Have you ever been in a situation where you hid some files on your Windows device while sharing them with friends or family and couldn't find them later?
How to Show Hidden Files and Folders in Windows 11
Have you ever been in a situation where you hid some files on your Windows device while sharing them with friends or family and couldn't find them later?
The article above may contain affiliate links which help support Guiding Tech. The content remains unbiased and authentic and will never affect our editorial integrity.

