Fix 1: Sync Windows Clock Manually
One of the easiest ways to fix an out-of-sync Windows clock is via the Settings app. You can visit the “Date & time” section in the Settings app and sync your Windows clock manually. Here’s how:
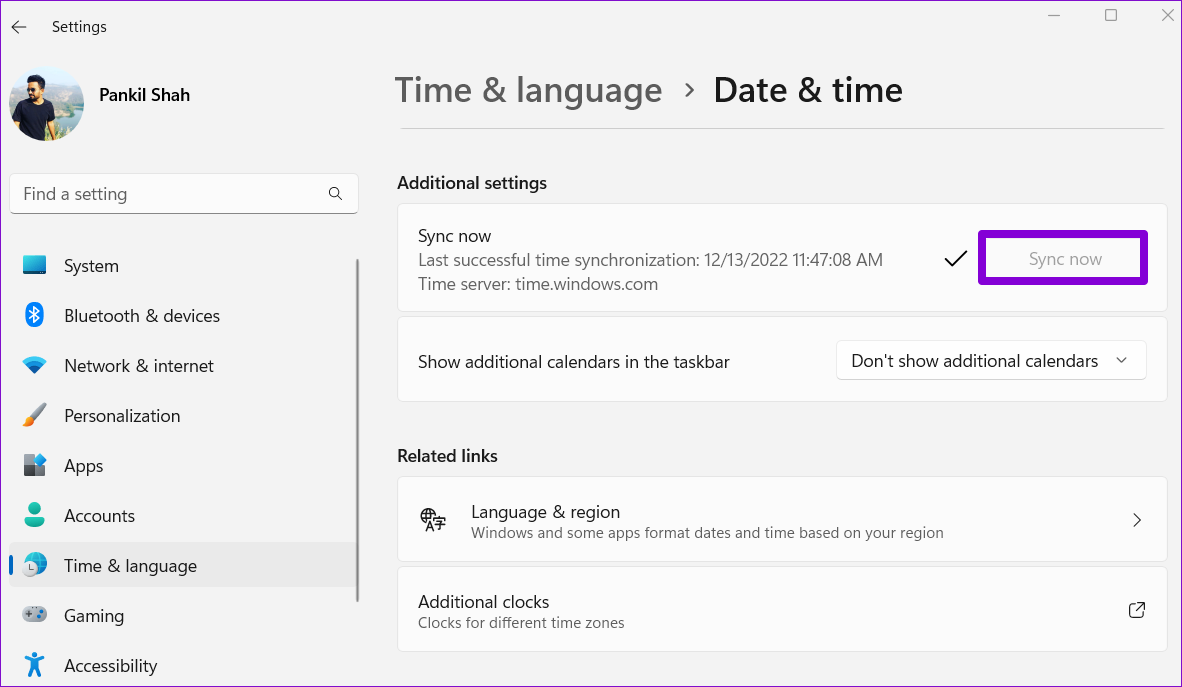
Step 1: Press the Windows key + I to launch the Settings app Time & language > Date & time.

Step 2: Under Additional settings, click the Sync now button.
Fix 2: Enable Automatic Time in Windows Settings
If travel across countries or use VPN often, then the Windows clock may fall out of sync every few days. Thankfully, you can configure Windows to sync the time automatically. Here’s how to do it.
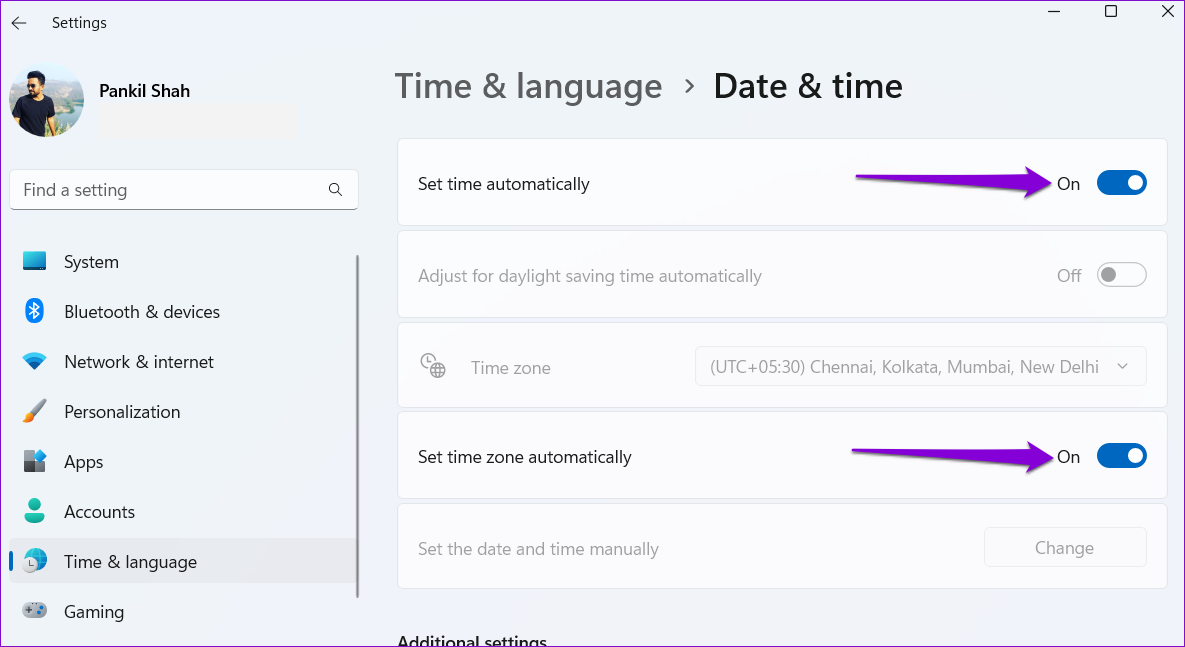
Step 1: Click the search icon on the taskbar, type date & time settings in the search box, and select the first result that appears.

Step 2: In the Settings window that opens, enable the toggles for Set time automatically and Set time zone automatically.
Fix 3: Use Another Internet Time Server
Enabling the automatic time feature may not help much if there’s an issue with the internet time server that Windows uses. You can configure Windows to use a different internet time server and see if that helps.
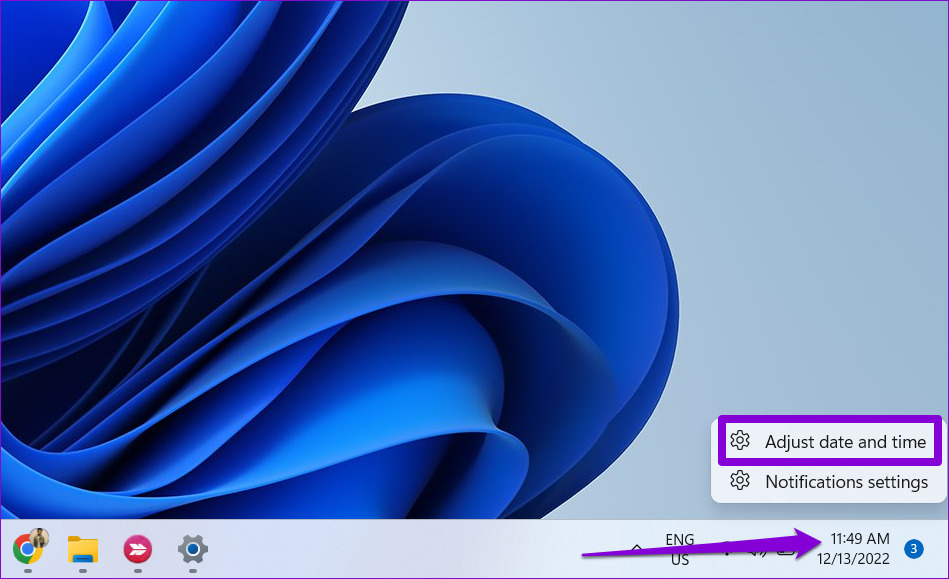
Step 1: Right-click on the taskbar clock and select Adjust date and time from the menu that appears.
Step 2: Scroll down to Related links and click on Additional clocks.

Step 3: In the Date and Time window, switch to the Internet Time tab. Then, click the Change settings button.

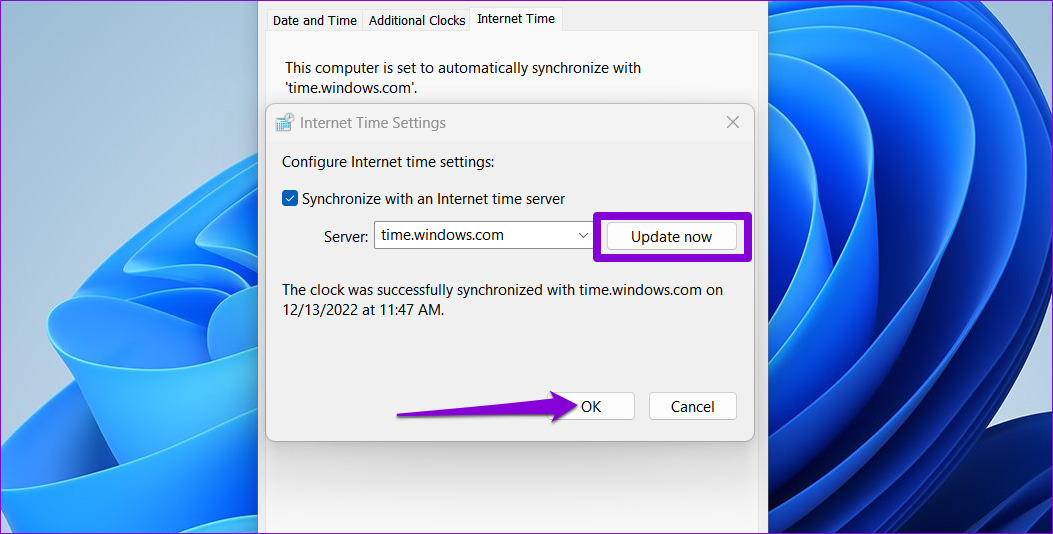
Step 4: Use the drop-down menu to select a different internet time server.

Step 5: Click the Update now button followed by OK.
Fix 4: Configure Windows Time Service
Windows Time service is a small program that syncs your computer’s clock with the correct global time. This service needs to be active all the time so that Windows can display the correct date and time. Here’s how to configure it.
Step 1: Press the Windows key + R to open the Run dialog box. Type services.msc in the box and press Enter.
Step 2: In the Services window that opens, scroll down to locate the Windows Time service. Right-click on it and select Properties.

Step 3: Change the startup type to Automatic and hit Apply followed by OK.

Fix 5: Force Windows to Sync Time Using PowerShell
Windows PowerShell is a useful command-line tool that allows you to perform complex tasks with a few text commands. If none of the above solutions work, you can use PowerShell to re-register the Windows Time service and force your computer to sync time. Here are the steps you can follow.
Step 1: Click the search icon on the taskbar, type in Windows PowerShell, and select Run as Administrator.

Step 2: In the console, type the following commands one by one and press Enter after each one.
Net stop w32time

w32tm /unregister

w32tm /register

Net start w32time

w32tm /resync

After running the above commands, restart your PC and see if the Windows clock displays the correct time.
Fix 6: Get the CMOS Battery Checked
A CMOS battery in your computer powers the Complementary Metal Oxide Semiconductor (CMOS) chip. This chip is responsible for maintaining system time and date along with other configurations. If the CMOS battery has a problem, the chip may fail to store any information, causing your Windows 11 clock to display an incorrect time.
Since replacing the CMOS battery requires technical know-how and your best option is to have the CMOS battery checked by a professional.
Was this helpful?
Last updated on 17 July, 2024
3 Comments
Leave a Reply
Read Next
 3 Ways to Fix Windows 11 Laptop Showing Wrong Battery Percentage
https://youtu.be/5XEdrPhBF9s Try Basic Fixes Install Windows updates: If you have disabled automatic updates on your device, you might need to look for newer updates manually.
3 Ways to Fix Windows 11 Laptop Showing Wrong Battery Percentage
https://youtu.be/5XEdrPhBF9s Try Basic Fixes Install Windows updates: If you have disabled automatic updates on your device, you might need to look for newer updates manually.
 5 Ways to Fix iPhone Showing Wrong Caller ID
Basic Fixes Force restart your iPhone: Press and quickly release the Volume Up button followed by Volume Down.
5 Ways to Fix iPhone Showing Wrong Caller ID
Basic Fixes Force restart your iPhone: Press and quickly release the Volume Up button followed by Volume Down.
 3 Ways to Fix Google Maps Showing Wrong Location on Android and iPhone
Try Basic Fixes Turn off battery saver mode: When you enable battery-saving mode, your phone turns off power-hungry features such as GPS tracking and background app data to improve battery
3 Ways to Fix Google Maps Showing Wrong Location on Android and iPhone
Try Basic Fixes Turn off battery saver mode: When you enable battery-saving mode, your phone turns off power-hungry features such as GPS tracking and background app data to improve battery
 3 Ways to Fix iPhone Clock Widget Showing Wrong Time
Basic Troubleshooting Restart iPhone: If the iPhone clock widget used to show the correct time but suddenly stopped working, restart your iPhone.
3 Ways to Fix iPhone Clock Widget Showing Wrong Time
Basic Troubleshooting Restart iPhone: If the iPhone clock widget used to show the correct time but suddenly stopped working, restart your iPhone.
 5 Ways to Fix “Something Went Wrong” Error in Microsoft Teams for Windows
Try Basic Fixes Check if Teams is down: It's not uncommon for Microsoft Teams servers to go down at times.
5 Ways to Fix “Something Went Wrong” Error in Microsoft Teams for Windows
Try Basic Fixes Check if Teams is down: It's not uncommon for Microsoft Teams servers to go down at times.
 3 Fixes for Keyboard Typing Wrong Characters in Windows 11
Basic Fixes: Check for faults and replace the bad keyboard: Ensure the keyboard is not faulty.
3 Fixes for Keyboard Typing Wrong Characters in Windows 11
Basic Fixes: Check for faults and replace the bad keyboard: Ensure the keyboard is not faulty.
 6 Fixes for Windows Hello Something Went Wrong Error
Fix 1: Enable Camera Access If you have previously disabled camera access, Windows Hello may have trouble using your camera and display the "Sorry, something went wrong.
6 Fixes for Windows Hello Something Went Wrong Error
Fix 1: Enable Camera Access If you have previously disabled camera access, Windows Hello may have trouble using your camera and display the "Sorry, something went wrong.
 3 Ways to Fix “Something Went Wrong” Error on Facebook Messenger
Try Basic Fixes Update the app: The Facebook Messenger app could malfunction if you haven't updated it in a while.
3 Ways to Fix “Something Went Wrong” Error on Facebook Messenger
Try Basic Fixes Update the app: The Facebook Messenger app could malfunction if you haven't updated it in a while.
The article above may contain affiliate links which help support Guiding Tech. The content remains unbiased and authentic and will never affect our editorial integrity.

My desktop file windows do not show the right time, such as when a file was created or edited. My clock is correct in the lower right. All time zones are set correctly and synced, but when I save a file from, say Photoshop, the file created in that moment is showing two days behind.
haha.. nevermind. Right-click desktop and Refresh. Now it all actually syncs
I used the 4th Solution. “Configure Windows time Service”.
Worked for me on my Laptop.
Thanks.