Fix 1: Terminate Steam Processes and Reopen the App
The “Failed to load web page” error in Steam can occur if one of the app processes is experiencing issues. You can try ending all the Steam processes and reopening the app to fix the issue.
Press the Ctrl + Shift + Escape keyboard shortcut to open the Task Manager. On the Processes tab, right-click on Steam and select End task.
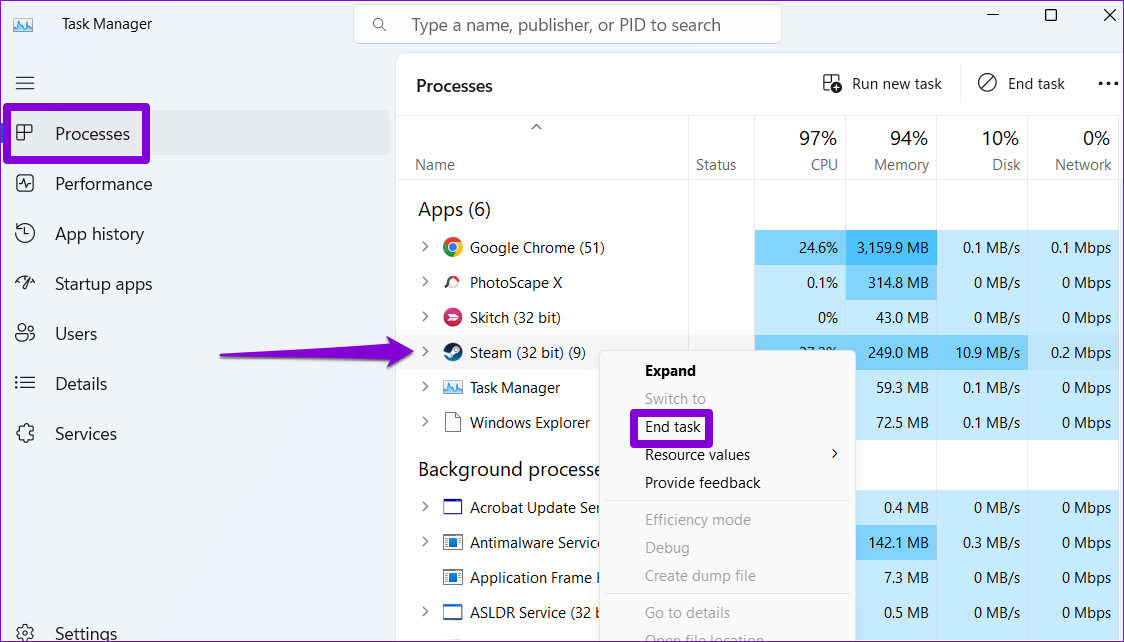
Reopen the Steam app and see if it loads fine.
Fix 2: Allow Steam Through Firewall
Another reason why Steam may not load pages is if the Windows Firewall is blocking its connection to the internet. To fix this, you will need to allow Steam to run through the Windows Firewall by following the steps below.
Step 1: Press the Windows + S keyboard shortcut to open Windows search menu. Type in allow an app through Windows Firewall and press Enter.

Step 2: Click the Change settings button.
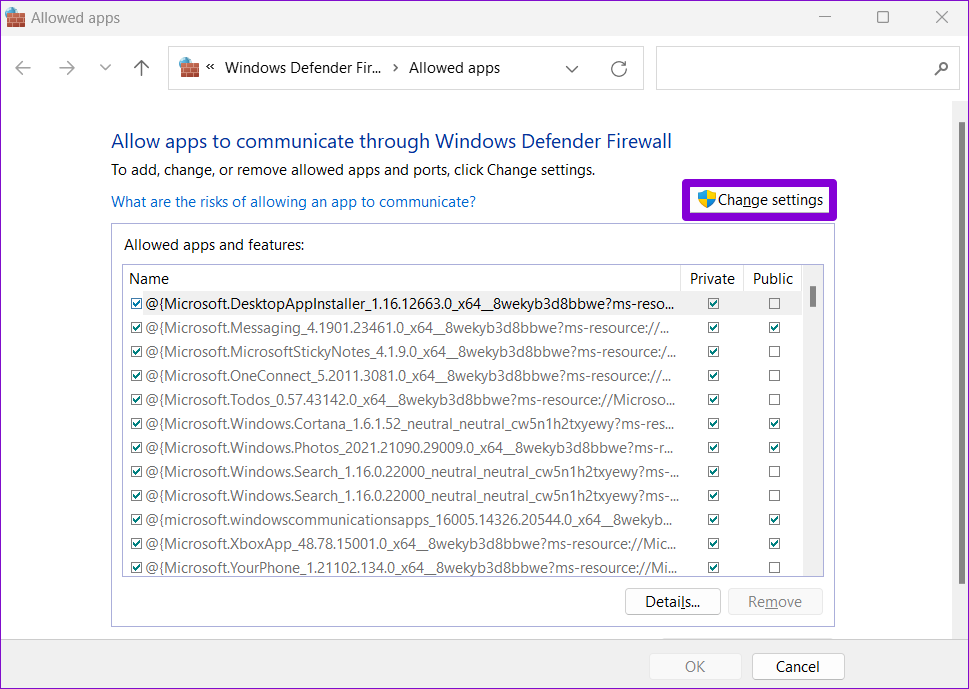
Step 3: Locate Steam on the list and select the Private and Public checkboxes next to it. Then, click OK.

Fix 3: Delete Steam Browser Data
Outdated or corrupt cache and cookies in the Steam’s built-in browser could also lead to the “Failed to load web page” error. If that’s the case, clearing the Steam browser data should help. Here’s how to do that.
Step 1: Open Steam on your PC. Click the Steam menu in the top left corner and select Settings.
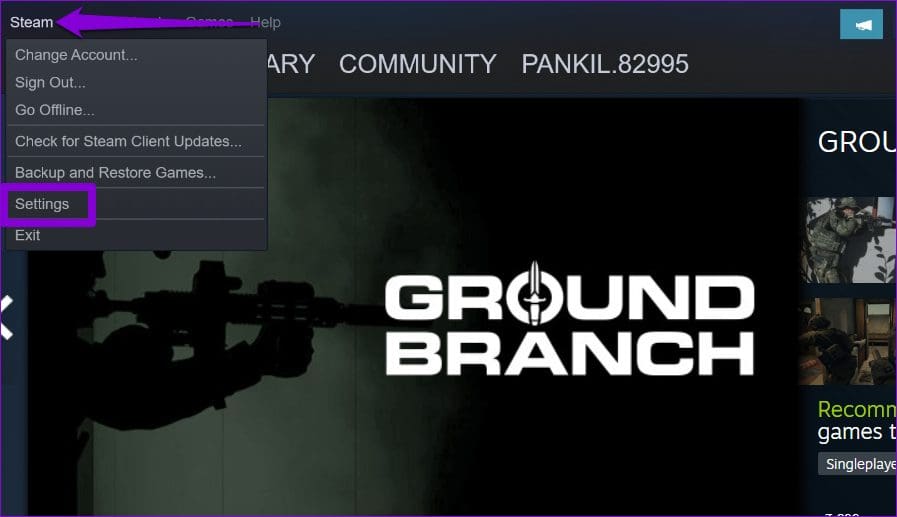
Step 2: Select the In Game tab from the left pane and click the Delete button next to “Delete Web Browser Data.”

Fix 4: Flush DNS Cache
DNS (or Domain Name System) cache on your PC shortens the time it takes to fetch the IP address of a particular URL, effectively improving the page loading experience. However, if the DNS cache becomes old or corrupt, it might cause issues. To fix this, you will need to flush the DNS cache on Windows.
Step 1: Right-click on the Start icon and select Terminal (Admin) from the list.

Step 2: Type ipconfig /flushdns in the console and hit Enter.

Restart your PC after this and check if Steam still shows the error.
Fix 5: Change the DNS Server
Steam may be unable to load web pages if you use the default DNS server that your internet service provides. To overrule this possibility, try switching to a different DNS server on Windows and see if that helps.
Step 1: Press the Windows + R keyboard shortcut to open the Run dialog box. In the Open field, type ncpa.cpl, and press Enter.
Step 2: In the Network Connections window, right-click on your internet connection and select Properties.

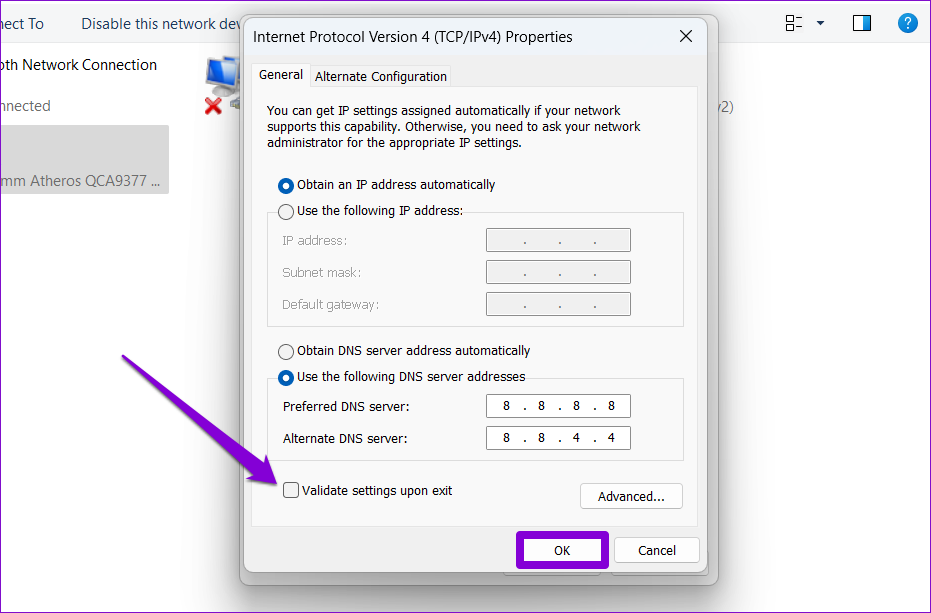
Step 3: Double-click the Internet Protocol Version 4 (TCP/IPv4) option.

Step 4: Select the Use the following DNS server addresses option. In the text fields next to the Preferred DNS Server and the Alternate DNS Server, enter 8.8.8.8 in the Preferred DNS server and 8.8.4.4 in the Alternate DNS server sections.
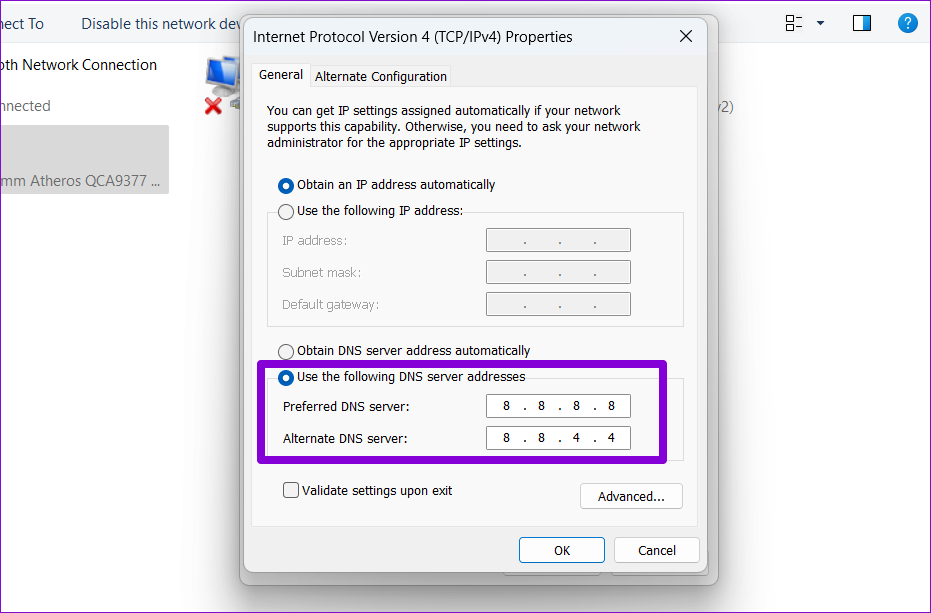
Step 5: Tick the Validate settings upon exit checkbox and click OK.
Fix 6: Reinstall Steam
Lastly, if none of the above fixes work, consider uninstalling Steam and reinstalling it. This should clear any problematic app data and get Steam running again.
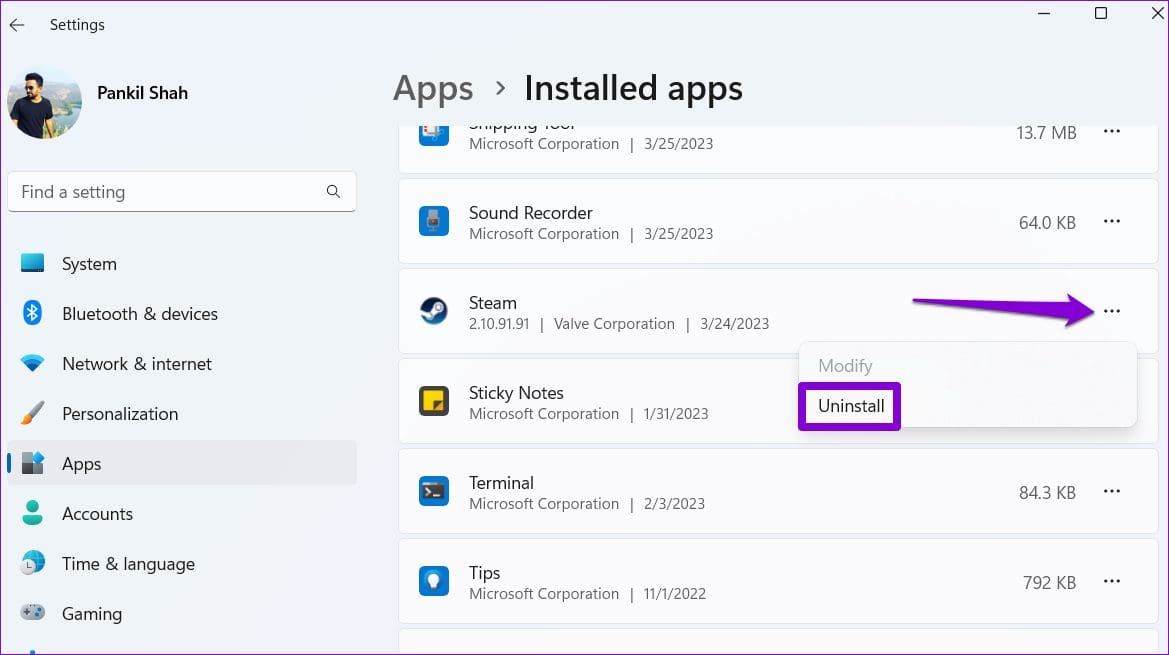
Step 1: Right-click on the Start icon and select Installed apps from the list.

Step 2: Locate the Steam app on the list, click the three-dot menu icon next to it, and select Uninstall.
After completing the above steps, download and install the Steam app again. Following this, you should not see any errors.
Was this helpful?
Last updated on 29 July, 2024
Read Next
 3 Ways to Fix Discord Messages Failed to Load Error
Basic Fixes Force Restart Discord: You can force quit Discord on your PC or Mac using Task Manager or Activity Monitor.
3 Ways to Fix Discord Messages Failed to Load Error
Basic Fixes Force Restart Discord: You can force quit Discord on your PC or Mac using Task Manager or Activity Monitor.
 4 Fixes for “Failed to Load Module” Error on Twitch
Try Basic Fixes Ensure Twitch servers are working: Before trying anything, it's a good idea to ensure that the Twitch servers are working.
4 Fixes for “Failed to Load Module” Error on Twitch
Try Basic Fixes Ensure Twitch servers are working: Before trying anything, it's a good idea to ensure that the Twitch servers are working.
 Top 7 Ways to Fix Google Chrome Failed to Load Extension
Extensions play an important role in the Chrome ecosystem.
Top 7 Ways to Fix Google Chrome Failed to Load Extension
Extensions play an important role in the Chrome ecosystem.
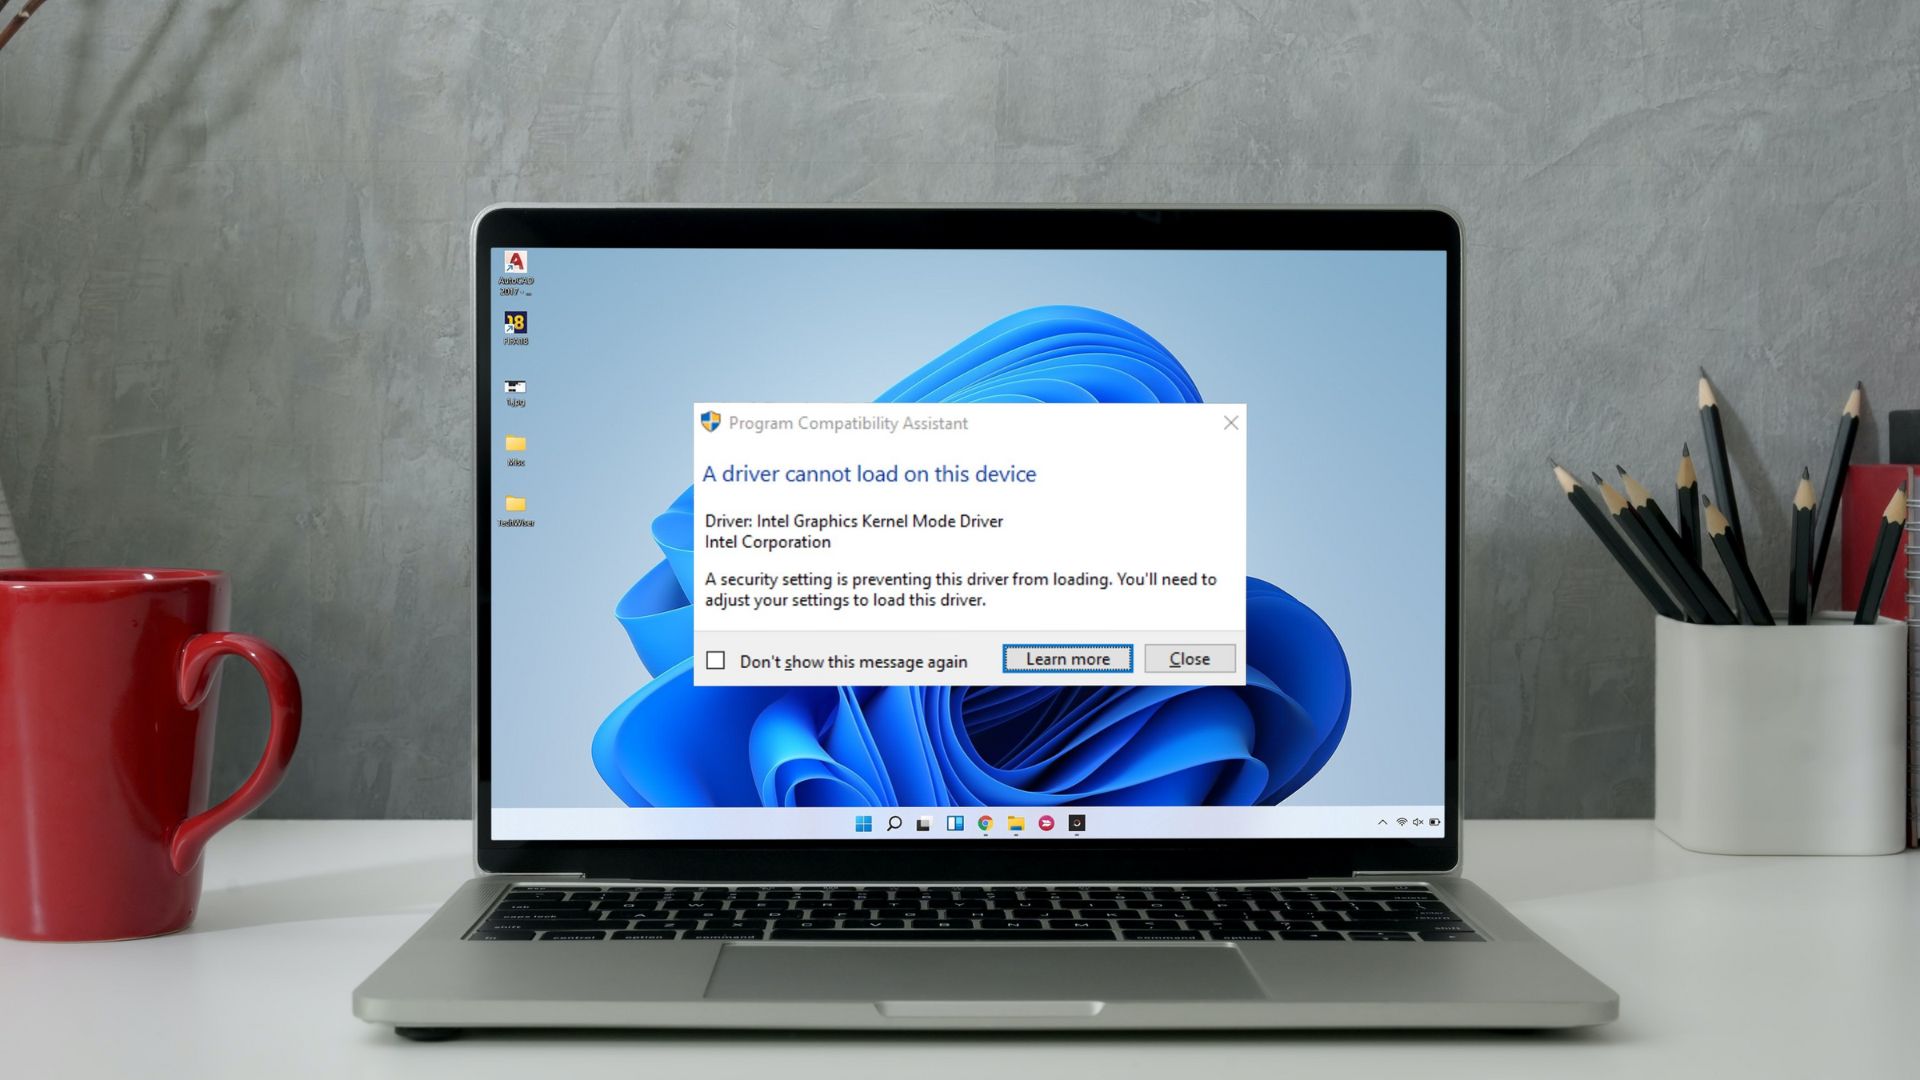 5 Ways to Fix “A Driver Cannot Load on This Device” Error on Windows 11
Fix 1: Update the Problematic Driver If a driver is incompatible, Windows may fail to load it.
5 Ways to Fix “A Driver Cannot Load on This Device” Error on Windows 11
Fix 1: Update the Problematic Driver If a driver is incompatible, Windows may fail to load it.
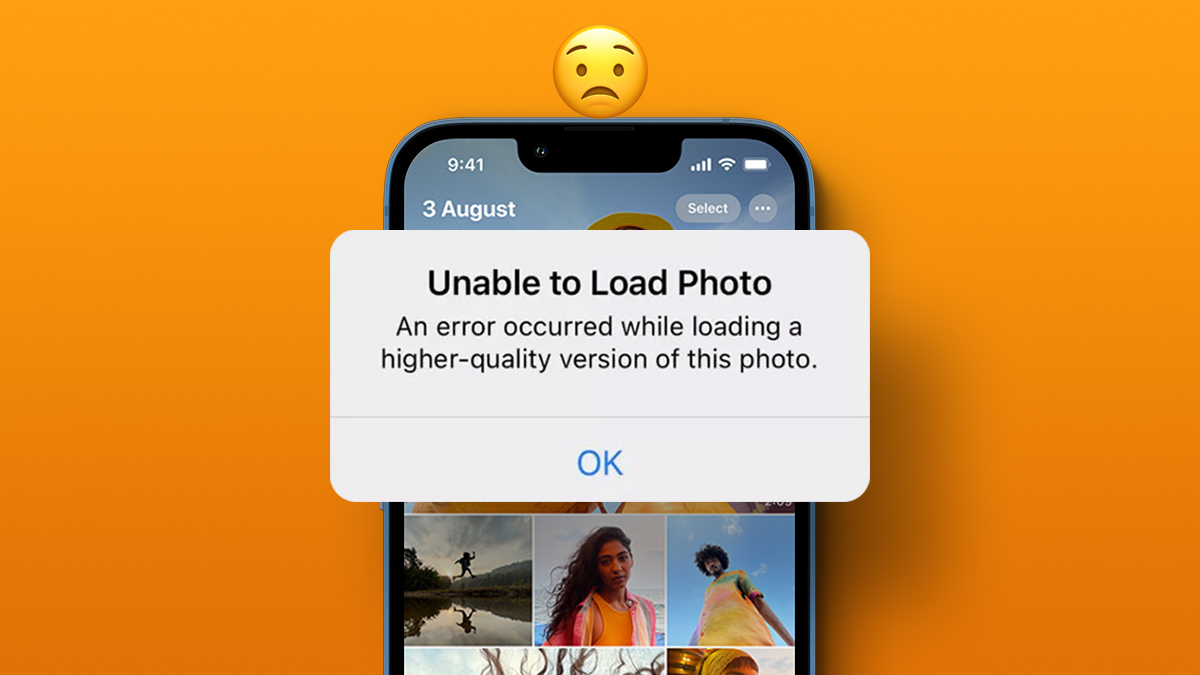
 5 Ways to Fix “Unable to Load Photo” Error on iPhone
Try Basic Fixes Free up storage space: A lack of storage space could prevent your iPhone from loading photos from the cloud.
5 Ways to Fix “Unable to Load Photo” Error on iPhone
Try Basic Fixes Free up storage space: A lack of storage space could prevent your iPhone from loading photos from the cloud.
 4 Ways to Fix Unable to Load Video or Photo Error on iPhone
Basic Fixes Turn off Low Power Mode: Unless your iPhone is running really low on battery, it's best to turn off Low Power Mode since it limits background activities like
4 Ways to Fix Unable to Load Video or Photo Error on iPhone
Basic Fixes Turn off Low Power Mode: Unless your iPhone is running really low on battery, it's best to turn off Low Power Mode since it limits background activities like
 Top 7 Ways to Fix Google Docs Unable to Load File Issue
Google Docs is one of the popular word-processing software out there.
Top 7 Ways to Fix Google Docs Unable to Load File Issue
Google Docs is one of the popular word-processing software out there.
 3 Ways to Open a Web Page at Startup in Windows 10 and 11
Method 1: Use the Startup Folder The Startup folder on Windows is designed to launch programs when your computer boots up.
3 Ways to Open a Web Page at Startup in Windows 10 and 11
Method 1: Use the Startup Folder The Startup folder on Windows is designed to launch programs when your computer boots up.
The article above may contain affiliate links which help support Guiding Tech. The content remains unbiased and authentic and will never affect our editorial integrity.