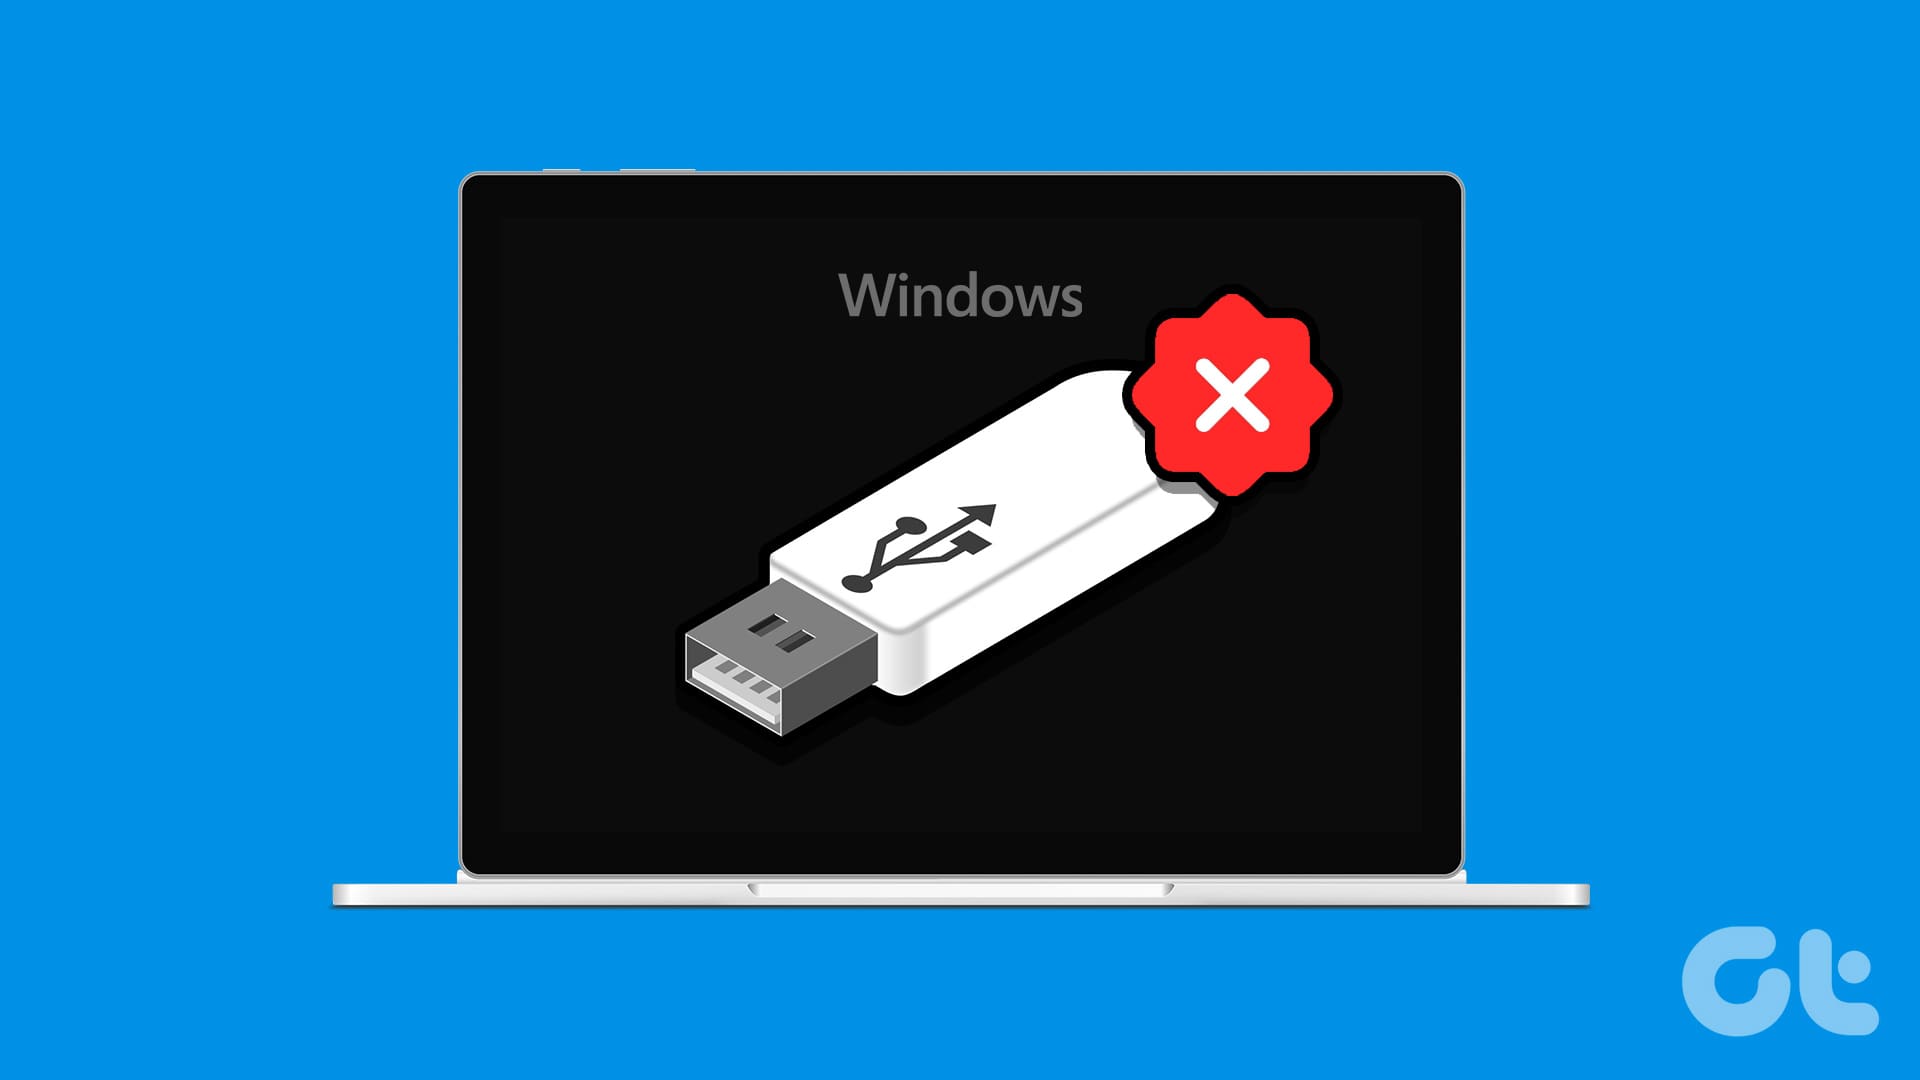
Windows operating system has built-in recovery features like System Restore, Windows Reset, and more. You can also create a recovery drive in Windows to help you reinstall Windows while preserving OEM drivers. But many users face the ‘A problem occurred while creating the recovery drive’ error while using the Recovery Drive app.
The reasons behind this issue can be the wrongly formatted USB drive, meddlesome services, antivirus program, or remnant files from an old Windows installation. Try these seven methods to fix the ‘we can’t create a recovery drive’ error in Windows 11.
1. Close and Restart the Recovery Drive App
The Recovery Drive app can encounter a glitch or freeze while writing files and fail to complete the task. So, you must terminate the app using Task Manager and restart the app again. Here’s how to do it:
Step 1: Press the Ctrl + Shift + Esc keyboard shortcut to launch the Task Manager.
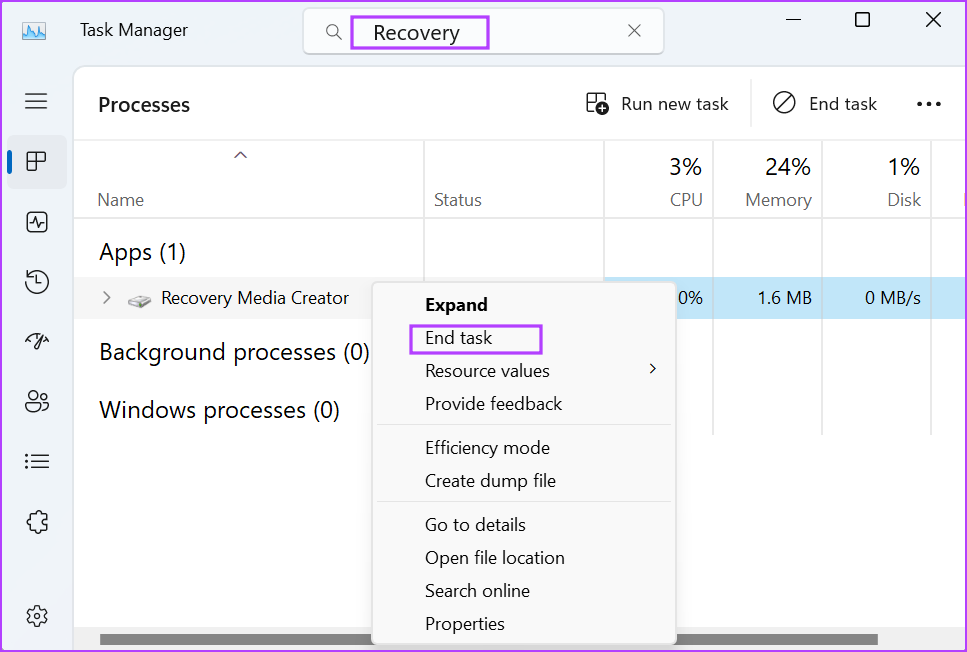
Step 2: Click on the search bar and type Recovery. Then right-click on the Recovery Media Creator process and select the End task button.
Step 3: Press the Windows key to open the Start menu, type Recovery Drive in the search bar, and press Enter.

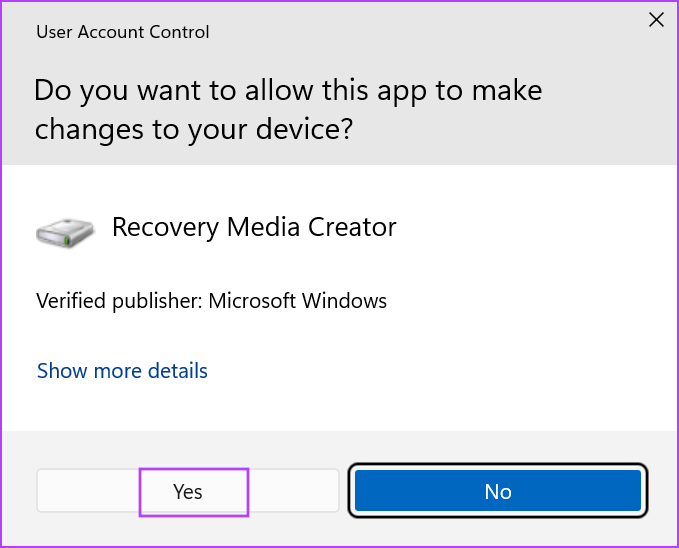
Step 4: User Account Control will launch. Click on the Yes button to launch the app.
2. Format the USB Drive in FAT32 Format
When you create a bootable USB drive using Rufus, it formats the USB drive in the NTFS file system. But Windows Recovery Drive needs a USB drive in FAT32 format with no partitions. So, if the USB drive you are using is in NTFS, you’ll need to re-format it to FAT32. Here’s how:
Step 1: Connect the USB drive to your PC.
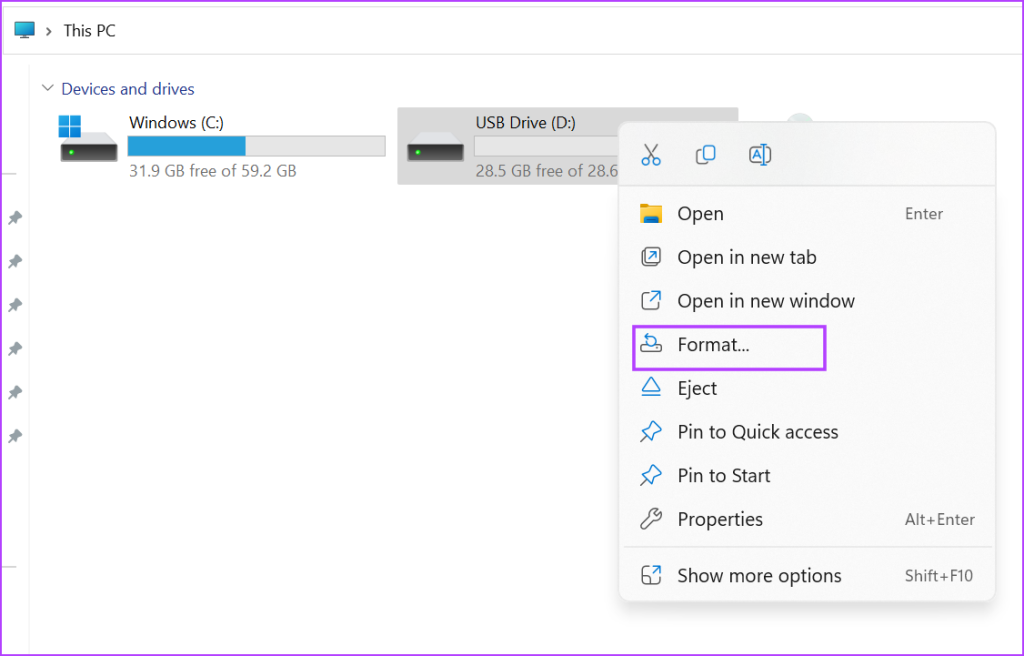
Step 2: Press the Windows + E keyboard shortcut to open File Explorer. Right-click on the USB drive and select the Format option from the context menu.
Step 3: Click on the File system drop-down and select the FAT32 (Default) option. Then click on the Start button.

Step 4: You will see a warning. Click on the OK button. Close the Format window after the process completes.

The Recovery Drive app also specifies the size of the USB drive before it starts writing the files to it. So, make sure to use an appropriate size drive. Copy some files to the USB drive and check if it works properly.
3. Disable Antivirus Software
Anti-virus software can interfere with the recovery drive creation. So, temporarily disable the anti-virus software and reattempt to create the recovery drive. Here’s how:
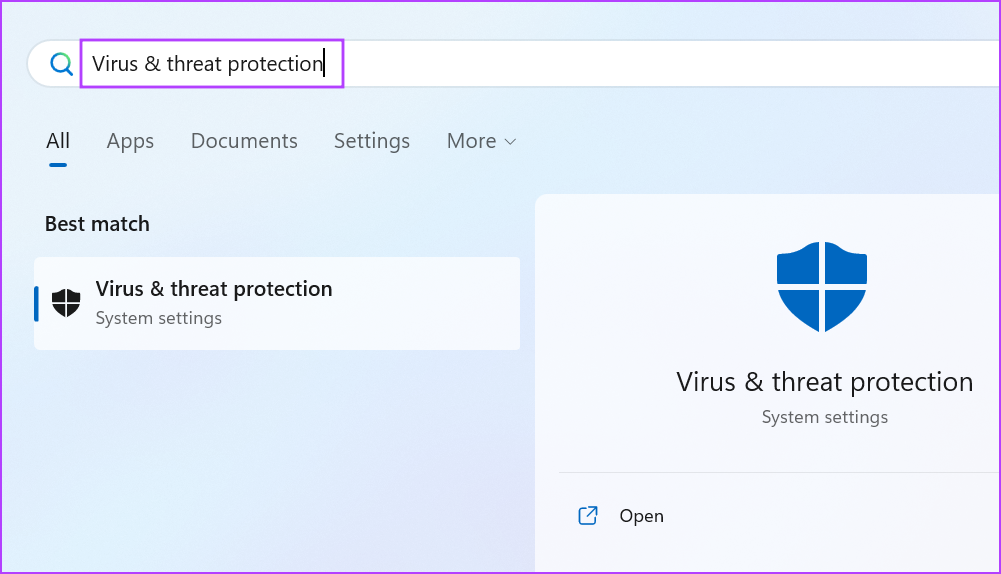
Step 1: Press the Windows key to open the Start menu, type Virus & threat protection in the search bar, and press Enter.
Step 2: Scroll down to the ‘Virus & threat protection settings’ section. Click on the Manage settings option.

Step 3: Click on the toggle below the Real-time protection option to turn it off.

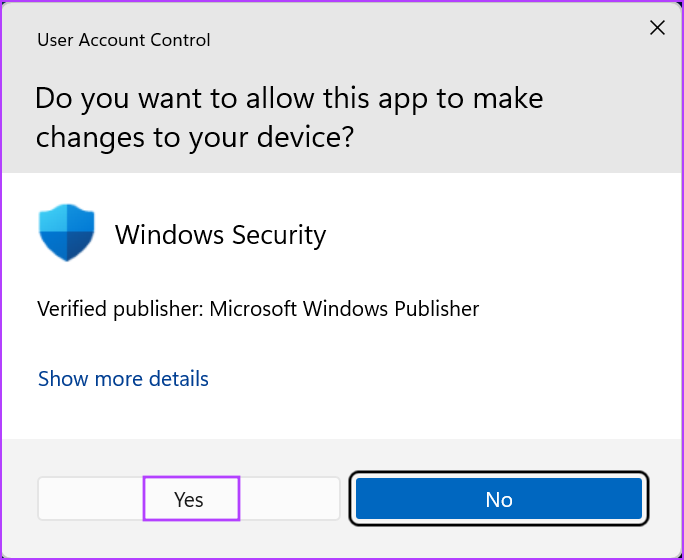
Step 4: User Account Control will launch. Click on the Yes button to temporarily disable Windows Defender.
If you use a third-party anti-virus program, go to the System Tray Icons area and disable it until the next reboot.
4. Disable Hyper-V
Many users found that disabling Hyper-V seemed to fix the ‘unable to create recovery drive’ issue for them. So, if you have Hyper-V or its sub-features active, remove them from your PC. Here’s how to do it:
Step 1: Press the Windows key, type optionalfeatures, and press Enter.

Step 2: Windows Features utility will launch. Go to the Hyper-V feature and click on the check box to disable it. Then click on the OK button.

Step 3: Windows will ask you to restart your PC to apply the changes. Click on the Restart now button.

Step 4: Your PC will restart and remove Hyper-V and its related features. Open the Recovery Drive app and retry creating a recovery drive.
5. Remove Windows.old Folder
If you selected the ‘Keep old files’ option while upgrading Windows, it creates a Windows.old folder in the C drive. It can interfere with the recovery drive creation process. So, purge the folder from the C drive using Disk Cleanup. Here’s how:
Step 1: Press the Windows key to launch the Start menu, type cleanmgr, and press Enter to launch Disk Cleanup.

Step 2: Keep the C drive selected and click on the OK button.

Step 3: Click on the ‘Clean up system files’ button.
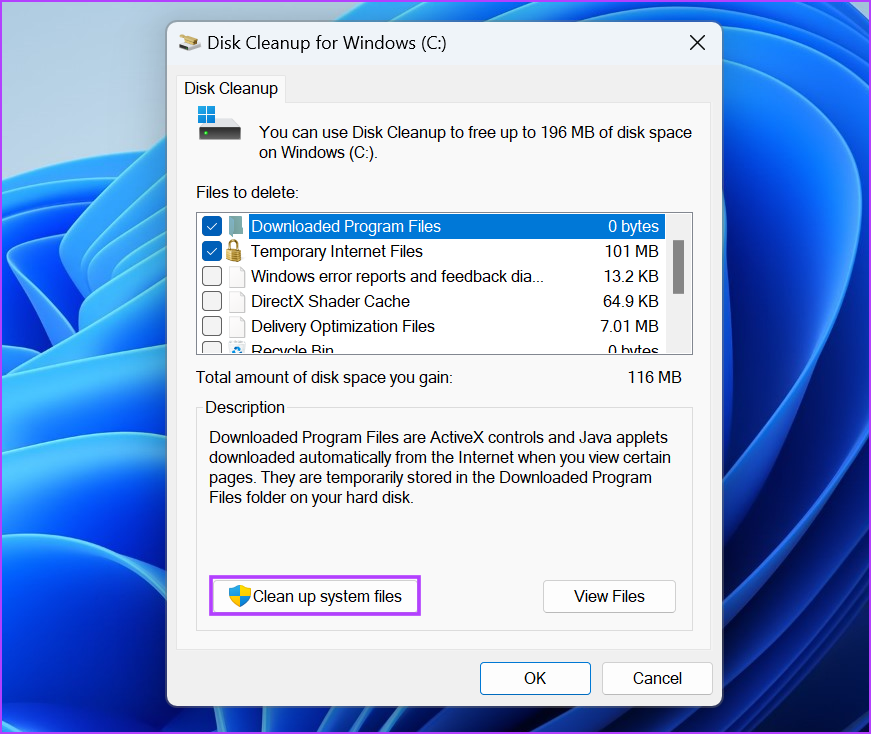
Step 4: Select the ‘Previous Windows Installation(s)’ check box and click on the OK button.

Step 5: Wait for Disk Cleanup to remove the files from your system, and close the tool.
6. Run SFC and DISM Scan
If system files are missing or corrupt or the Windows Component store is damaged, one or more system apps can fail to launch or work properly. So, running an SFC and DISM scan one after another can help you restore the missing files and fix issues with your PC. Repeat the following steps:
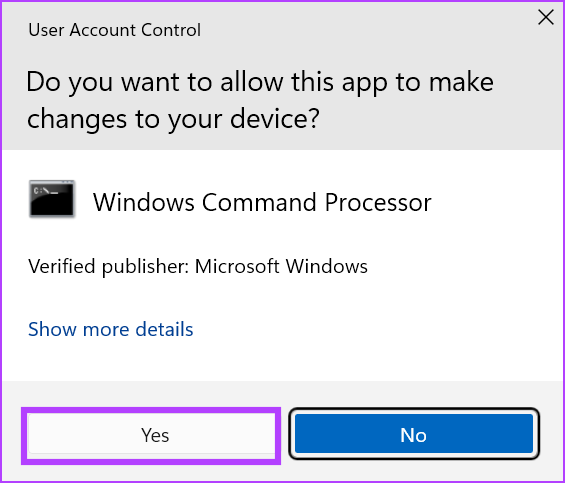
Step 1: Press the Windows key to open the Start menu, type cmd in the search bar, and press Ctrl + Shift + Enter keyboard shortcut at once.

Step 2: User Account Control window will launch. Click on the OK button.
Step 3: Type the following command and press Enter:
SFC /scannowStep 4: After the SFC scan completes, type cls to remove the verbose text from the command prompt.

Step 5: Type the following commands and execute them one by one:
DISM /Online /Cleanup-Image /CheckHealth
DISM /Online /Cleanup-Image /ScanHealth
DISM /Online /Cleanup-Image /RestoreHealth
Step 6: After the DISM scan completes, restart your PC.
7. Use a Bootable USB Drive Instead
If all the above methods failed to fix the issue with the Recovery Drive creation, you must use a Windows 11 bootable USB drive instead. Windows Recovery Drive only preserves the OEM drivers and nothing else. It reinstalls Windows and deletes everything, just like when you install Windows 11 using a bootable USB drive.
So, you can go with this option if all your attempts to create a recovery drive end in despair. Every OEM has a custom driver utility to identify and install all the drivers for your PC. You can use it after you reinstall Windows 11 to download all the necessary drivers.
Easily Create Windows Recovery Drive
Windows Recovery Drive helps you access the Windows Recovery Environment and all the troubleshooting tools when you cannot boot to the desktop. To fix the ‘we can’t create a recovery drive on this pc’, restart the app and format your USB drive in the FAT32 file system. After that, temporarily disable the anti-virus, remove Hyper-V, and delete old Windows installation files to solve the issue.
Was this helpful?
Last updated on 31 May, 2023
The article above may contain affiliate links which help support Guiding Tech. The content remains unbiased and authentic and will never affect our editorial integrity.


