Fix 1: Change the Default Mail Delivery Location
One of the most straightforward ways to fix the “Outlook data file cannot be accessed” error is to configure Microsoft Outlook to save your emails in a different location. So, let’s start with that.
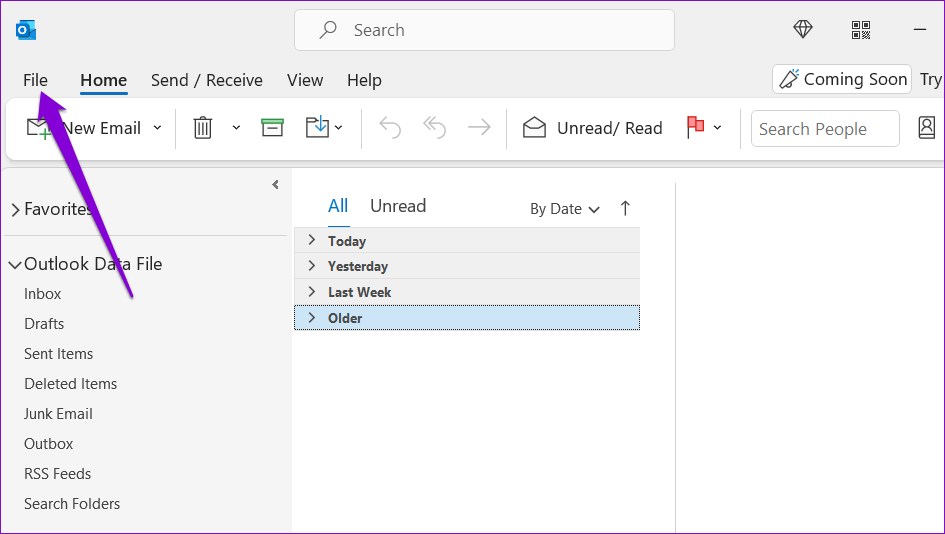
Step 1: Open the Microsoft Outlook app and click the File menu in the top-left corner.
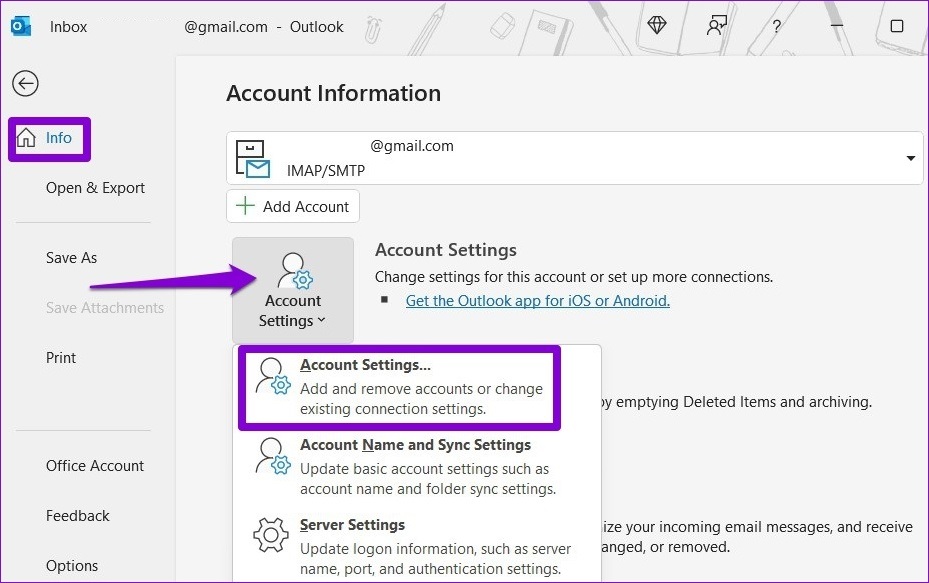
Step 2: In the Info tab, click on Account Settings and select Account Settings from the resulting menu.
Step 3: Switch to the Data Files tab and click the Add option.

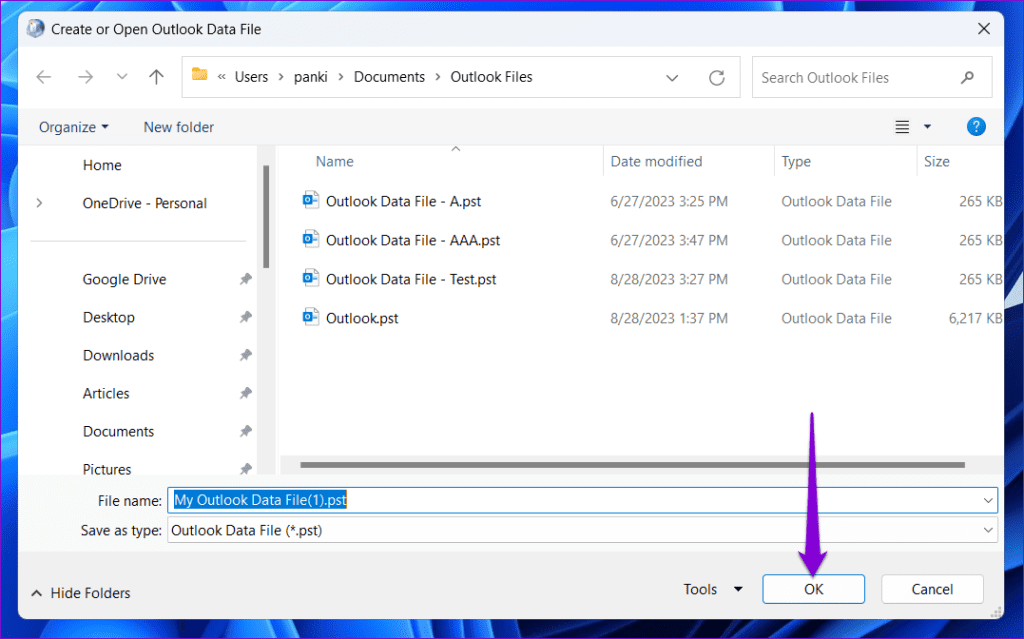
Step 4: Select your preferred location and click OK.
Step 5: Select your newly created data file and click Set as Default.

Restart the Outlook app, and see if you can send and receive emails as before.
Fix 2: Change Ownership of the Outlook Data File
Microsoft Outlook may fail to open or configure the data file on Windows if your user account lacks the necessary permissions to access the file. To fix this, obtain ownership of the Outlook data file on your PC.
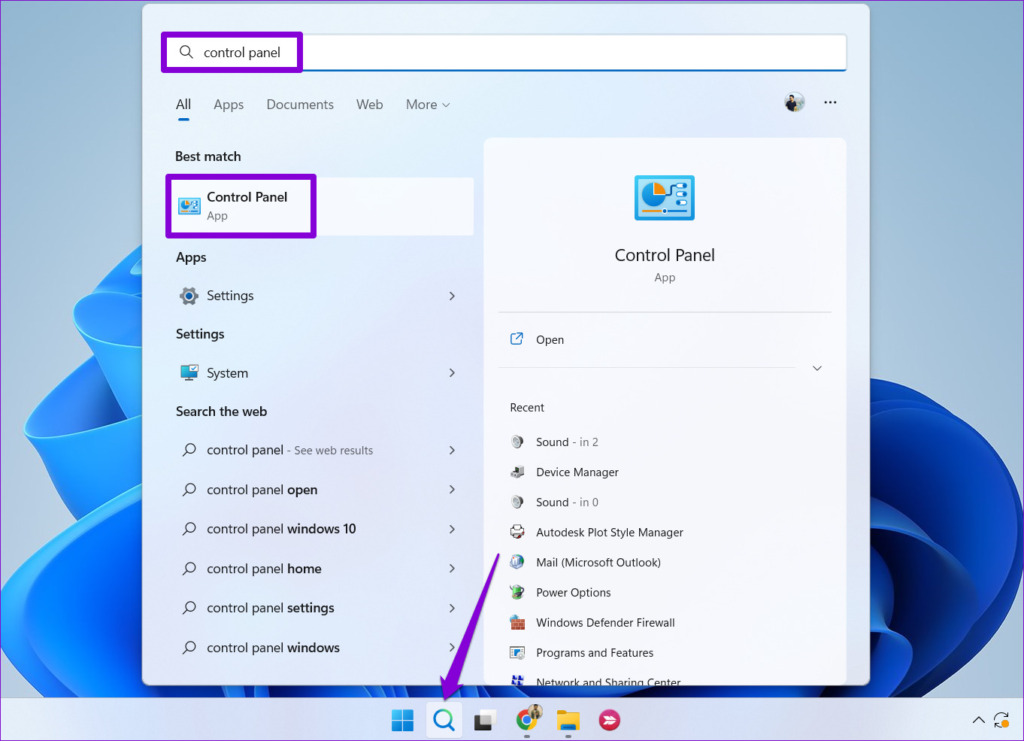
Step 1: Click the search icon on the taskbar, type control panel in the box, and press Enter.
Step 2: Use the drop-down menu in the top right corner to change the view type to Large icons. Then, click on Mail (Microsoft Outlook).

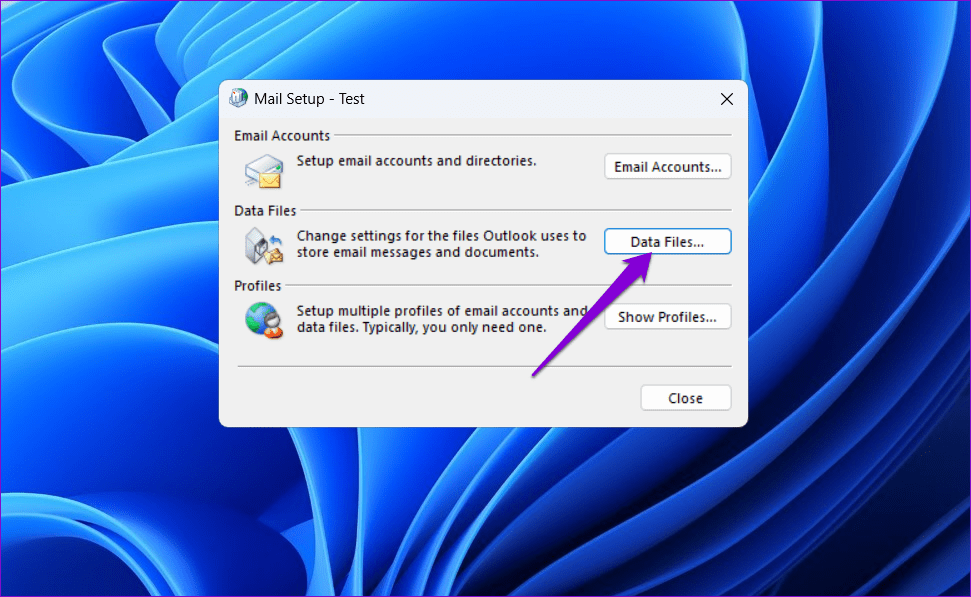
Step 3: Click the Data Files button.
Step 4: Select your Outlook data file and click the Open File Location option.

Step 5: In the File Explorer window that opens, right-click on the Outlook data file and select Properties.

Step 6: Under the Security tab, click the Advanced button.

Step 7: Click on Change next to the Owner field.

Step 8: Enter your username in the text field, click the Check Names button, and click OK.

Step 9: Hit Apply and then OK.

Fix 3: Run the Inbox Repair Tool
Microsoft Outlook may fail to access the data files because they are damaged. Fortunately, Outlook offers a tool that can automatically fix problems with the data files.
Step 1: Press Windows + E to open File Explorer and navigate to the following folder.
C:\Program Files\Microsoft Office\root\Office16
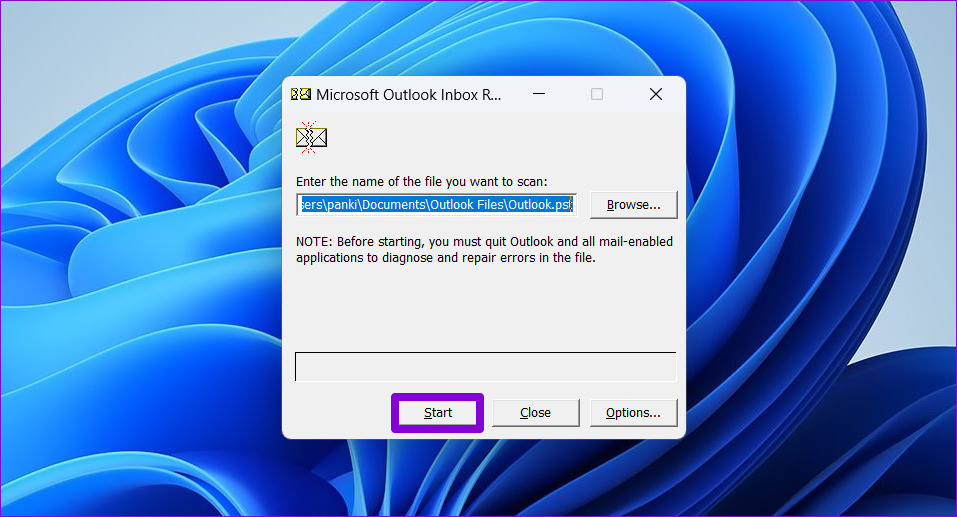
Step 2: Double-click the SCANPST.EXE file.

Step 3: Click Start to initiate the scan.
Step 4: If the tool finds any issues, click Repair.

After completing the above steps, check if the error occurs again.
Fix 4: Create a New Outlook Profile
If this profile has become corrupted, you could encounter the “Outlook data file cannot be accessed” error on your Windows computer. In that case, your best option is to create a new Outlook profile and start over.
Step 1: Click the search icon on the taskbar to open the Start menu, type control panel in the search bar, and press Enter.
Step 2: Click on Mail (Microsoft Outlook).
Step 3: Click the Show Profiles button.

Step 4: Click the Add button, name your new profile, and hit OK.

Step 5: In the Add Account window, enter your account details and hit Next.

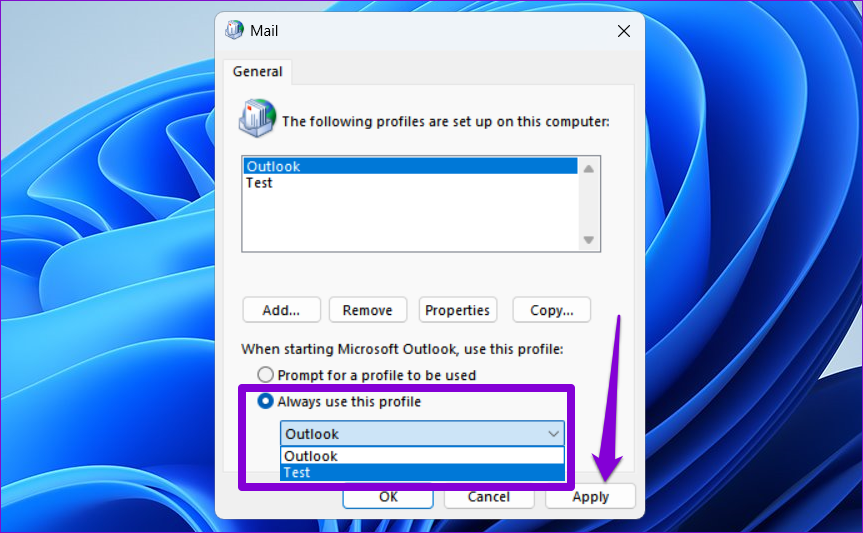
Step 6: Select your new profile using the drop-down menu and hit Apply.
Fix 5: Run the Office Repair Tool
Microsoft includes a dedicated tool for fixing issues with all the Office apps, including Outlook. So, if nothing works, run the Office repair tool to fix the error.
Step 1: Press the Windows key + R to launch the Run command. In the Open field, type appwiz.cpl and press Enter.
Step 2: In the Programs and Features window, select Microsoft Office Suite or Microsoft 365 and click the Change option.

Step 3: Select Online Repair and click the Repair button to continue.

Wait for the process to complete, then use Outlook again.
Was this helpful?
Last updated on 09 April, 2024
Read Next
 How to Fix “Windows Installer Service Could Not Be Accessed” Error
Common Fixes Restart your PC: Press the Windows + X shortcut to open the Power User Menu, select Shut down or sign out, and click on Restart.
How to Fix “Windows Installer Service Could Not Be Accessed” Error
Common Fixes Restart your PC: Press the Windows + X shortcut to open the Power User Menu, select Shut down or sign out, and click on Restart.
 6 Ways to Fix “The Set of Folders Cannot Be Opened” Error in Outlook for Windows
Fix 1: Reset the Navigation Pane Sometimes, Outlook may fail to load the navigation pane entirely and throw an error message that reads, "Cannot start Microsoft Outlook.
6 Ways to Fix “The Set of Folders Cannot Be Opened” Error in Outlook for Windows
Fix 1: Reset the Navigation Pane Sometimes, Outlook may fail to load the navigation pane entirely and throw an error message that reads, "Cannot start Microsoft Outlook.
 How to Fix Registry Editor Cannot Import File Error in Windows 10
Windows Registry is a critical database that stores information about the apps, services, and hardware used to run Windows.
How to Fix Registry Editor Cannot Import File Error in Windows 10
Windows Registry is a critical database that stores information about the apps, services, and hardware used to run Windows.
 Top 6 Ways to Fix Cannot Expand Folder Error in Outlook
Microsoft Outlook users have been facing a particular error for the past decade.
Top 6 Ways to Fix Cannot Expand Folder Error in Outlook
Microsoft Outlook users have been facing a particular error for the past decade.
 5 Fixes for the “Outlook Data File Has Reached the Maximum Size” Error in Windows
Fix 1: Compact the Microsoft Outlook Data File Compacting your Outlook data file removes unused space and purges redundant information from the data file, effectively reducing its size.
5 Fixes for the “Outlook Data File Has Reached the Maximum Size” Error in Windows
Fix 1: Compact the Microsoft Outlook Data File Compacting your Outlook data file removes unused space and purges redundant information from the data file, effectively reducing its size.
 Top 9 Ways to Fix Cannot Download File From OneDrive Problem
A cloud storage service's primary function, like OneDrive, is to keep all files in sync across devices.
Top 9 Ways to Fix Cannot Download File From OneDrive Problem
A cloud storage service's primary function, like OneDrive, is to keep all files in sync across devices.
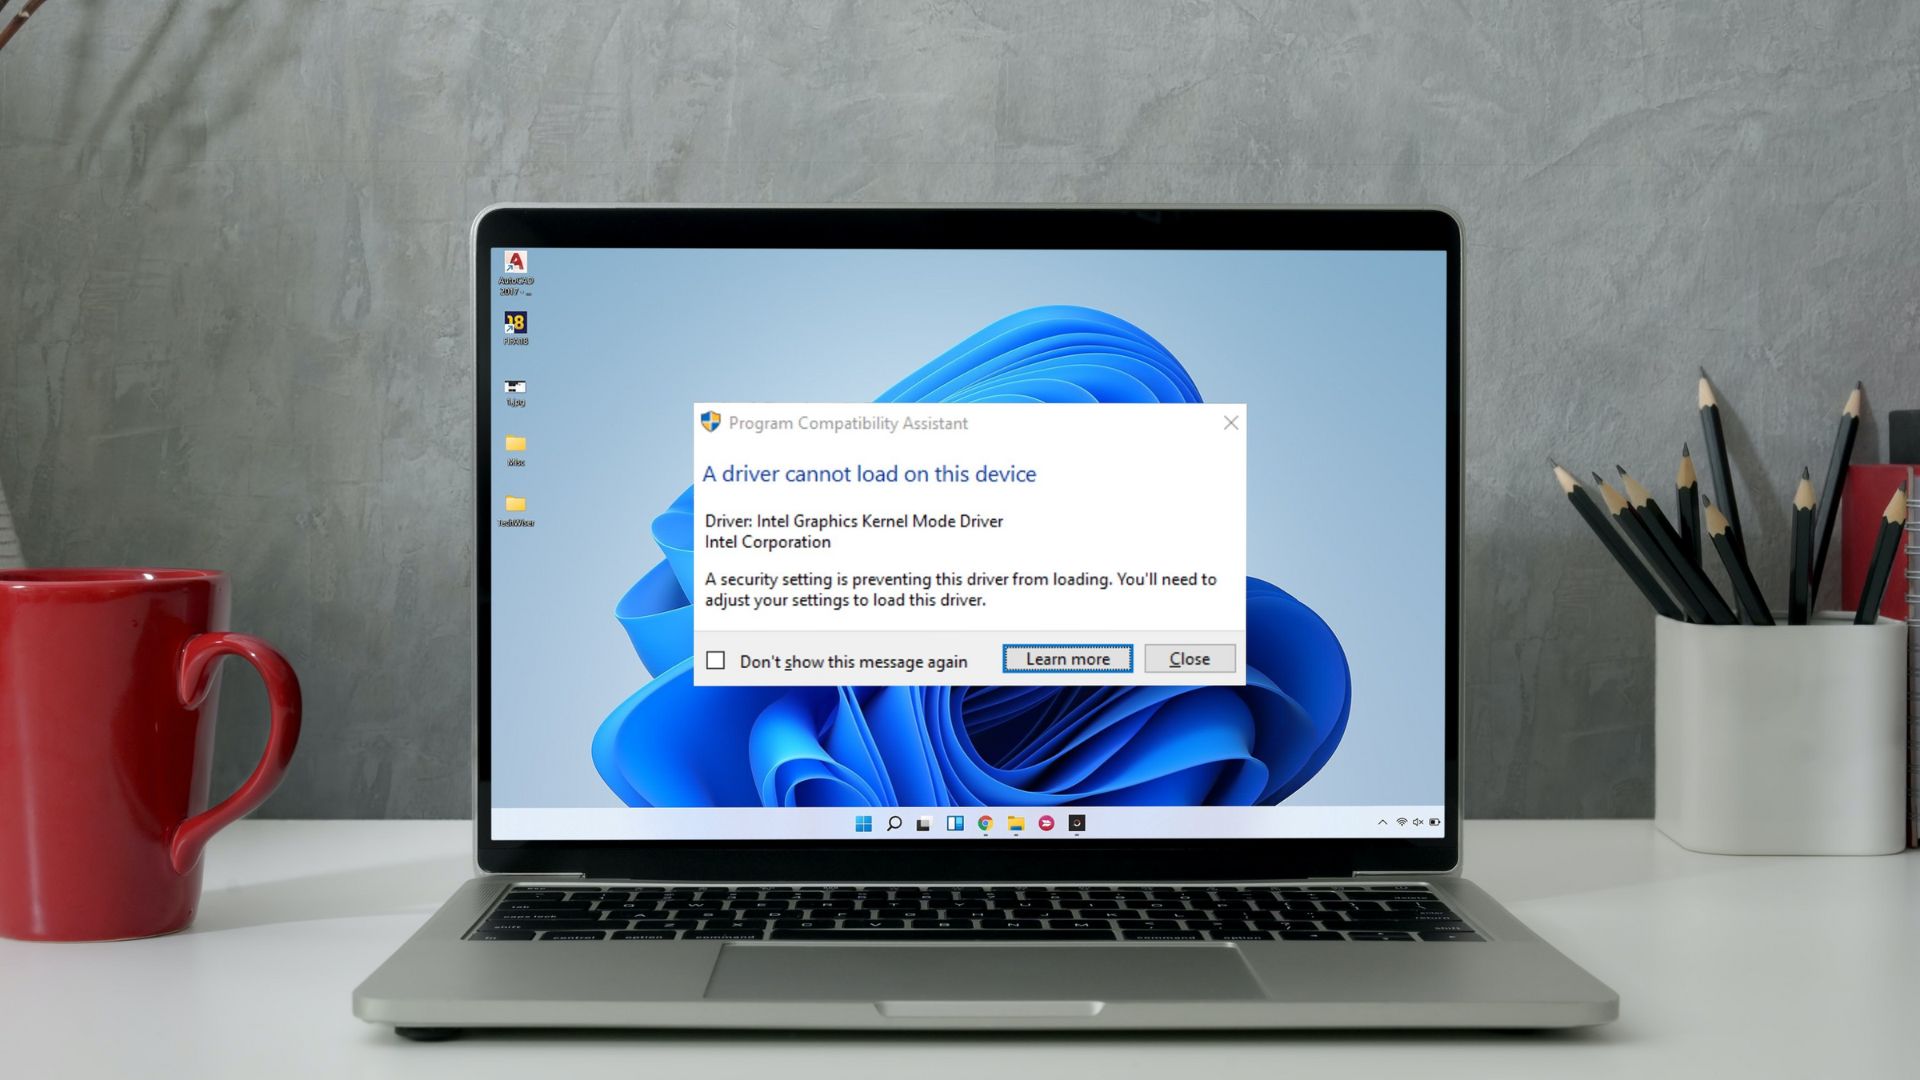 5 Ways to Fix “A Driver Cannot Load on This Device” Error on Windows 11
Fix 1: Update the Problematic Driver If a driver is incompatible, Windows may fail to load it.
5 Ways to Fix “A Driver Cannot Load on This Device” Error on Windows 11
Fix 1: Update the Problematic Driver If a driver is incompatible, Windows may fail to load it.
 How to Fix Windows 10’s User Profile Cannot Be Loaded Error
Logging in to a computer is as easy as typing a password (if any) and tapping the sign-in button.
How to Fix Windows 10’s User Profile Cannot Be Loaded Error
Logging in to a computer is as easy as typing a password (if any) and tapping the sign-in button.
The article above may contain affiliate links which help support Guiding Tech. The content remains unbiased and authentic and will never affect our editorial integrity.