Method 1: Disable VBS/HVCI in Windows Using Core Isolation
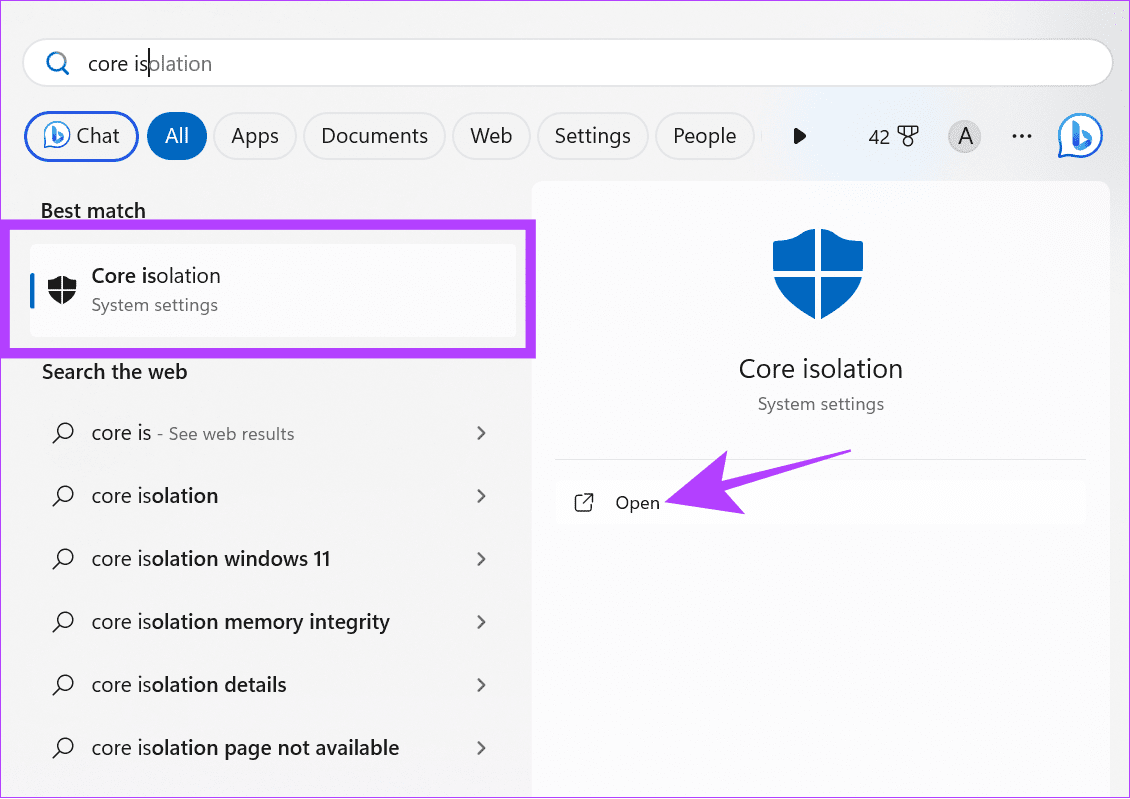
Step 1: Click on the Start icon, and search and open Core Isolation.
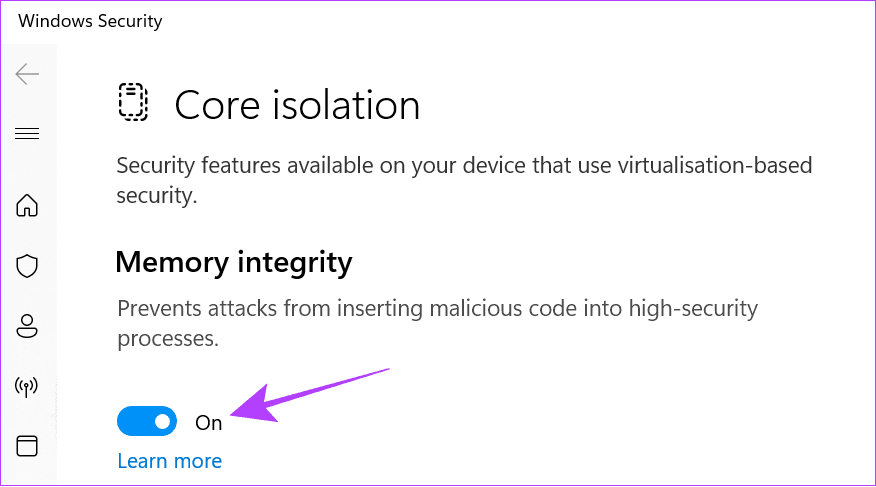
Step 2: Toggle off Memory Integrity.
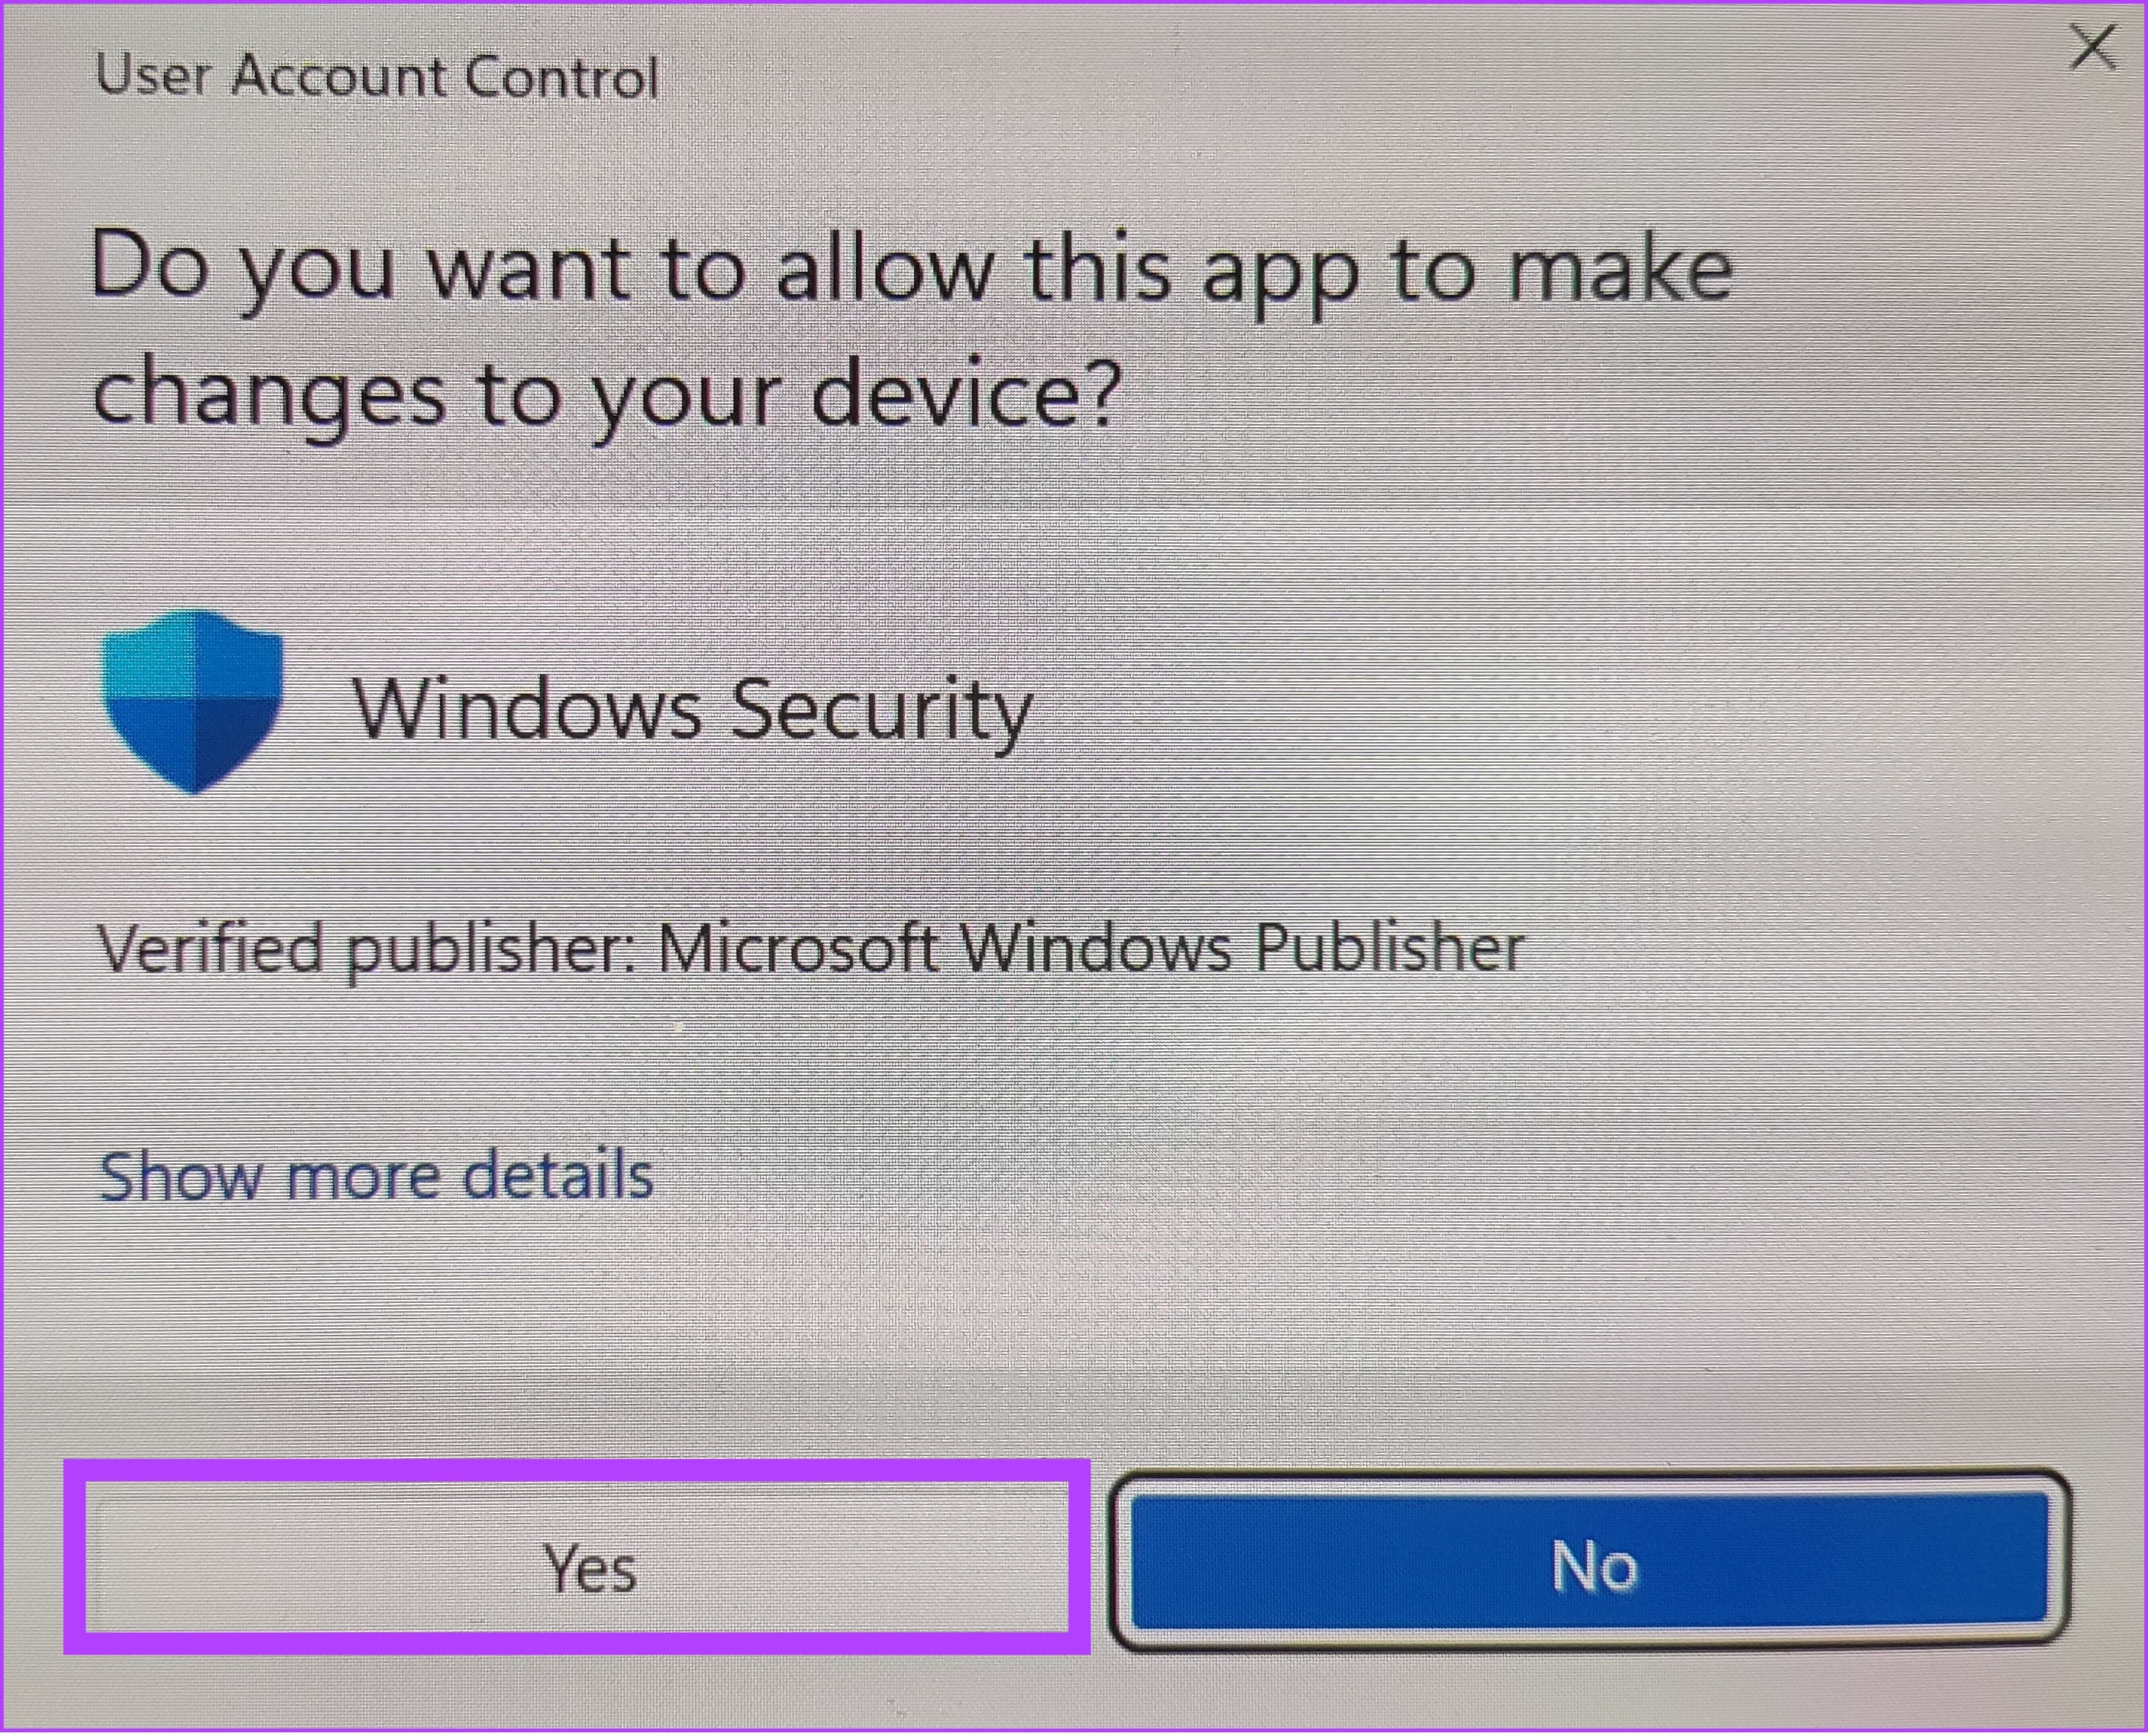
Step 3: Click Yes to confirm.
Step 4: After that, reboot your PC.
Once restarted, check if VBS is disabled by going to System information again. If it’s shown as Running, check the next Method.
Method 2: Uninstall Virtual Machine Platform
It’s also possible to turn off VBS on Windows by uninstalling Virtual Machine. Let’s do it by following these steps:
Note: Uninstalling the Virtual Machine platform will prevent you from using the Android apps on Windows.
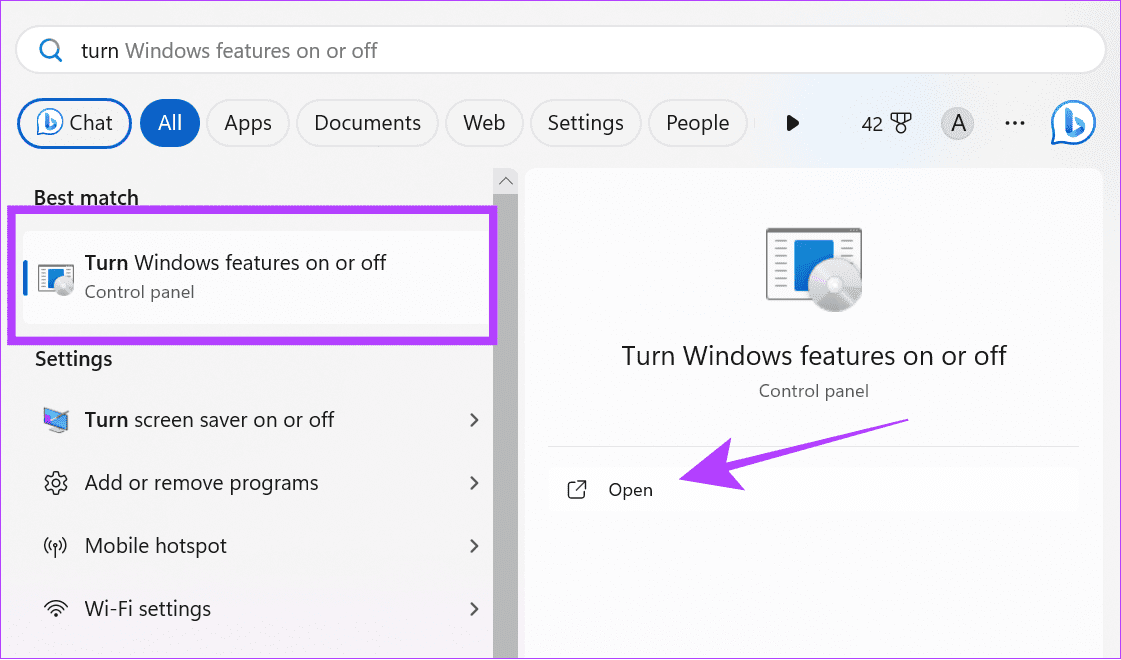
Step 1: Search and open Turn Windows Features on or off.
Step 2: Uncheck Virtual Machine Platform.
Step 3: Click OK to confirm.

Method 3: Disable VBS With Command Prompt
Command Prompt lets us communicate with the system directly, and you can use it to turn off VBS as well. Here are the steps:
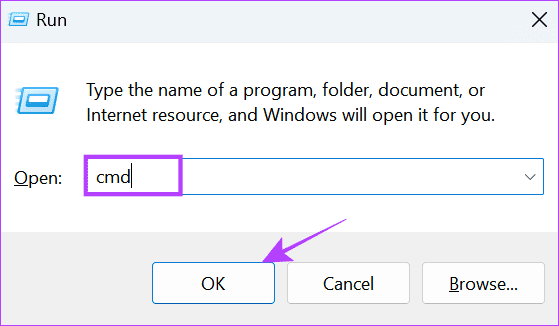
Step 1: Use Win + R to launch the Run.

Step 2: Type cmd and press Ctrl + Shift + Enter keys together to launch Command Prompt with admin permissions.
Step 3: Click OK to confirm.
Step 4: Next, type the below command and hit Enter.
bcdedit /set hypervisorlaunchtype off
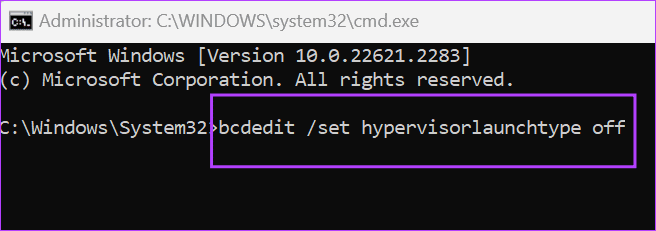
Step 5: Wait for the process to complete and restart your PC.
Method 4: Turn off Windows’ Virtualization Features
Besides disabling VBS, you can also turn off the virtualization service, as VBS can only run properly if all the Virtualization features are active.
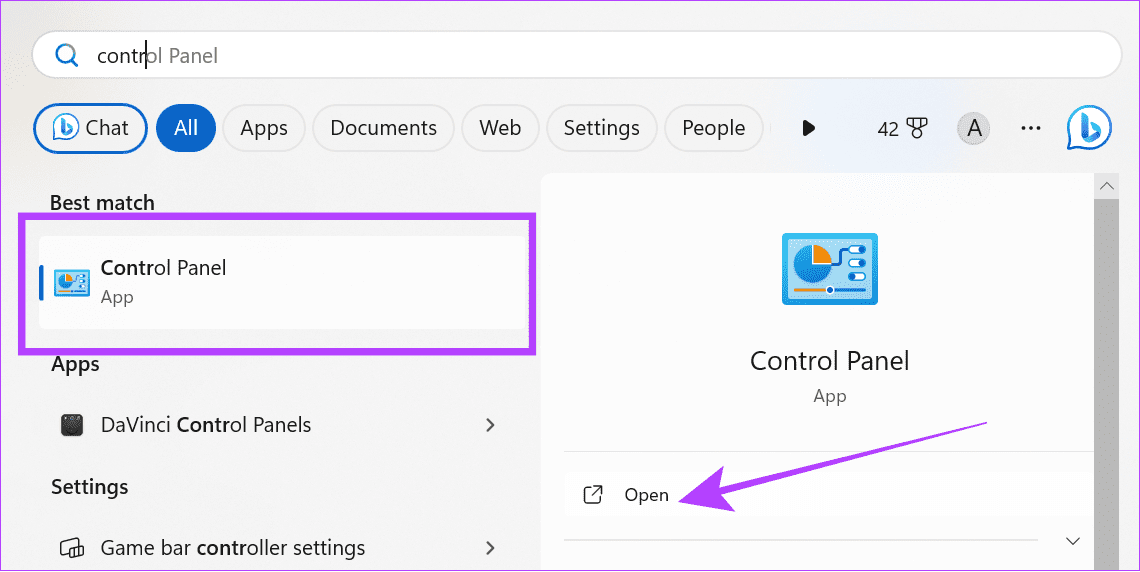
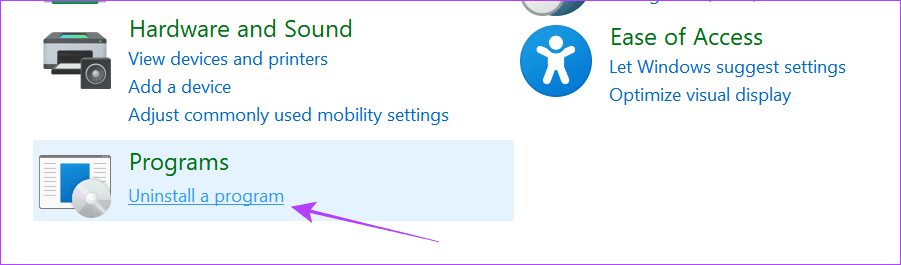
Step 1: Search and open Control Panel.
Step 2: Click Uninstall a Program under Programs.
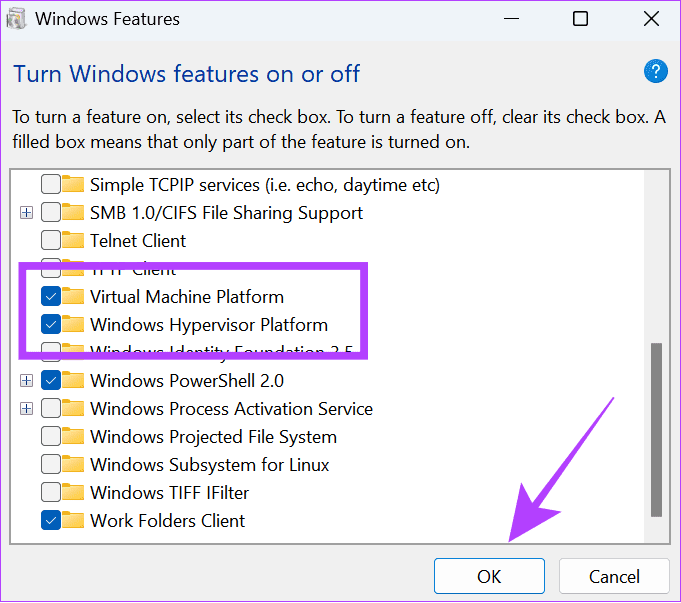
Step 3: Click on Turn Windows Features on or off.

Step 4: Disable Virtual Machine Platform and Windows Hypervisor Platform in the list.
Step 5: Once you cancel them, click on OK.
Method 5: Disable Virtualization via BIOS
Virtualization-based security requires Virtualization in Windows to be enabled to work. If you disable it from the BIOS, it will completely disable VBS and HVCI in Windows. First, enter into UEFI/BIOS mode on your Windows system. After that, follow the below steps.
Note: We performed the steps on an AMD-powered Lenovo laptop. However, the steps might differ depending on the manufacturer, processor, and other factors. For example, you can check the official guides to enable/disable Virtualization in UEFI/BIOS for laptops from different manufacturers.
Step 1: Once you enter BIOS mode, choose Configuration.
Step 2: Change the AMD SVM Technology option to Disabled.
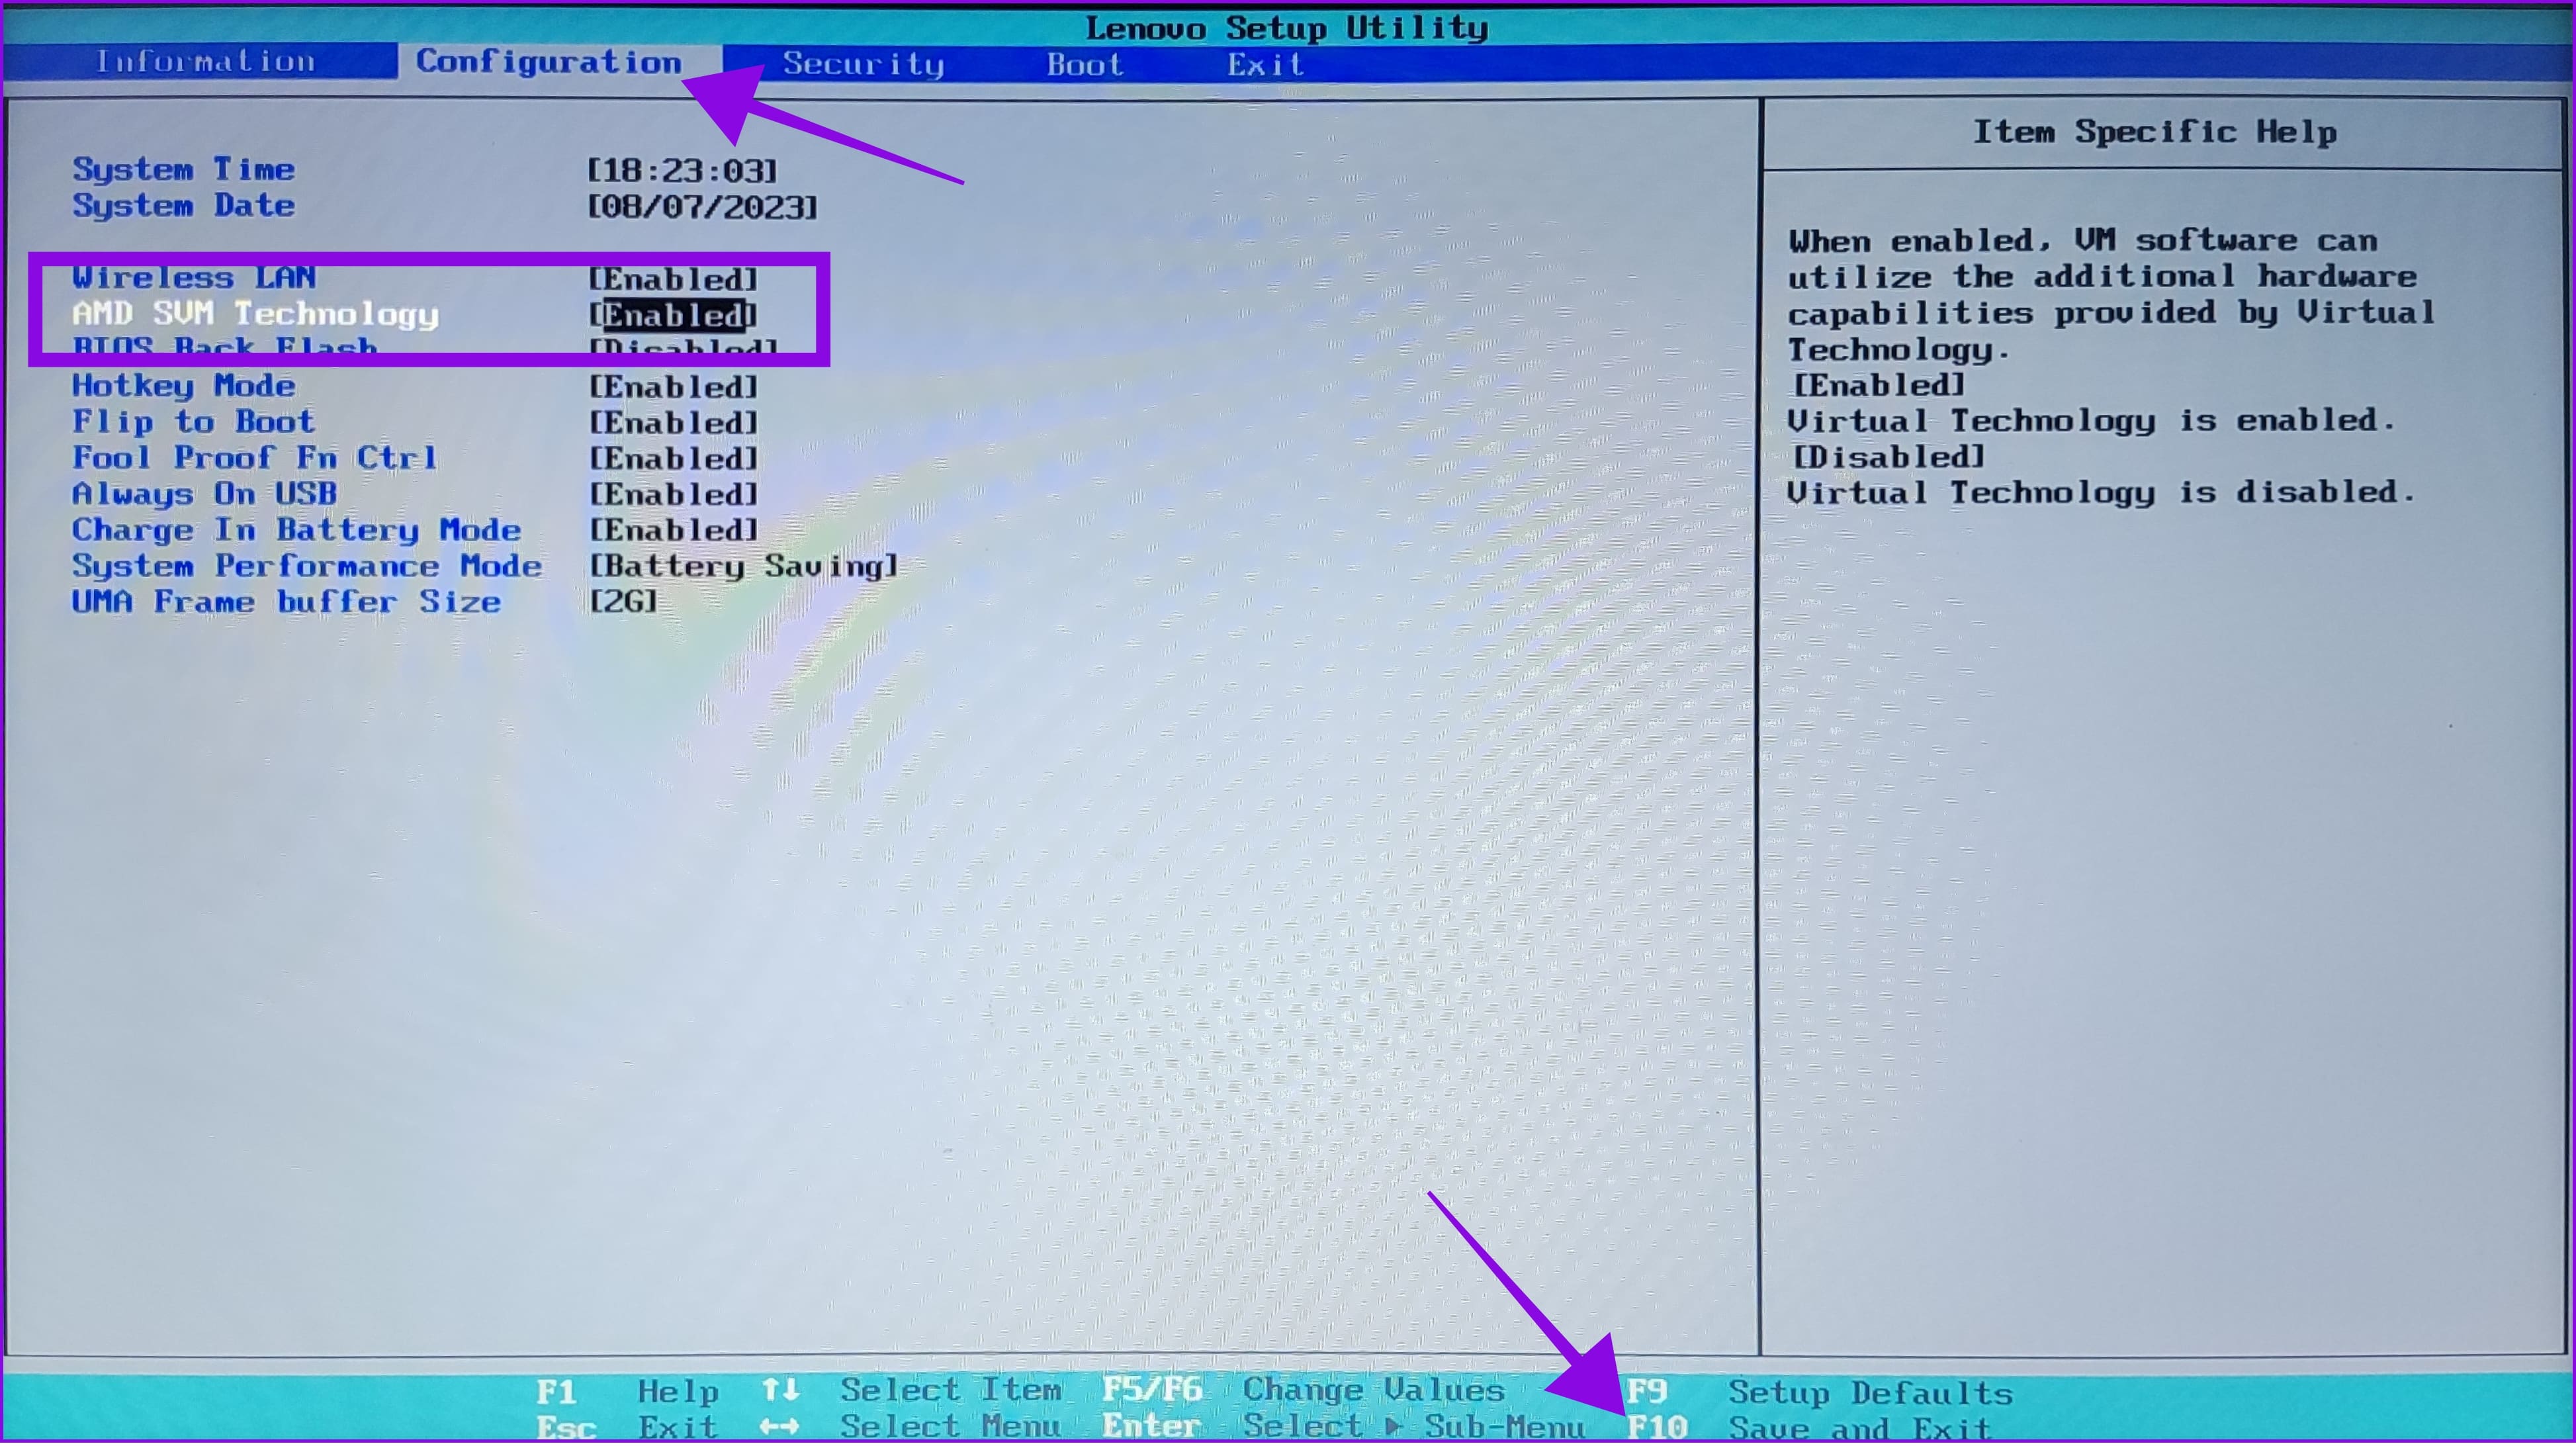
Step 3: Hit the F10 key and choose Yes to confirm.
Method 6: Using Registry Editor
As the name suggests, Registry Editor allows you to configure certain Windows settings and disable VBS. However, we will access Registry Editor and make the changes using Command Prompt, as this will make the process easy.
Step 1: Use Win + R to launch Run.
Step 2: Type cmd and press Ctrl + Shift + Enter together. This opens Command Prompt with administrator privileges.
Step 3: Type or paste the following command:
reg add "HKEY_LOCAL_MACHINE\System\CurrentControlSet\Control\DeviceGuard" /v EnableVirtualizationBasedSecurity/t REG_DWORD /d 00000000 /f
Wait for the codes to work, and if all goes well, you will see the ‘This operation completed successfully’ message.
How to Check VBS Status on Windows
Once disabled, check the status of Virtualization-based Security (VBS) in your system to ensure you have turned it off. Follow along:
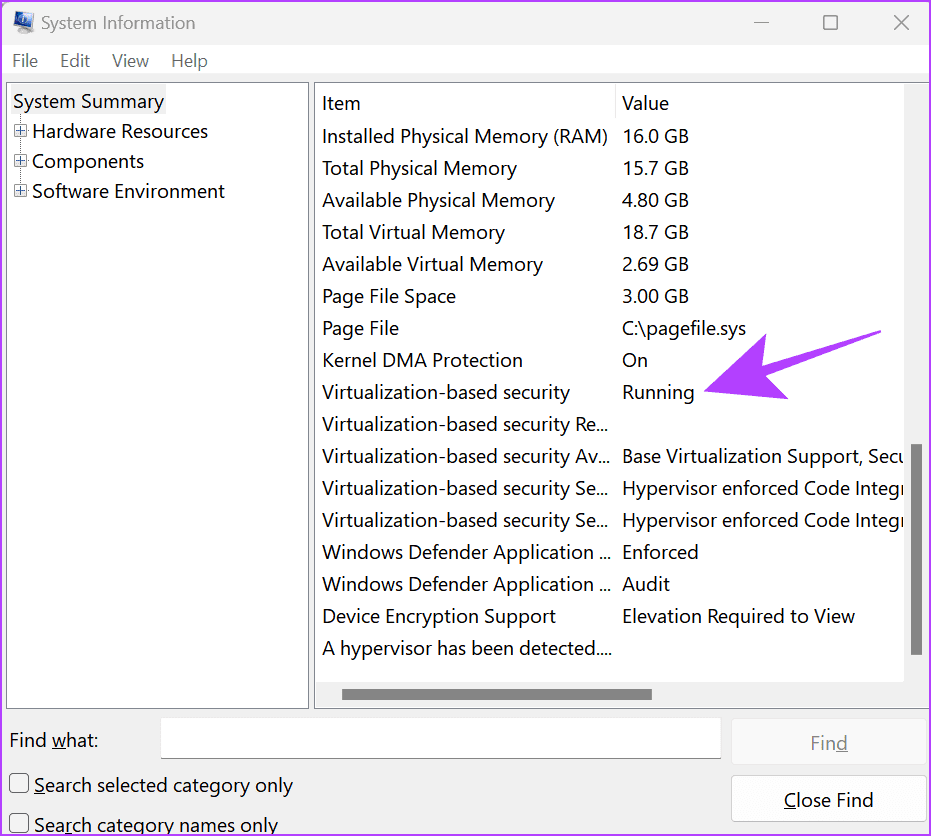
Open Start and search and open System Information. Find Virtualization-based security (VBS).
Tip: You can use the search feature to find VBS.
If it’s mentioned Running next to Virtualization-based security (VBS), proceed with the steps to turn it off. If it’s Not Enabled, the feature has successfully been disabled.
Was this helpful?
Last updated on 09 July, 2024
Read Next
 What Is Virtualization in Windows 10 and How to Enable It
Windows 10 comes with a lot of advanced features that are turned off by default.
What Is Virtualization in Windows 10 and How to Enable It
Windows 10 comes with a lot of advanced features that are turned off by default.
 How to Enable Virtualization on Windows 11
What Does Virtualization Do in Windows 11?
How to Enable Virtualization on Windows 11
What Does Virtualization Do in Windows 11?
 How to Send Email Based on Response in Google Forms
Google Forms lets you collect answers and opinions from your respondents in various ways, whether it's a simple quiz or a long questionnaire.
How to Send Email Based on Response in Google Forms
Google Forms lets you collect answers and opinions from your respondents in various ways, whether it's a simple quiz or a long questionnaire.
 6 Ways to Fix Windows Security Not Opening or Working on Windows 11
Try Basic Fixes Uninstall any third-party antivirus program: Third-party antivirus programs can sometimes interfere with the Windows Security app and prevent it from opening on your Windows 11 PC.
6 Ways to Fix Windows Security Not Opening or Working on Windows 11
Try Basic Fixes Uninstall any third-party antivirus program: Third-party antivirus programs can sometimes interfere with the Windows Security app and prevent it from opening on your Windows 11 PC.
 6 Ways to Open Local Security Policy in Windows 10 and 11
Method 1: Using Windows Search Step 1: Press the Windows key on your keyboard or click the on-screen Windows icon. Step 2: Type Local Security Policy and click Run as
6 Ways to Open Local Security Policy in Windows 10 and 11
Method 1: Using Windows Search Step 1: Press the Windows key on your keyboard or click the on-screen Windows icon. Step 2: Type Local Security Policy and click Run as
 5 Fixes for Windows Security App Showing White Screen on Windows 11
Common Fixes Reboot PC: Press the Windows + X shortcut to open the Power User Menu, select Shut down or sign out, and click Restart.
5 Fixes for Windows Security App Showing White Screen on Windows 11
Common Fixes Reboot PC: Press the Windows + X shortcut to open the Power User Menu, select Shut down or sign out, and click Restart.
 8 Best Ways to Fix Google Chrome Security Certification Error
Do you frequently get a “Your Connection Is Not Private” message in Chrome?
8 Best Ways to Fix Google Chrome Security Certification Error
Do you frequently get a “Your Connection Is Not Private” message in Chrome?
 2 Ways to Fix Microsoft Not Sending a Security Code
Basic Fixes: Double-check contact information: If you haven't selected the correct country code for your number or are missing a digit, Microsoft can't send you the security code.
2 Ways to Fix Microsoft Not Sending a Security Code
Basic Fixes: Double-check contact information: If you haven't selected the correct country code for your number or are missing a digit, Microsoft can't send you the security code.
The article above may contain affiliate links which help support Guiding Tech. The content remains unbiased and authentic and will never affect our editorial integrity.