Basic Fixes
- Try using Incognito Mode: This is a quick hack that enables faster loading of websites that don’t launch in the standard browsing window.
- Force quit and relaunch Chrome: Like on your mobile, you can force quit and relaunch Google Chrome on your Mac or Windows PC to give it a fresh start, especially if it has been running in the background for some time.
- Disable ad blockers and extensions: Third-party extensions and ad blockers can prevent Facebook from running Chrome on your Mac or PC. Remove the ones you don’t need.
- Update or reinstall Chrome: An updated version can help remove the bugs causing this issue.
Fix 1: Clear Facebook Cache and Cookies
Clearing cache and cookies for Facebook will require you to login again to your account.
Step 1: Open Google Chrome on your Mac or Windows PC.
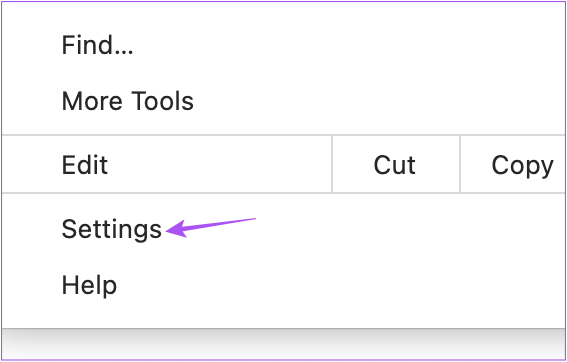
Step 2: Click the three vertical dots at the top-right corner and select Settings.
Step 3: Select Privacy and Security and click on Cookies and other site data.
Step 4: Scroll down and click on See All Site Data and Permissions.

Step 5: Click on Search at the top-right corner and type Facebook. Click on Clear Displayed Data.
Step 6: Click on Clear to confirm.
Fix 2: Change DNS Settings
DNS or Domain Name System is the default server that your Internet Service Provider assigns for browsing the Internet. The speed of the assigned DNS server is responsible for your browsing experience.
On Mac
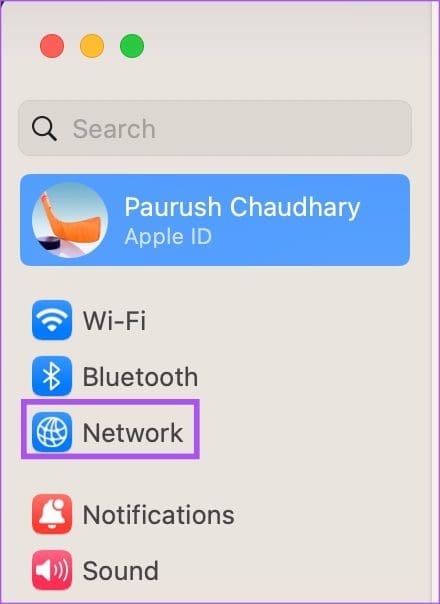
Step 1: Open Settings on your Mac and click on Network from the left sidebar.
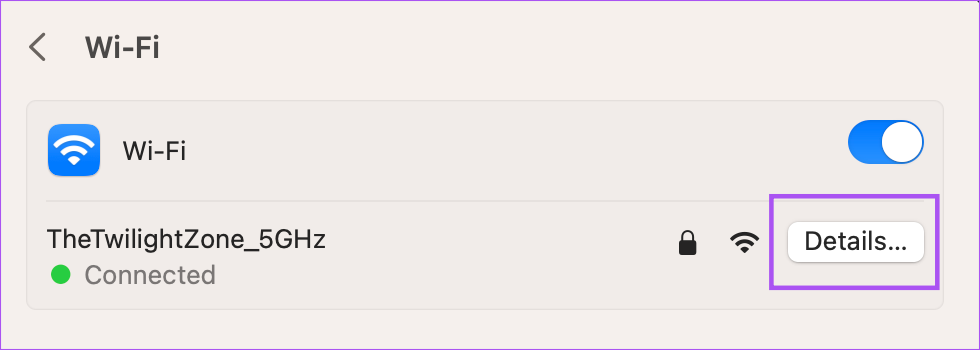
Step 2: Click on Wi-Fi > Details next to the name of your connected Wi-Fi network.
Step 3: Select DNS from the left sidebar and click on the Plus icon under DNS Servers.

Step 4: Add a new DNS entry from free public DNS service providers like Google (8.8.8.8, 8.8.4.4), Cloudflare (1.1.1.1, 1.0.0.1), or Quad9 (9.9.9.9, 149.112.112.112).
Step 5: Close the Network window and launch Google Chrome to check if the problem is solved.
On Windows
Step 1: Open Settings and click on Network and Internet from the left menu.
Step 2: Click on your current internet connection type, Wi-Fi or Ethernet.
Step 3: Go to Hardware Properties and click on Edit next to the DNS server assignment.

Step 4: In the Edit DNS settings window, use the drop-down menu to select Manual.

Step 5: Turn on the IPv4 or IPv6 settings, depending on the type of IP connection you wish to modify.
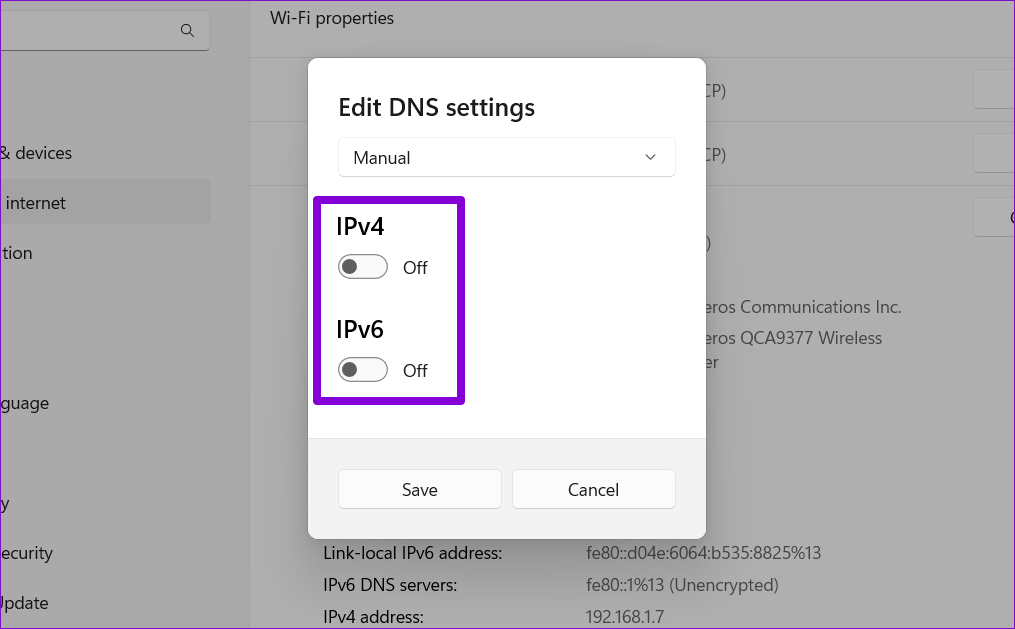
Step 6: We’ll use Google’s public DNS servers. So, enter 8.8.8.8 in the Preferred DNS field and 8.8.4.4 in the Alternate DNS field.
Step 7: Click on Save to apply the changes.
Was this helpful?
Last updated on 06 June, 2024
2 Comments
Leave a Reply
Read Next
 3 Ways to Fix Facebook Games Not Loading in Google Chrome
Try Basic Fixes Close and reopen the game: Sometimes, temporary glitches can cause your Facebook games to become unresponsive and stop working.
3 Ways to Fix Facebook Games Not Loading in Google Chrome
Try Basic Fixes Close and reopen the game: Sometimes, temporary glitches can cause your Facebook games to become unresponsive and stop working.
 9 Best Ways to Fix Google Chrome Not Loading Pages in Windows 10
Google Chrome is one of the most used browsers in the world, no doubt.
9 Best Ways to Fix Google Chrome Not Loading Pages in Windows 10
Google Chrome is one of the most used browsers in the world, no doubt.
 7 Ways to Fix Images Not Loading in Google Chrome
Fix 1: Verify Site Settings To start, verify the content settings in Chrome and ensure websites are allowed to load images on your computer.
7 Ways to Fix Images Not Loading in Google Chrome
Fix 1: Verify Site Settings To start, verify the content settings in Chrome and ensure websites are allowed to load images on your computer.
 6 Ways to Fix Google Slides Not Loading in Chrome
Fix 1: Free Up Google Drive Storage Space Google Slides may fail to open a file and display errors like "Something went wrong" or "Sorry, the file you have requested
6 Ways to Fix Google Slides Not Loading in Chrome
Fix 1: Free Up Google Drive Storage Space Google Slides may fail to open a file and display errors like "Something went wrong" or "Sorry, the file you have requested
 3 Fixes for Google Sheets Not Loading in Chrome
Basic Fixes: Restart Chrome: In some cases, a simple restart should fix the issue.
3 Fixes for Google Sheets Not Loading in Chrome
Basic Fixes: Restart Chrome: In some cases, a simple restart should fix the issue.
 4 Fixes for Google Calendar Not Loading in Chrome
Fix 1: Ensure JavaScript Is Enabled Numerous modern-day websites rely on JavaScript to render content in your browser.
4 Fixes for Google Calendar Not Loading in Chrome
Fix 1: Ensure JavaScript Is Enabled Numerous modern-day websites rely on JavaScript to render content in your browser.
 Top 4 Ways to Fix Facebook Not Loading in Safari
https://youtu.be/rIpRwwjzGtQ Basic Fixes Check Facebook server status - When facing server issues, Facebook won't load properly no matter the browser.
Top 4 Ways to Fix Facebook Not Loading in Safari
https://youtu.be/rIpRwwjzGtQ Basic Fixes Check Facebook server status - When facing server issues, Facebook won't load properly no matter the browser.
 3 Ways to Fix Facebook Comments Not Loading on Android and iPhone
Try Basic Fixes Check Facebook's server status: It’s not uncommon for Facebook servers to experience problems.
3 Ways to Fix Facebook Comments Not Loading on Android and iPhone
Try Basic Fixes Check Facebook's server status: It’s not uncommon for Facebook servers to experience problems.
The article above may contain affiliate links which help support Guiding Tech. The content remains unbiased and authentic and will never affect our editorial integrity.


Thank you so much. I’m not a technologist, but was able to reconnect with Facebook by using the incognito window — a strategy suggested in your article.
Great. I was able to get into Facebook using Chrome. I knew it wasn’t my computer…I got in with other browsers, but you instructing to to go to settings lead me down the right path. I went in and found Facebook and chose Reset All Settings. Now all works…thank you.