If you and your friend own Apple devices, like iPhone, Mac, or even Apple TV, you can use it to share your screen on a FaceTime call using SharePlay in FaceTime. You can share whatever you or your friend is streaming or listening to on your FaceTime call. However, if you’re not a fan, you can turn off SharePlay on your Apple TV.
As long as you’re using a SharePlay-compatible app, like Spotify, Apple TV, Netflix, etc., you might see a prompt asking you to connect to SharePlay. This can especially be true if you use FaceTime on your Apple TV device. To stop this from interrupting your call, turn off SharePlay on Apple TV.
How to Disable SharePlay on Apple TV
To disable SharePlay on Apple TV, use the Settings menu and, under account settings, turn off the relevant option. You can also access Siri’s account settings menu and disable the relevant options. Here’s a step-by-step look.
1. Using the Settings Menu
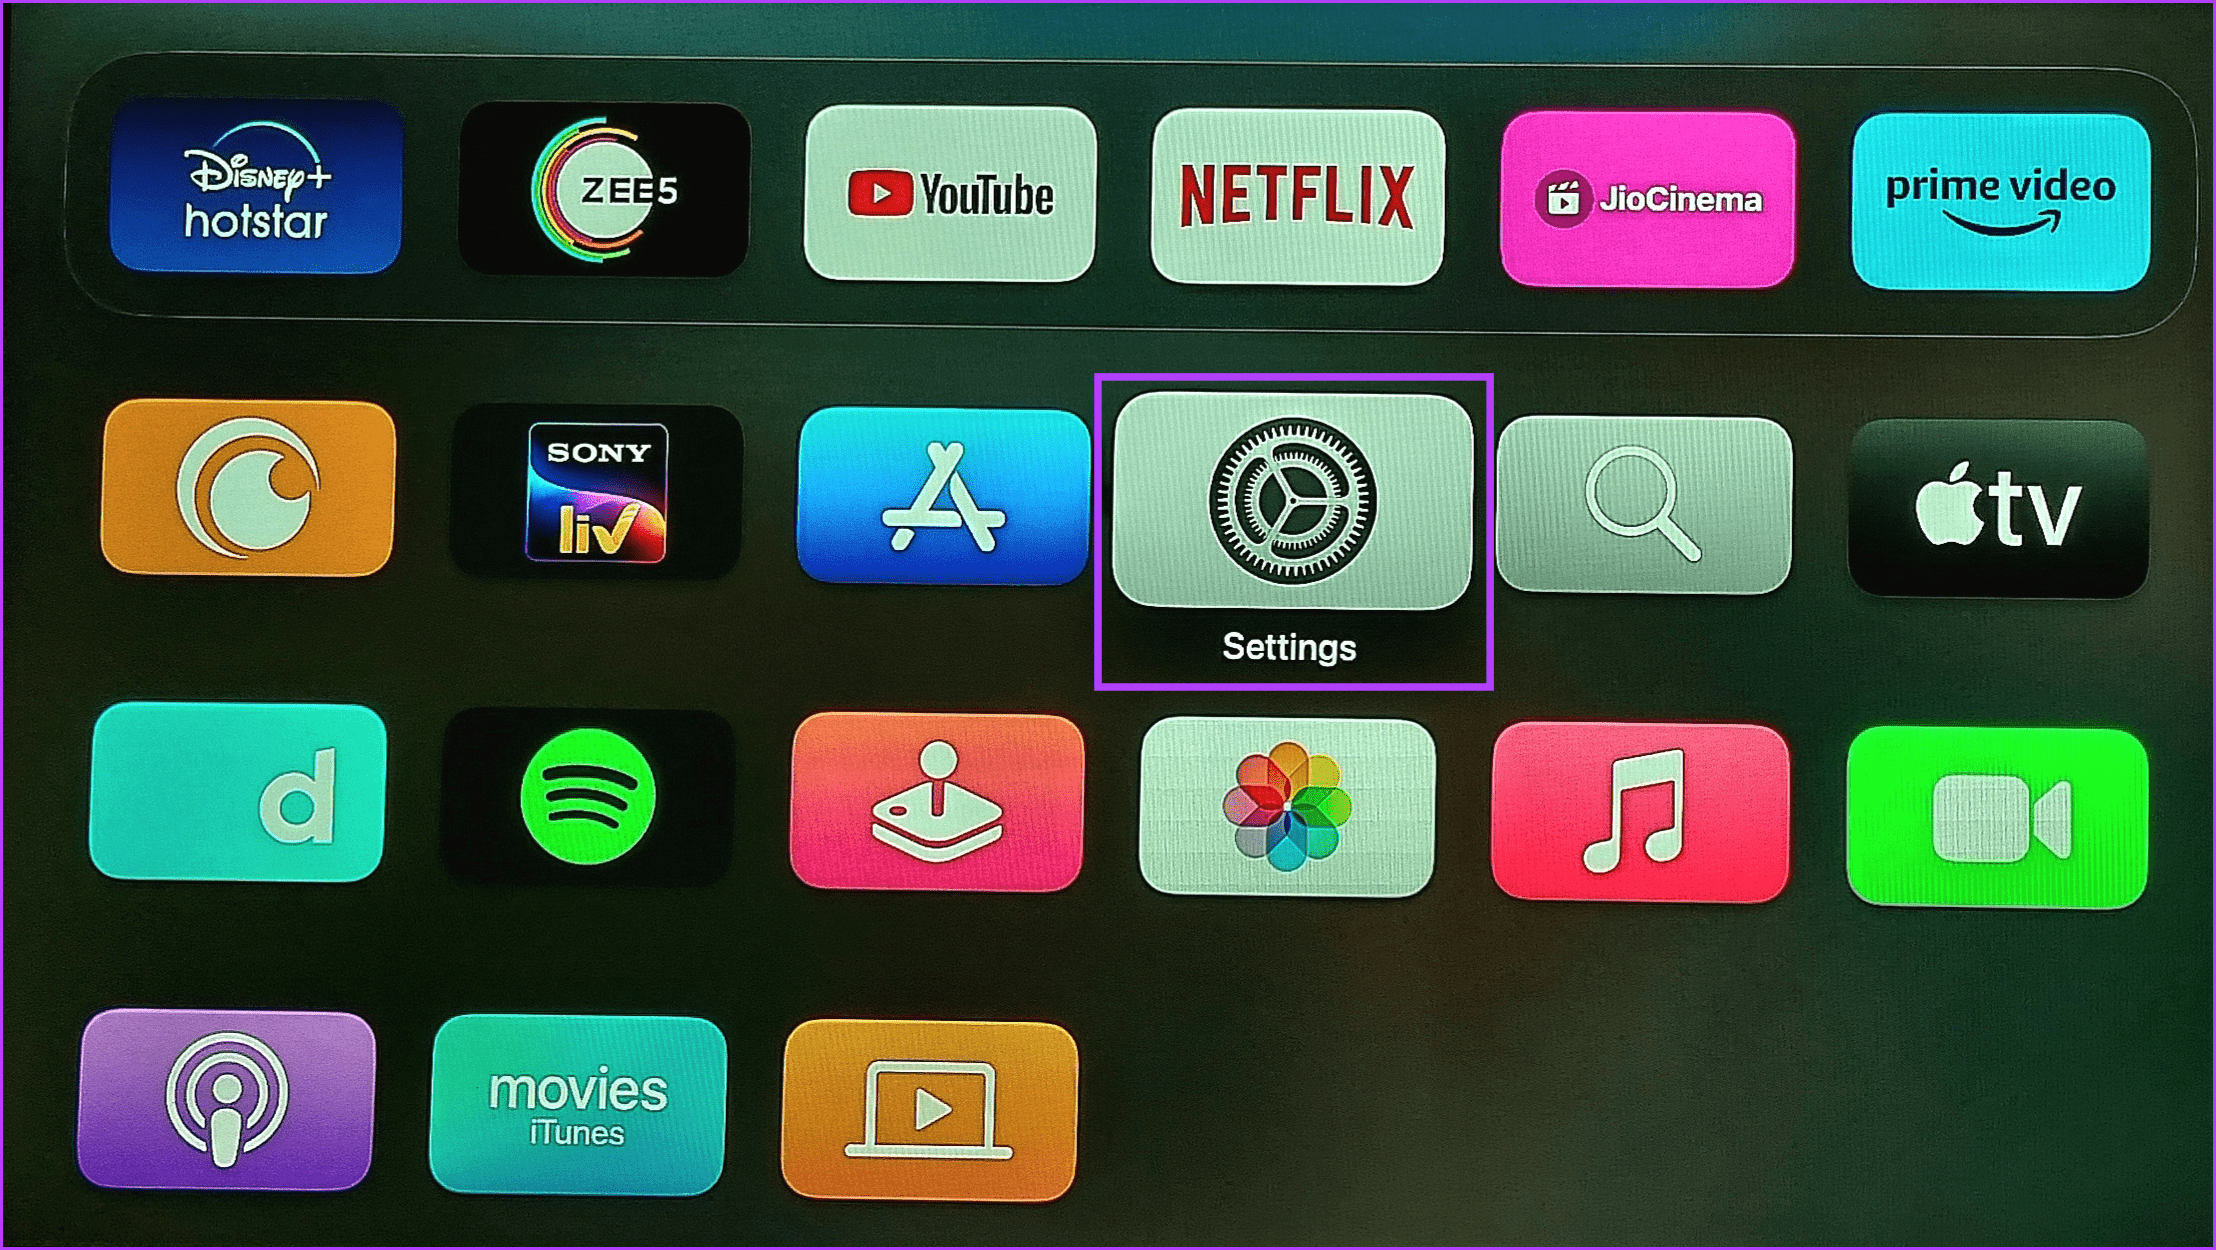
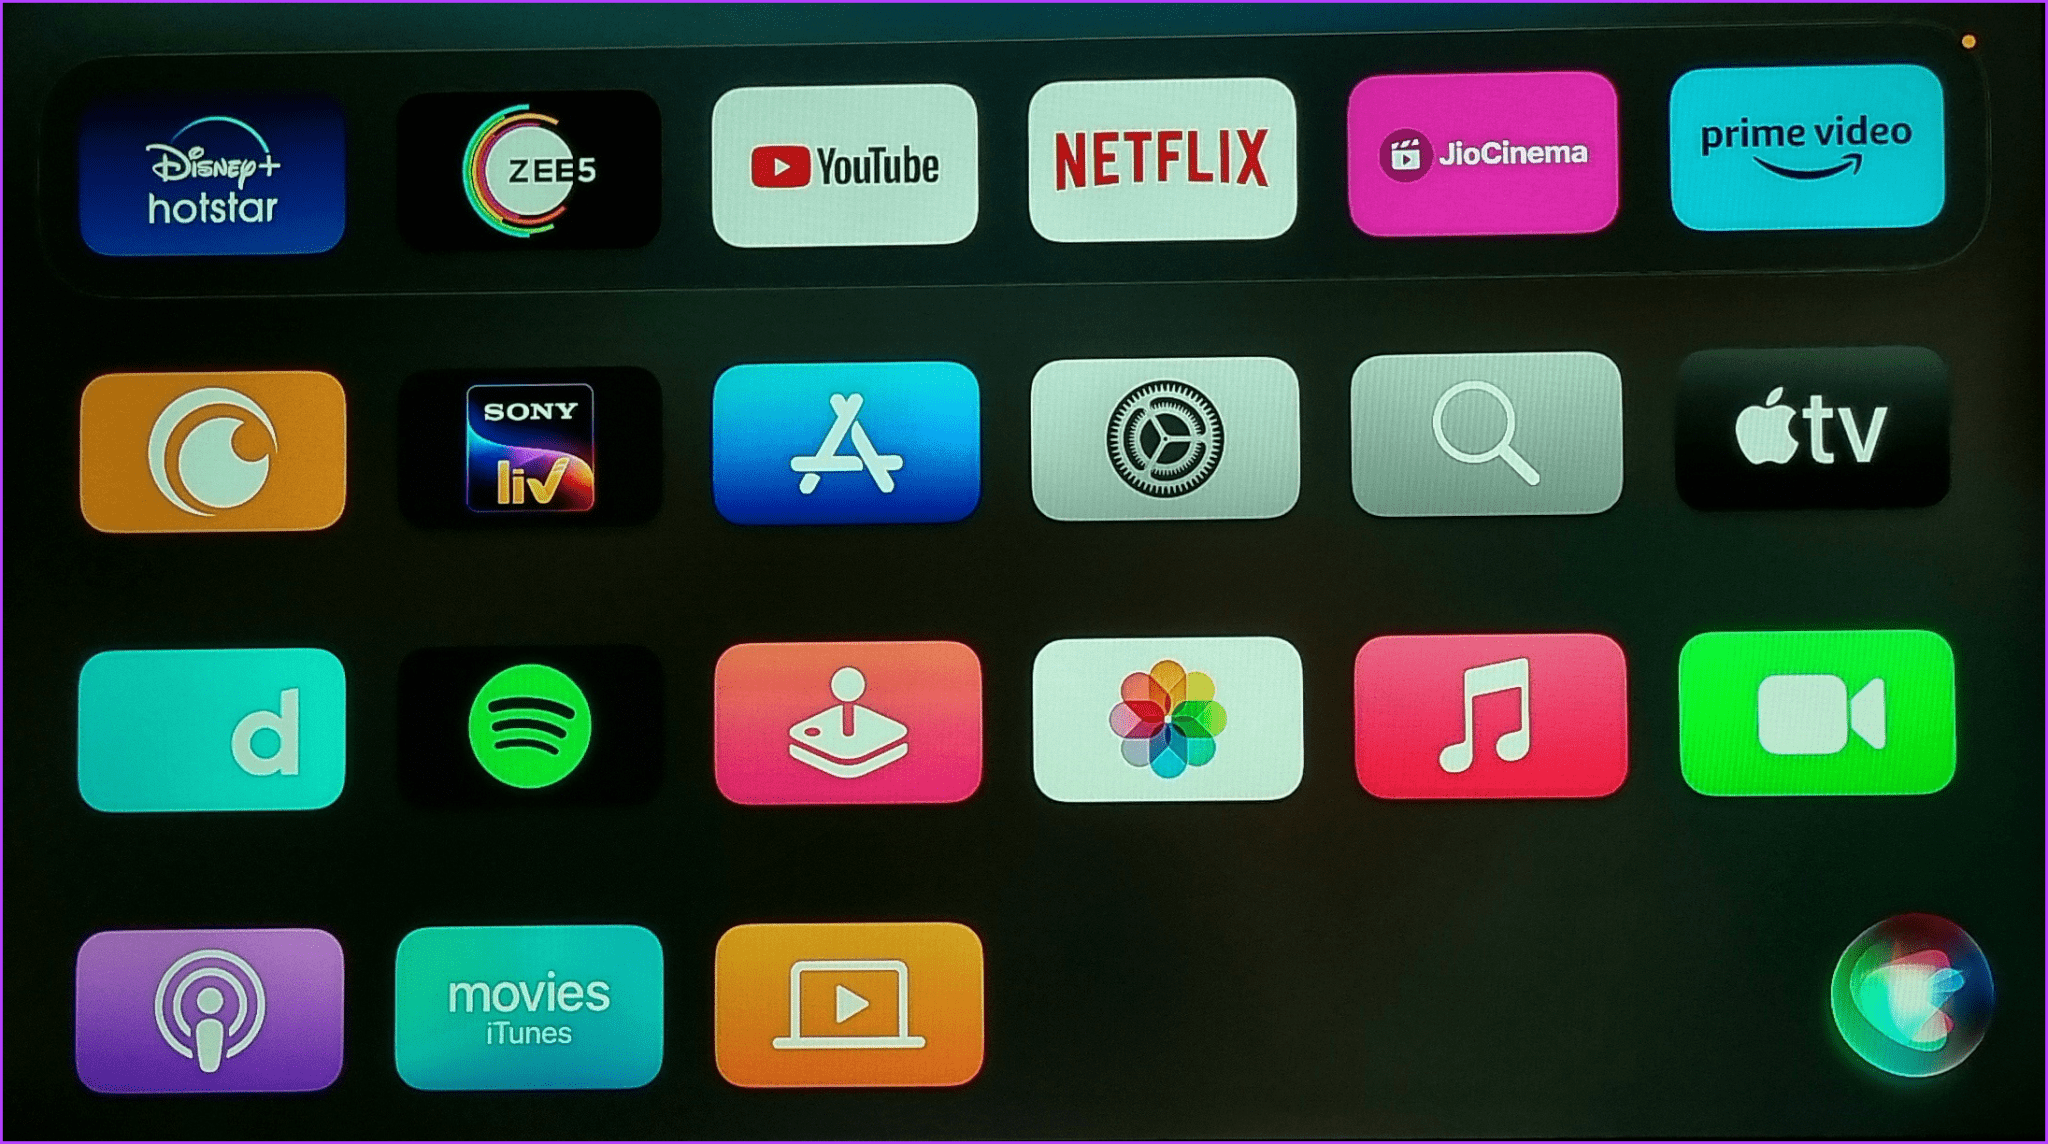
Step 1: From the home page, select Settings.
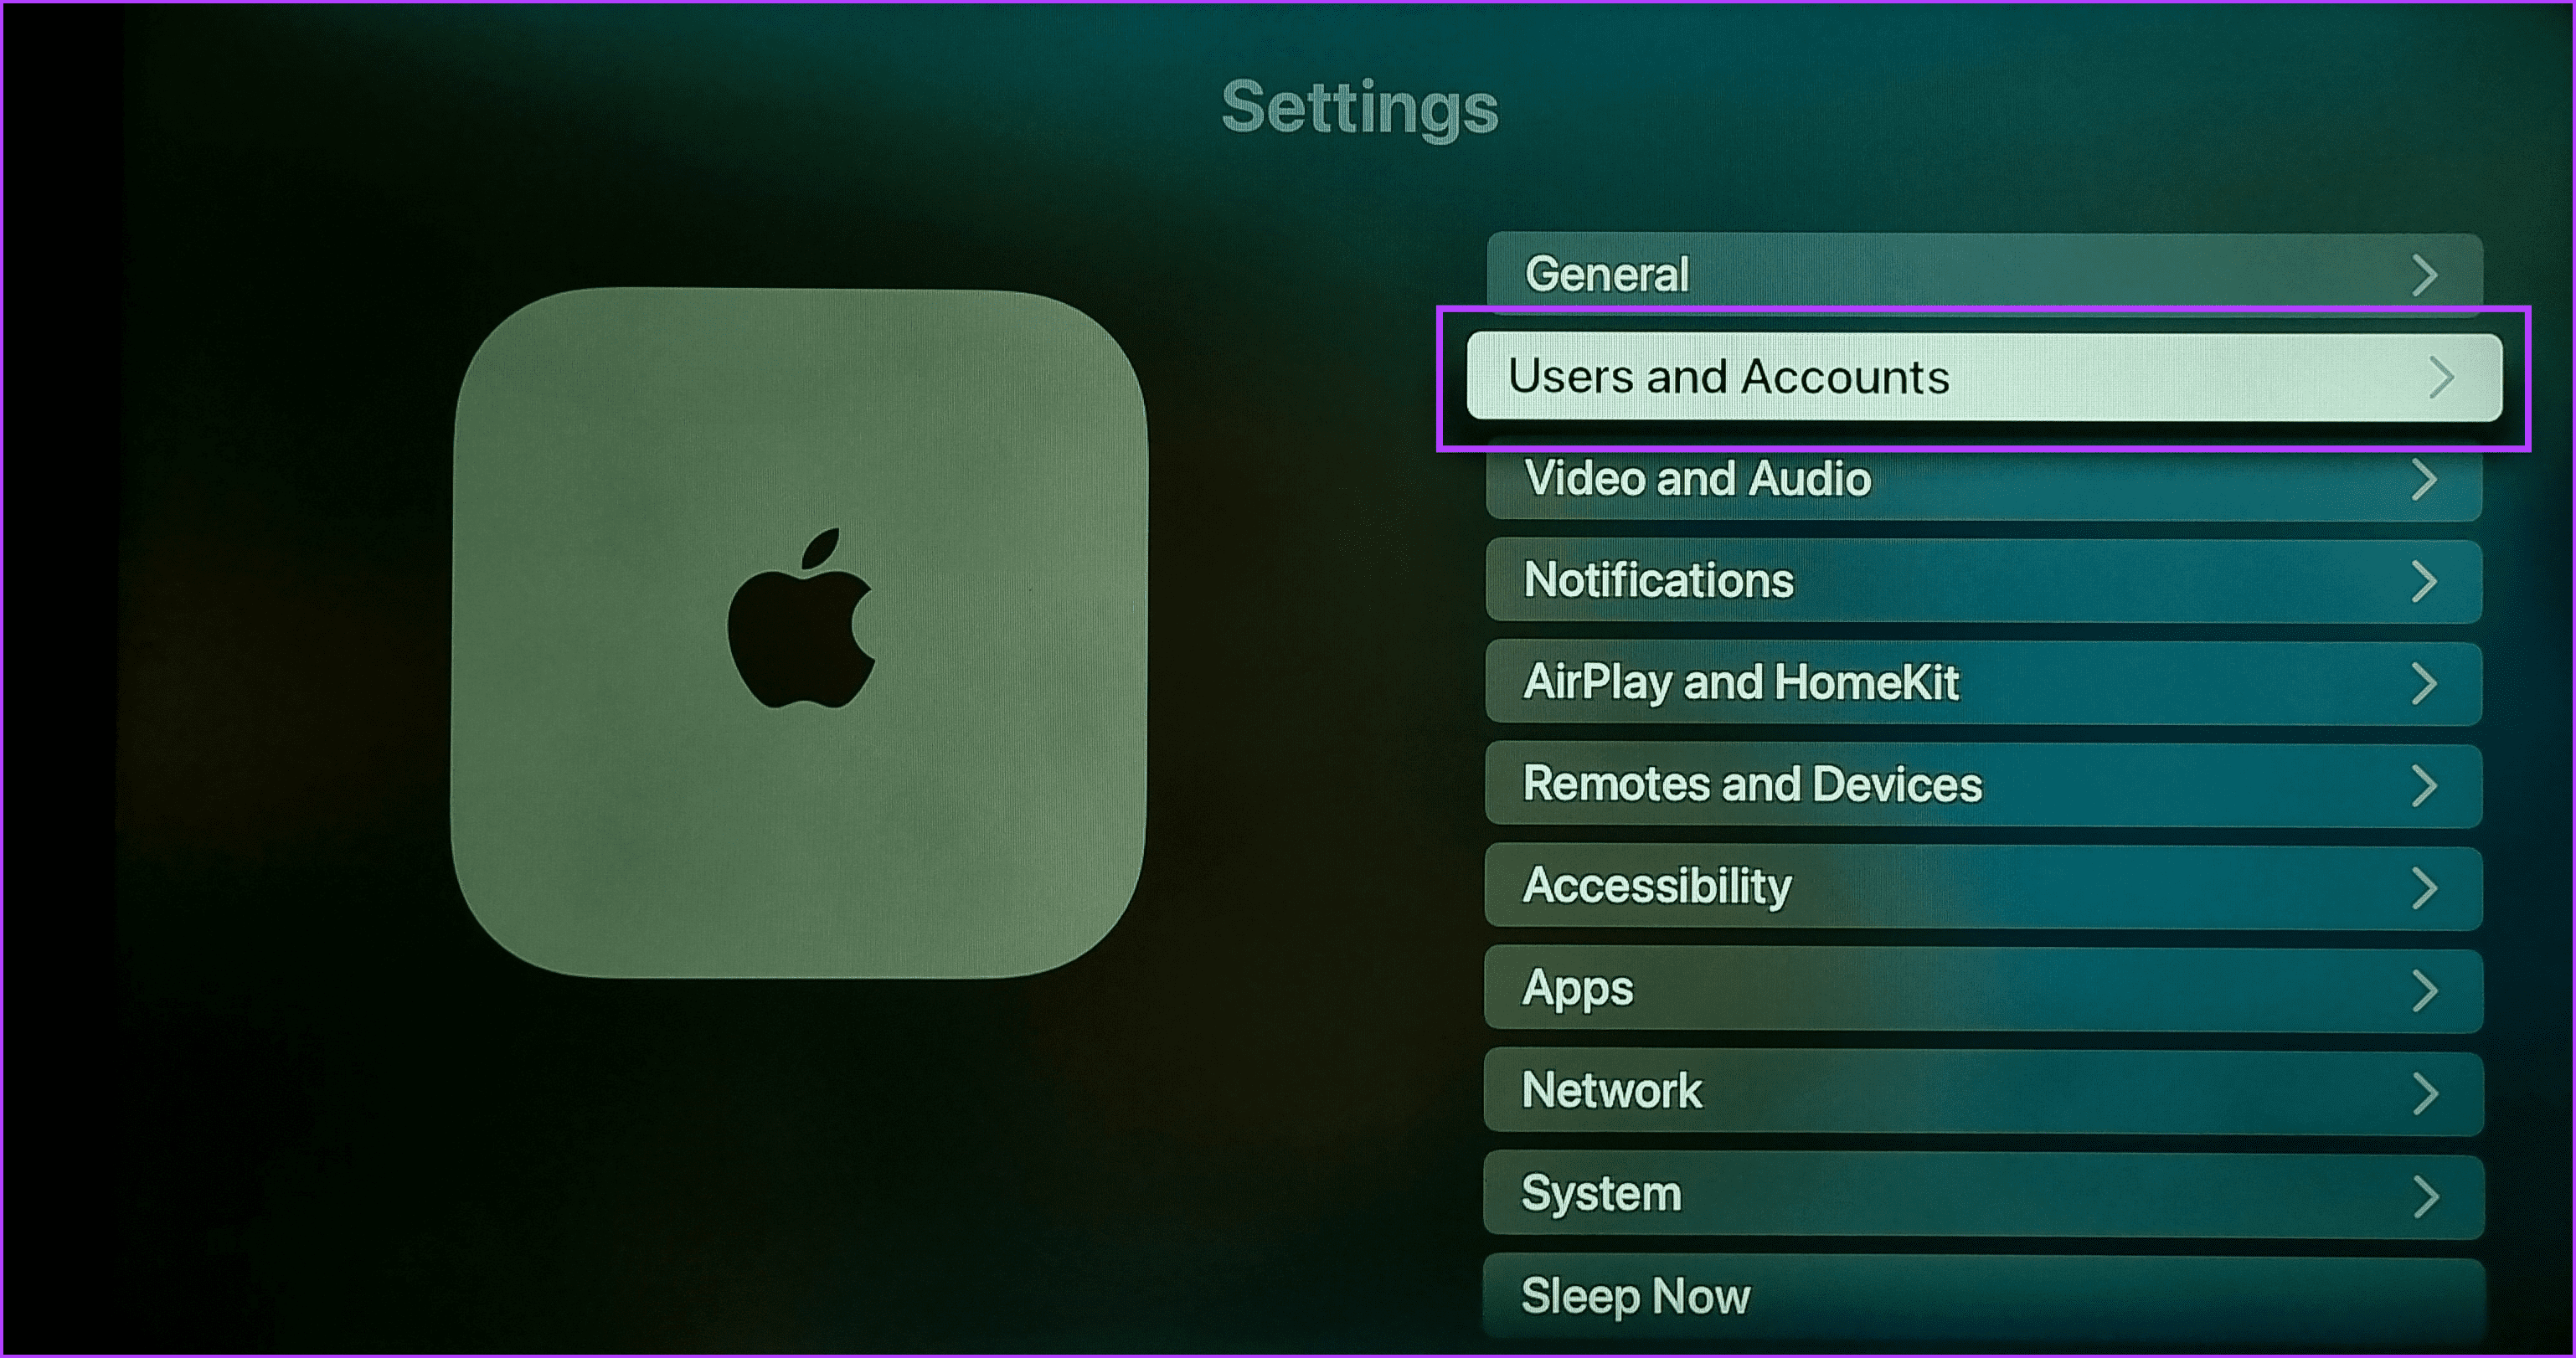
Step 2: Here, select Users and Accounts.
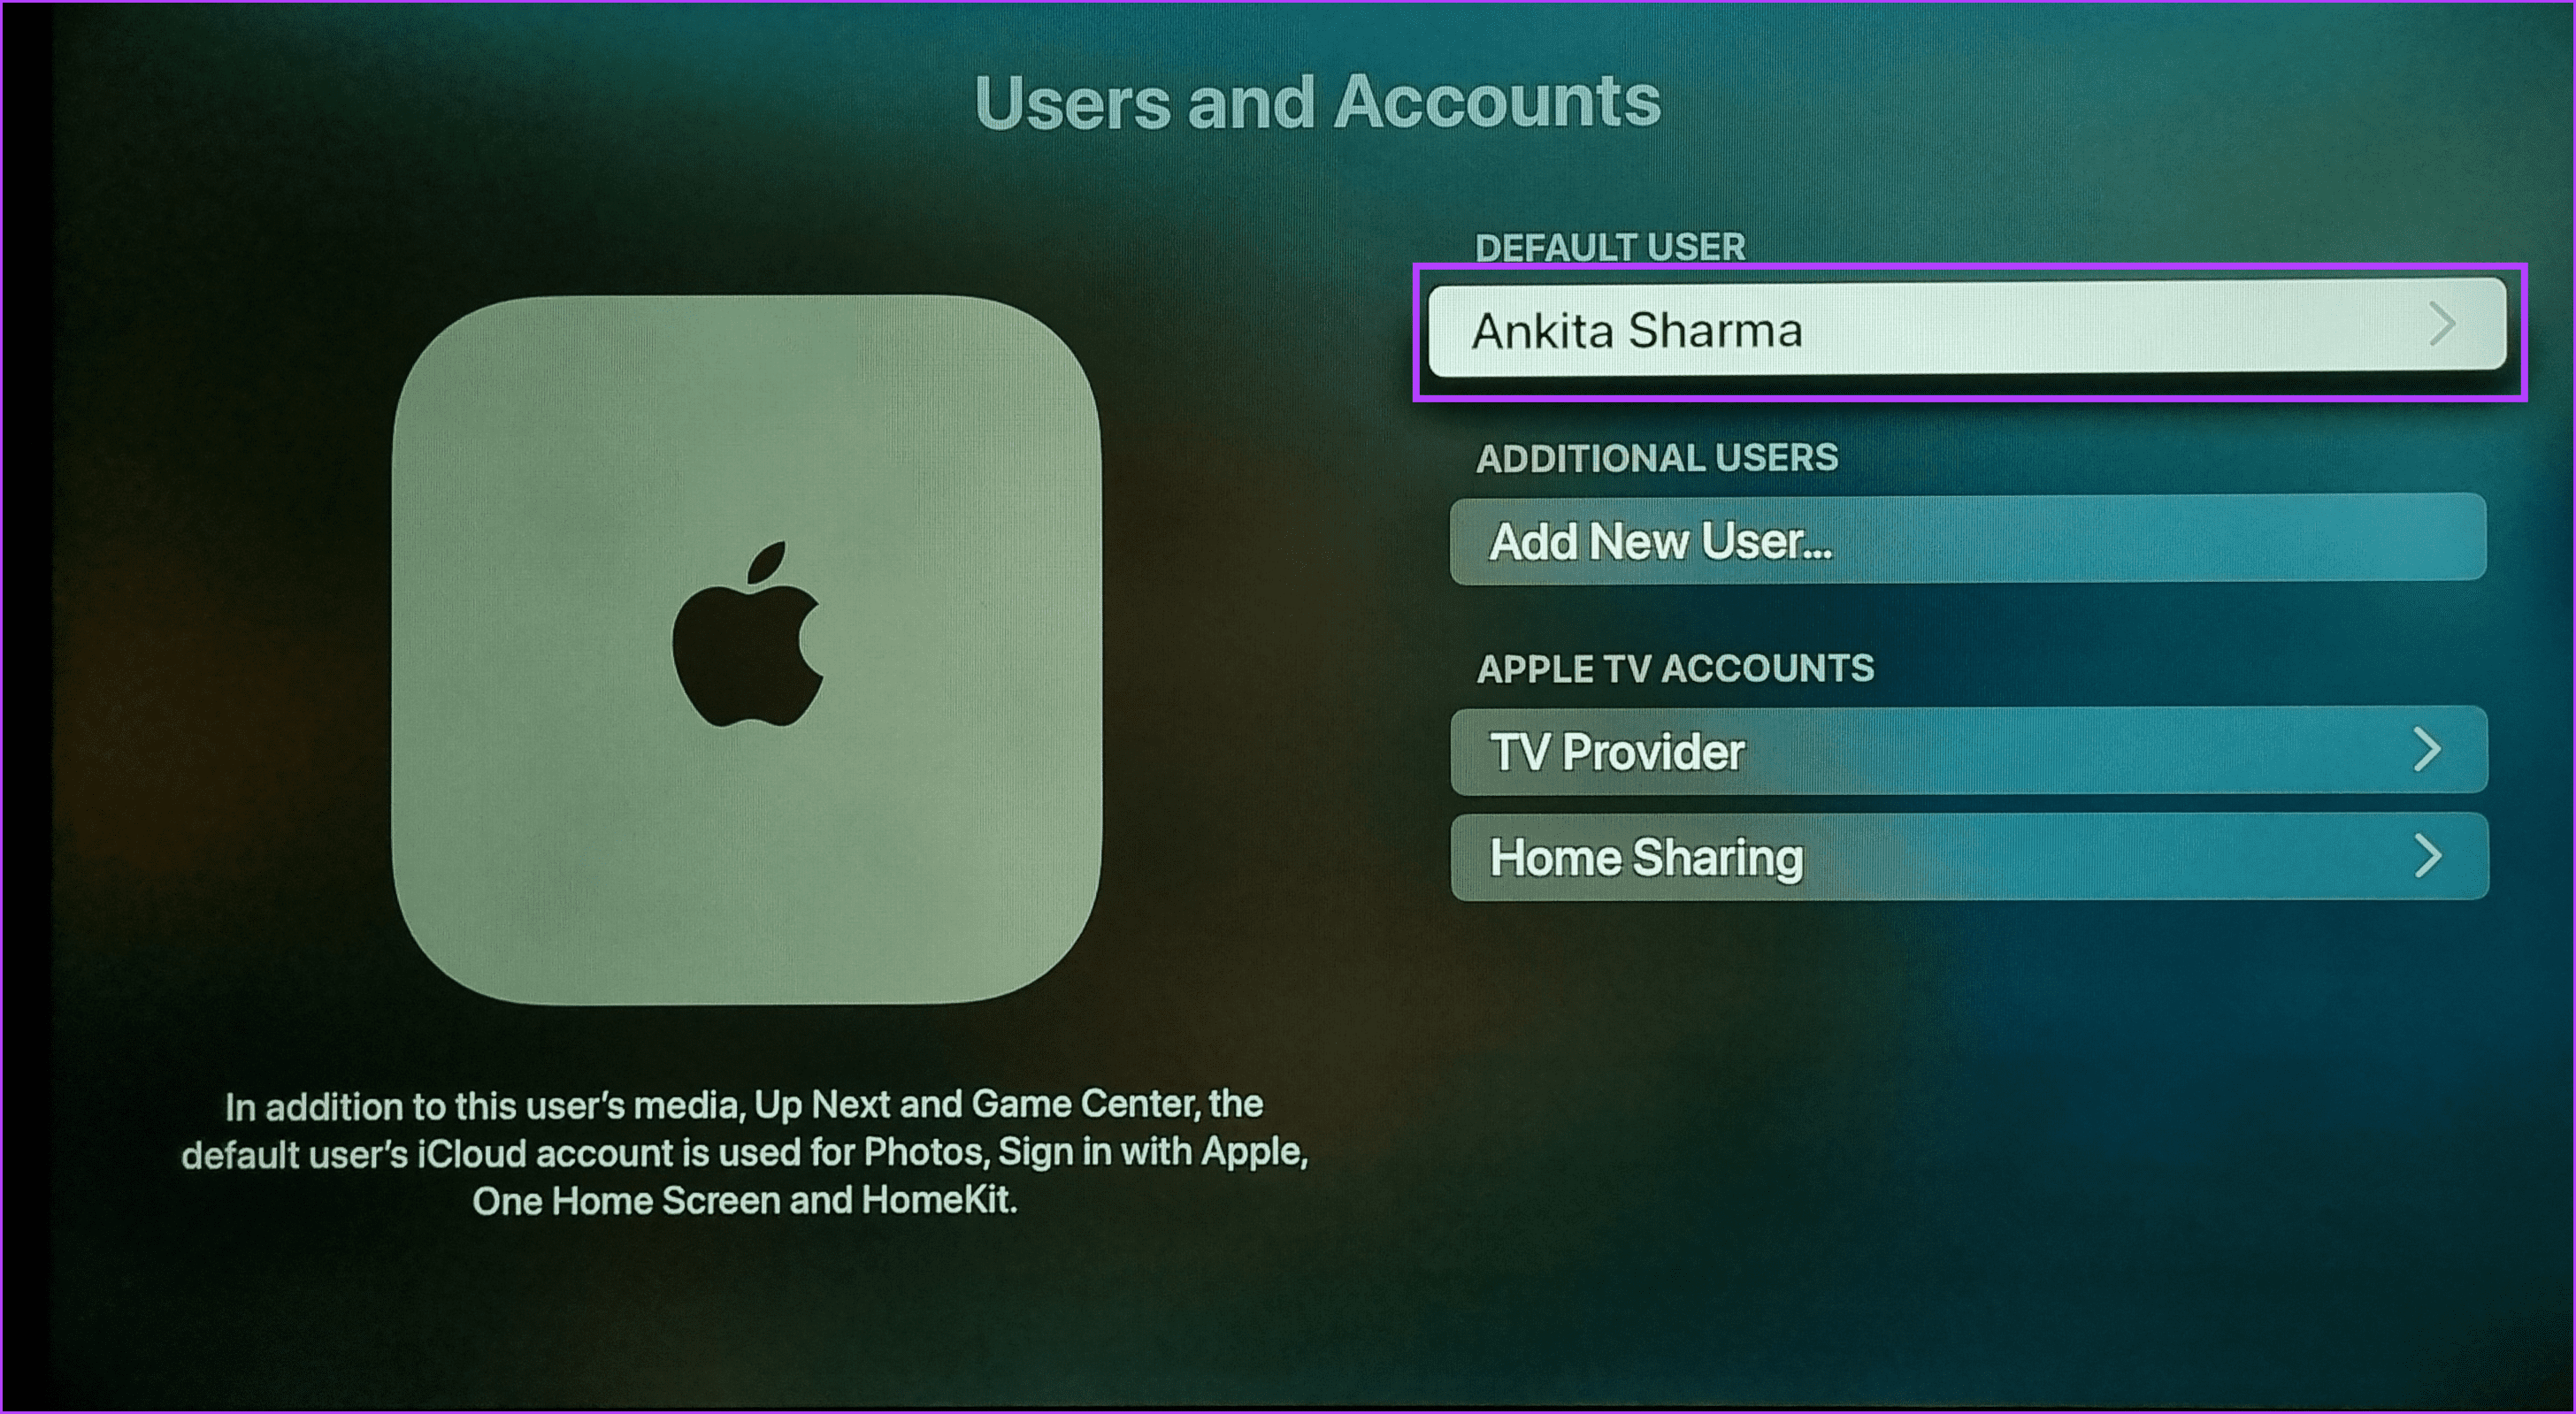
Step 3: Then, select the relevant user.
Step 4: Scroll down and select the Share with You option.
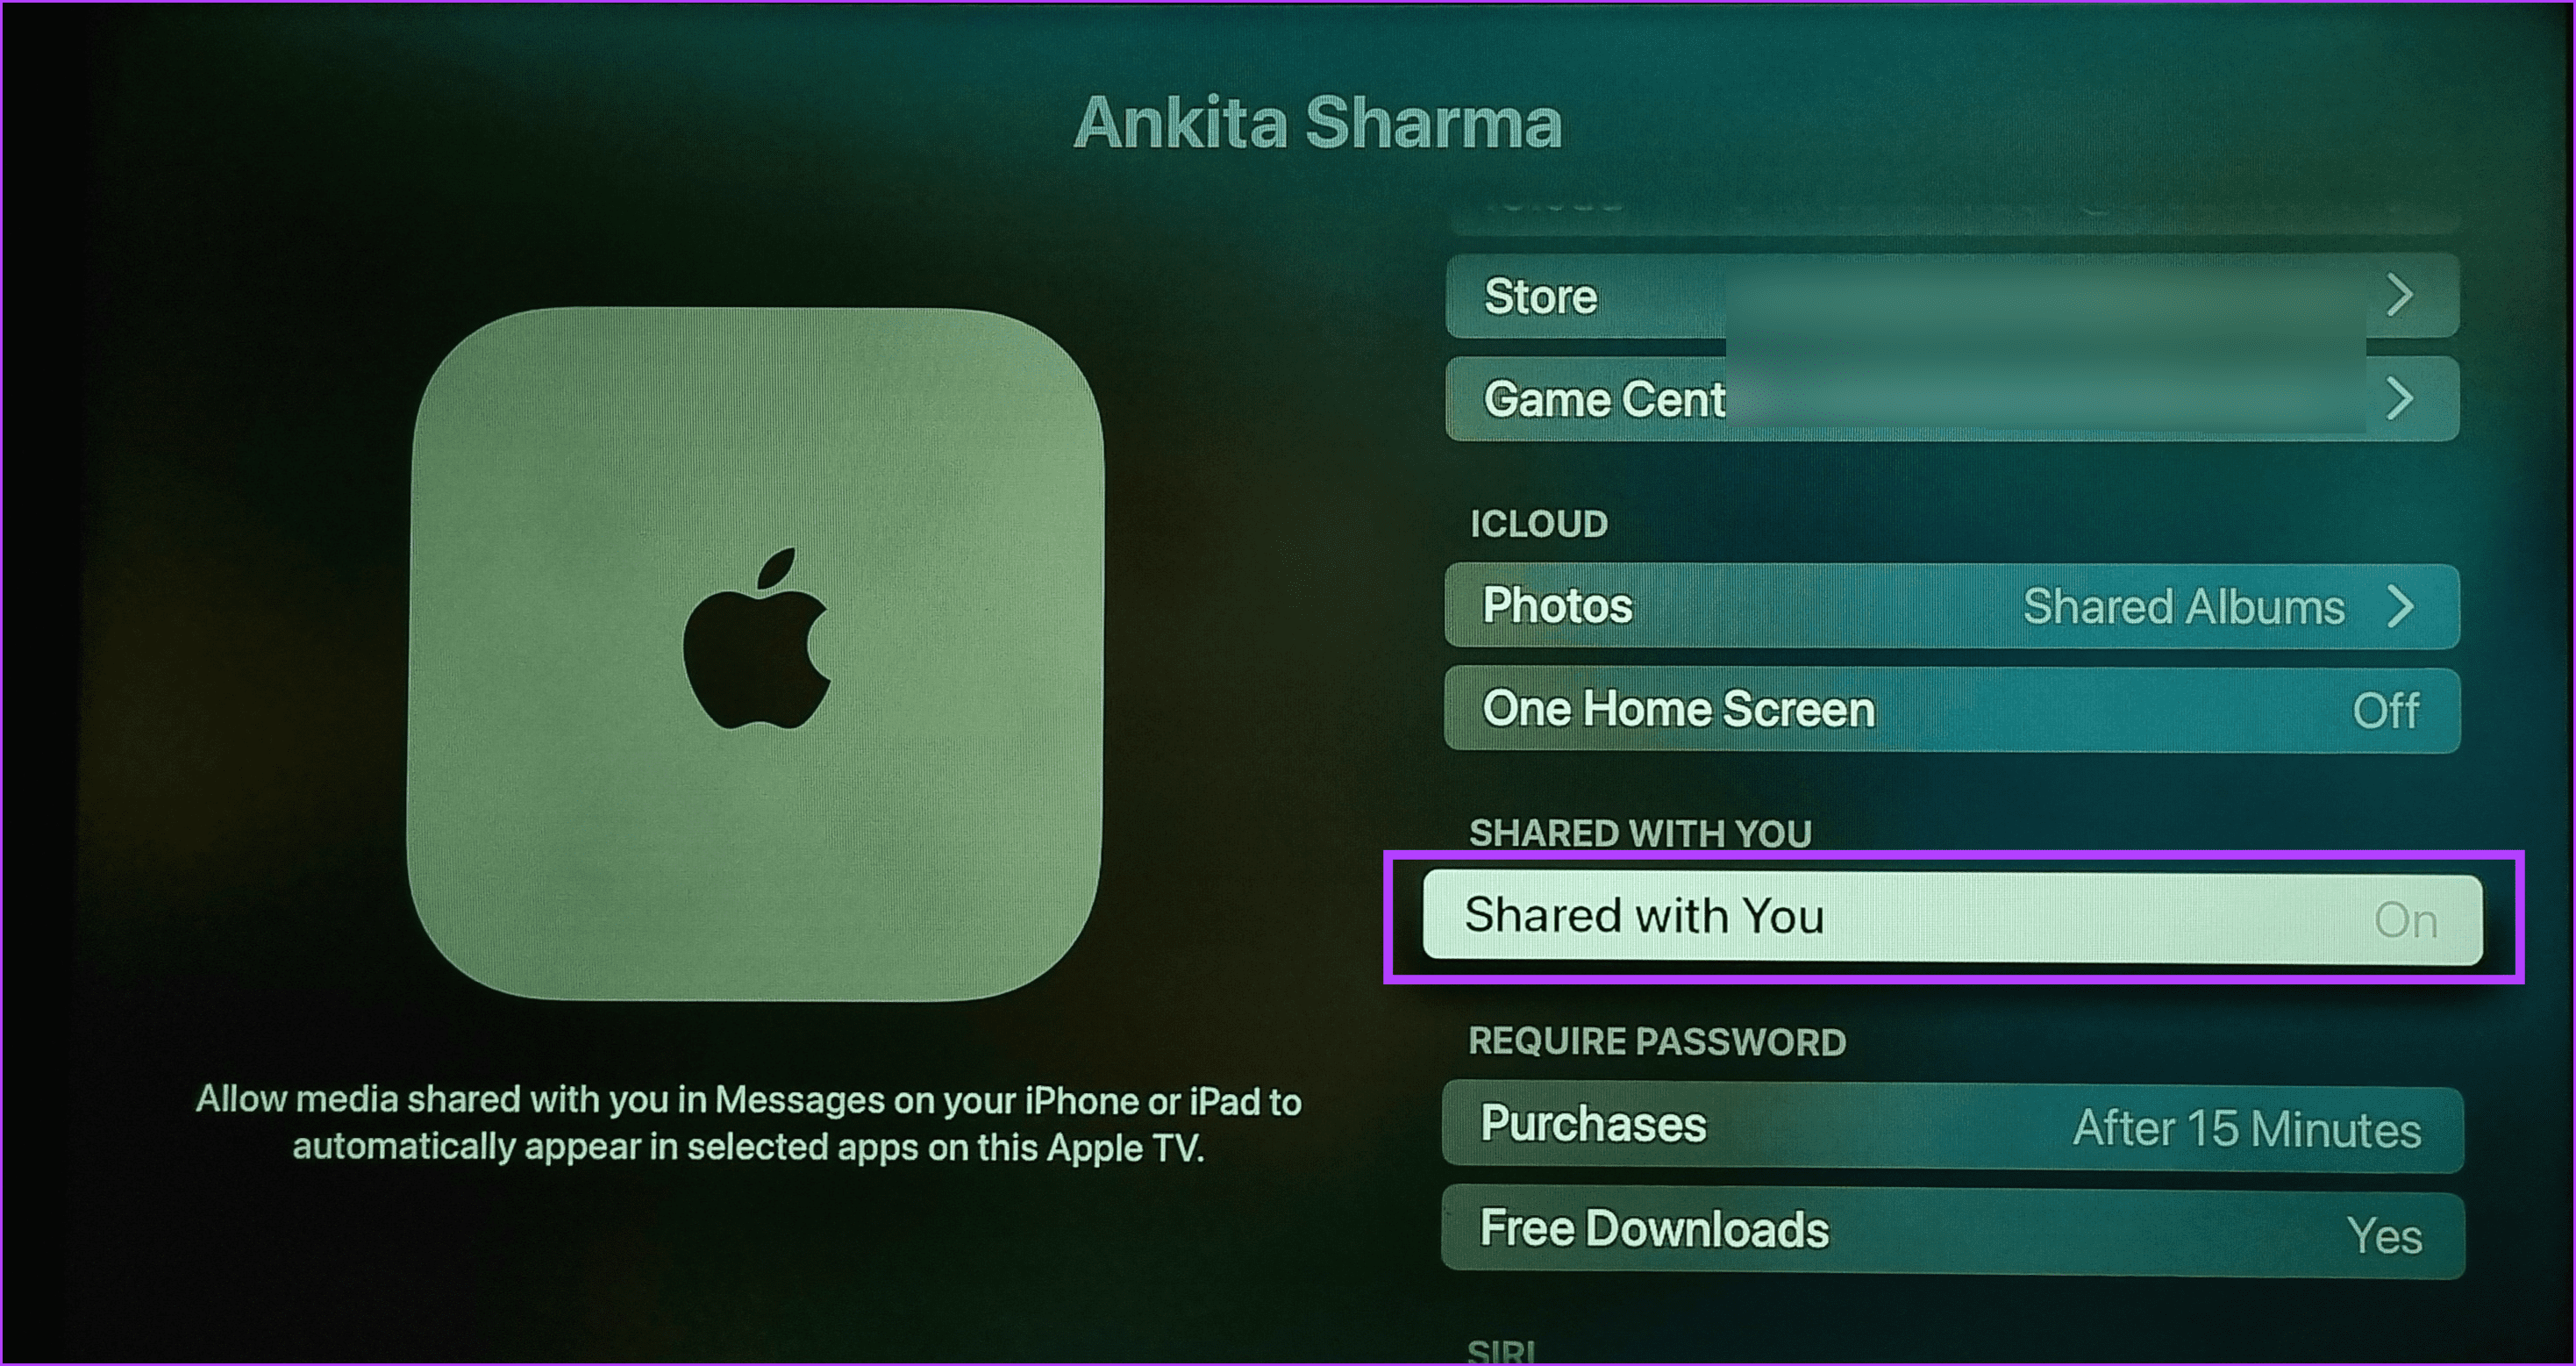
Wait for it to go from On to Off. Once done, it should disable SharePlay on your Apple TV device.
2. Using Siri
Step 1: Press the Siri button on your Apple TV Siri remote.

Step 2: Once Siri appears on the screen, ask Siri to open ‘Share with me settings’.
Once the account settings page opens, follow the above steps to disable SharePlay and stop the SharePlay pop-ups between episodes when watching something on your Apple TV.
How to Disable SharePlay on Your iPhone or Mac to Stop It From Connecting
If you have previously connected to a device, you might be prompted or automatically connected to it on your Apple TV, especially if you use the SharePlay feature. So, if Apple TV keeps asking for SharePlay, especially when on a Facetime call, you can disable SharePlay on your respective device. Here’s how:
On iPhone
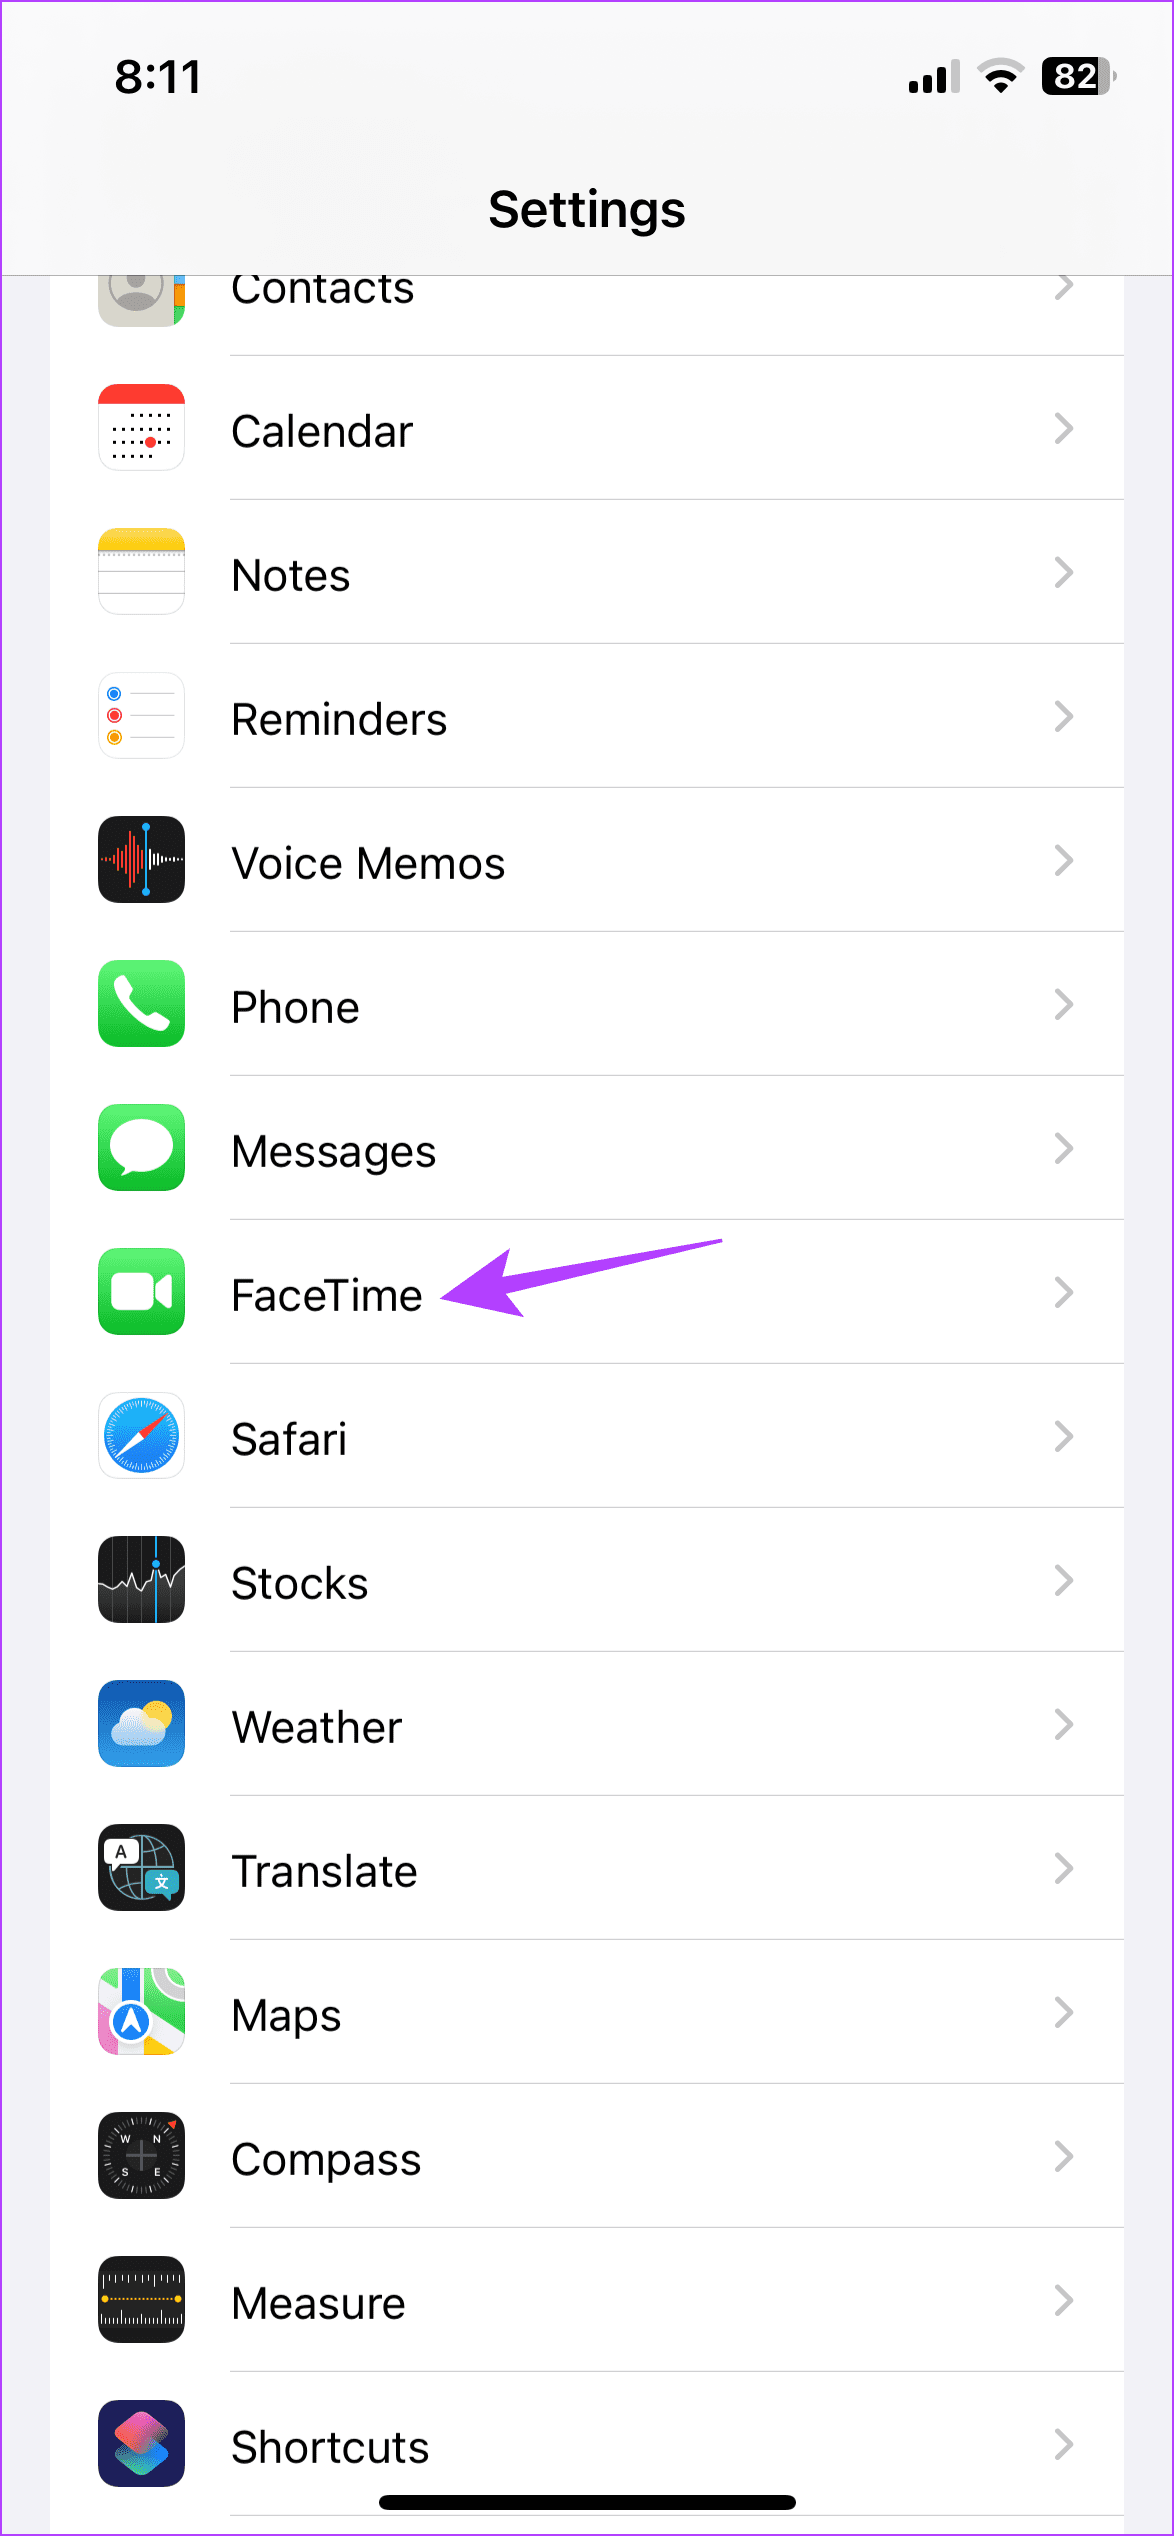
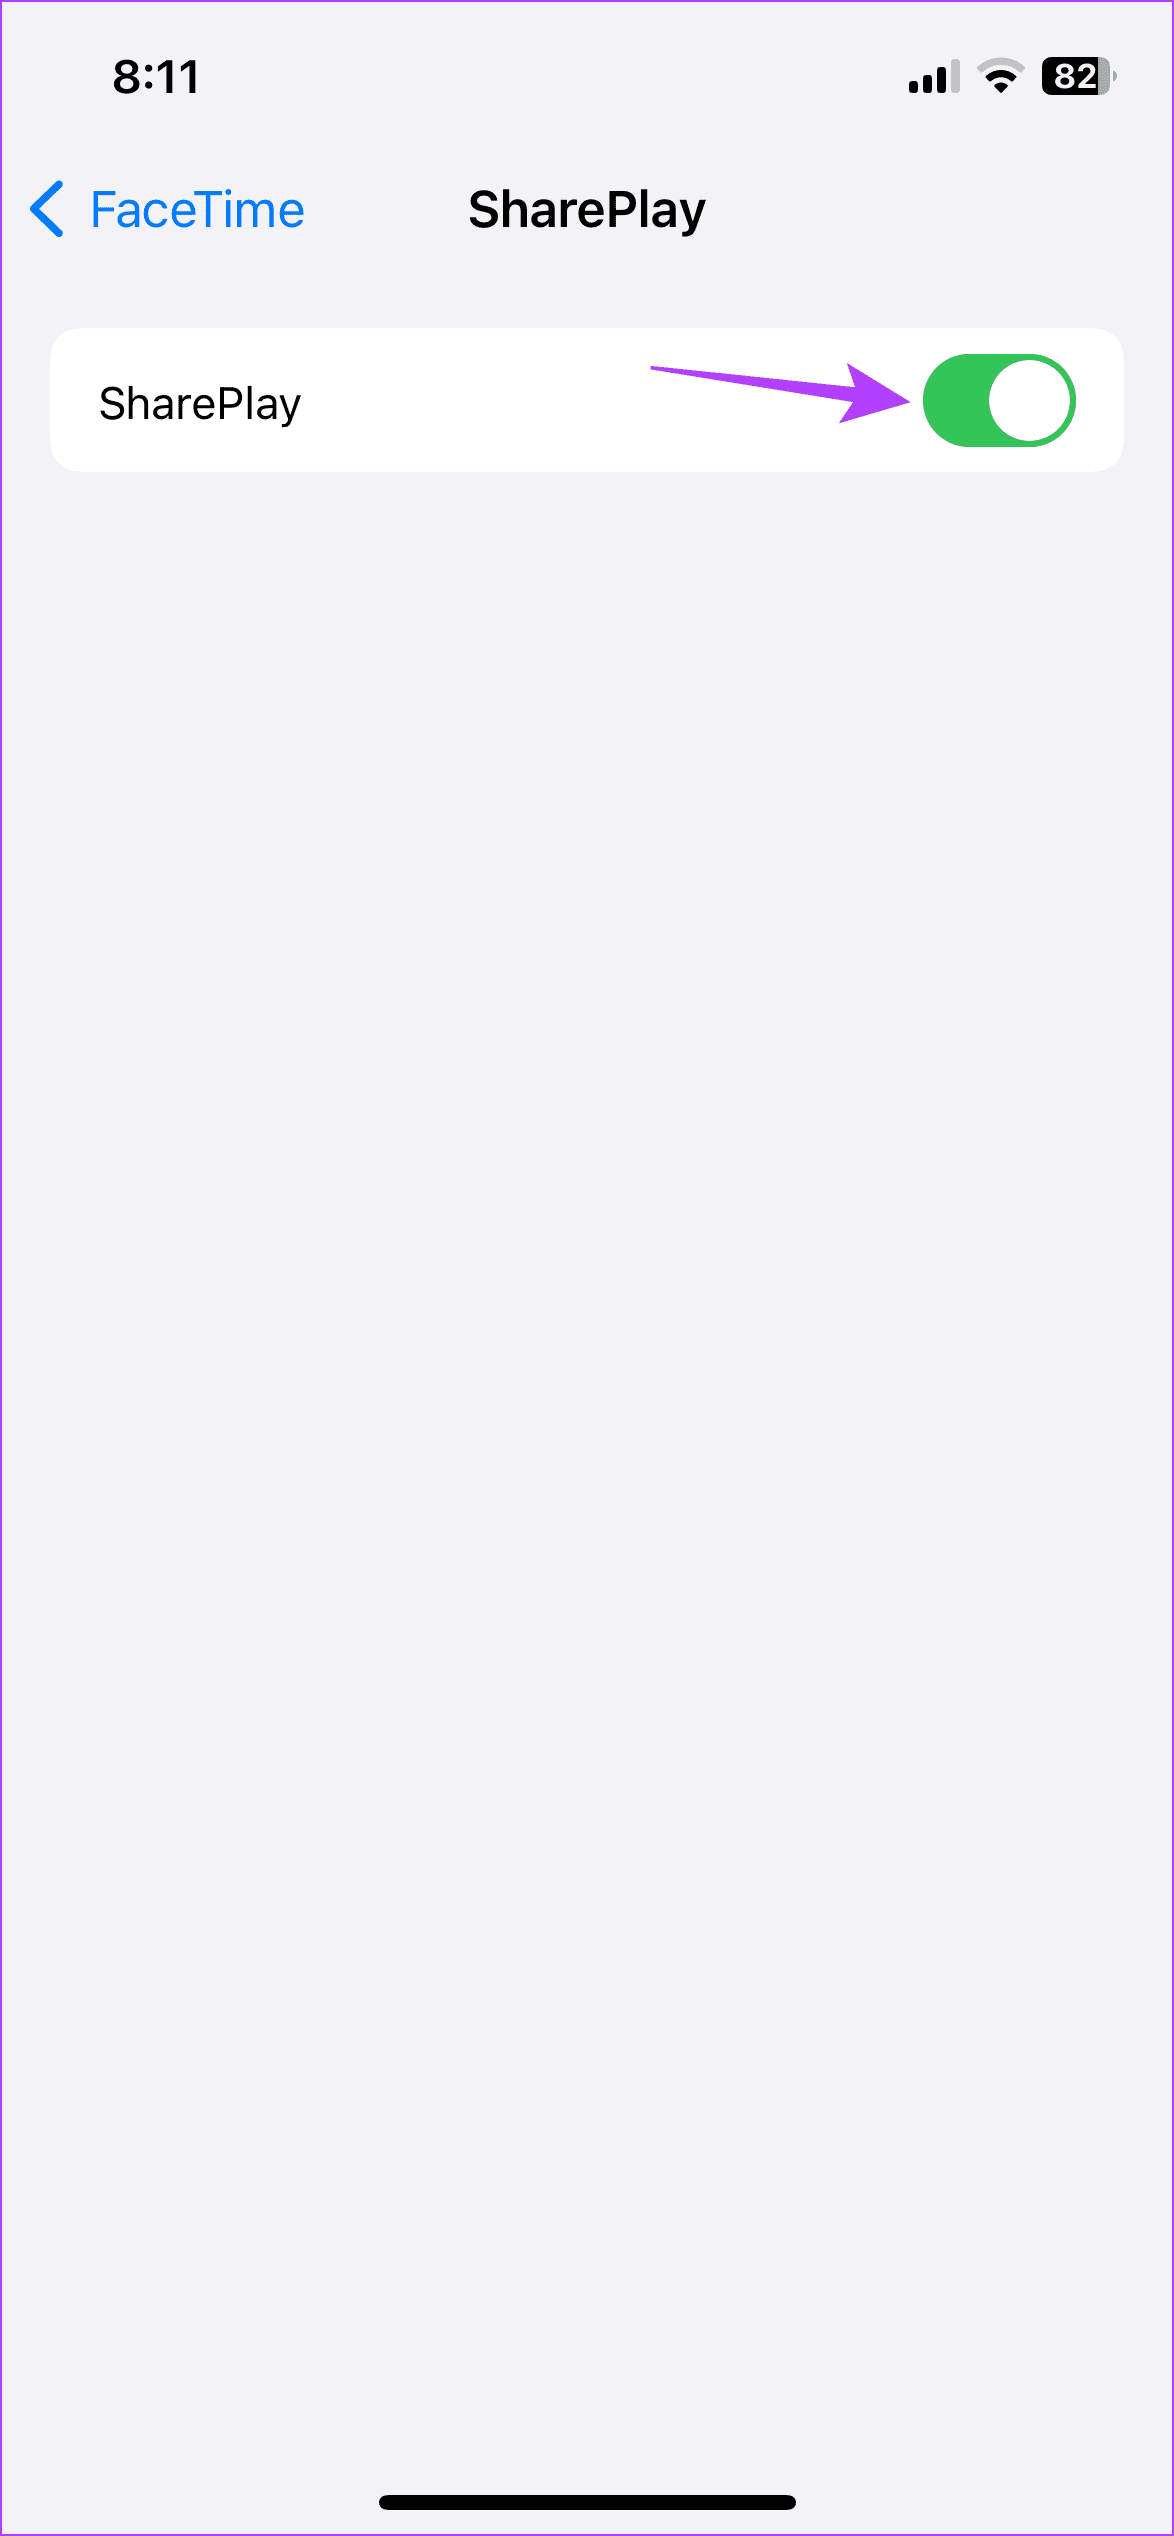
Step 1: Open the Settings app and tap on FaceTime.
Step 2: Here, tap on SharePlay.
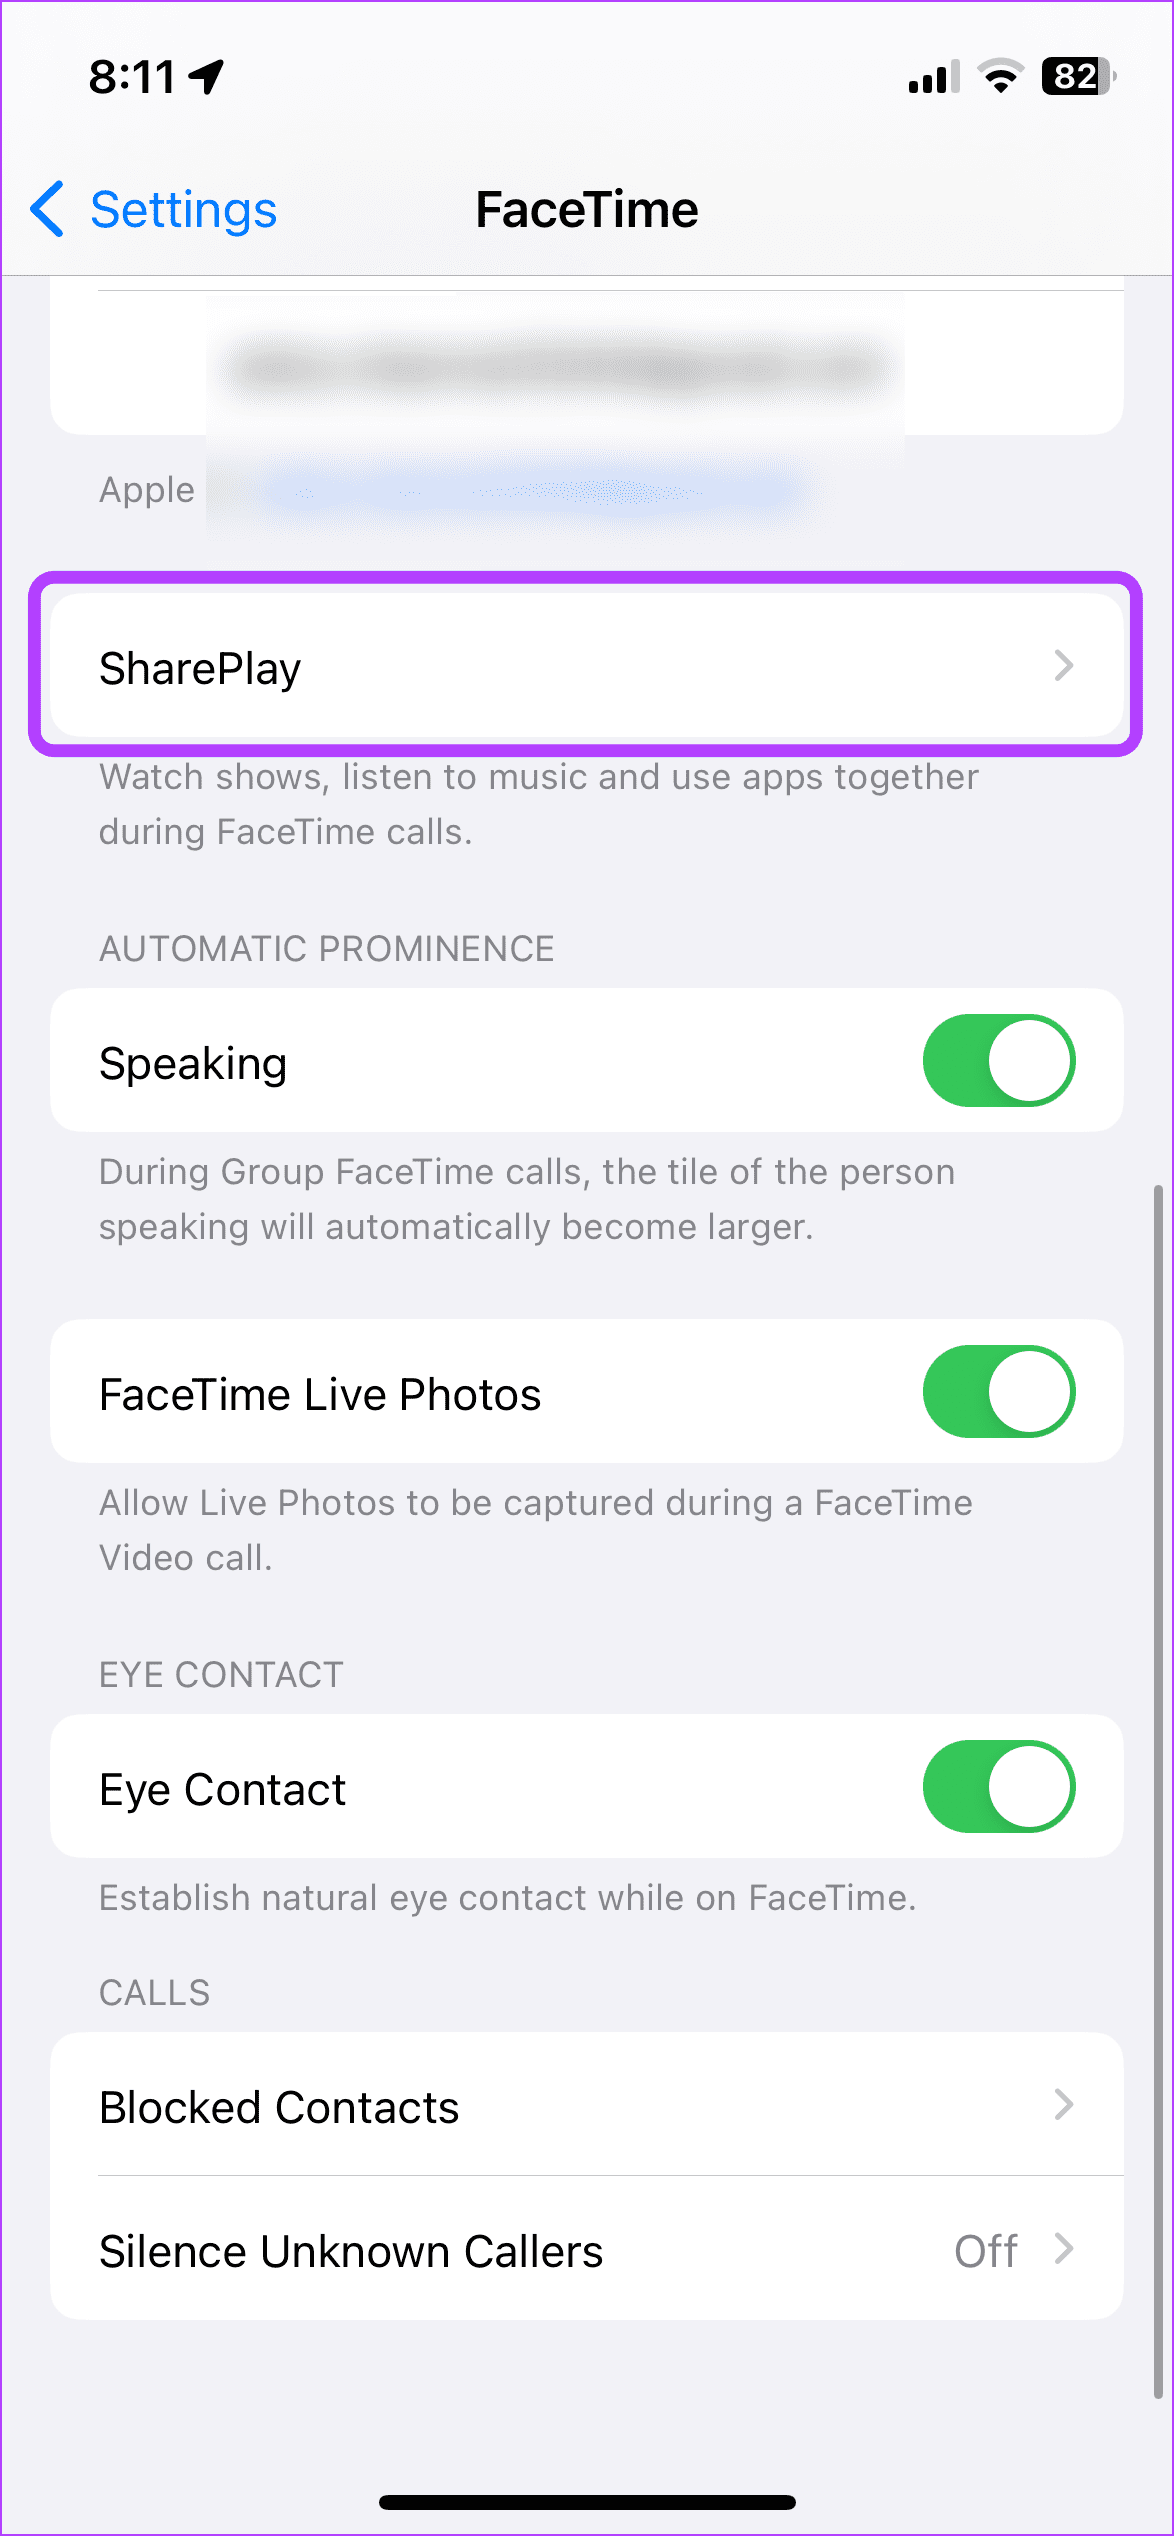
Step 3: Then, turn off the toggle for SharePlay.
On Mac
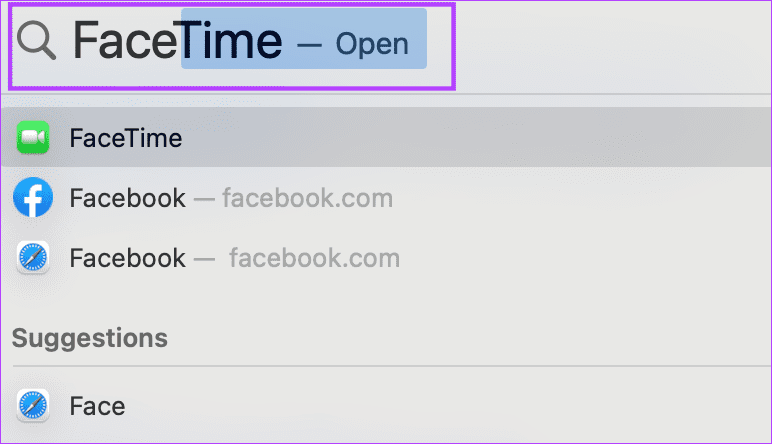
Step 1: Press Cmd + Spacebar to open Spotlight Search.
Step 2: Here, search for and open FaceTime.
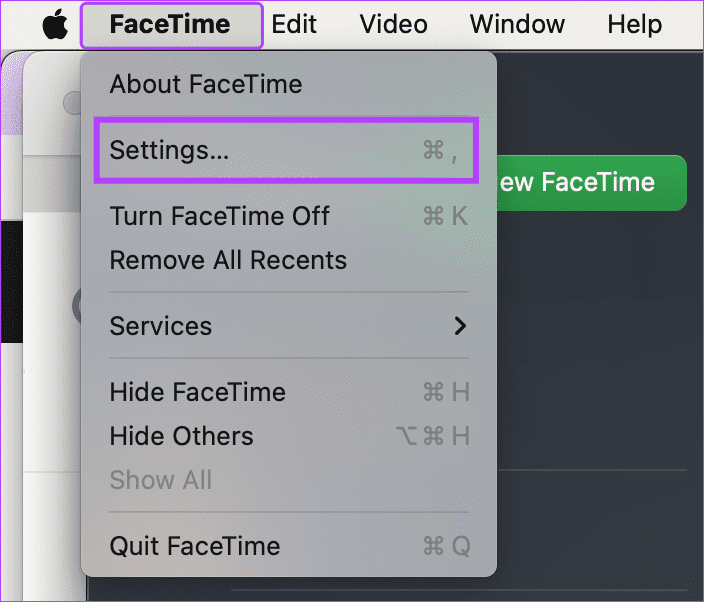
Step 3: Then, go to the menu bar and click on FaceTime. Once the options appear, click on Settings.
Step 4: Here, click on SharePlay from the menu options.
Step 5: Then, uncheck the SharePlay option.
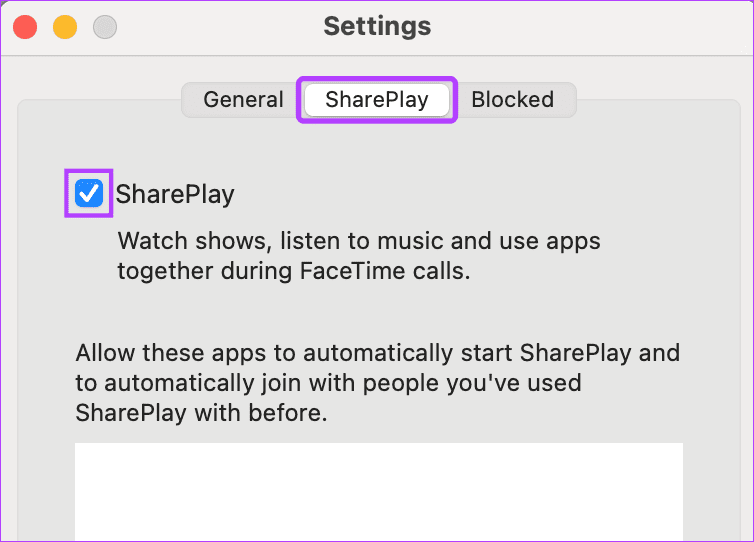
This will instantly disable SharePlay on your Mac. Please note that if you wish to share your screen on FaceTime, you must follow the above steps and turn on the SharePlay option on both devices.
Bonus: How to End SharePlay Session on Apple TV
If you currently have a SharePlay session active on your Apple TV, turn it off without disabling SharePlay as a whole. This will allow you to use SharePlay with another user while ending the current session. Follow the below steps to do it.
Step 1: On your Apple TV remote, long-press the Home button to open the Control Center.

Step 2: Now, select SharePlay from the menu options.
Step 3: Scroll down and select the SharePlay icon.

Step 4: When prompted, select End for Everyone.

This will end the current SharePlay session for everyone active on the call. If you want to leave the current SharePlay session without affecting anyone else, select the ‘End Only for Me’ option when prompted.
FAQs for Disabling SharePlay on Your Apple TV
Yes. The Remote app on your iPhone can be used as a substitute for your Apple TV’s remote. Using this, you can access the Settings app and turn off SharePlay.
If SharePlay is on after turning it off, restart your Apple TV. Additionally, ensure your Apple TV’s software is up-to-date. If the issue persists, consider resetting your Apple TV. This will delete any setting that might turn SharePlay on without being prompted.
Stop SharePlay on Your Apple TV
While the ability to use SharePlay on your Apple TV is helpful, the constant pop-ups can become annoying. So, we hope this article helped you turn off SharePlay on your Apple TV to stop that from happening. You can also check our article to customize the subtitle’s appearance on your Apple TV.
Was this helpful?
Last updated on 16 February, 2024
Read Next
 How to Turn Off Read Receipts for Apple Watch Only
How Does Apple Watch Mark Texts as Read?
How to Turn Off Read Receipts for Apple Watch Only
How Does Apple Watch Mark Texts as Read?
 How to Turn Off Incoming Calls on Apple CarPlay
Apple CarPlay and Android Auto are extremely helpful in assisting with navigation and music when driving.
How to Turn Off Incoming Calls on Apple CarPlay
Apple CarPlay and Android Auto are extremely helpful in assisting with navigation and music when driving.
 3 Ways to Turn Off Downtime on Apple Watch
What Is Downtime on the iPhone and Apple Watch Downtime is a screen time restriction for your Apple devices, disabling all applications when enabled.
3 Ways to Turn Off Downtime on Apple Watch
What Is Downtime on the iPhone and Apple Watch Downtime is a screen time restriction for your Apple devices, disabling all applications when enabled.
 How to Turn Off Apple TV With or Without a Remote
Apple TV is slowly becoming a fan favorite, especially for those who are already a part of the Apple ecosystem.
How to Turn Off Apple TV With or Without a Remote
Apple TV is slowly becoming a fan favorite, especially for those who are already a part of the Apple ecosystem.
 How to Allow or Turn off Explicit Content on Apple Music
Enable or Disable Explicit Songs on Apple Music On iPhone The content restrictions module controls Apple Music's explicit content, which now resides inside the Screen Time setting.
How to Allow or Turn off Explicit Content on Apple Music
Enable or Disable Explicit Songs on Apple Music On iPhone The content restrictions module controls Apple Music's explicit content, which now resides inside the Screen Time setting.
 5 Ways to Turn off Dark Mode on iPhone and iPad
Basic Ways: Disable shortcuts: You can also look in the Apple Shortcuts app and see if any shortcut is set to enable Dark Mode on your iPhone.
5 Ways to Turn off Dark Mode on iPhone and iPad
Basic Ways: Disable shortcuts: You can also look in the Apple Shortcuts app and see if any shortcut is set to enable Dark Mode on your iPhone.
 How to Turn on Emergency Bypass on iPhone to Allow Specific Notifications in DND
What is Emergency Bypass on iPhone?
How to Turn on Emergency Bypass on iPhone to Allow Specific Notifications in DND
What is Emergency Bypass on iPhone?
 3 Ways to Fix a Frozen iPhone That Won’t Turn Off
Fix 1: Force Restart iPhone You can force restart your iPhone to fix the issue.
3 Ways to Fix a Frozen iPhone That Won’t Turn Off
Fix 1: Force Restart iPhone You can force restart your iPhone to fix the issue.
The article above may contain affiliate links which help support Guiding Tech. The content remains unbiased and authentic and will never affect our editorial integrity.

