Method 1: Using Adobe Acrobat Pro
Adobe Acrobat is part of the Adobe Creative Suite. Download it on Windows. Once you’ve done so, follow the steps below to reduce the PDF file size in Adobe.
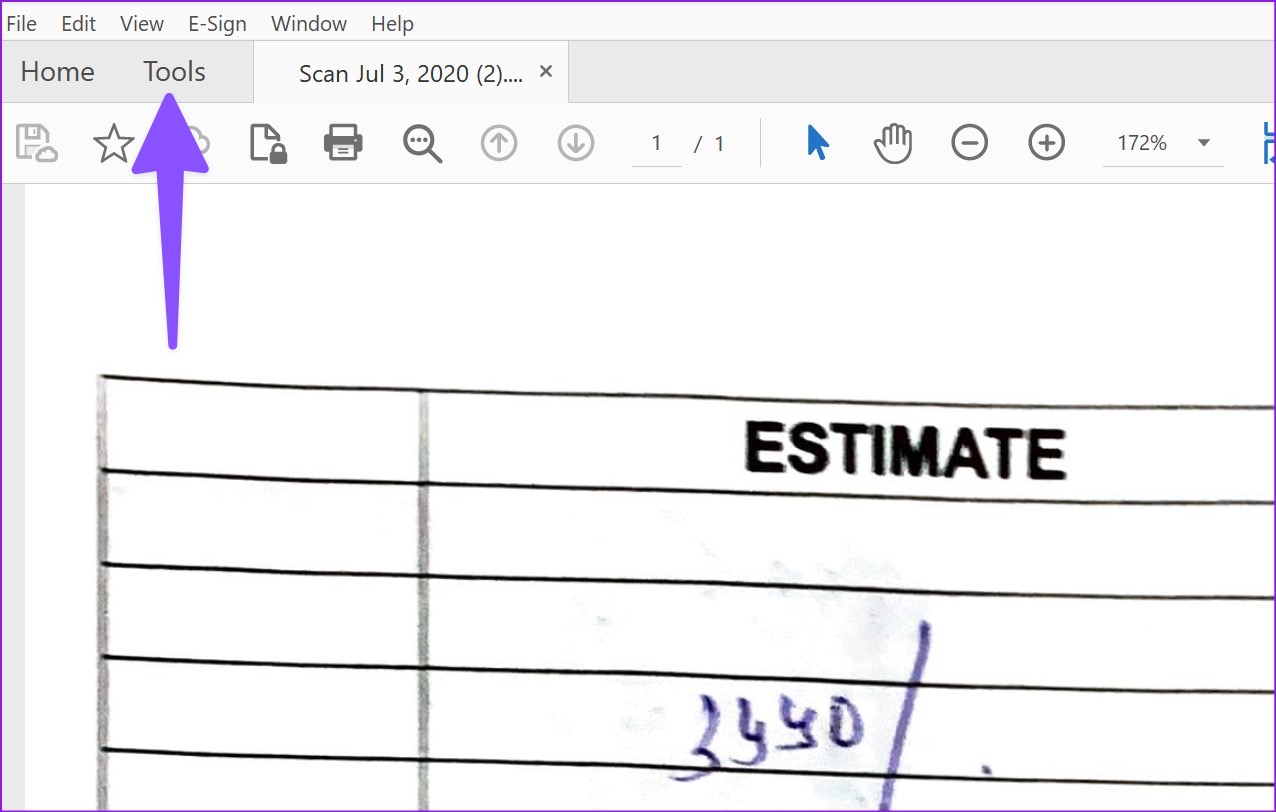
Step 1: Open Adobe Acrobat on Windows. Import one of your PDF files from the PC storage. Select Tools at the top. Scroll to Optimize and add it as a shortcut.
Step 2: The Optimize the PDF menu will appear at the top. Select the Compress PDF / Reduce File Size option and select the desired location to save the compressed file.

Note: You can save the compressed file on your computer or upload it directly to Adobe cloud storage to make it available on every device. The export process will take a while, depending on your PDF size.
Method 2: Using Foxit PDF
Foxit PDF is a freemium software that can reduce PDF file size. Despite its limitations, the free version lets users reduce PDF size. Here’s how.
Step 1: Download Foxit PDF. Open it and import a PDF file from the PC. Select File at the top-left corner once you make relevant changes.
Step 2: Open PDF Optimizer. Select Reduce File Size.


Step 3: Click Current File. Check PDF version compatibility.
Step 4: Select the export file location from the following menu.
Was this helpful?
Last updated on 23 August, 2024
Read Next
 6 Ways to Reduce Photo File Size on Android
Method 1: Reduce Photo Size Using the Gallery App (Samsung) You can use the default Gallery app on Galaxy phones to edit media files, create collages, and even resize them.
6 Ways to Reduce Photo File Size on Android
Method 1: Reduce Photo Size Using the Gallery App (Samsung) You can use the default Gallery app on Galaxy phones to edit media files, create collages, and even resize them.
 7 Ways to Reduce How Much Data Your Windows 10 PC Uses
https://youtu.be/RsUvBsjgi5k 1.
7 Ways to Reduce How Much Data Your Windows 10 PC Uses
https://youtu.be/RsUvBsjgi5k 1.
 6 Ways to Reduce Microsoft Teams Memory Usage in Windows 10 or 11
Fix 1: Disable GPU Hardware Acceleration in Teams GPU hardware acceleration is enabled by default in Microsoft Teams for smooth performance.
6 Ways to Reduce Microsoft Teams Memory Usage in Windows 10 or 11
Fix 1: Disable GPU Hardware Acceleration in Teams GPU hardware acceleration is enabled by default in Microsoft Teams for smooth performance.
 5 Ways to Reduce Photo Size on Windows
Method 1: Using Microsoft Photos App The default Photos app on Windows has several editing features.
5 Ways to Reduce Photo Size on Windows
Method 1: Using Microsoft Photos App The default Photos app on Windows has several editing features.
 How to Reduce CPU and RAM Usage in Microsoft Teams on Windows 11
Common Fixes Update or reinstall the Microsoft Teams app: Open the Microsoft Store, search Microsoft Teams, and click Update (if available).
How to Reduce CPU and RAM Usage in Microsoft Teams on Windows 11
Common Fixes Update or reinstall the Microsoft Teams app: Open the Microsoft Store, search Microsoft Teams, and click Update (if available).
 How to Insert a Word File into a PDF Using Adobe Acrobat
How to Insert Microsoft Word as an Attachment into a PDF using Adobe Acrobat To insert a Word document into a PDF, use the Tools tab on Adobe Acrobat.
How to Insert a Word File into a PDF Using Adobe Acrobat
How to Insert Microsoft Word as an Attachment into a PDF using Adobe Acrobat To insert a Word document into a PDF, use the Tools tab on Adobe Acrobat.
 How to Add Password to a PDF File on iPhone and iPad
How to Add Password to PDF on iPhone and iPad The iOS 16 and iPadOS 16 updates brought the option to lock a PDF file using the Files app.
How to Add Password to a PDF File on iPhone and iPad
How to Add Password to PDF on iPhone and iPad The iOS 16 and iPadOS 16 updates brought the option to lock a PDF file using the Files app.
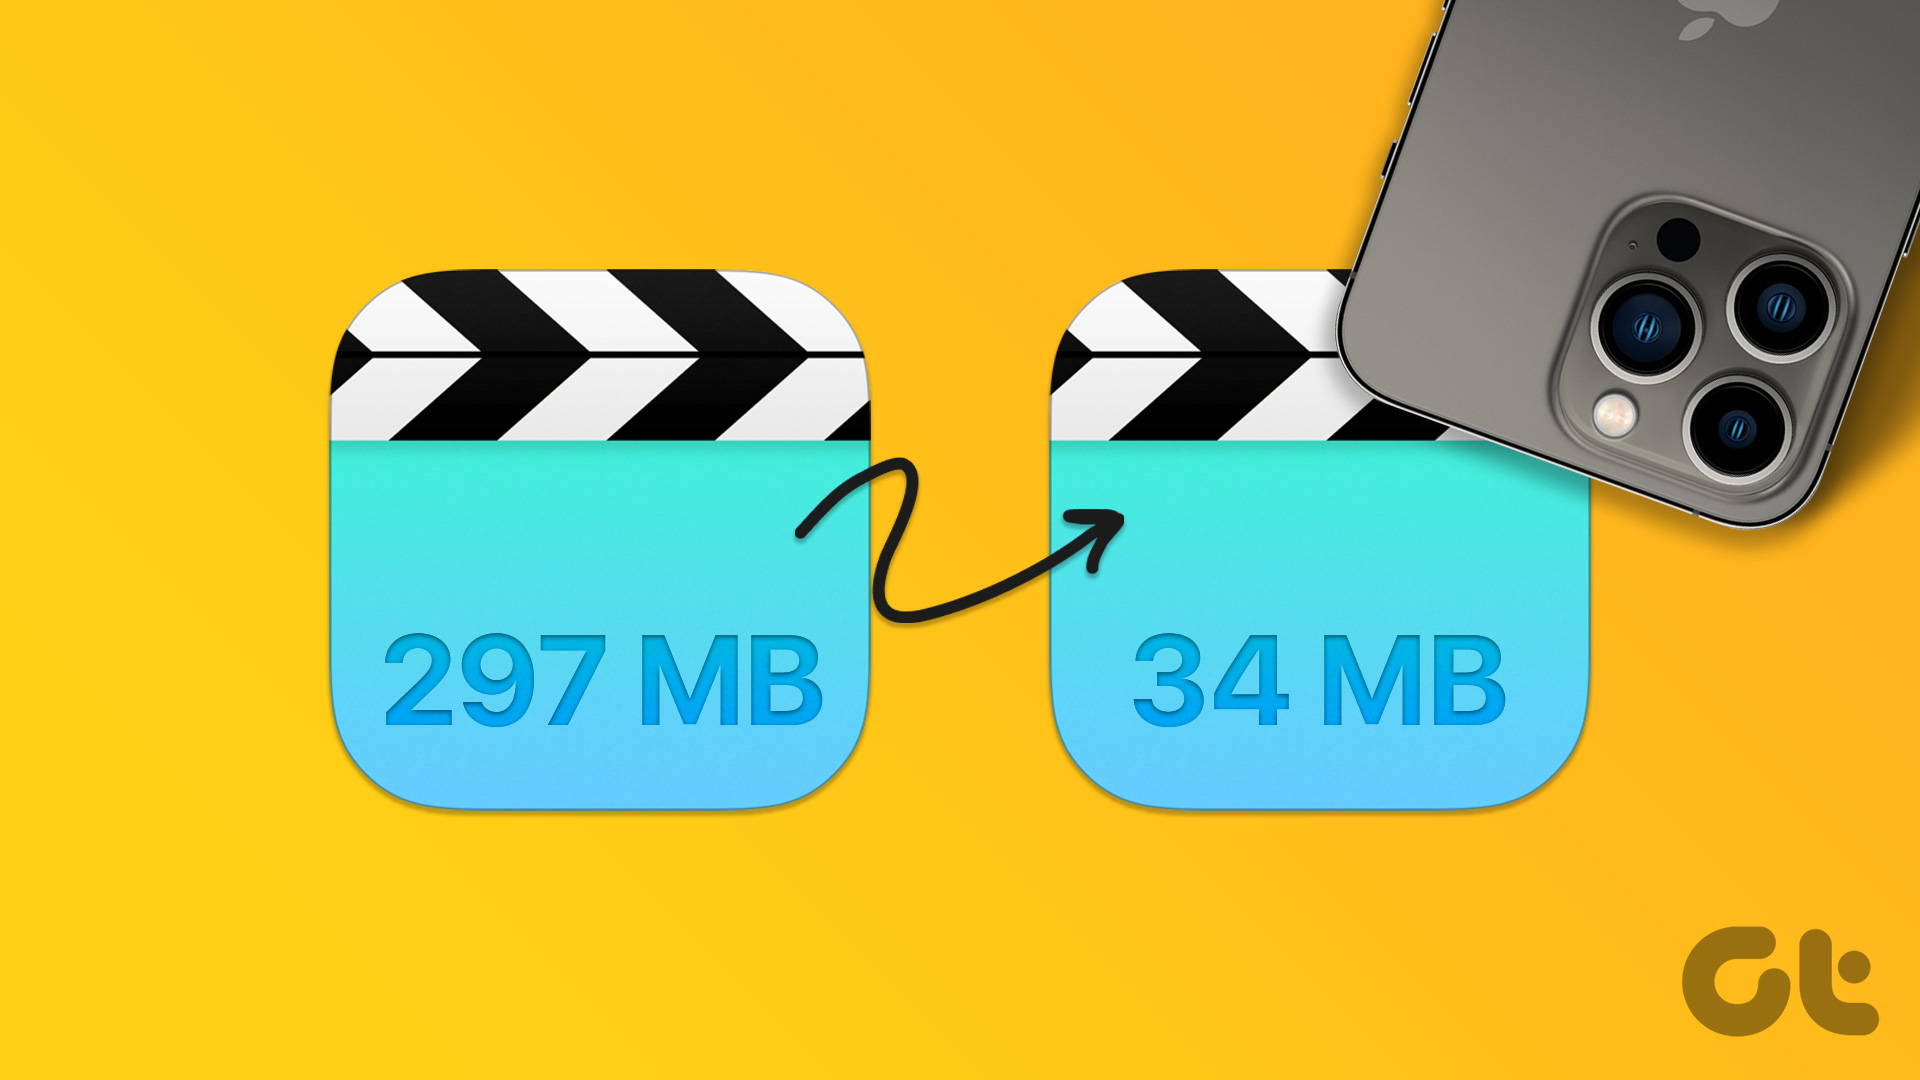 4 Ways to Reduce Video Size on iPhone
Method 1: Reduce Size Using iMovie You can reduce the size of a video on the iPhone's built-in video editor, iMovie.
4 Ways to Reduce Video Size on iPhone
Method 1: Reduce Size Using iMovie You can reduce the size of a video on the iPhone's built-in video editor, iMovie.
The article above may contain affiliate links which help support Guiding Tech. The content remains unbiased and authentic and will never affect our editorial integrity.