The addition of streaming services like Netflix, Disney+, Prime Video, etc., has made good sound quality a necessity. While one can always connect to external soundbars for an excellent experience, it is not a viable option for everyone. Hence, you can use the Spatial Sound feature in Windows 11.
Your Windows devices have various settings and features to enhance the overall experience. So, if you want to enhance your audio experience specifically, you can enable Spatial Sound in Windows 11. But what is Spatial Sound? And how can we enable it on Windows 11? Let’s find out.
What Is Spatial Sound in Windows 11
Aptly referred to as 3D audio, Spatial Sound, or Spatial Audio, gives regular sound a 3-dimension-like quality, even if it is being played from your regular laptop speakers. This can not only improve the sound quality but also enhance certain parts of the playback to make the overall experience smoother. Once enabled, it will change the sound output quality to mimic the surround sound experience.
To get the full Spatial Sound experience, it is recommended to connect your Windows device to a headset.
Supported Spatial Audio Formats in Windows 11
When using Spatial Audio in Windows 11, you can choose between three supported formats: Windows Sonic, Dolby Atmos, and DTS Audio. Let us have a quick look at them all.

- Windows Sonic: Microsoft’s proprietary Spatial Audio format, Sonic, comes built-in to almost all recent Windows 11 devices. No external software is required to use it, and it is available to the users for free.
- Dolby Atmos: Well known for their immersive sound quality, most Windows devices have Dolby Atmos support. However, you must install the Dolby Access app to use it. Additionally, you will need a subscription to use the app after the free trial ends.
- DTS Audio: More suited for when using headsets, most Windows devices also support DTS Audio. You will need to install the DTS Sound Unbound app to use it. Additionally, you might need to subscribe to certain app services, like DTS Headphone:X.
Let’s move on to enabling Spatial Sound on your Windows 11 device.
How to Turn On Spatial Audio in Windows 11
Now that we know more about what Windows Spatial Audio is and what all Spatial Audio formats are supported, let us look at 3 ways to help you turn on Spatial Audio in Windows 11.
Note: If you have any external Spatial Audio apps installed, you can also select them from the options, if available.
1. Using Windows Settings
Step 1: Open Settings using the Windows + I key.
Step 2: From the menu options, click on System.
Step 3: Then, click on Sound.

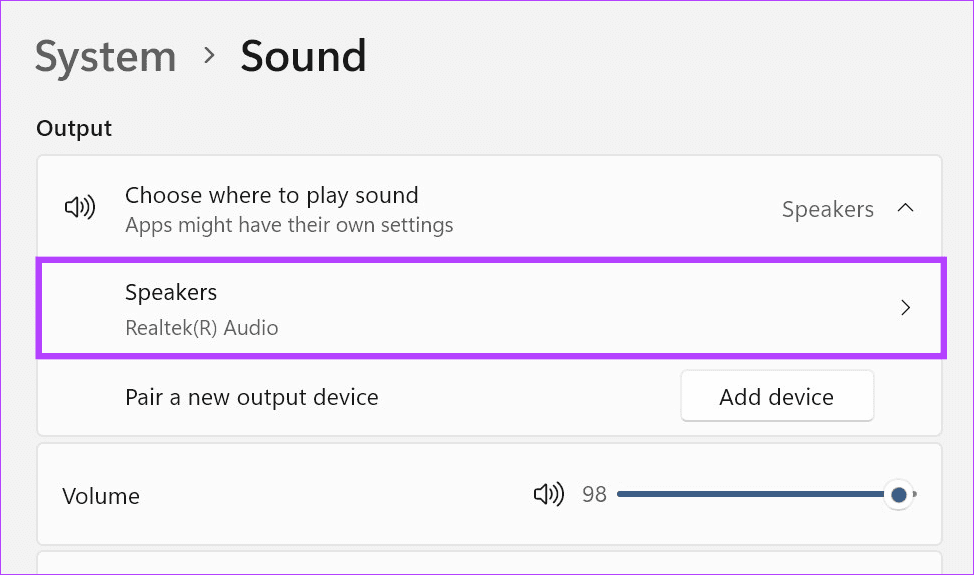
Step 4: Here, click on your audio device.
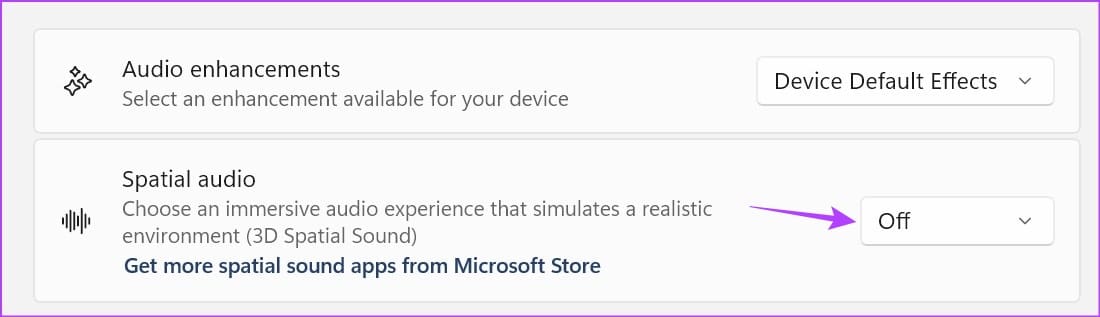
Step 5: Once the device properties page opens, scroll down and click on the drop-down menu for Spatial audio.
Step 6: Select the ‘Windows Sonic for Headphones’ option.

This will turn on Spatial Audio on Windows 11 for the selected device. Or, if you change your audio output device, repeat the above steps and enable Spatial Audio for the other devices as well.
2. Using Control Panel
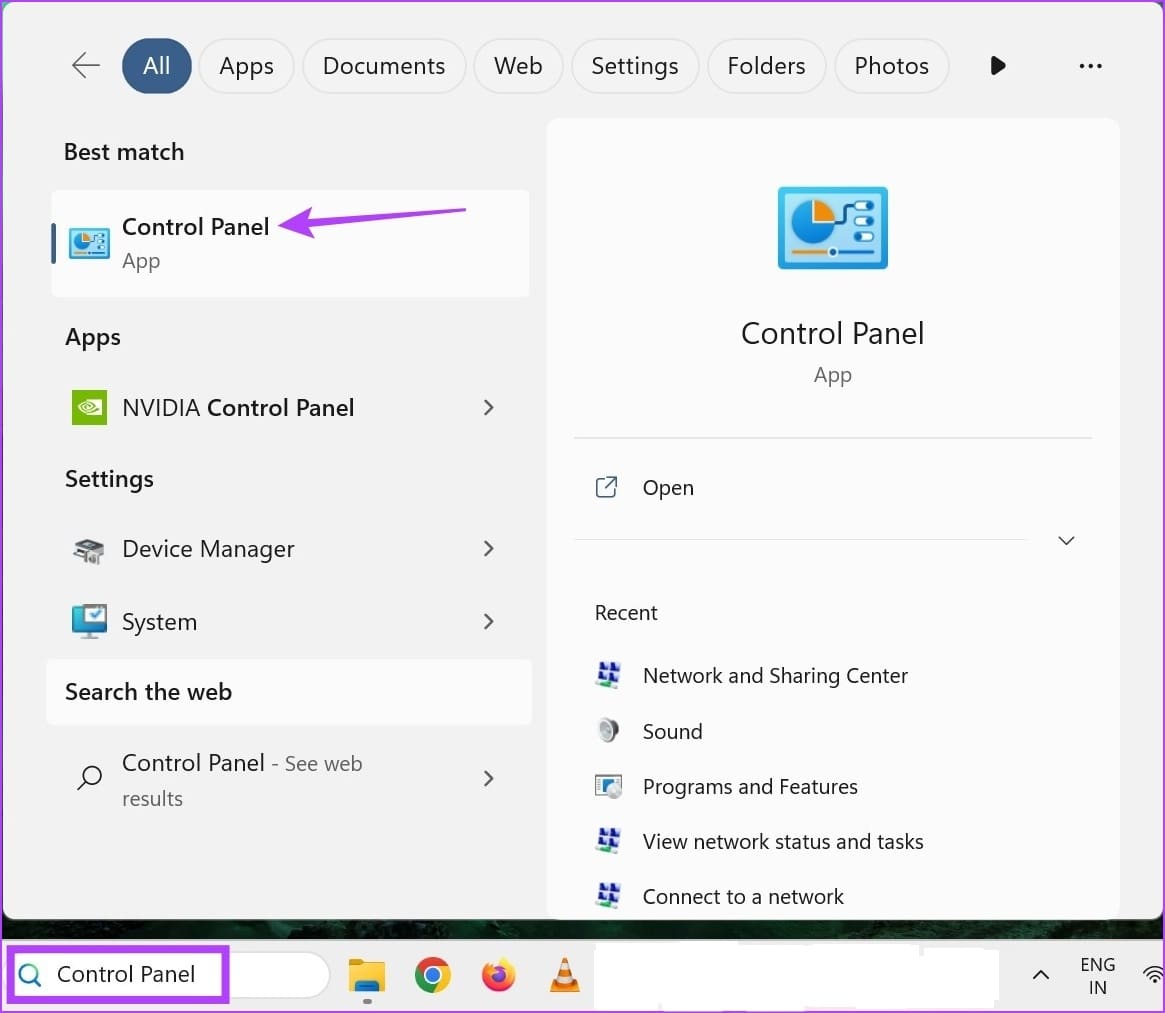
Step 1: Go to Search and type Control Panel. Open the app from the search results.
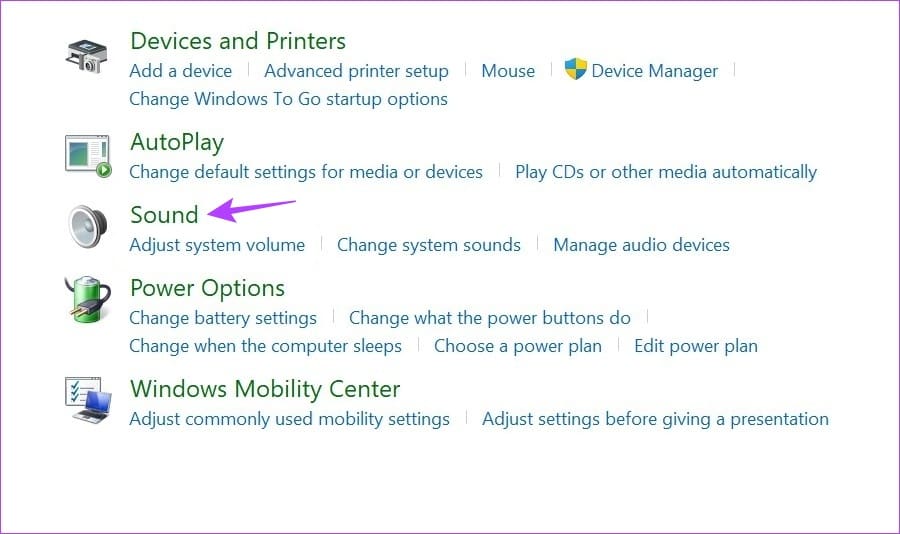
Step 2: Then, click on ‘Hardware and Sound’.

Step 3: Click on Sound.
Step 4: From this list, click on your sound device.
Step 5: Then, click on Properties.

Step 6: From the menu options, select Spatial sound.
Step 7: Click on the drop-down and select ‘Windows Sonic for Headphones’.
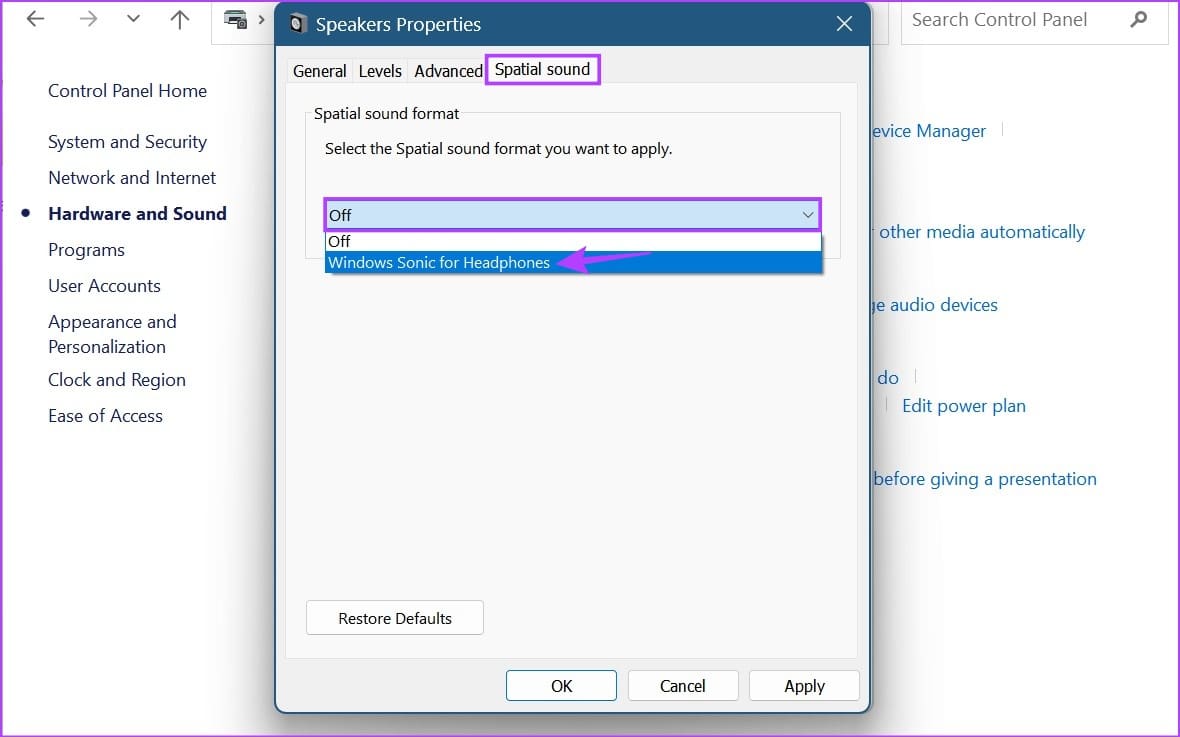
Step 8: Then, click on Apply and OK.

This will save the changes and enable Spatial Audio for the selected audio device on Windows 11.
3. Using Volume Mixer
Step 1: Use the Windows + R shortcut to open Run.
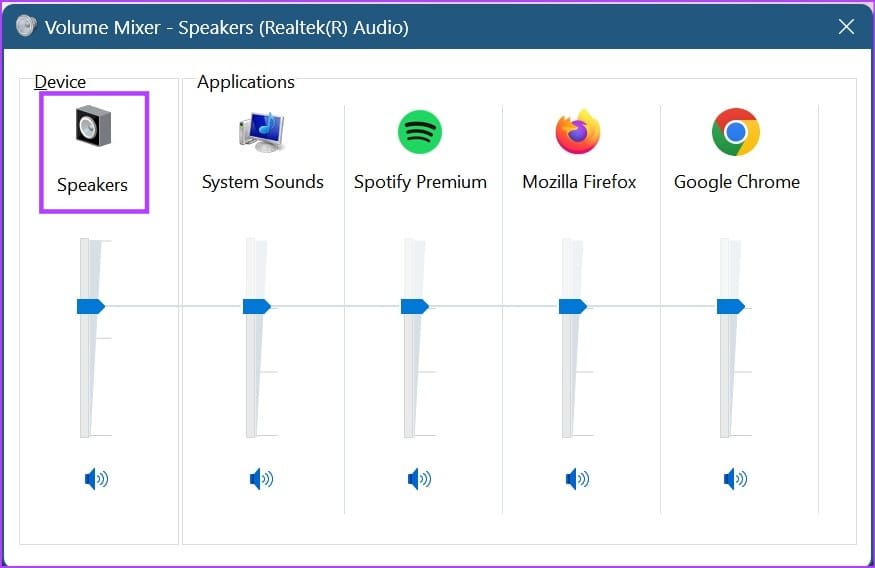
Step 2: In the search bar, type sndvol.exe and press enter to open Volume Mixer.
Tip: Check other ways to open Volume Mixer in Windows 11.

Step 3: Once the Volume Mixer window opens, click on your sound device.
Step 4: Click on Spatial sound from the menu options.
Step 5: Then, click on the drop-down.
Step 6: From the options, select ‘Windows Sonic for Headphones’.
Step 7: Click on Apply and OK to save the changes.
This will close the window and apply the select Windows spatial sound setting to the audio device. You can also use these steps to enable Spatial Audio for any other device.
FAQs for Using Windows Spatial Sound
If the Spatial sound is greyed out or not working on your Windows 11 device, start by running the audio troubleshooter. Additionally, ensure your device has the latest Windows updates installed. Once done, proceed to reinstall the sound drivers on your device. Then, check again and see if the issue has been fixed.
Yes, Windows 11 has provisions for enabling enhanced audio. To do this, use the Windows + I key to open Settings. Then, from the menu options, click on System. Here, click on Sound > your audio device. Near the Spatial audio feature, you will find the Audio enhancements drop-down. Click on it and select ‘Device Default Effects’. This will enable enhanced audio on your Windows 11 device.
Enjoy Superior Windows Sound
Enabling Spatial Sound in Windows 11 certainly creates a superior sound experience, and it shows. So, we hope this article helped you better understand Spatial Sound and how you can enable it on your device. You can also check our article to increase the audio quality on Windows 11.
Was this helpful?
Last updated on 04 September, 2023
2 Comments
Leave a Reply
Read Next
 How to Crop a Screenshot on Mac: A Comprehensive Guide
We take screenshots regularly, whether it's a funny meme on Twitter or an important slide in an online meeting.
How to Crop a Screenshot on Mac: A Comprehensive Guide
We take screenshots regularly, whether it's a funny meme on Twitter or an important slide in an online meeting.
 How to Use Dictionary in Any Kindle: A Comprehensive Guide
How to Download Dictionary on Kindle By default, an English dictionary will be downloaded onto your Kindle.
How to Use Dictionary in Any Kindle: A Comprehensive Guide
How to Download Dictionary on Kindle By default, an English dictionary will be downloaded onto your Kindle.
 How to Link Twitch to Discord: A Comprehensive Guide
Twitch and Discord are great places to hang out with friends and followers.
How to Link Twitch to Discord: A Comprehensive Guide
Twitch and Discord are great places to hang out with friends and followers.
 5 Best Ways to Fix Spatial Audio Not Working on AirPods 3 or AirPods Pro
Try Basic Fixes Update the AirPods firmware: Put your AirPods inside the case while they’re connected to your phone.
5 Best Ways to Fix Spatial Audio Not Working on AirPods 3 or AirPods Pro
Try Basic Fixes Update the AirPods firmware: Put your AirPods inside the case while they’re connected to your phone.
 A Guide to Fixing Keyboard Shortcuts Not Working on Windows 10
When you get used to keyboard shortcuts, there's no going back.
A Guide to Fixing Keyboard Shortcuts Not Working on Windows 10
When you get used to keyboard shortcuts, there's no going back.
 A Complete Guide to Using Split Screen in Windows 10
Windows makes multitasking feel like a cakewalk.
A Complete Guide to Using Split Screen in Windows 10
Windows makes multitasking feel like a cakewalk.
 A Complete Guide to Using Print Screen in Windows 10
Have you been told to take a screenshot using the Print Screen key on your Windows 10 computer?
A Complete Guide to Using Print Screen in Windows 10
Have you been told to take a screenshot using the Print Screen key on your Windows 10 computer?
 What Is Clipboard in Windows 10 and How to Use It: A Complete Guide
You must have used copy-paste functionality at least once whether you own a smartphone, tablet, or computer.
What Is Clipboard in Windows 10 and How to Use It: A Complete Guide
You must have used copy-paste functionality at least once whether you own a smartphone, tablet, or computer.
The article above may contain affiliate links which help support Guiding Tech. The content remains unbiased and authentic and will never affect our editorial integrity.
If i understand the guide correctly, if we have a soundbar (with DA support) and the output format is already on “Dolby Atmos”, we don’t need to use “Spatial Sound” as it is a virtual dolby atmos computed by Windows to enhance sound on no DA hardware ?
I got my answer by trying, if output is on atmos, then spatial must be on atmos or no sound will get out.
Guess know my only chance of avoiding audio delay will be to purchase a next-gen GPU with 2 hdmi port so i can output video to the TV and audio directly to the soundbar and hopefully get rid of audio delay.