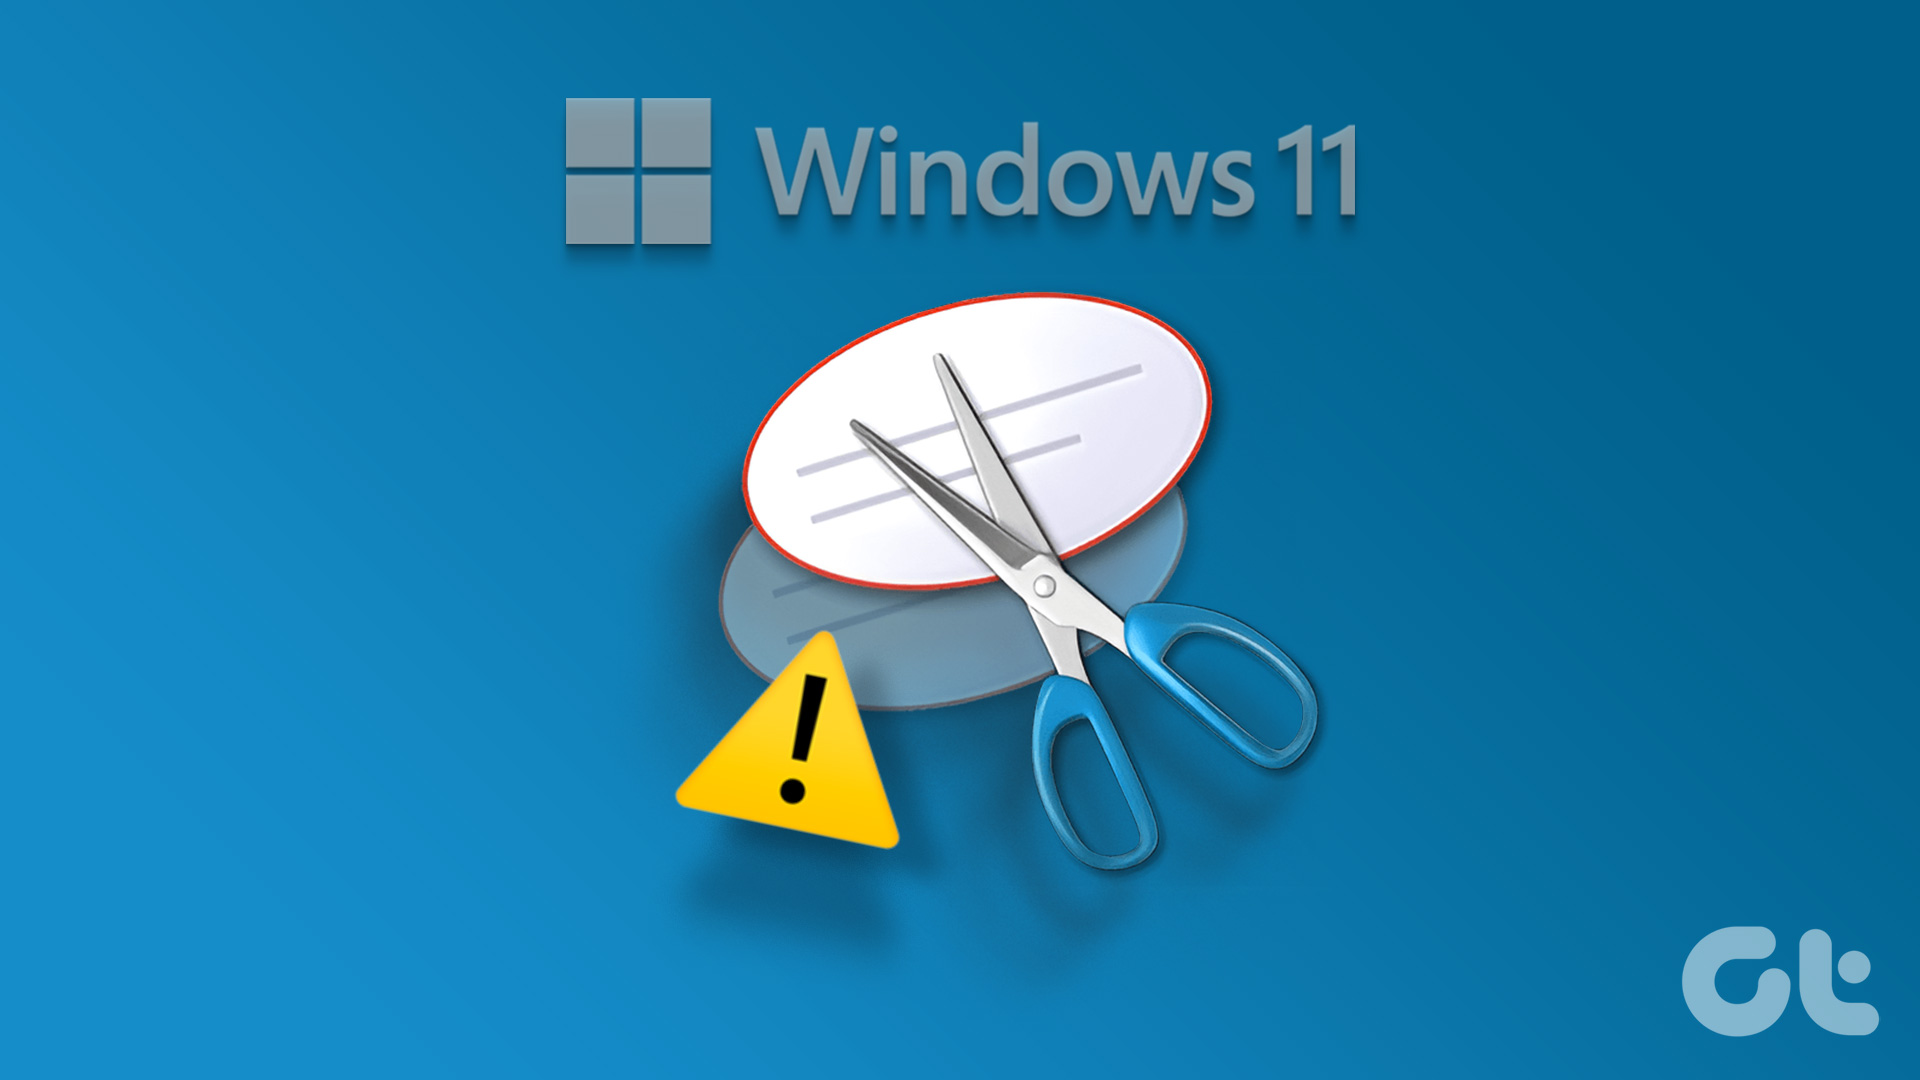
It’s useful to have a tool that makes grabbing screenshots a piece of cake. It’s not so useful to have that same tool popping up unnecessarily all the time. If this is your experience with the Snipping Tool on Windows 11, then you’re probably looking for a fix. The good news is we have a few troubleshooting methods to stop it from popping up automatically.
A Clash of Shortcuts
The problem with a randomly, continuously opening Snipping Tool, in most cases, has to do with a clash of shortcut keys, namely the Print Screen key. Before the introduction of the Snipping Tool, this was the built-in way to get snaps of your screen. The Snipping Tool itself makes use of the Win+Shift+S shortcut. But in Windows 11, the Snipping Tool can pop up simply when you press Print Screen.
Let’s look at how to fix this.
Windows Snipping Tool Automatically Opens and How to Fix It
Below are some of the best solutions to make sure the Snipping Tool only opens when you want it:
End Snipping Tool in Task Manager
A quick way to disable the Snipping Tool until you need it is to disable it in Task Manager. Here’s how:
Step 1. Open Task Manager (Ctrl + Shift + Esc) and search for the Snipping Tool “.exe” file. You can also search under the “Details” tab.

Step 2. When you find the program, right click on it, then the “End Task” button.

Step 3. See if this resolves your problem.
Disable the Print Screen Snipping Tool Shortcut
If the Snipping Tool keeps opening every time you press the Print Screen key, then this shortcut has probably been enabled under the Settings. Disabling it, though, is a cinch:
Step 1. Open up Settings (Win + I) and choose “Accessibility” from the sidebar.

Step 2. Navigate down to “Keyboard” and click it.

Step 3. Scroll down to the “On-screen keyboard, access keys, and Print screen” controls and drag the slider next to “Use the Print screen button to open screen snipping” to “Off.”
Step 4. Test your Print Screen key again, and the problem should be resolved.
Repair and Reset the Snipping Tool
If the above doesn’t solve your problem, then you can try resetting the Snipping Tool to its factory settings and (hopefully) normalcy. Here’s how:
Step 1. Type “Snipping Tool” into the Search Bar and right-click when it appears, and select App settings.

Step 2. In the App window, scroll down and click the “Terminate” button to stop all activity involving the Snipping Tool.

Step 3. Click the “Repair” button to fix any problems with the app.

Step 4. If that doesn’t solve the issue, click the “Reset” button below it to delete all app data and start fresh.

Step 5. If these two options don’t work, you may need to uninstall the app.
Uninstall Snipping Tool
If you’ve tried the above solutions, you can try removing it using the “Uninstall” button hovering below the “Repair” and “Reset” buttons. You can also uninstall by right-clicking the app in the Search Bar. Once the app has been removed, you can try reinstalling it to get it to work correctly. Here’s how:
Step 1. Open up the Microsoft Store and type “Snipping Tool” into the search bar.

Step 2. Choose the option when it appears and click the “Install” button.
Step 3. When the app is installed, restart your machine and see if the problem has been resolved.
Was this helpful?
Last updated on 17 August, 2025
Read Next
 6 Ways to Fix Snipping Tool Not Working on Windows 11
Fix 1: Ensure Snipping Tool Notifications Are Enabled Snipping Tool may fail to show screenshots after capturing them if you have turned off its notification permission.
6 Ways to Fix Snipping Tool Not Working on Windows 11
Fix 1: Ensure Snipping Tool Notifications Are Enabled Snipping Tool may fail to show screenshots after capturing them if you have turned off its notification permission.
 3 Ways to Fix the “Recording Stopped” Error in Snipping Tool for Windows 11
Try Basic Fixes Disable screen projection: The Snipping Tool may sometimes have trouble recording the screen if you are using multiple displays.
3 Ways to Fix the “Recording Stopped” Error in Snipping Tool for Windows 11
Try Basic Fixes Disable screen projection: The Snipping Tool may sometimes have trouble recording the screen if you are using multiple displays.
 How to Use Snipping Tool Text Actions in Windows 11
The ability to capture bite-sized or specific information from your screen and share it across has never been easier, thanks to Snipping Tool.
How to Use Snipping Tool Text Actions in Windows 11
The ability to capture bite-sized or specific information from your screen and share it across has never been easier, thanks to Snipping Tool.
 How to Draw a (Red) Box Around Text in the Snipping Tool on Windows PC
Steps to Draw a (Red) Box Around Text in the Snipping Tool Step 1: Open the screenshot or any other picture in the Snipping Tool.
How to Draw a (Red) Box Around Text in the Snipping Tool on Windows PC
Steps to Draw a (Red) Box Around Text in the Snipping Tool Step 1: Open the screenshot or any other picture in the Snipping Tool.
 4 Ways to Fix Snipping Tool Keyboard Shortcut Not Working
Basic Fixes: Check your keyboard for damages: Any physical damage to keyboard keys might prevent them from working as expected.
4 Ways to Fix Snipping Tool Keyboard Shortcut Not Working
Basic Fixes: Check your keyboard for damages: Any physical damage to keyboard keys might prevent them from working as expected.
 Snipping Tool vs Snip & Sketch: How Do They Differ
The easiest way to take screenshots on Windows is by using the PrtScn key.
Snipping Tool vs Snip & Sketch: How Do They Differ
The easiest way to take screenshots on Windows is by using the PrtScn key.
 6 Ways to Fix PowerShell Keeps Popping Up on Windows 11
Fix 1: Prevent PowerShell From Running at the Startup A common reason why Windows PowerShell may keep opening on startup is if you have previously set it as a startup
6 Ways to Fix PowerShell Keeps Popping Up on Windows 11
Fix 1: Prevent PowerShell From Running at the Startup A common reason why Windows PowerShell may keep opening on startup is if you have previously set it as a startup
 4 Ways to Fix Command Prompt Keeps Popping Up in Windows 11
Try Basic Fixes Scan for malware: Command Prompt's unusual behavior could be due to a malware or virus infection.
4 Ways to Fix Command Prompt Keeps Popping Up in Windows 11
Try Basic Fixes Scan for malware: Command Prompt's unusual behavior could be due to a malware or virus infection.
The article above may contain affiliate links which help support Guiding Tech. The content remains unbiased and authentic and will never affect our editorial integrity.