Method 1: Use the Windows Settings App
The Windows Settings app offers an easy way to reset network settings on your PC.
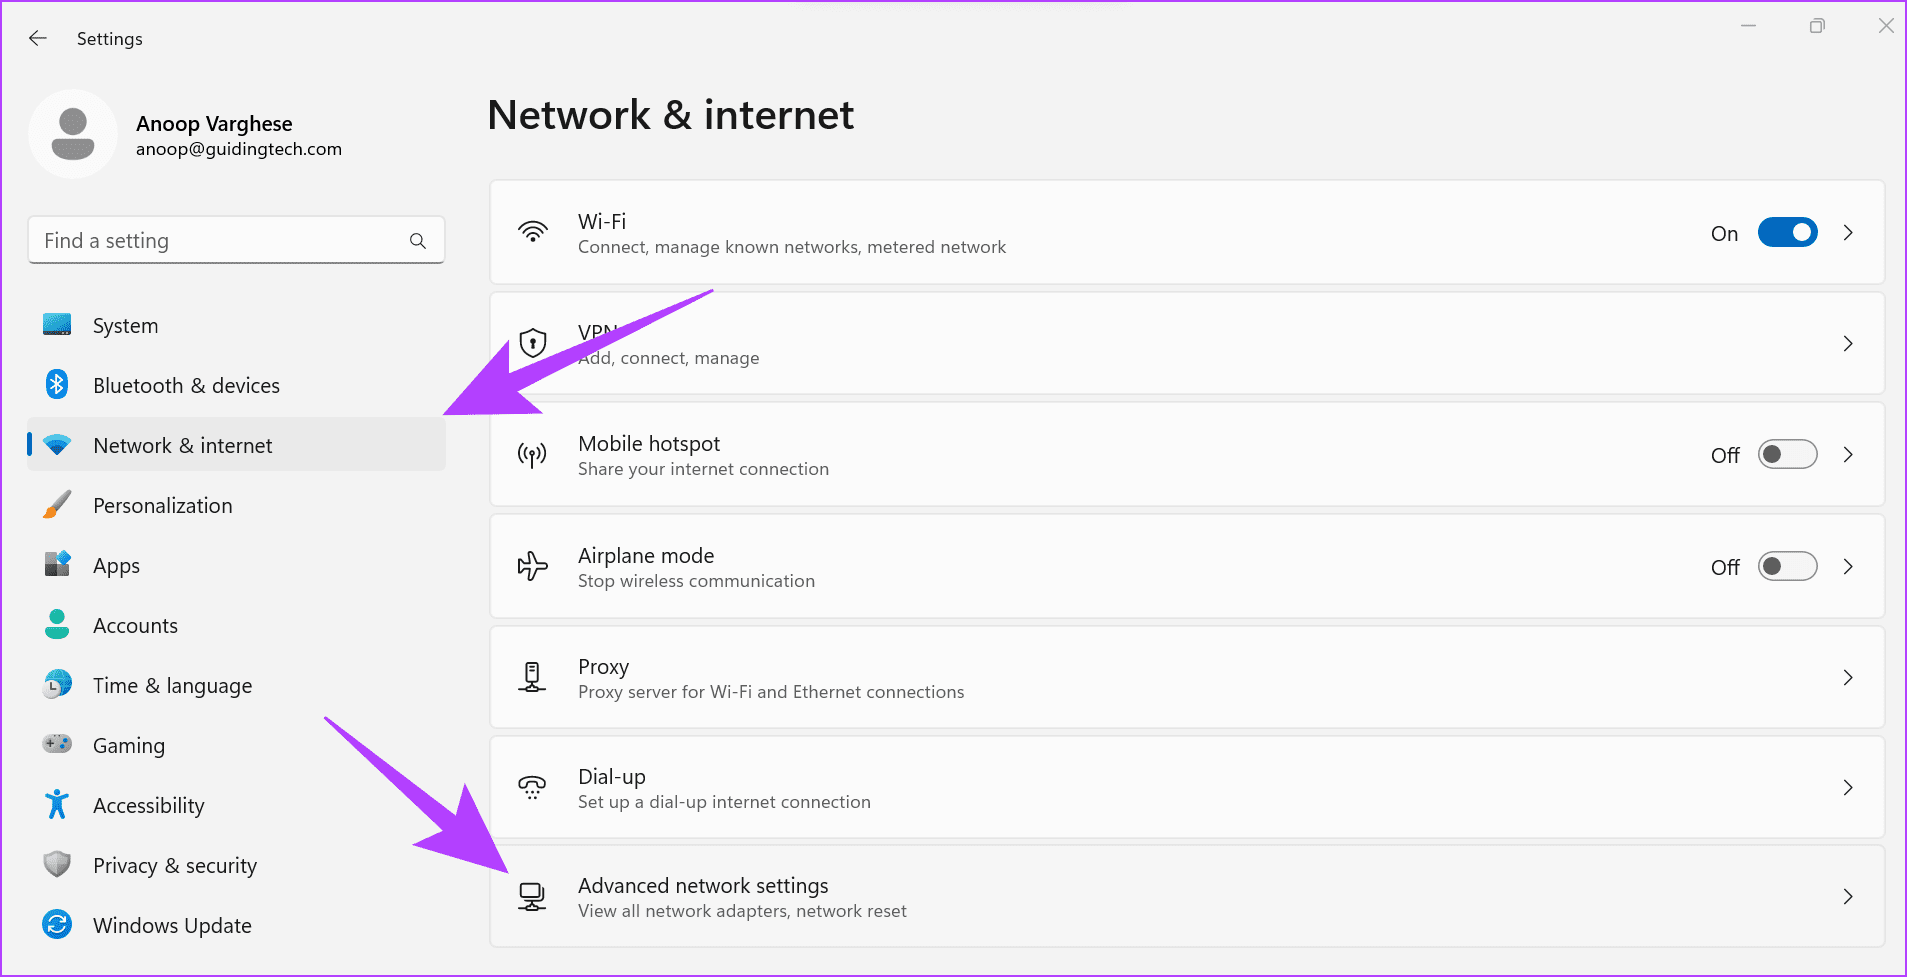
Step 1: Press the Windows + I keys to open Settings, select Network & internet in the left sidebar, and click Advanced network settings.
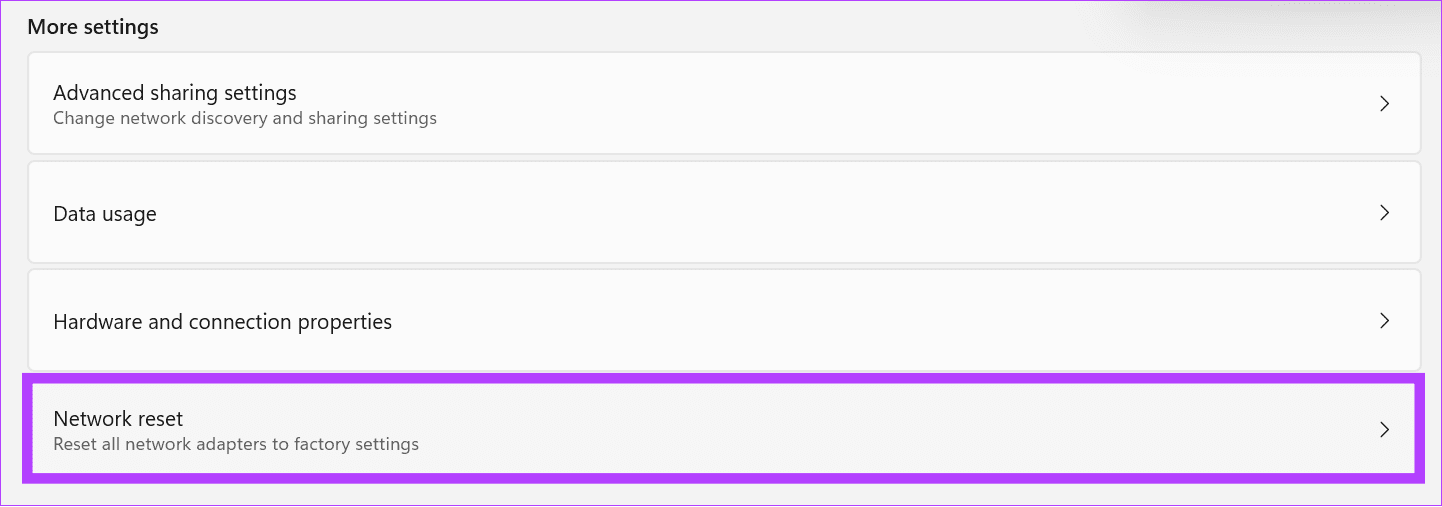
Step 2: Select Network reset.
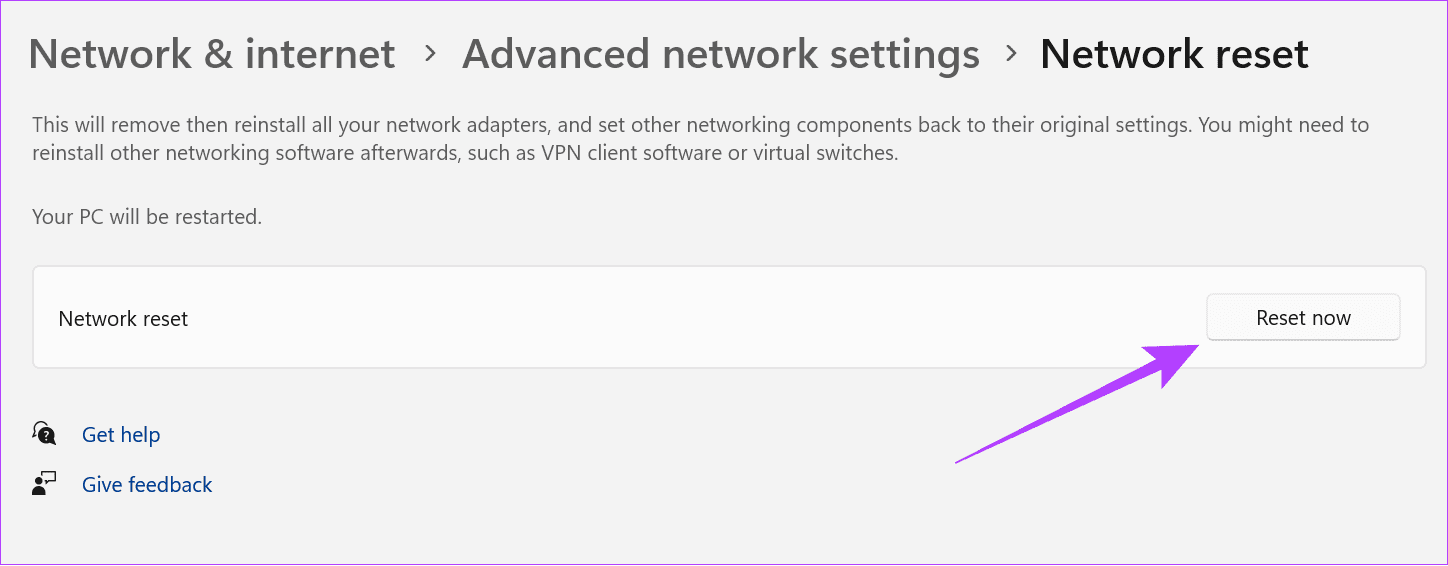
Step 3: Click Reset now > select Yes when prompted to confirm your action. Once the reset is complete, restart your PC.
Method 2: Use Terminal to Reset Network Settings on Windows 11
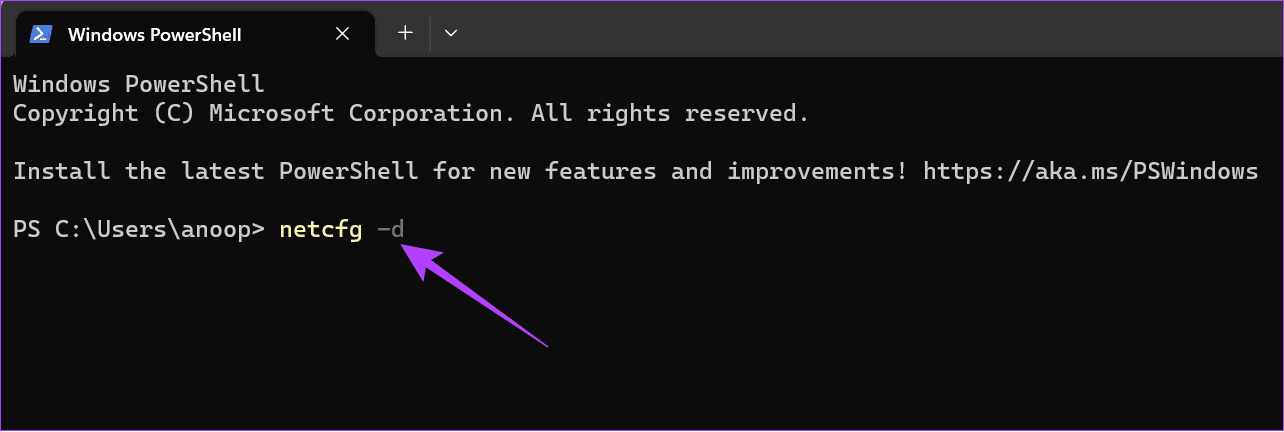
Besides Windows Settings, you can execute a certain command on the Terminal (Windows PowerShell) to quickly reset the network settings on Windows 11.
Step 1: Press the Windows key, search Terminal, right-click, and select Run as administrator.

Step 2: Copy-paste the below command, hit Enter, and restart your PC.
netcfg -d
Method 3: Reset the Network Adapter
Lastly, you can reset network settings on Windows 11 by resetting the network adapter. Here’s how to do so:
Step 1: Press the Windows key, search the Device Manager app, and click to open it.
Step 2: Expand Network adapters, right-click on your adapter, and select Uninstall device. Reboot your PC to let Windows 11 install new network adapter drivers.

What Does a Network Reset Do on Windows 11
When you perform a network reset, it affects the following aspects of Windows settings:
- Network adapters: Removes and reinstalls all network adapters, including ethernet and wireless (Wi-Fi) adapters.
- Network settings: All network-related settings, such as IP address configurations, DNS settings, and network profiles, reset to their default values.
- Firewall and security policies: Any custom firewall or security policy resets to its default settings.
- VPN and proxy configurations: All VPN and proxy configurations revert to default.
- Bluetooth devices: All Bluetooth devices and preferences are removed and you need to reconnect your device.
- Network shared drives and printers: You must reconfigure any previously set-up network-shared drives, printers, or devices.
- Wi-Fi networks: All saved Wi-Fi network profiles are deleted. You must reconnect to Wi-Fi networks and re-enter their passwords.
Was this helpful?
Last updated on 22 May, 2024
Read Next
 What Happens When You Reset Network Settings on Windows 10
Windows 10 often suffers from numerous network connection issues.
What Happens When You Reset Network Settings on Windows 10
Windows 10 often suffers from numerous network connection issues.
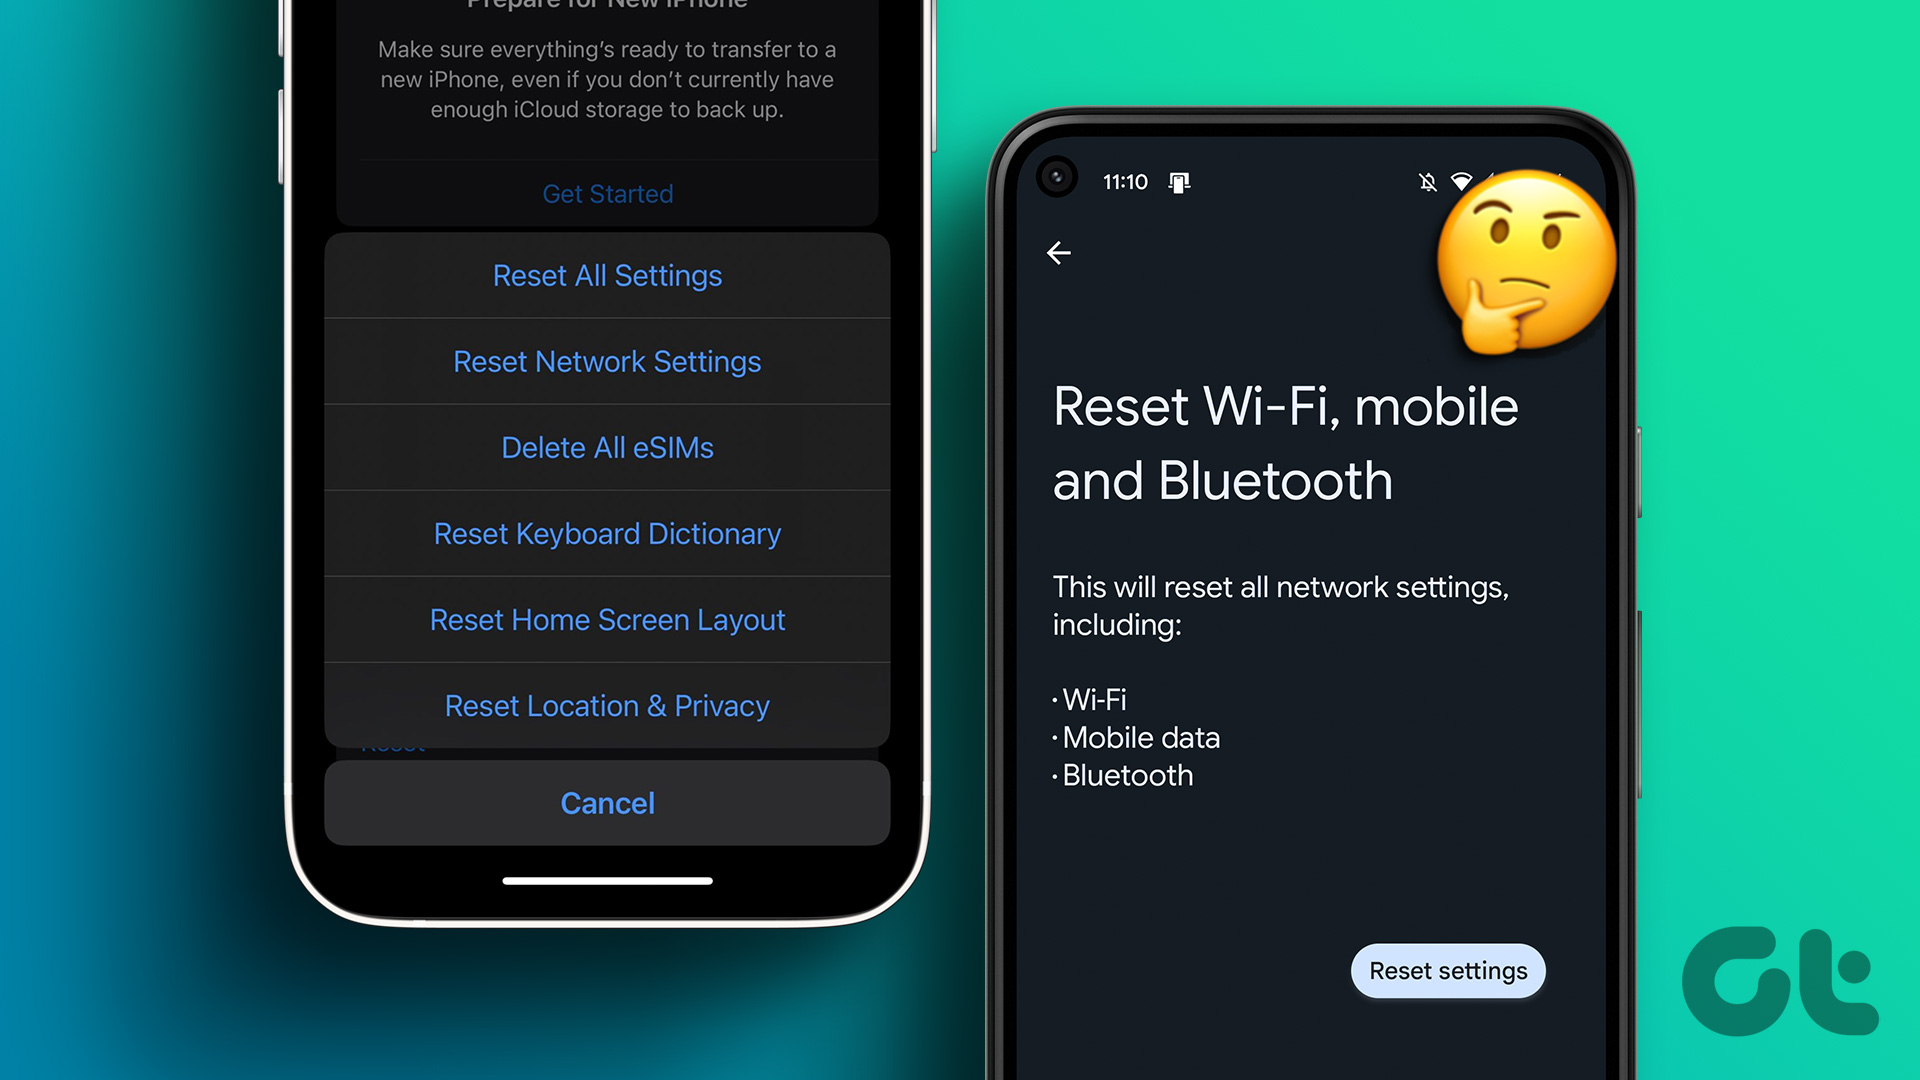 What Does “Reset Network Settings” Do on Android and iPhone?
https://www.youtube.com/watch?v=I4mZ-wYfj1E What Is "Reset Network Settings" on iPhone and Android?
What Does “Reset Network Settings” Do on Android and iPhone?
https://www.youtube.com/watch?v=I4mZ-wYfj1E What Is "Reset Network Settings" on iPhone and Android?
 How to Reset iPhone and What Happens When You Reset iPhone
https://youtu.be/VPnZOK4EqVQ How to Reset iPhone to Factory Settings Before we move on to erasing data or settings on the iPhone, check out the section below to ensure your data or
How to Reset iPhone and What Happens When You Reset iPhone
https://youtu.be/VPnZOK4EqVQ How to Reset iPhone to Factory Settings Before we move on to erasing data or settings on the iPhone, check out the section below to ensure your data or
 How to Reset Display Settings to Default on Windows 10
Often a software update might end up messing up your display settings on a Windows 10 PC.
How to Reset Display Settings to Default on Windows 10
Often a software update might end up messing up your display settings on a Windows 10 PC.
 5 Ways to Reset Firewall Settings on Windows 11
Method 1: Reset Firewall Settings Using Windows Security Windows Security is the built-in antivirus program protecting your system from malware, viruses, and threats.
5 Ways to Reset Firewall Settings on Windows 11
Method 1: Reset Firewall Settings Using Windows Security Windows Security is the built-in antivirus program protecting your system from malware, viruses, and threats.
 2 Ways to Reset Local Group Policy Settings on Windows 11
Method 1: Reset Local Group Policy Settings Using the Group Policy Editor To reset local group policy settings on Windows 11, set all policies to 'Not Configured' individually using the
2 Ways to Reset Local Group Policy Settings on Windows 11
Method 1: Reset Local Group Policy Settings Using the Group Policy Editor To reset local group policy settings on Windows 11, set all policies to 'Not Configured' individually using the
 How to Reset Google Docs Settings
Google Docs is an amazing online alternative to Microsoft Word.
How to Reset Google Docs Settings
Google Docs is an amazing online alternative to Microsoft Word.
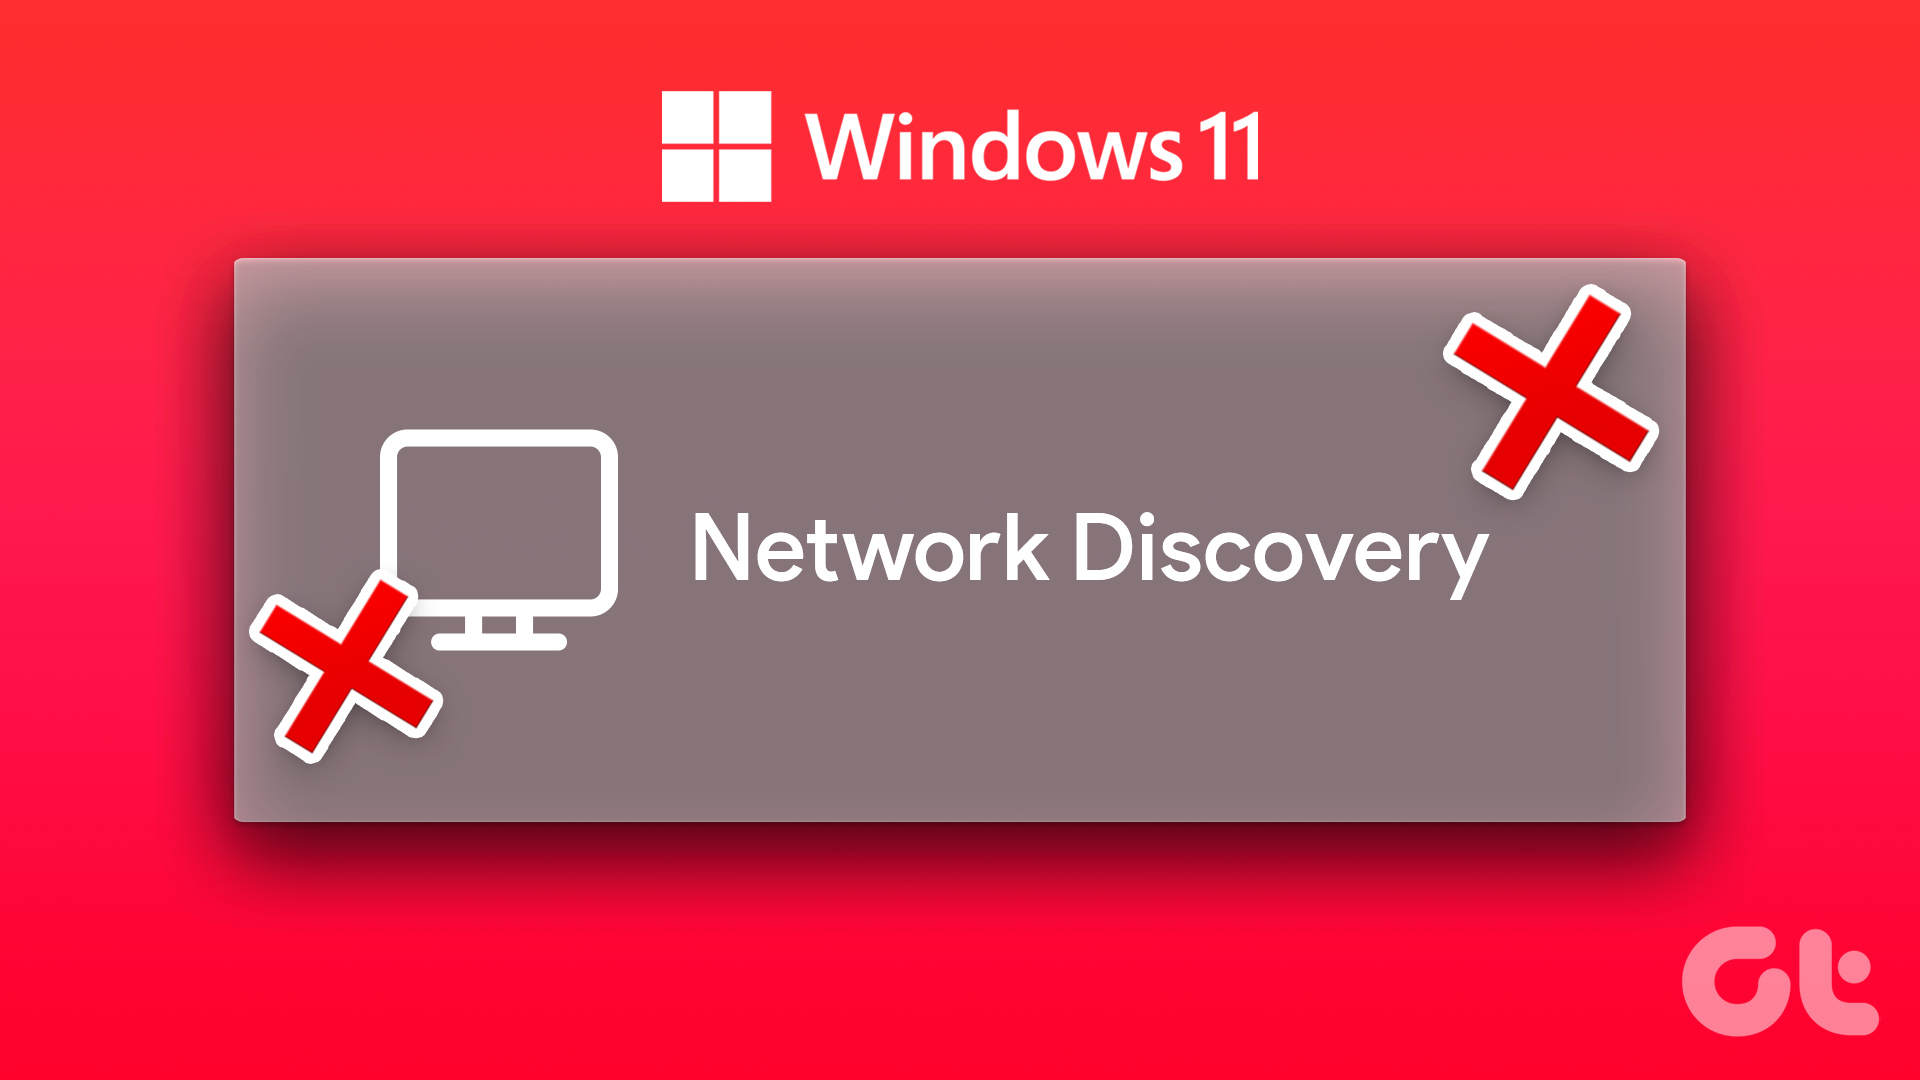 5 Ways to Fix Network Discovery Not Working on Windows 11
Fix 1: Enable Network Discovery Your first step is to ensure that your PC's network discovery feature is enabled for both public and private networks.
5 Ways to Fix Network Discovery Not Working on Windows 11
Fix 1: Enable Network Discovery Your first step is to ensure that your PC's network discovery feature is enabled for both public and private networks.
The article above may contain affiliate links which help support Guiding Tech. The content remains unbiased and authentic and will never affect our editorial integrity.