With time, Google Maps has become an increasingly reliable navigator for iPhone and Android phones. Moreover, Google keeps updating the app with new and improved features like Immersive View, which gives users a virtual tour of their destinations. And now, users can enjoy the new Glanceable Directions feature to improve their navigation experience further.
First announced in 2023, Google is finally rolling out this feature to all users. This post will explain this feature in detail and show you the steps to use it on your iPhone or Android phone. Before starting with the guide, ensure that the app is updated to the latest version on your device. With that out of the way, let’s take a closer look at the latest feature to hit the Google Maps service.
Glanceable Directions on Google Maps Explained
Since its inception, Google Maps has been quite helpful in showing you the way (pun intended). That being said, navigating to your destination while using the app can be cumbersome, with constant phone unlocks to check for the next turn, ETA, or overall journey. Needless to say, you would surely want to pay more attention to the road, especially when you are behind the wheel.
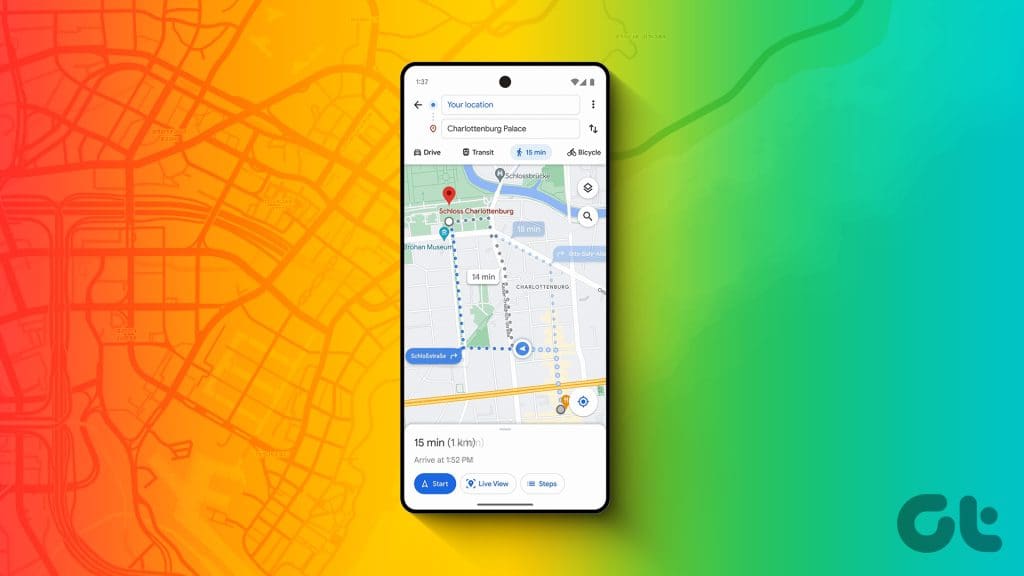
To solve this problem, Google Maps is now bringing Glanceable Directions. As the name suggests, you can get a turn-by-turn breakdown of your planned route before you even hit the Start Navigation button. In other words, the feature gives you a live overview of your entire journey, and you can see the precise directions to reach your destination. But what about when you do hit the Start Navigation button?
Well, here comes the best part. Glanceable Directions will work straight from your phone’s lock screen. You don’t need to constantly interact with your phone, which can make your navigation experience cumbersome. Google Maps will track your journey from the lock screen and update the route automatically if you change your path. Also, it works when you walk, drive, or ride a bike.
How to Enable and Use Glanceable Directions
At the time of writing this post, the feature is rolling out widely for iPhone and Android users. For iPhone users, this feature will support Live Activities on iOS 16.1. It is possible that it might not work perfectly right after you enable it. We recommend giving it time to collect your navigation data for optimal performance.
Step 1: Open Google Maps on your iPhone or Android phone.
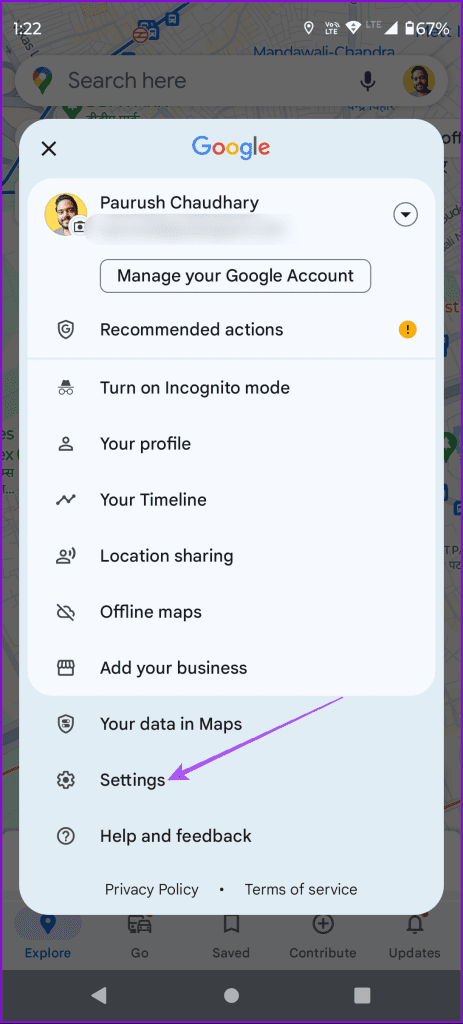
Step 2: Tap the profile icon at the top-right corner and select Settings.

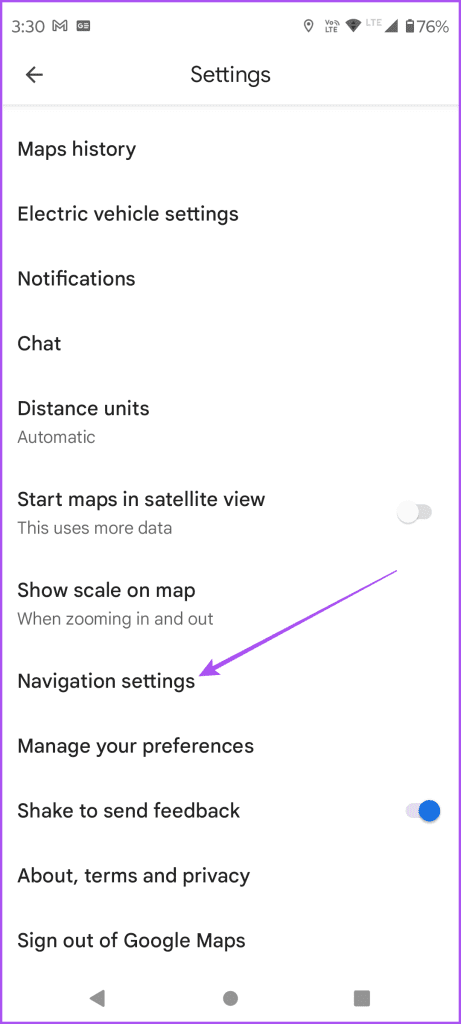
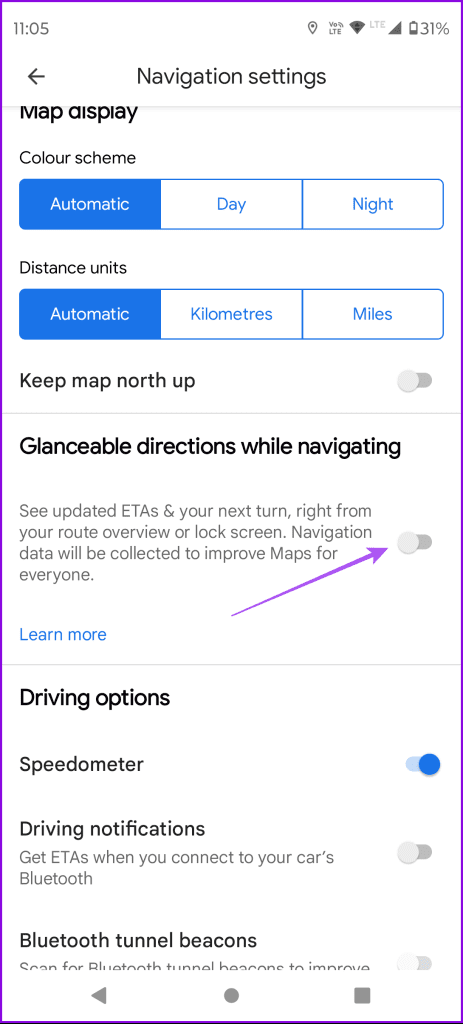
Step 3: Tap on Navigation (iPhone) or Navigation Settings (Android).
Step 4: Scroll down and tap the toggle next to ‘Glanceable Directions While Navigating.’
After returning to the destination search page, you will notice a new Blue Arrow icon in the overview window of your route. This icon will provide you with a preview of your route when you begin walking without activating the navigation feature.
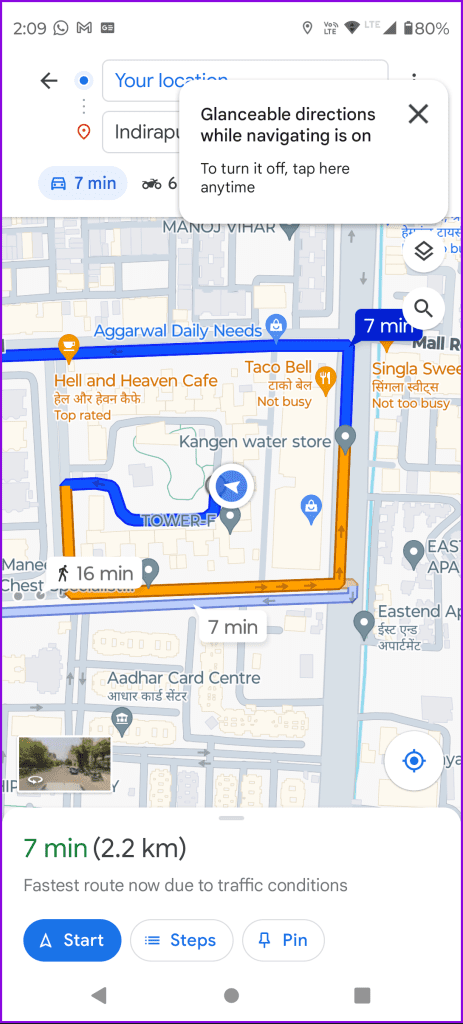

During our usage, the Blue Arrow icon did not continue to appear in the route overview. We hope that with updates, the feature will improve with time.
Turn Off Glanceable Directions on Google Maps
Step 1: Open Google Maps and tap the profile icon at the top-right corner. Then tap on Settings.
Step 2: Tap on Navigation (iPhone) or Navigation Settings (Android).
Step 3: Scroll down and tap the toggle next to ‘Glanceable Directions While Navigating’ to disable the feature.
How to Fix Glanceable Directions Not Working on Google Maps
You can try a couple of basic troubleshooting methods to fix the issue of Glanceable Directions not working on Google Maps.
1. Login Again to Google Account
Step 1: Open Google Maps and tap the Profile icon at the top-right corner.
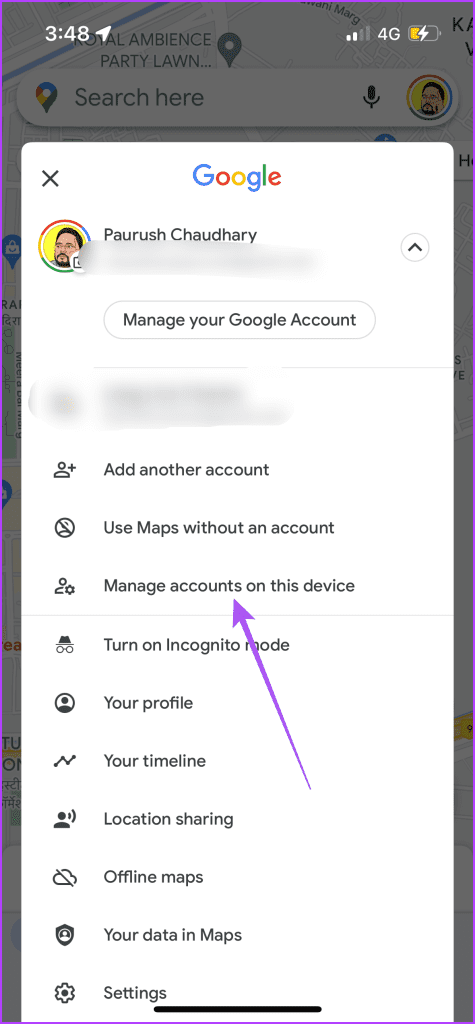
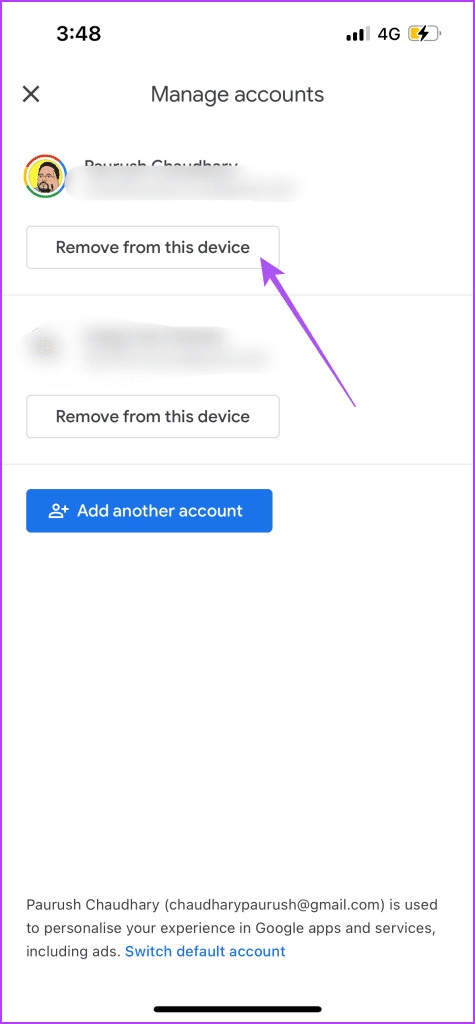
Step 2: Tap the arrow icon next to your profile name and select ‘Manage Accounts on This Device.’
Step 3: On iPhone, tap on ‘Remove From This Device’ to log out of your account.
On Android, select your Google account and tap on Remove Account.

Step 4: Add your Google account again and sign in to Google Maps.
2. Force Quit and Relaunch Google Maps
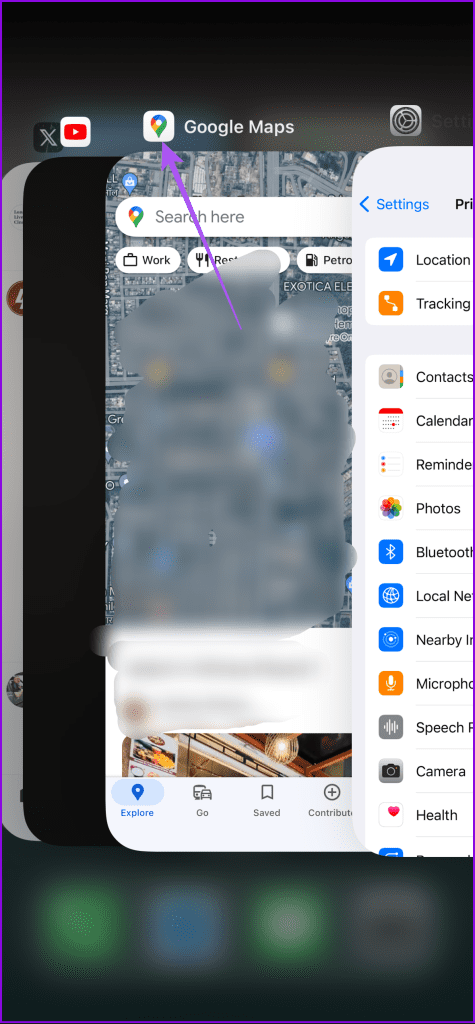
On iPhone, swipe up on the home screen and hold to reveal the background app windows, look for Google Maps, and then swipe up to remove it. Then, relaunch the app.
On Android
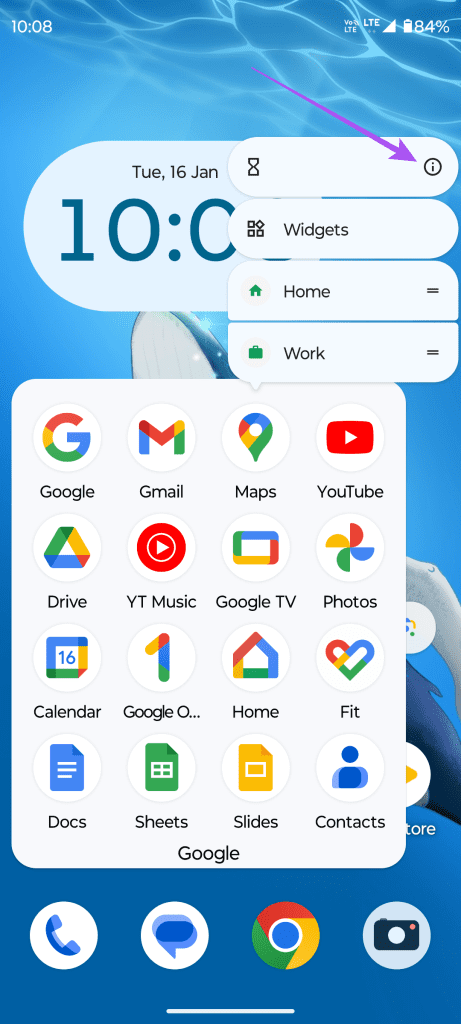
Step 1: Long-press the Google Maps icon and tap on App Info.
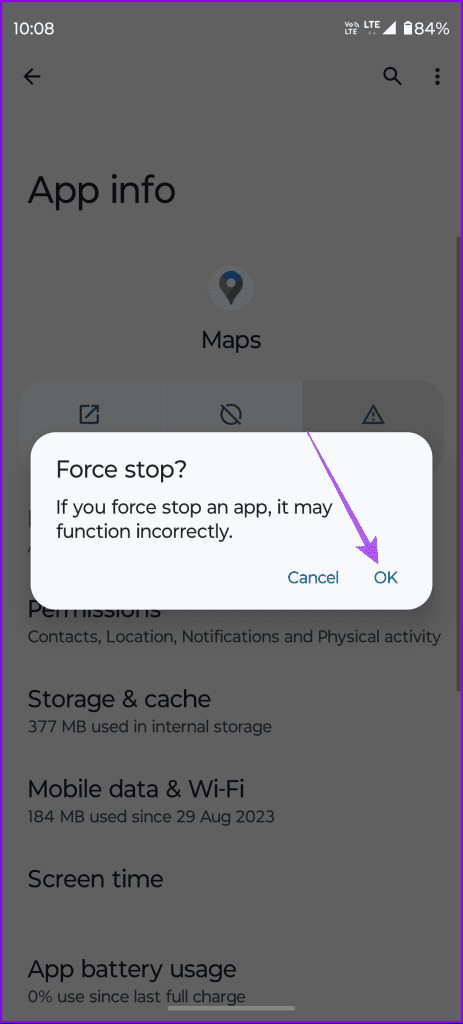
Step 2: Tap on Force Stop and select OK to confirm.

Step 3: Relaunch Google Maps to check if the problem is solved.
3. Report to Google Maps
Since this feature is new, there might be a few glitches initially. You can send feedback regarding the same to Google using the app.
Step 1: Open Google Maps and tap the Profile icon at the top-right corner.
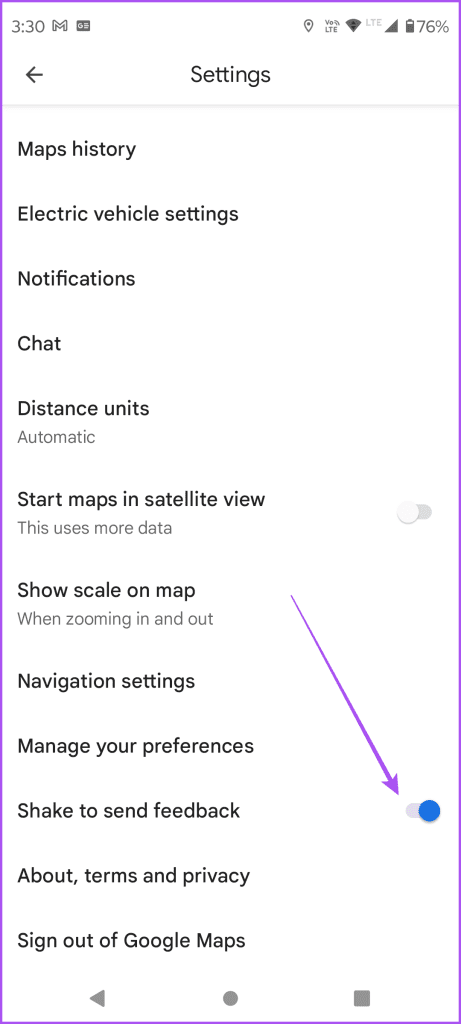
Step 2: Tap on Settings and then scroll down to the bottom and enable ‘Shake To Send Feedback.’
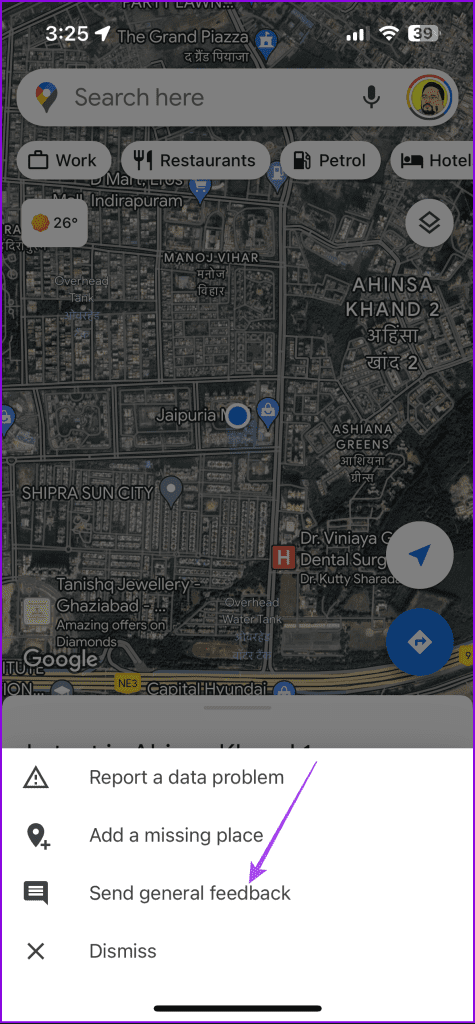
Step 3: Go back to the main window and shake your phone. Then tap on Send Feedback or Send General Feedback.
Follow the on-screen steps to report the issue.
Take a Glance
Glanceable Directions in Google Maps make it safer to use the app during navigation. And before you visit a place, Google Maps also lets you check the AQI or Air Quality Index. Let us know if you found this feature helpful in your travels in the comments below.
Was this helpful?
Last updated on 06 March, 2024
Read Next
 How to Share Custom Route or Directions on Google Maps For PC and Android
Google Maps is quite helpful to navigate your way in an unknown area or city.
How to Share Custom Route or Directions on Google Maps For PC and Android
Google Maps is quite helpful to navigate your way in an unknown area or city.
 Google Maps vs Maps Go Comparison: Explaining the Difference
Last year, Google announced the optimized version of Android Oreo operating system, Android Go.
Google Maps vs Maps Go Comparison: Explaining the Difference
Last year, Google announced the optimized version of Android Oreo operating system, Android Go.
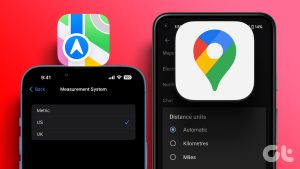 How to Switch Between KM and Miles in Google Maps and Apple Maps
Switching between regions might sometimes also mean having to switch between KM and miles on Google Maps and Apple Maps.
How to Switch Between KM and Miles in Google Maps and Apple Maps
Switching between regions might sometimes also mean having to switch between KM and miles on Google Maps and Apple Maps.
 Top 7 Ways to Fix Google Maps Not Showing Route
Navigating from point A to point B is easier than ever with Google Maps and all the route options, traffic information, and location history it provides us with.
Top 7 Ways to Fix Google Maps Not Showing Route
Navigating from point A to point B is easier than ever with Google Maps and all the route options, traffic information, and location history it provides us with.
 Top 7 Fixes for Google Maps Timeline Not Working on Android and iPhone
With Timeline feature of Google Maps, you can take a trip down memory lane and see all the places you have visited previously.
Top 7 Fixes for Google Maps Timeline Not Working on Android and iPhone
With Timeline feature of Google Maps, you can take a trip down memory lane and see all the places you have visited previously.
 5 Ways to Fix Location Sharing Not Updating in Google Maps on Phone
Common Fixes Check your internet connection - Google Maps will fail to update the location if your internet is unstable.
5 Ways to Fix Location Sharing Not Updating in Google Maps on Phone
Common Fixes Check your internet connection - Google Maps will fail to update the location if your internet is unstable.
 How to Turn Off Voice Navigation in Google Maps for Android and iPhone
Google Maps' voice navigation feature makes navigating to your destination easier with turn-by-turn directions and spoken instructions.
How to Turn Off Voice Navigation in Google Maps for Android and iPhone
Google Maps' voice navigation feature makes navigating to your destination easier with turn-by-turn directions and spoken instructions.
 Top 7 Fixes for Google Maps Not Showing Traffic on Android and iPhone
As a navigation app, Google Maps offers several useful features that help you plan your journey and reach your destination safely.
Top 7 Fixes for Google Maps Not Showing Traffic on Android and iPhone
As a navigation app, Google Maps offers several useful features that help you plan your journey and reach your destination safely.
The article above may contain affiliate links which help support Guiding Tech. The content remains unbiased and authentic and will never affect our editorial integrity.